





Growing cannabis step by step: a beginner’s guide
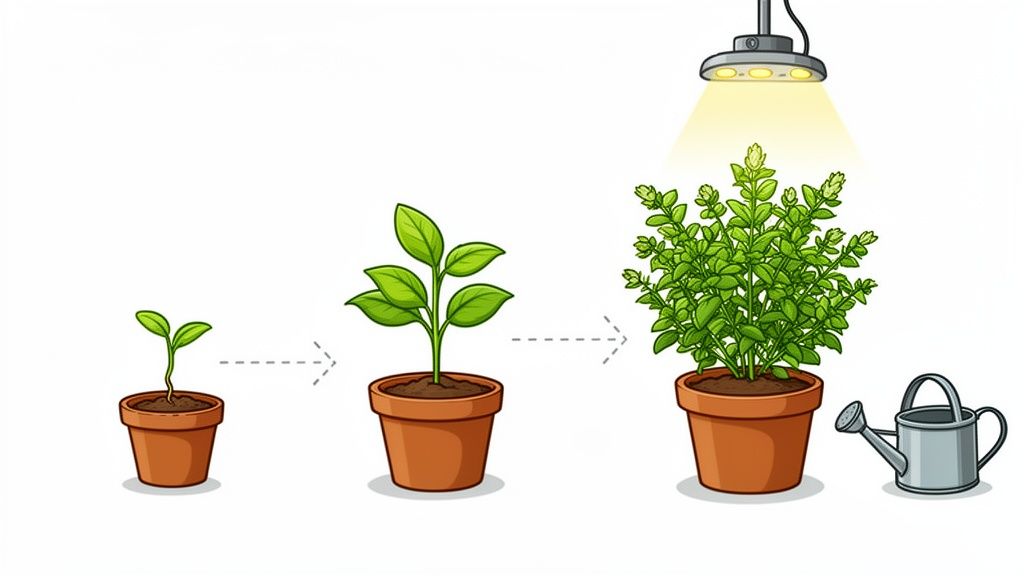
Growing your own cannabis isn't some mystical art. If you've ever kept a houseplant alive or tried your hand at gardening, you've already got a head start. Think of it less as a complex experiment and more like a rewarding craft, similar to brewing your own beer. This guide is your road map for growing cannabis step by step, from choosing the right seed to curing your final, beautiful buds.
Your Home Grow Starts Here
We're going to cut through the noise and focus on what really works for a home setup. The mission is simple: get you from a pack of Botanist Seeds to a jar of top-shelf flower, saving you the time, money, and hassle of dispensary trips. By starting with our feminized and autoflower seeds, we're taking all the guesswork out of the equation so you can say goodbye to dispensary lines for good.
This is more than just a hobby for a handful of people. Home cultivation is exploding as more people realize the freedom and satisfaction of growing their own. The global cannabis cultivation market is on track to surge from USD 554.42 billion in 2024 to an incredible USD 3,257.54 billion by 2035. With North America expected to hold over 41% of the market share by 2025, it’s clear this is a movement, not just a trend.
The very first decision you'll make, and arguably the most important one, is which seeds to grow. The genetics you choose will dictate everything from the plant's size and structure to the final aromas and vibe.
Choosing Your Seeds
When you're just starting, the two best paths forward are with feminized or autoflower seeds. With both options, up to 99.9% of the plants you nurture will be bud-producing females, which is a massive relief for any grower who wants a predictable and successful harvest.
Feminized Seeds: These are photoperiod cultivars, meaning their flip into flowering is triggered by a change in the light schedule. They tend to grow larger and can produce bigger yields. This gives you more hands-on control, allowing you to keep them in their vegetative state for as long as you need to fill out your space.
Autoflower Seeds: These ingenious cultivars operate on their own internal clock, automatically switching from vegetative growth to the flowering stage after just a few weeks. They don't care about light schedules. Their speed and compact size make them perfect for growers looking for a quick turnaround, a simple setup, or an easy outdoor crop.
I like to explain it like this: Feminized seeds are like driving a manual car, you decide when to shift gears. Autoflowers are the automatic transmission, they handle the timing for you. Both get you where you're going, just with a different level of involvement.
To help you decide which is the better fit for your goals, here's a quick comparison. Since both options from Botanist Seeds eliminate the worry about unwanted plants, you can focus on the features that matter most to you.
Feminized vs Autoflower Seeds Which Is Right for You?
| Feature | Feminized Seeds | Autoflower Seeds |
|---|---|---|
| Flowering Trigger | Requires light cycle change (12/12) | Automatic, based on age |
| Time to Harvest | Longer (3-5+ months) | Faster (2-3 months) |
| Plant Size | Generally larger and taller | Typically smaller and more compact |
| Potential Yield | Higher | More modest, but faster |
| Grower Control | High (can extend veg time) | Low (follows its own schedule) |
| Best For | Maximizing yields, training techniques | Speed, simplicity, small spaces |
Ultimately, there's no wrong answer here, just what's right for your situation. Both are fantastic choices for a home grower.
The simple visual below lays out the first three things you'll do once you have your seeds in hand.
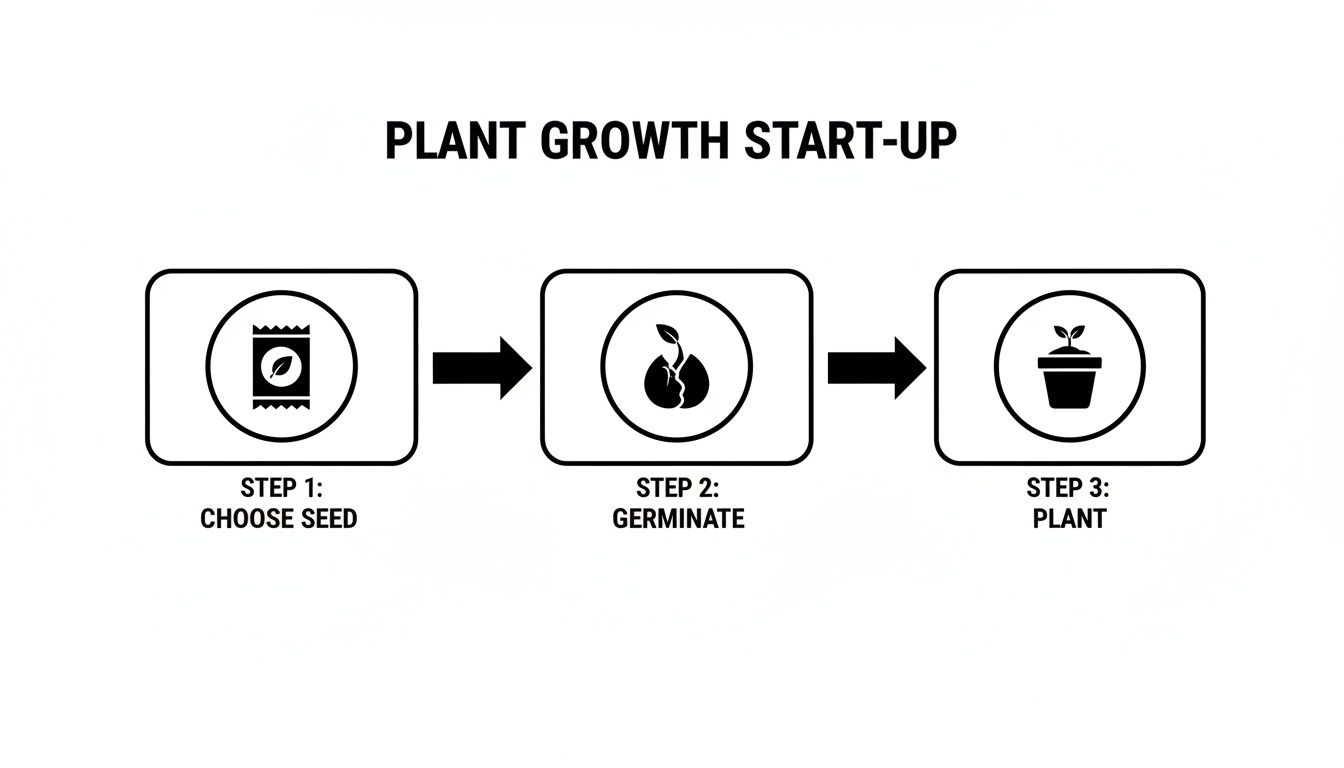
This breaks the process down into its essential first moves: picking your cultivar, getting it to sprout, and planting that new taproot. Once you've got your seeds, these are the very first steps on your journey. If you want to learn more, you can get familiar with the different types of weed in our detailed guide.
Getting Your Seeds Started the Right Way
Alright, this is where it all begins. "Germination" is just a simple word for waking up your seeds, and it's the first and most important step in your entire grow. Don't let it intimidate you; it's simpler than you think.
Our only goal here is to convince the seed to sprout a tiny, white taproot. This little root is the first sign of life and your signal that the seed is ready for soil. Think of it as the plant's anchor, the foundation for everything to come.
The Paper Towel Method
This method is a classic for a reason: it's incredibly reliable. Using paper towels creates the perfect warm, moist environment that seeds crave, and you won't need any special gear. A few things from around the house will do the trick.
Here’s what you’ll need:
- Two clean plates
- A few sheets of paper towel
- Your Botanist Seeds
- Distilled or pH-balanced water
Start by getting a couple of paper towels damp with your water. You want them moist, not sopping wet, think of a well-wrung-out sponge. Lay your seeds on the damp towel, giving them a little personal space, and cover them with another damp towel. Finally, place the whole setup between two plates to create a dark, humid little dome.
Your makeshift germination station needs a warm spot, ideally somewhere between 70-85°F (21-29°C). I've found that on top of a refrigerator or near a Wi-Fi router often provides just enough gentle, consistent warmth. Just be sure to peek in daily to make sure the towels haven't dried out.
Success at this delicate stage really does start with great genetics. When you work with high-quality cultivars like those in our curated catalog, you can see germination rates as high as 95%. With a solid setup, you should expect to see taproots in 3-10 days, with 80-90% success being standard for premium seeds. If you're a data nerd, you can dig deeper into these market trends and cultivation statistics.
Planting Your Sprouted Seed
Once that taproot is about a quarter-inch long, it’s go-time. Be extremely gentle here; that little root is incredibly fragile. Using a pair of clean tweezers, carefully pick up the seed and place it, taproot pointing down, into your starter medium. Plant it about a half-inch deep and lightly cover it with soil.
From here on out, just keep the medium moist but not waterlogged. A light mist from a spray bottle works perfectly. In a few days, you should see a tiny seedling pop its head above the soil. Congratulations, you're officially growing. For a closer look at this process, check out our guide on how long it takes to germinate seeds.
The Vegetative Stage: Building Your Plant’s Framework
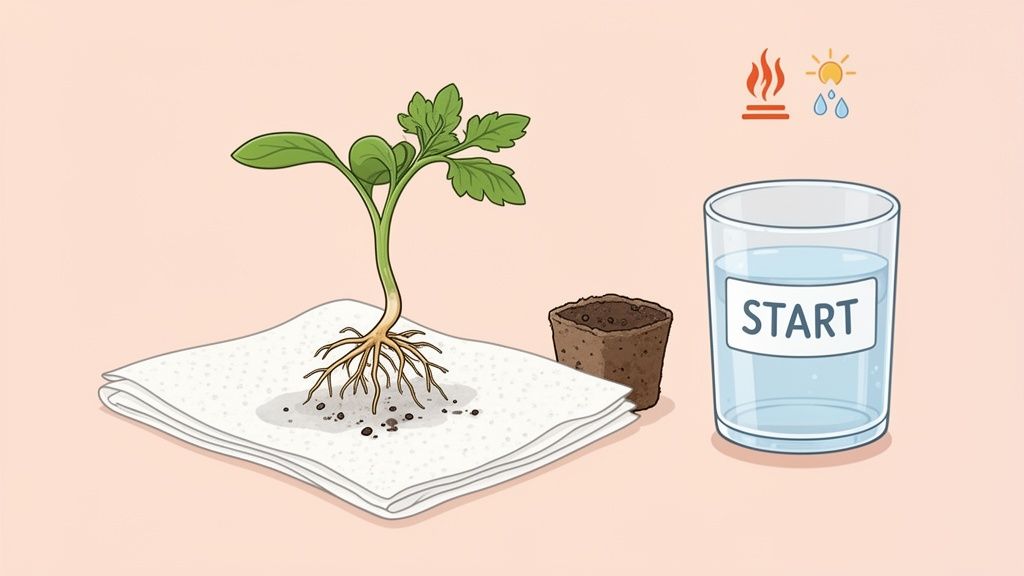
After your seedling has confidently emerged and grown its first few sets of true leaves, it's officially entered the vegetative stage. I like to think of this as the plant's teenage years. Its only job right now is to get as big and bushy as possible, not to worry about making flowers.
This whole phase is about building a strong, solid structure. Every leaf and branch that develops now is a future factory for producing buds. A robust vegetative stage truly is the foundation for a heavy harvest down the road.
Dialing in the Light Cycle
For standard feminized, photoperiod cultivars, your light schedule is the single most important signal that keeps them in this growth phase. The tried-and-true standard for vegging is an 18/6 light cycle: that's 18 hours of light followed by 6 hours of uninterrupted darkness. This long "day" tells the plant it's the peak of summer, encouraging it to put all its energy into growing bigger.
If you're growing autoflowers, you can breathe a little easier. They operate on their own internal clock and will start flowering after a few weeks regardless of the light schedule. Still, they thrive on lots of light, and most experienced growers find an 18/6 cycle from seed to harvest works wonders for them, too.
Don't ever rush the veg phase. It typically lasts 4-8 weeks, and this is where your plant can easily double in size. In my experience, a properly managed vegetative stage can boost your final harvest weight by as much as 25-30%. You can dig into more cultivation market trends and statistics on rootsanalysis.com.
Feeding for Explosive Green Growth
Think of your vegging plant as a hungry teenager, and its favorite food is nitrogen. Nitrogen is the key ingredient for chlorophyll, the compound that makes leaves green and drives photosynthesis. It's the primary building block for all that lush foliage you want to see.
Your nutrient mix needs to reflect this hunger for growth.
- Nitrogen (N): This should be the star of the show right now. Look for nutrient bottles labeled "Grow" or "Veg," as they will be rich in nitrogen.
- Phosphorus (P) and Potassium (K): These are still vital for strong roots and overall plant function, but they play a supporting role for now.
- Micronutrients: Don't forget calcium and magnesium. I almost always add a Cal-Mag supplement during this stage to head off common deficiencies before they even start.
When it comes to watering, a good rule of thumb is to water when the pot feels light. Drench the soil until you see a little runoff come out the bottom; this helps prevent a buildup of nutrient salts. Letting the top inch or so of soil dry out between waterings is just as important, as it allows precious oxygen to get to the roots. Remember, getting your nutrient balance right starts with balanced water, and you can learn more by getting the right pH for cannabis.
Basic Training for Much Bigger Yields
The vegetative stage is the perfect time to start gently training your plant. The whole point of training is to break the plant's natural desire to grow like a Christmas tree (one tall main stem) and instead create a wide, flat canopy. This simple change allows light to hit more of the plant, which means more top-shelf buds later.
Low-Stress Training (LST) is, without a doubt, the best technique for new growers. It involves carefully bending the main stem and side branches and tying them down. This tricks the lower branches into growing up toward the light, creating a canopy with multiple main "colas" instead of just one.
Here’s a simple way to start with LST:
- Wait until your plant is sturdy, with at least 4-5 nodes (sets of branches).
- Gently bend the main stem over until it’s nearly parallel with the top of the soil.
- Use soft plant ties or rubber-coated wire to anchor the stem to the rim of your pot. Be gentle and leave some slack.
- As the side branches reach for the light, you can begin tying them down, too, spreading them out to create an even canopy.
This one technique dramatically improves your light efficiency without stressing the plant. It's a small investment of your time that pays off massively at harvest, helping you get the absolute most out of your grow space.
Triggering the Flowering Stage
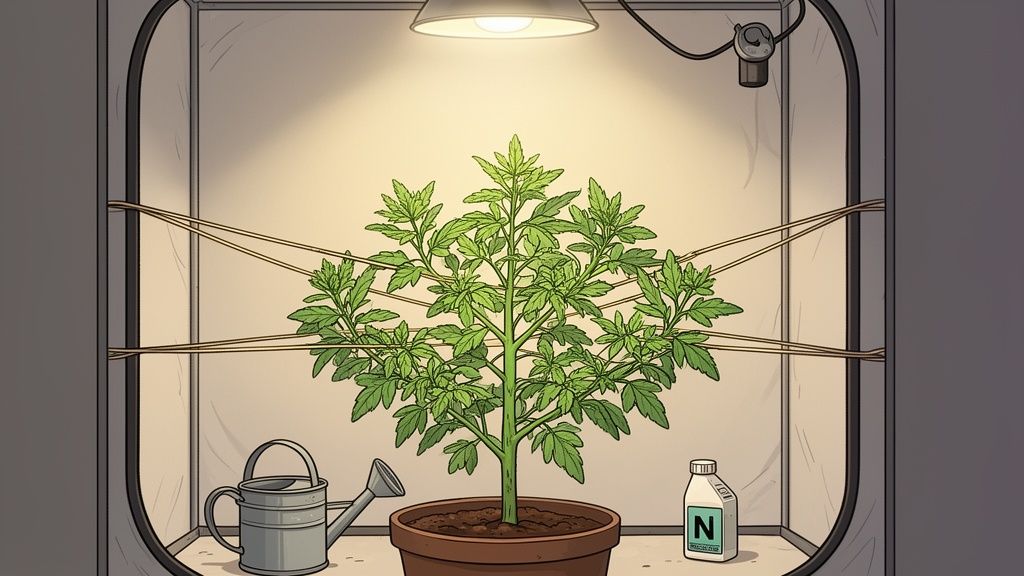
Alright, this is where the real fun begins. After weeks spent training and feeding your plants through their vegetative growth, it’s finally time to flip the switch and tell them to start producing flowers. This transition from veg to bloom is probably the most rewarding part of the entire grow cycle.
In this stage, the plant's energy redirects from making leaves and stems to developing the dense, resinous buds you've been working toward. If you're growing photoperiod cultivars, you're the one in control. For autoflower growers, the plant takes care of this step on its own timeline.
Kicking Off the Flower Cycle
With a photoperiod cultivar, initiating flowering is all about manipulating the light schedule. You’ll need to change your timer from the 18/6 cycle used during veg to a strict 12 hours of light followed by 12 hours of uninterrupted darkness. This 12/12 light cycle perfectly mimics the shorter days of late summer, which is nature’s cue for the plant to start reproducing.
That dark period is absolutely critical. I can't stress this enough: it has to be total darkness. Even a pinprick of light from a power strip or a crack under the tent flap can stress the plant, disrupt its hormones, and seriously impact your final yield.
If you went with an autoflower cultivar, you can just lean back and enjoy the show. Autoflowers are bred to flower based on age, not light cues. You simply keep the lights running on the same 18/6 schedule you've been using all along, and the plant will start budding when it's ready.
Changing Up the Menu
As your plant shifts gears into flower production, its dietary needs change dramatically. It’s time to phase out the nitrogen-rich "grow" nutrients and introduce a "bloom" formula. These mixes are specifically designed to be low in nitrogen but high in the two other essential macronutrients: phosphorus (P) and potassium (K).
- Phosphorus is the powerhouse for bud formation, helping the plant build the structure for dense, numerous flower sites.
- Potassium plays a huge role in moving sugars and water, which translates directly to heavier buds and more robust resin production.
Your plant is no longer building its frame; it’s now focused on performance and production. Just follow the feeding chart from your chosen nutrient line, typically starting with a lighter dose and ramping up as the flowers begin to swell.
Spotting the First Signs of Buds
About a week or two after you flip your lights to 12/12, you'll want to start looking closely at the nodes, the spots where leaves and branches meet the stem. You should see tiny, wispy white "hairs," which are the pistils, starting to emerge from their calyxes. These are the very first signs of your future buds.
From here, you're looking at an 8 to 11-week journey as these small bud sites mature, swell, and stack into the impressive colas you're after. During this phase, your management can make all the difference. Some elite cultivars can hit 20-30% THC, and techniques like a SCROG net can boost final harvest weight by 20-40% by maximizing light exposure, a key factor discussed in commercial cultivation market reports.
Managing Your Canopy for a Bigger Harvest
As buds start to form, it becomes more crucial than ever to get light deep into the plant's canopy. Any bud sites left in the shade will produce light, airy "larf" instead of dense nugs. This is why canopy management is so vital during the flowering stage.
Continue tucking branches under your trellis net to keep the canopy as flat and even as possible. Around the third week of flower is also a perfect time for a strategic defoliation. This simply means removing some of the larger fan leaves that are casting shadows on the developing bud sites below.
The key is to be selective. Don’t go wild and strip the plant bare, as the leaves are still the solar panels powering its growth. Just pluck the biggest leaves that are clearly blocking light. This simple act redirects the plant's energy right where you want it: into producing fat, high-quality buds across the entire canopy, not just at the top.
Harvesting and Curing for the Best Results
You’ve made it. Weeks of careful work are behind you, and the finish line is finally in sight. But don't rush this part. The way you handle the harvest and cure is what separates a decent batch from a truly top-shelf stash. This is where patience really pays off, turning your efforts into the smooth, aromatic, and flavorful experience you've been working toward.
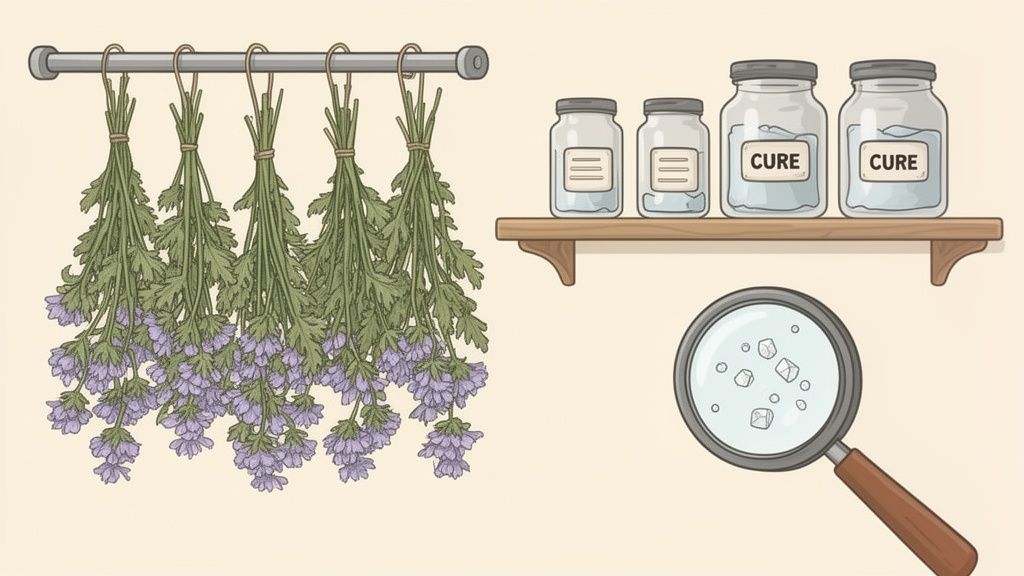
Knowing the exact right moment to chop is a skill learned over time, and it’s all about dialing in the specific vibe you want. The secret is to get up close and personal with the trichomes, those tiny, frosty resin glands covering the buds. Think of them as your plant’s way of telling you it's ready.
Checking the Trichomes
You’ll need a jeweler's loupe or a digital microscope to get a good look. These little guys look like tiny glass mushrooms and cycle through three main stages. Your perfect harvest window is all about catching them at the right ratio.
- Clear Trichomes: At this stage, they look like little balls of glass. Harvesting now is jumping the gun; the plant isn't even close to its full potential yet.
- Milky or Cloudy Trichomes: The heads of the trichomes turn a cloudy, milky white. This is generally considered the peak for potency, often delivering a more energetic, heady vibe.
- Amber Trichomes: The milky heads begin to shift to a rich amber or golden-brown color. This signals that some active compounds are starting to change, which typically leads to a more relaxing, body-focused experience.
Most growers I know aim for that sweet spot where the majority of trichomes are milky, with just a hint of amber creeping in. A classic target is a ratio of about 70% milky to 30% amber, as it tends to offer a great balance and a well-rounded vibe. But remember, this is just a guideline. Feel free to experiment and find what you like best.
The Drying Process
Once you’ve made the call, it’s time to chop. You can hang the entire plant, break it down into large branches, or even trim individual buds right away (this is called "wet trimming"). I personally recommend hanging larger branches, as it encourages a slower, more even dry, which is exactly what you want.
Find a cool, dark place for this, like a closet or even your grow tent with the lights off. You’re aiming for conditions around 60-70°F (15-21°C) with 50-60% humidity. A small fan moving air around the space (but not pointed directly at your buds) is a good idea to prevent mold.
This stage usually takes about 7 to 14 days. You’ll know you’re ready for the next step when the smaller stems snap cleanly instead of bending. The buds should feel dry to the touch on the outside but still have a bit of spring to them when you give them a gentle squeeze.
Curing for Flavor and Smoothness
Curing is the final, crucial step. This is the magic that makes your homegrown supply truly special. It's essentially an aging process that slowly breaks down chlorophyll (which causes that harsh, grassy taste) and brings out the unique aromatic profile of your cultivar. All you need are some airtight glass jars.
First, gently place your dried buds into the jars, filling them about 75% of the way. You want to leave some air in there to help the process along.
For the first week, you’ll need to "burp" the jars by opening them once or twice a day for about 10-15 minutes. This lets excess moisture escape and brings in fresh oxygen. After that first week, you can cut back to burping every few days.
You should cure for a minimum of two weeks, but the real magic happens at four weeks and beyond. Trust me, the wait is worth it.
Getting the dry and cure right is everything. A proper post-harvest dry and cure over 2-4 weeks at roughly 62% relative humidity is the best way to preserve terpenes, the compounds responsible for aroma and flavor. When done correctly, this process can help retain up to 95% of the plant's original terpene profile, ensuring your final product is as good as it gets. You can learn more about why these final steps are so vital in reports on the cannabis market.
Common Questions for First-Time Growers
No matter how much you read, you'll always have questions once you get your hands dirty. That's just part of the learning curve. I've been there, and I’ve seen countless new growers run into the same few hurdles.
Let's cut through the noise and tackle some of the most frequent "what do I do now?" moments you're likely to face.
How Do I Know How Much to Water My Plant?
Getting the watering right is probably the biggest challenge for beginners, and the mistake is almost always giving them too much love. Overwatering literally drowns the roots, starving them of oxygen. A plant that can't breathe at its roots will never be happy. Trust me, it's far better for a plant to be a little thirsty than to be drowning.
The old-school "lift test" is my go-to method. Get a feel for the weight of your pot right after a thorough watering. Then, periodically lift it again over the next few days. When it feels significantly lighter, it’s time to water.
If you’re not sure, just stick your finger about an inch or two into the soil. If it feels dry down to your second knuckle, you're good to give it a drink.
When you do water, water deeply. The goal is to see about 10-20% of the water volume run out of the drainage holes. This ensures the entire root zone is saturated and, just as importantly, flushes out any excess nutrient salts that can build up and cause problems later.
What Do Yellowing Leaves Mean?
Seeing your plant's vibrant green leaves turn yellow can send you into a panic, but it's usually just your plant trying to communicate. The trick is to look at where the yellowing is happening.
- Yellowing at the Bottom (Veg Stage): If you see the oldest, lowest leaves turning yellow during vegetative growth, it's a classic sign of a nitrogen deficiency. The plant is simply moving this mobile nutrient from old growth to fuel new growth up top. A small bump in your "grow" formula will usually set things right.
- Widespread Yellowing (Any Stage): Are the leaves yellowing all over the plant, looking limp and droopy? This is the classic symptom of overwatering. The roots are suffocated and can't absorb any nutrients, no matter how much you're feeding them. Step back and let the pot dry out completely.
- Yellowing at the End of Flower: Don't worry! A natural fade with yellowing leaves in the last couple of weeks is perfectly normal and a great sign. Your plant is pulling the last of its energy from the leaves to focus everything on finishing its buds. This is the beautiful, final act of its life cycle.
Can I Grow Without a Fancy Tent and Lights?
Absolutely. While a dedicated grow tent offers total environmental control, it's far from the only way to get a great harvest. People have been growing this plant for centuries with nothing more than sun, soil, and water. A sunny spot on a balcony, a corner of your backyard, or even a south-facing windowsill can work wonders.
For these simpler, sun-driven grows, I'm a huge fan of autoflower cultivars. They aren't dependent on a specific light cycle to trigger flowering, which makes them incredibly forgiving and a perfect match for the natural ebb and flow of daylight.
Your main goal is to give them as much direct sunlight as possible, aim for at least five to six hours a day. The pride you'll feel from harvesting your own flower, grown with your own hands, is something you can achieve on any budget.
How Do I Control the Smell During Flowering?
There’s no getting around it: flowering cannabis has a very distinct and powerful aroma. If you’re growing indoors and need to stay on good terms with roommates or neighbors, a carbon filter is non-negotiable.
This is a simple but brilliant piece of gear that attaches to your exhaust fan. As air gets pulled out of your grow space, it passes through a thick bed of activated carbon, which scrubs almost all the odor molecules before the air is vented outside. It’s a must-have for a reason: it works.
For a very small grow, you might get away with just good airflow and some odor-neutralizing gels. But if you need true peace of mind, nothing beats the reliability of a quality carbon filter.
This guide to growing cannabis step by step is designed to give you the confidence to start your own rewarding journey. But remember, a great harvest always begins with great genetics. At Botanist Seeds, we've hand-picked a collection of stable, high-quality seeds to help make your first grow a success.
Ready to find the right cultivar for your space? Explore our feminized and autoflower options and start your adventure today. Find your perfect strain at botanistseeds.com.












