





Vegetative Stage of Weed: Your Guide to Bigger Yields
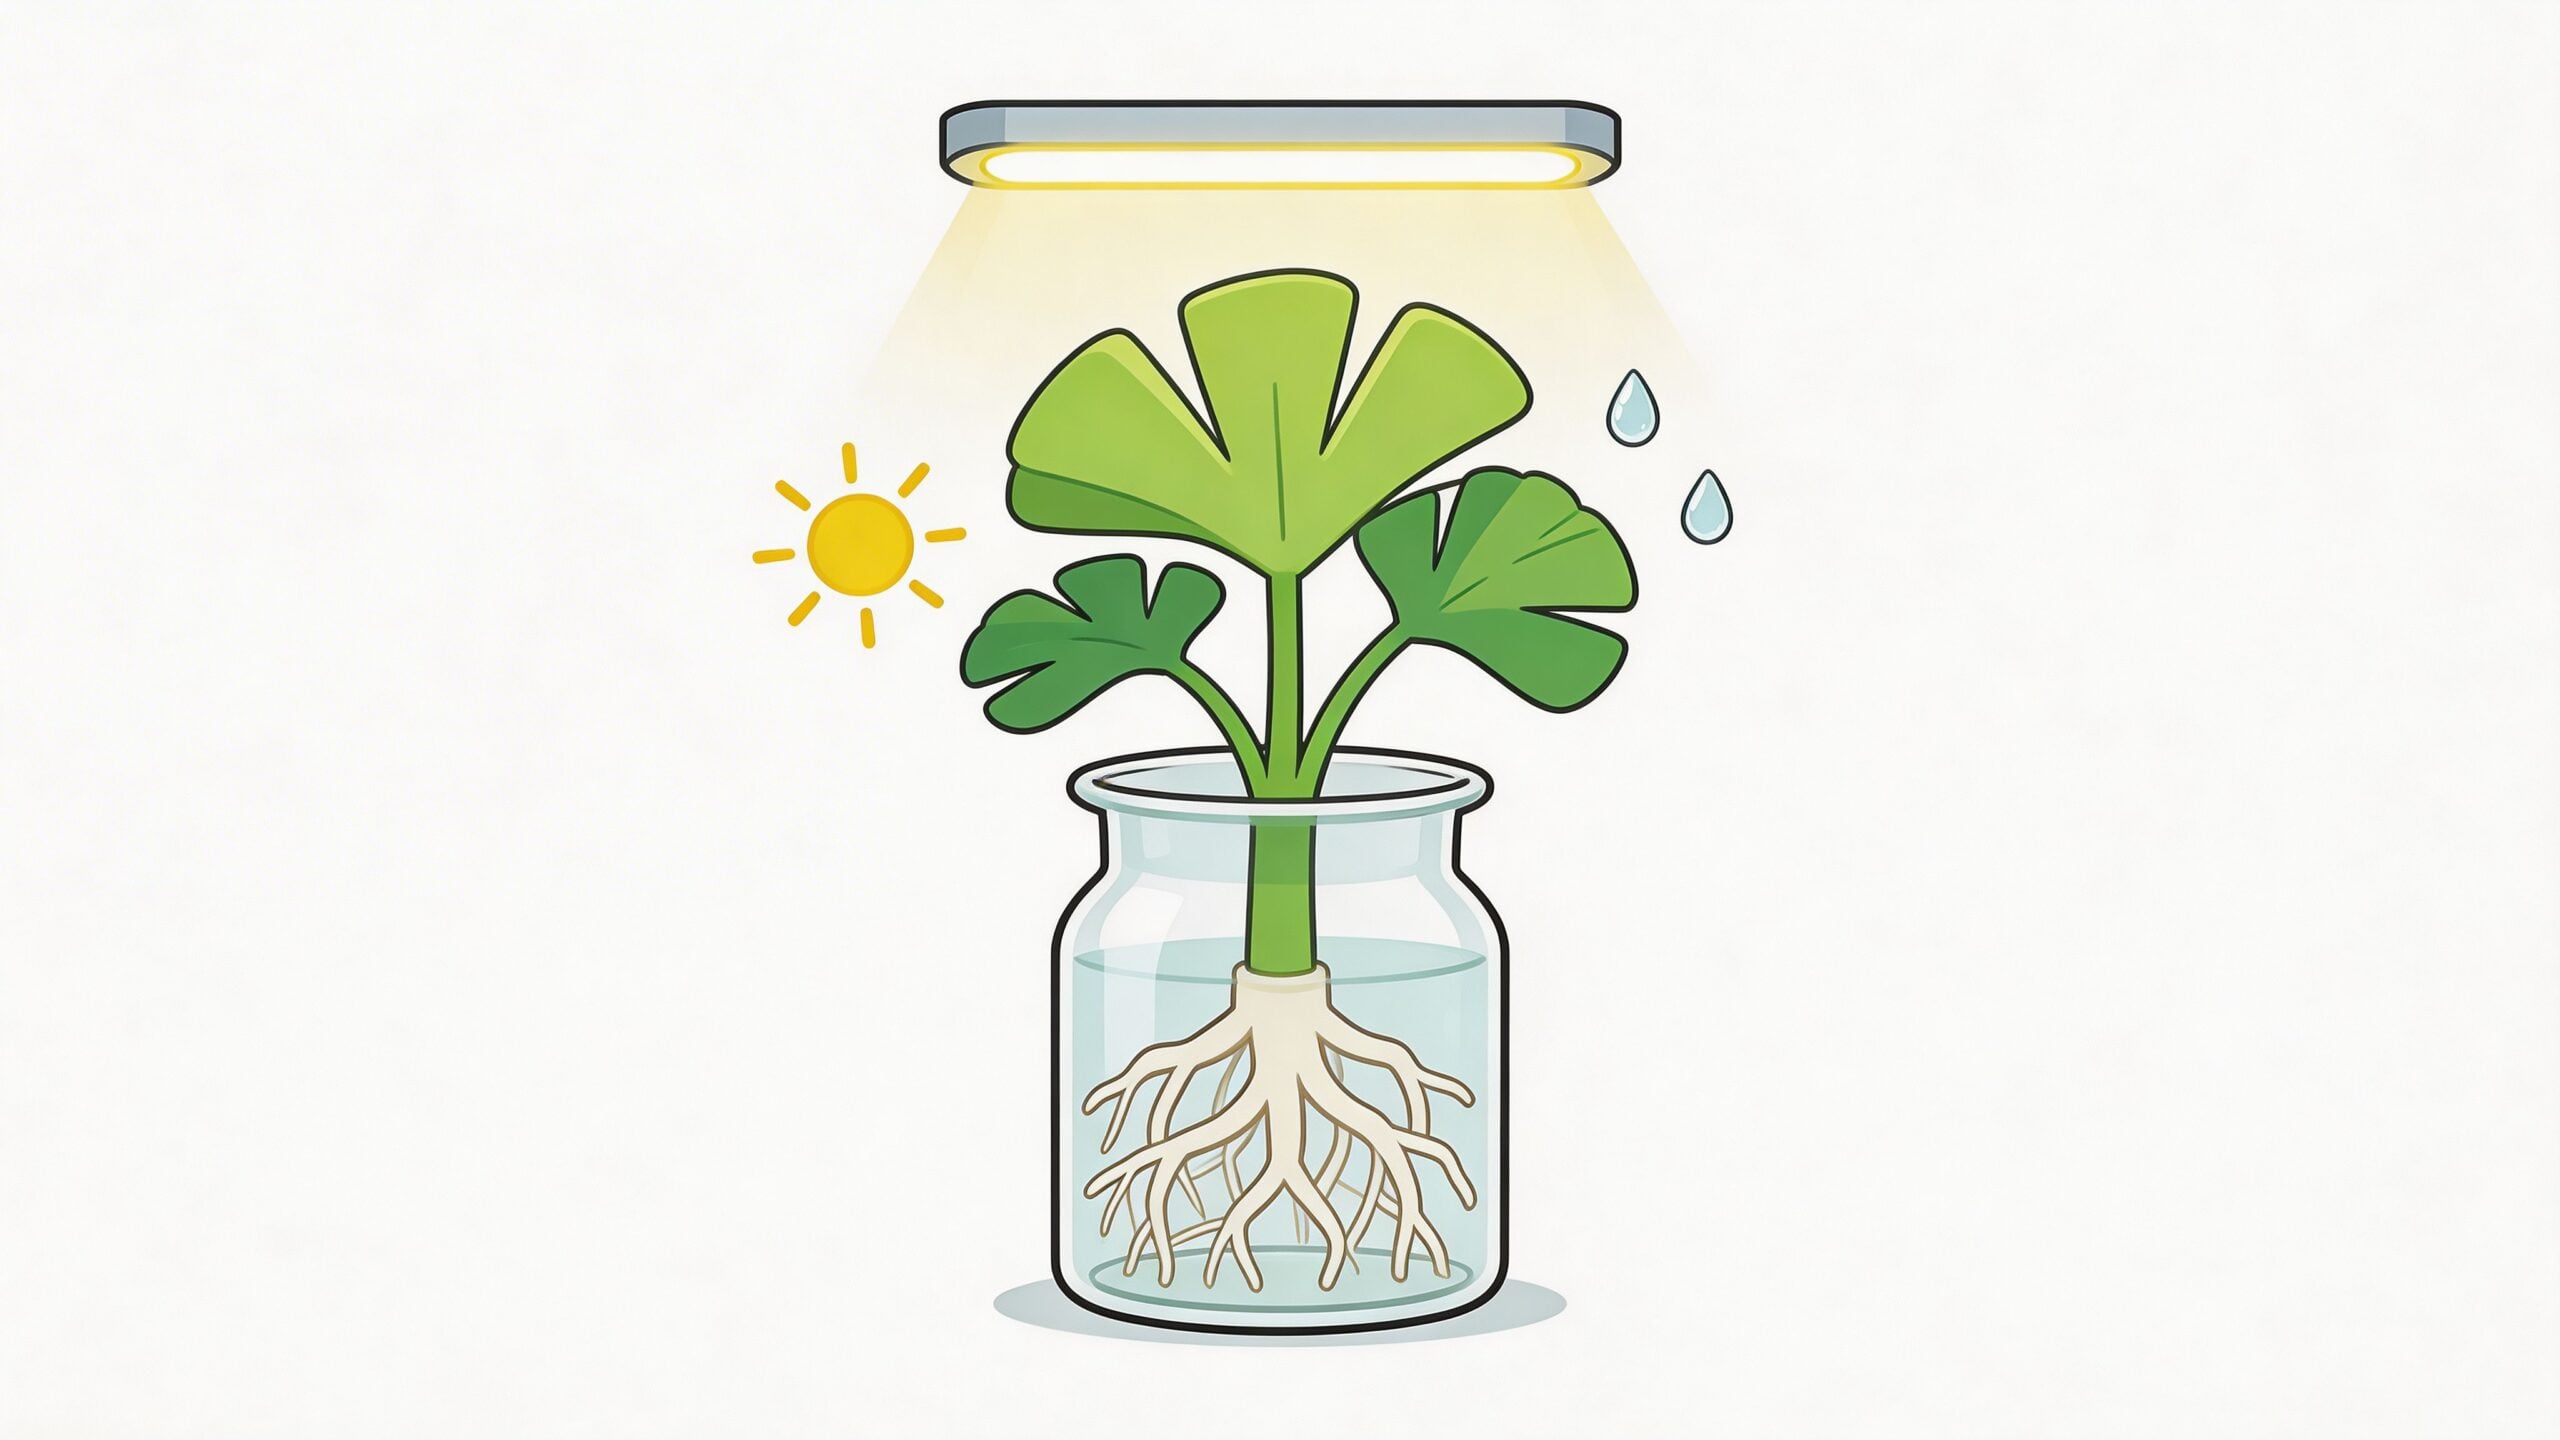
You’re probably staring at a young plant right now, thinking some version of the same question every grower asks early on: how do I turn this small green thing into a heavy, satisfying harvest?
That question gets answered in veg.
The vegetative stage of weed is where a plant builds the frame, roots, and leaf mass that make flowering worth the wait. If veg goes well, flowering feels easier. If veg goes badly, flower usually turns into damage control.
A lot of beginner advice stops at, “give it lots of light and nutrients.” That’s not wrong. It’s just incomplete. What helps is understanding why certain choices work, why others backfire, and how to match your setup to your cultivar instead of copying somebody else’s grow room.
Your Plant’s Teen Years The Importance of Veg
A seedling can fool you.
It looks small, harmless, and simple. You water it, keep the light on, and hope it keeps moving. A lot of new growers treat this stretch like a waiting room before the “real” part starts.
That’s backwards.
Veg is the part where your plant decides what kind of worker it’s going to be later. During this phase, it’s building the branches that will hold flowers, the leaves that collect energy, and the roots that support everything above the soil line. If that structure is weak, flower won’t magically fix it.
Consider it this way: Flowering is production. Veg is construction.
A plant that enters flower with skinny branches, poor spacing, and a cramped root zone usually gives you the same frustrating result every time: airy lower growth, uneven canopy, and a lot of second guessing. A plant that spends veg getting broad, sturdy, and balanced gives you more useful tops and a much easier run.
I’ve seen growers rush the early phase because they’re excited to see buds. Totally understandable. But the harvest usually reflects that impatience. Shortcuts in veg often show up later as sagging branches, wasted light, and a canopy that never really fills in.
Healthy veg isn’t about keeping a plant alive. It’s about building a plant that can perform.
That’s why experienced growers pay attention here. Not because veg is flashy, but because it's the stage where you set the ceiling for the whole run.
A good vegetative stage of weed does a few things at once:
- Builds more future bud sites: More branches in the right places usually means more useful tops later.
- Strengthens support: Thick stems matter once flowers start adding weight.
- Creates better shape: A compact, even plant is easier to light and easier to manage.
- Banks energy: Big healthy fan leaves do a lot of the heavy lifting before flowering starts.
If you want bigger yields, veg is where that conversation starts.
What Your Plant Is Doing in Veg
The easiest way to understand veg is to stop thinking about buds for a minute.
Right now, your plant is building its engine and chassis. It’s not trying to impress you yet. It’s trying to become capable.
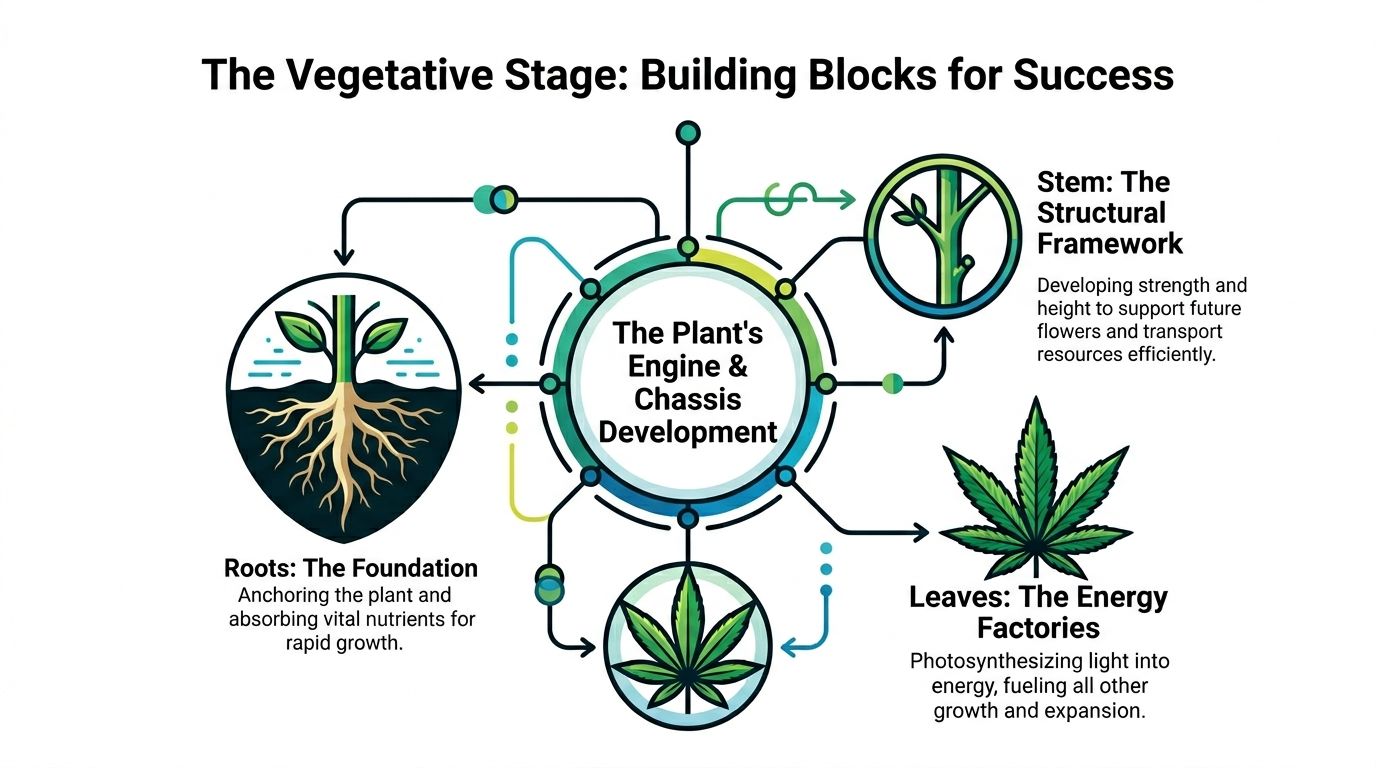
Roots are doing more than most growers realize
The part you can’t see is often the part deciding how well the grow goes.
Roots are grabbing water, pulling in nutrients, and anchoring the whole plant. When roots are expanding well, top growth usually follows. When roots stall, the entire plant slows down, even if the leaves still look decent for a while.
That’s one reason veg matters so much. The grow phase typically lasts 3 to 16 weeks indoors, with most growers choosing 4 to 8 weeks, and that time drives rapid structural growth under the right conditions, according to Cannabis College’s breakdown of the cannabis life cycle. The same source notes that 22 to 26°C (71 to 79°F) and 40 to 60% humidity help the plant build strong structure through photosynthesis.
That sounds technical, but the practical takeaway is simple. If the environment is steady, the plant can spend its energy growing instead of recovering.
Leaves are the power supply
Fan leaves are your plant’s solar panels.
During veg, the plant pushes out broad leaves to collect light and turn it into usable energy. That energy doesn’t just make the plant look bigger. It fuels root growth, stem thickening, branch development, and overall vigor.
A mature fan leaf in this stage often shows 5 to 7 blades, which is one of those visual signs that the plant is settling into stronger vegetative growth, as noted in the same Cannabis College guide.
You don’t need to obsess over every leaf. But you do want enough healthy leaf mass to keep the plant charging itself all day.
Stems and branches are the support system
Every branch in veg is a future decision point.
If a branch develops in a good position and gets decent light, it can become a productive top later. If the plant stretches too hard or grows in a messy, crowded shape, a lot of those sites won’t amount to much.
That’s why growers who understand veg don’t just look for “bigger.” They look for balanced structure.
A few signs your plant is using veg well:
- Upright growth: Leaves and stems look active, not limp.
- Reasonable spacing: Nodes aren’t stacked too tightly or stretched too far apart.
- Steady expansion: New growth keeps coming without odd pauses.
- Strong branching: Side shoots are starting to matter, not just the main top.
Practical rule: In veg, don’t judge success by height alone. Judge it by shape, vigor, and how much usable structure the plant is building.
Veg time changes the end result
This phase isn’t fixed. You control it, at least with photoperiod cultivars.
That gives you a real trade-off. A shorter veg gets you to flower faster. A longer veg gives the plant more time to build size and branch count. The same Cannabis College source notes that extending veg time with larger pots can double plant height from 2 to 3 feet up to 4 to 6 feet and potentially increase bud sites by 50 to 100%.
That doesn’t mean longer is always better. In a small tent, too much veg can become its own problem. But it does mean the time you spend here has consequences.
Veg is not a pause before the interesting part. It’s the stage where the plant earns its flowering potential.
Creating the Perfect Environment for Vegetative Growth
Most veg problems don’t start with nutrients. They start with environment.
A plant can’t use water or feed properly if the room is off. Too hot, too dry, too dim, too stagnant, too intense. Any one of those can slow growth or create weird symptoms that send growers chasing the wrong fix.
Light duration and light quality both matter
For photoperiod cultivars, veg happens under a long-day schedule. An 18 to 24 hour light cycle keeps the plant focused on stems, leaves, and roots instead of buds, according to Mars Hydro’s guide to the vegetative stage. That same guide notes plants can grow up to 1 foot per week in optimal conditions, and many growers flip to flower when the plant reaches about half the desired final height.
The important part for home growers is that the light schedule isn’t the whole story.
Spectrum matters too.
Blue-heavy light tends to keep growth more compact and bushy. That’s useful in tents, closets, and any setup where vertical space disappears fast. It helps encourage shorter spacing between nodes and a shape that’s easier to train.
Red has a place later, but during early veg, too much focus on raw intensity without thinking about spectrum can leave you with taller, looser structure than you wanted.
If you want a deeper breakdown of fixture types and setup choices, this guide on lighting for growing cannabis indoors is worth a look.
Temperature and humidity work together
A lot of growers memorize a temp number and a humidity number, then stop there.
The better way to think about it is plant breathing. Temperature and humidity together affect how quickly the plant moves water and how comfortably it can keep growing. When the room is too dry for the heat level, the plant can get stressed. When it’s too humid for the temperature, growth can feel sluggish.
The vegetative stage generally does well in a warm, comfortable room, not a harsh one.
Use this as a practical target:
- Temperature: Keep it in the warm veg range your plant can use.
- Humidity: High enough to support active growth, but not so high that the room feels swampy.
- Stability: Minor day-to-day consistency beats dramatic swings.
The source data also points to a VPD range of 0.8 to 1.2 kPa during veg, from the Mars Hydro guide. You do not need to become a spreadsheet grower overnight. Just know that temp and humidity are a pair, not separate settings.
Airflow makes everything else work better
Airflow isn’t glamorous, but weak airflow causes a bunch of avoidable headaches.
You want leaves gently moving, not getting blasted. Good air movement helps the plant develop stronger stems, keeps the canopy from staying damp, and evens out the environment across the tent. It also reduces stale pockets where growth can slow down.
Bad airflow usually looks like one of two mistakes:
- No movement at all: Leaves sit still, the canopy gets muggy, and growth can feel soft.
- Too much direct fan pressure: Leaves look stressed, edges curl, and the plant acts like it’s fighting the room.
If your environment changes wildly from morning to night, the plant spends more time reacting than growing.
A simple veg environment checklist
You don’t need a lab. You need a room that’s predictable.
| Checkpoint | What you want |
|---|---|
| Light schedule | Long-day lighting for photoperiod veg |
| Spectrum | Blue-leaning light for compact structure |
| Temp | Warm and steady |
| Humidity | Comfortable for active growth |
| Airflow | Gentle, constant movement |
| Canopy response | Upright leaves, steady new growth, no stress signals |
Most weak veg runs come from stacking little mistakes. Light is too far away. Fan is too aggressive. Room gets hot in the afternoon. Humidity crashes when the exhaust kicks on. None of these look huge on their own, but together they slow everything down.
Dialing in the environment is what turns “my plant is surviving” into “my plant is taking off.”
Feeding Your Plants for Strong Development
Feeding in veg gets overcomplicated fast.
You do not need to act like you’re mixing rocket fuel. You need to understand what the plant is trying to build, then support that without drowning the roots or stuffing the medium with salts.
In veg, the plant wants to build green growth
This is the stage where leaves, stems, and branches are expanding. So the feeding style should match that job.
The source data notes that a veg formula high in nitrogen, such as 3-1-2 NPK, supports this kind of growth in a practical way. You don’t need to chase a dozen additives before you can grow a solid plant. A straightforward vegetative nutrient line, used carefully, usually does more good than a cluttered bottle lineup.
Phosphorus still matters too. The verified data notes that phosphorus nutrition during veg helps prevent deficiencies that can show up as olive-green spots on older leaves. If your plant starts showing odd markings while growth slows, don’t assume the answer is always “more feed.” Sometimes the issue is imbalance or uptake, not raw quantity.
Root health decides how well feeding works
This is the part growers miss.
You’re not really feeding the leaves. You’re feeding the root zone, and the roots decide how much of that nutrition gets used.
According to a seed bank’s explanation of the veg phase, strong veg conditions can produce 2 to 3 times weekly root volume increase, and that root development is tied to 25 to 50% higher flowering yields. The same source notes that 20 to 30% air space in coco or coir-perlite mixes supports oxygenation and nutrient uptake, and that moving into 3 to 7 gallon pots at the start of veg gives roots room to expand.
That’s the practical lesson. A suffocated root zone can make a good nutrient plan look bad.
Watering mistakes cause more trouble than weak nutrients
Most home growers overwater before they underfeed.
A wet pot feels safe because you’re “doing something.” But roots need oxygen as much as they need moisture. If the medium stays heavy all the time, root growth slows and the plant often responds with droop, pale growth, or stalled development.
A better approach is to pay attention to the plant and the container, not the calendar.
Try this:
- Lift the pot: Learn the difference between freshly watered and ready-for-water weight.
- Watch leaf posture: A thirsty plant and an overwatered plant can both droop, but the pot weight helps separate them.
- Water thoroughly: Half-watering creates uneven root development.
- Let the medium breathe: Constant saturation makes roots lazy and weak.
A feeding schedule on paper means nothing if the root zone stays soggy.
Keep nutrition simple and readable
When growers get nervous, they often add more bottles.
That usually makes diagnosis harder. If the leaves darken, claw, or burn at the tips, back off and reassess. If growth is pale and slow, look at the whole picture first. Light, root condition, environment, and watering rhythm all affect nutrient uptake.
A clean approach works well:
- Start mild: Let the plant show you it wants more.
- Increase gradually: Fast jumps often create avoidable stress.
- Track one change at a time: If you change light, feed, and watering all at once, you won’t know what fixed or caused the issue.
- Focus on consistency: A decent routine done well beats a fancy plan done erratically.
The best fed plants in veg usually don’t look dramatic. They look steady. Healthy green, active growth, no wild swings, and roots that keep expanding under the surface.
How to Train and Prune Your Plants for a Bigger Harvest
If you’ve ever let a plant grow untouched indoors, you’ve seen the classic shape. One main top charges upward, lower branches lag behind, and the canopy turns uneven fast.
That works outdoors more naturally. Indoors, it usually wastes light.
Training is how you tell the plant to grow outward instead of just upward.
Why training pays off in a tent
Indoor lighting rewards even canopies.
If one top sits much taller than everything else, it hogs the sweet spot under the light. The lower sites get leftovers. Training fixes that by spreading growth across a flatter plane so more tops live in useful light.
That’s the whole game. Better shape, better light distribution, more productive sites.
The verified data notes that topping at 4 to 6 nodes can create 4 to 8 colas, and other source data in the same verified set notes topping and FIM at nodes 4 to 6 can drive stronger branching. You don’t need to top every plant, but if a photoperiod cultivar is healthy and established, it’s one of the easiest ways to improve indoor structure.
Topping is a reset button for plant shape
Topping is simple. You remove the newest growth at the top of the main stem.
That interrupts the plant’s usual “one leader” habit and encourages side growth to catch up. Instead of a Christmas tree, you start getting a bushier plant with multiple serious tops.
A few practical rules help:
- Wait for healthy growth: Don’t top a struggling plant.
- Use clean scissors: Make a clean cut, not a ragged tear.
- Give recovery time: The plant needs a moment to redirect energy.
- Don’t stack stress: If you just transplanted or corrected an issue, wait.
Here’s a helpful visual walkthrough before you try it yourself:
Low stress training is the easiest win for most growers
If topping feels too aggressive at first, low stress training is your friend.
LST means gently bending and tying branches so the canopy opens up and levels out. Instead of cutting, you guide. That makes it beginner-friendly and very effective in small spaces.
What LST does well:
- Exposes more growth sites: Light reaches parts of the plant that would stay shaded.
- Controls height: Great for stretchy cultivars in short tents.
- Improves shape: You can build a wide, even plant without much recovery time.
I usually tell growers this: if you can tie a branch down without hearing a snap, you can do LST.
Don’t confuse useful pruning with random leaf stripping
Some growers get scissor-happy in veg.
A little cleanup can help airflow and open buried sites. Too much stripping slows the plant because you’re removing the very leaves powering growth. Fan leaves are not the enemy. They’re doing work.
Good pruning in veg is selective:
- Remove damaged leaves: They won’t help much.
- Clear buried growth: If a branch will never reach light, it may not be worth keeping.
- Open crowded centers carefully: Enough to improve airflow, not enough to shock the plant.
If you want to take canopy control further, especially in wider tents, a SCROG setup is one of the best ways to spread tops evenly and make the most of your light footprint.
Training feels like extra work the first time. Then you harvest a flatter, fuller canopy and realize it saved you headaches later.
The best part is that this doesn’t require elite skill. It requires timing, patience, and a willingness to shape the plant instead of just watching it happen.
Veg Timelines Strain Differences and When to Flower
The most common veg timing question is also the one that annoys people the most.
“How long should I veg?”
The honest answer is that it depends on your cultivar, your space, and how much plant you want to manage.
Photoperiod and autoflower cultivars don’t play by the same rules
Photoperiod cultivars stay in veg as long as you keep the light schedule in that long-day range. That gives you control. You can keep building size until the plant fits your plan, then flip to flower when you’re ready.
Autoflower cultivars are different. The verified data notes that autoflowers usually veg for 2 to 4 weeks, while photoperiod cultivars generally veg longer. That’s why autos reward simplicity and gentle handling. They don’t wait around for you to fix major mistakes.
Here’s the clean side-by-side view.
Veg Stage at a Glance Photoperiod vs. Autoflower
| Characteristic | Photoperiod Cultivars | Autoflower Cultivars |
|---|---|---|
| Veg control | Grower controls veg duration with light schedule | Plant follows its own internal timeline |
| Typical veg range | Commonly 3 to 16 weeks indoors, with many growers choosing 4 to 8 weeks in practice, as noted earlier in the article | Usually 2 to 4 weeks in veg, based on the verified data |
| Best for training | Great for topping and recovery-based shaping | Better suited to lighter, lower-stress shaping |
| Space management | Easy to hold back or extend based on tent size | Needs planning up front because time is limited |
| Beginner advantage | Flexible if you need extra recovery time | Fast turnaround and simple scheduling |
Cultivar structure affects your timing
Even before flower, different cultivars show different habits.
Some stay stocky and branchy. Others want to run upward as soon as they get momentum. That matters because your veg plan has to fit the plant in front of you, not just a calendar.
The verified data also highlights something a lot of hobby growers overlook. GrowWeedEasy’s vegetative stage guide points out that while many growers know to run 18 to 24 hours of light, fewer understand how spectrum affects shape. Metal halide bulbs are known for strong blue light, which is useful in early veg, while understanding blue for compact, bushy growth and red’s role later in vegetative growth helps growers influence structure and prep for flower.
That matters most in small spaces. If your cultivar already leans tall, a blue-leaning veg setup can help keep things tighter and more manageable.
When to flip to flower
For photoperiods, one practical rule works better than most complicated ones.
Flip when the plant is about half the final height you can realistically handle.
That lines up with the verified data from Mars Hydro noted earlier, and it’s useful because many plants stretch after the light change. If you wait until the canopy already feels crowded, you’re often too late.
A good flip decision usually considers these factors:
- Available height: Pot, plant, light fixture, and safe light distance all count.
- Canopy width: Has the plant filled enough of the space to justify flowering?
- Plant health: Don’t flip a plant that’s still recovering.
- Cultivar behavior: Bushy and compact is different from eager and stretchy.
If you grow in a short tent, veg discipline matters more than bravado.
For autoflowers, the decision is simpler because you’re not choosing the flip. You’re choosing how smoothly the plant reaches that point. That’s why early environment, watering, and gentle handling matter so much more with autos.
The smart move is to choose the cultivar that matches your setup, not the one that sounds coolest on a seed pack.
Troubleshooting Common Issues in the Vegetative Stage
Veg problems look dramatic when you’re new. Most of them are fixable.
The trick is not to panic and start changing five things at once. Read the symptom, think about what changed recently, and make one sensible correction.
Stretching
What it looks like: Long gaps between nodes, thin stems, plant reaching hard for the light.
What it probably means: Light is too weak, too far away, or the spectrum is pushing growth taller than you want.
What to do about it: Bring the light into a better working range, improve intensity, and support the stem if needed. If the plant is healthy enough, training can help flatten things back out.
Drooping
What it looks like: Leaves hang down and the whole plant looks tired.
What it probably means: Usually a watering issue. Most often too much water, sometimes too little.
What to do about it: Check pot weight before doing anything. Heavy pot and droopy leaves usually points toward overwatering. Light pot and droopy plant can mean thirst. Learn that difference early and you’ll solve a lot of problems fast.
Yellowing leaves
What it looks like: Lower leaves fade or yellow, sometimes gradually, sometimes all at once.
What it probably means: Could be feeding, root stress, or watering problems. It’s a symptom, not a full diagnosis.
What to do about it: Start with the basics. Check root-zone moisture, feeding strength, and overall vigor. If you want a more focused breakdown, this guide on yellow leaves on cannabis plants can help narrow it down.
Burnt tips and very dark leaves
What it looks like: Leaf tips crisp up, color gets too deep, plant looks overfed.
What it probably means: Nutrients are too strong or the plant is taking up more than it can comfortably handle.
What to do about it: Ease back on feed and let the plant settle. Don’t try to “correct” overfeeding by adding more supplements.
Spots or odd marks
What it looks like: Random discoloration, patchy damage, or marks on older leaves.
What it probably means: Could be a nutrient imbalance, environment stress, or a root uptake problem. The verified data notes phosphorus issues in veg can show as olive-green spots on older leaves.
What to do about it: Look at the full context. Recent feed change, pH issue, soggy medium, or unstable room conditions can all show up on leaves.
A quick first aid mindset
When something looks off, use this order:
- Check the environment first
- Check watering habits second
- Review recent feeding changes
- Inspect new growth, not just damaged old leaves
- Give the plant time to respond before making another change
Most veg issues become worse because the grower reacts faster than the plant can recover.
A healthy plant in veg usually bounces back well. That’s one of the nice things about this stage. You’ve still got time to steer it back on course.
Common Veg-Phase Questions
How Long Should I Let My Plants Veg?
This is the big one, and the honest answer is: it's entirely up to you. With photoperiod plants, you are the one in control. A quick 2 to 3 week veg will give you a smaller, more compact plant, perfect for a fast turnaround or a small tent. On the other hand, you can let them go for 8 weeks or more to grow a massive plant that fills your space.
Autoflower cultivars are a different story. Their internal clock is set by their genetics, and they'll typically veg for about 3 to 4 weeks before flipping to flower on their own, no matter what light schedule you're running. This makes them incredibly predictable and great for growers who want to set it and forget it.
Is It Possible to Veg for Too Long?
You can technically keep a photoperiod plant vegging forever with an 18/6 light cycle. So, "too long" isn't about the plant's health: it's about the physical limits of your grow space. A plant that gets too big for its britches will create a crowded, tangled canopy where lower branches get starved for light.
As a rule of thumb, it's time to flip your plants to flower when they've reached about 50% of the final height you want. This accounts for the "flowering stretch," giving them just enough room to double in size without crashing into your lights.
Keep your cultivar's genetics in mind, too. Sativa-leaning plants are notorious for stretching, so you might flip them a bit earlier. Bushy Indicas don't stretch as much, so you can let them veg longer to really fill out the canopy.
Why Are My Plants Growing So Slowly?
If your plants seem to be stuck in first gear, the issue almost always comes down to their environment. Before you panic, run through this quick diagnostic checklist.
- Light: Are your lights strong enough and positioned correctly? Lanky, stretching plants are screaming for more light.
- Temperature: Is the room consistently in that 70–85°F sweet spot? Cold temperatures will put the brakes on your plant's metabolism and slow everything down.
- Nutrients: Are the lower leaves starting to yellow? That's a classic sign of hunger. Your plants might be telling you it's time to start feeding or bump up the dose.
- Watering: This is the number one rookie mistake. Soggy, overwatered soil suffocates the roots and brings growth to a screeching halt. Always let the top inch or so of your medium dry out completely before watering again.
Nine times out of ten, dialing in one of these four factors is all it takes to get your plants growing vigorously again.
If you want dependable genetics that match your space and your goals, check out Botanist Seeds. Their catalog and comparison tools make it easier to choose the right feminized or autoflower cultivars for a closet grow, a tent run, or a bigger home setup, without wasting time on guesswork.












