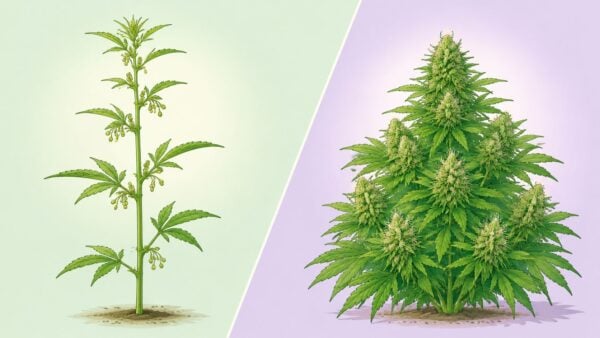
The Pre Flowering Stage: Your Guide to a Perfect Bloom
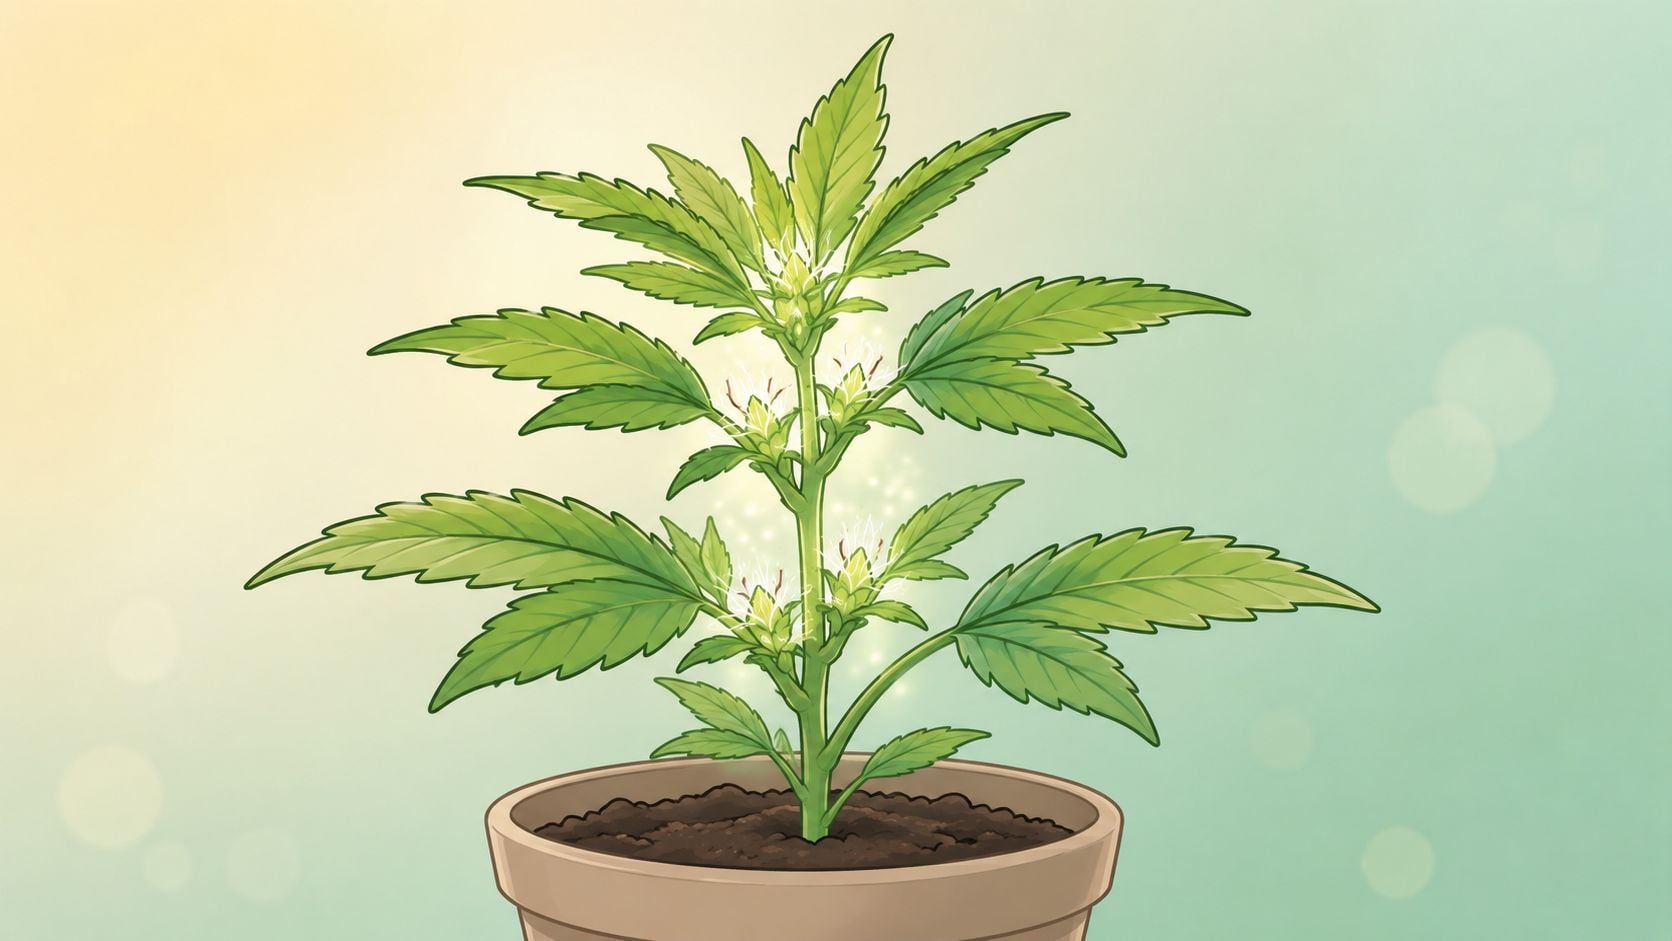
You're probably in that familiar spot right now. You unzip the tent, or step into the yard with your coffee, and stare at the nodes like they might change while you're looking. The plant is healthy, it's growing fast, and you know the next phase is close. You're just waiting for that clear sign that it's shifting from “getting bigger” to “getting serious.”
That's the pre flowering stage, and it's one of the most useful moments in the whole grow. Not because it's complicated, but because it tells you what the plant needs next. If you read the signs early and make a few smart adjustments, the rest of flower usually runs a lot smoother.
For home growers running feminized or autoflower cultivars, this stage is a lot less about guesswork and a lot more about timing. You don't need noise or side quests. You need to know what to look for, what to change, and what to leave alone. If you're still deciding which style fits your setup best, this breakdown on autoflowering vs photoperiod helps make that choice a lot clearer.
That In-Between Moment Before the Buds Appear
A plant in pre flower often looks like it's doing two things at once. One day it seems calm and settled. Then a few days later it's reaching upward, stacking new growth, and showing tiny changes where each branch meets the main stem. That mix of patience and momentum is why newer growers often second guess themselves here.
The good news is that this stage usually feels more dramatic than it is. You don't need to hover or reinvent your whole routine. You just need to notice the shift. The plant is moving out of pure vegetative growth and into reproductive mode, and that changes how you feed it, shape it, and read it.
What growers usually notice first
Typically, one spots one of these before seeing actual early flower structure:
- Faster vertical growth: The plant starts stretching and spacing changes slightly.
- Tighter daily changes: New growth seems to appear quicker than it did a week ago.
- More attention at the nodes: The little junctions between branch and stem start showing tiny structures.
- A different overall posture: The plant often looks like it's preparing itself, not just expanding randomly.
Practical rule: If your plant suddenly seems more focused than bushy, pay closer attention to the nodes. That's usually where the story becomes obvious.
For a hobby grower, this is the fun part. You've done the setup work, kept things healthy, and now the plant starts showing you what comes next. That's why pre flower feels like a preview of the harvest. It's short, but it tells you almost everything about how the next stretch of the run should be managed.
What Exactly Is the Pre Flowering Stage
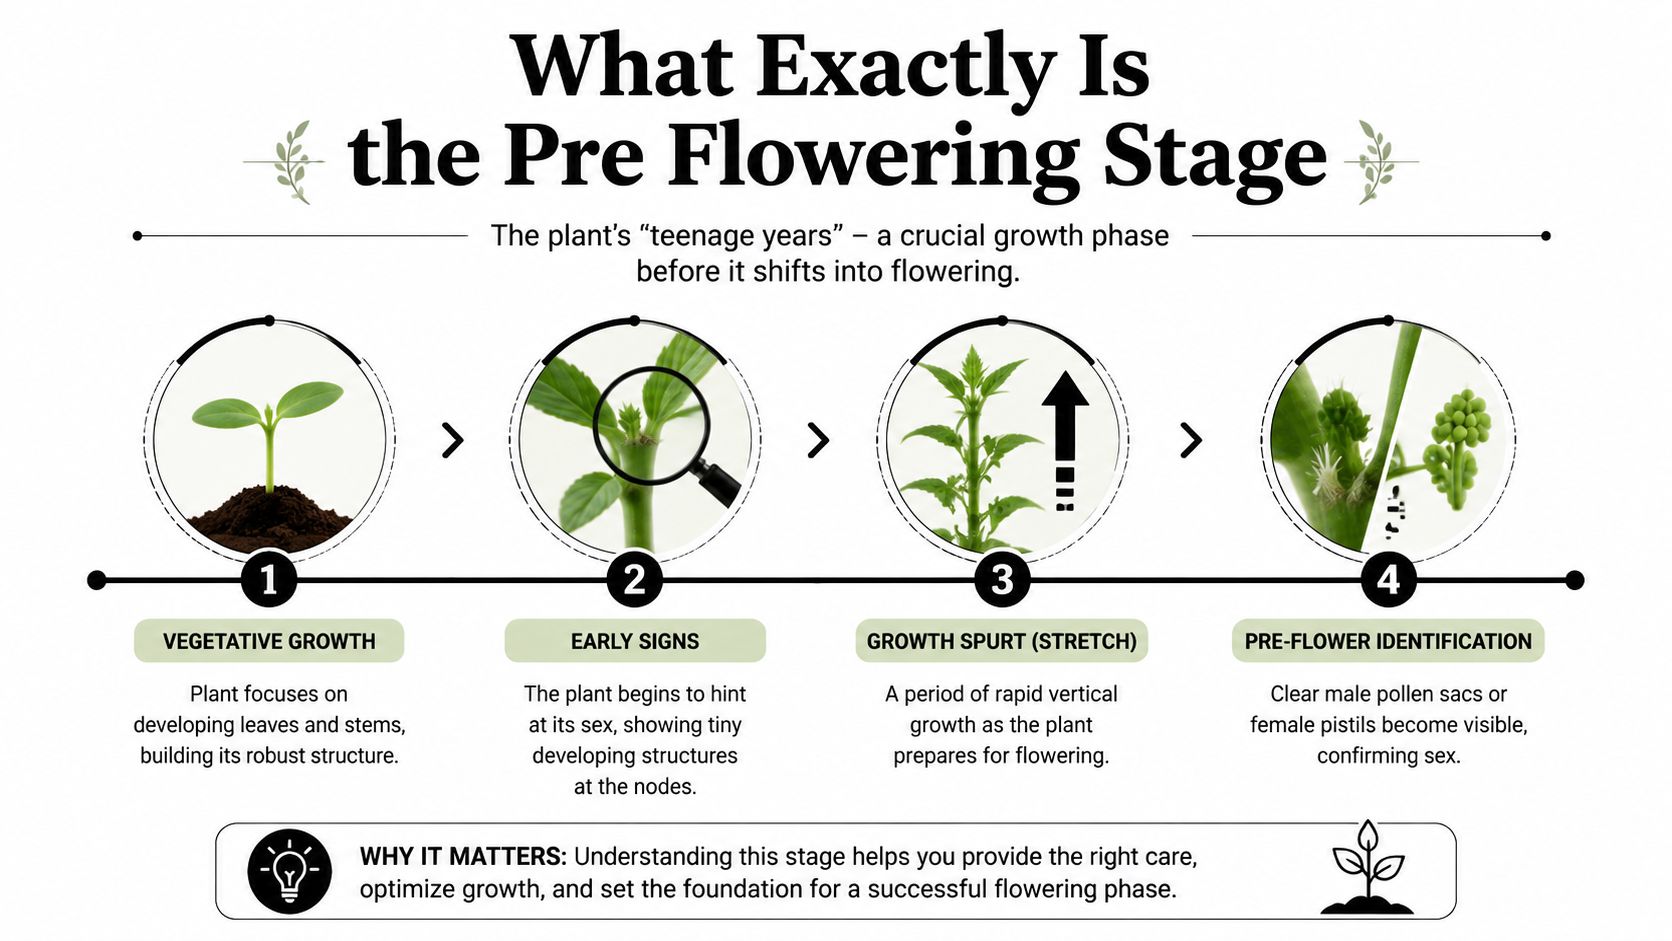
Think of pre flower as the plant's awkward teenage phase. It's not a seedling anymore, and it's not fully flowering yet. It's in that middle window where growth patterns change fast, hormones shift, and the structure for future buds starts taking shape.
According to Kannabia's overview of the pre flowering stage, the pre flowering stage is a critical 2 to 3 week transition that typically begins 7 to 10 days after photoperiodic plants are switched to a 12/12 light cycle, or approximately 21 to 28 days after germination for autoflowering varieties. That timing matters because it tells you when to stop treating the plant like it's still in veg.
If you want the wider context around this handoff, the full sequence of stages of growing cannabis makes this stage easier to place in the overall timeline.
What changes inside the plant
During pre flower, the plant starts redirecting energy. Instead of focusing mostly on leaves and branch expansion, it begins building the framework that will carry flower sites. You'll often see new node development, early bract formation, and a noticeable burst of upward growth.
This is also why growers talk about the “stretch.” The plant is preparing its final shape before actual bud building starts. If your canopy was already crowded in late veg, pre flower makes that issue obvious in a hurry.
Photoperiods and autos move differently
Here's the simple split:
| Grow style | Main trigger | What that means for you |
|---|---|---|
| Photoperiod cultivars | Light cycle change | You control the transition by flipping to 12 hours of darkness |
| Autoflower cultivars | Plant age | The plant decides when to move on, whether you're ready or not |
That difference changes your planning. With photoperiod cultivars, you can train, veg longer, and flip when the shape feels right. With autos, your margin for hesitation is smaller, so pre flower care needs to be clean and timely.
Spotting the First Signs of Flowering
This is the moment most home growers are waiting for. You lean in, check the nodes, and finally see the first tiny sign that the plant is moving forward. On feminized and autoflower cultivars, that's usually the confirmation you wanted all along.
The first signs show up where the branches meet the main stem. Those little junctions are the best place to inspect. A healthy early female preflower appears as a small calyx with a fine white pistil emerging from it. It's delicate, easy to miss at first glance, and once you've seen it clearly, you won't confuse it again.
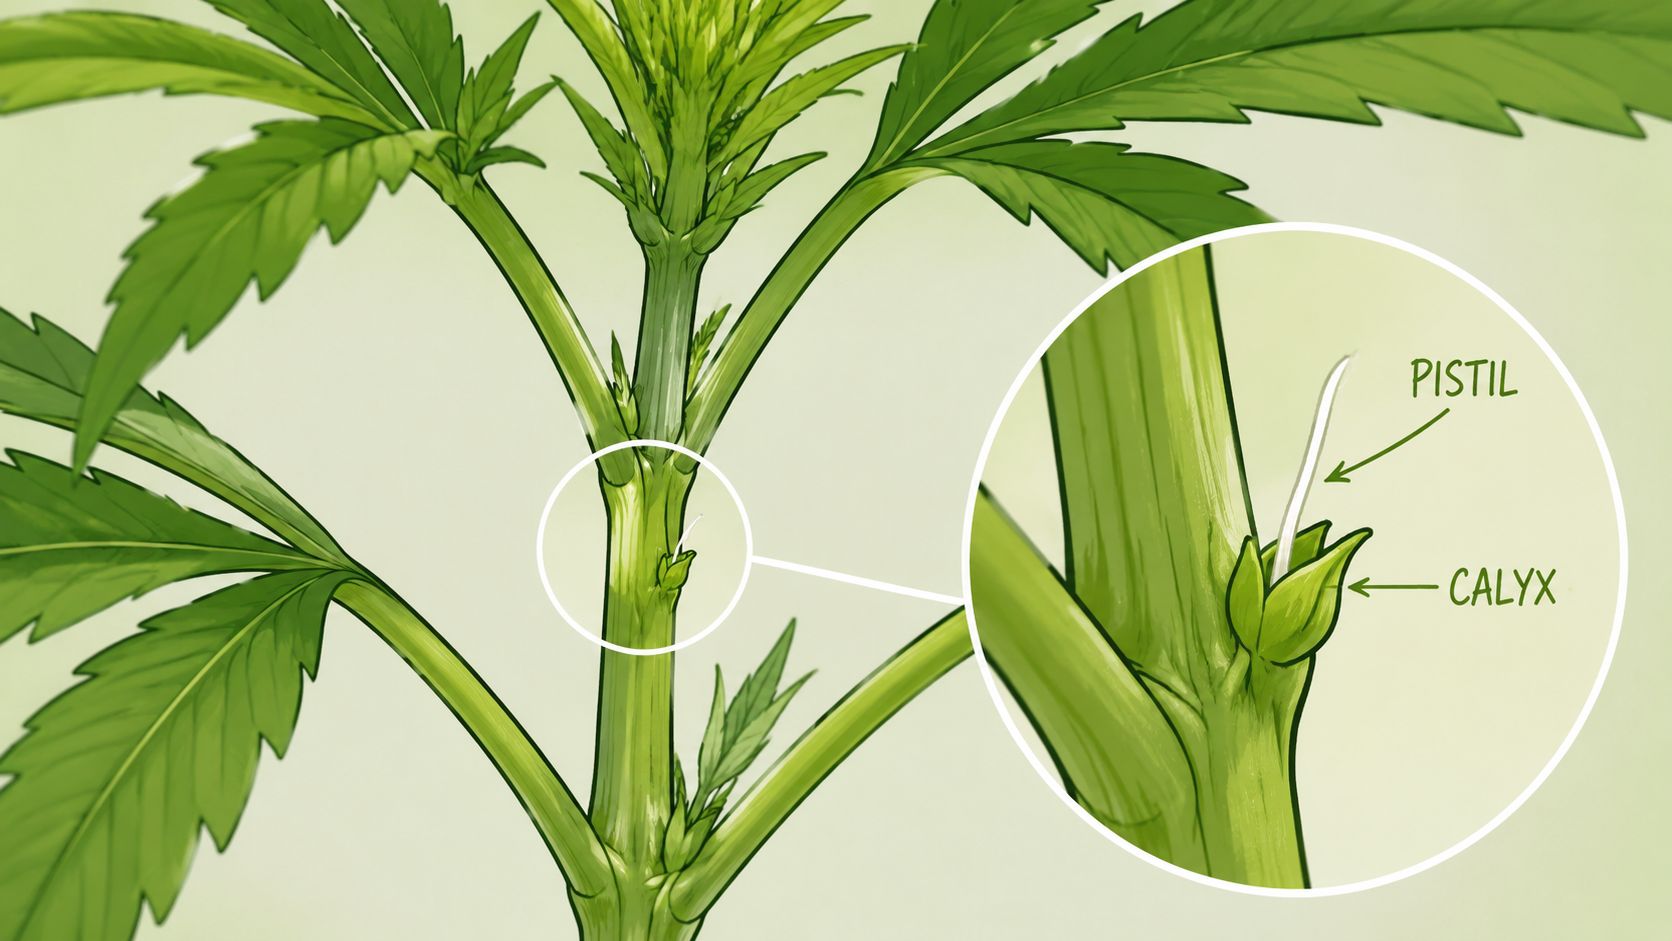
If you want a close visual reference for these early hairs, this guide to pistils helps a lot when you're checking plants in real time.
What to look for at the nodes
Start with the upper half of the plant where new growth is most active. Use a small handheld loupe or inspect in strong light.
- White hairlike pistils: These are the clearest early sign.
- A tiny tear shaped base: That's the calyx forming beneath the pistil.
- Node by node consistency: Once the plant commits, you'll usually start seeing the pattern repeat.
- Fresh upright growth: Early flower signs often show up alongside a noticeable push in height.
What doesn't work is rushing the check. Growers often mistake fresh leaf tips or new stipules for preflowers. The trick is to slow down and inspect the exact point where branch and stem meet.
The first pistil usually feels small, but it's a big milestone. It means the plant is on schedule and your next decisions matter more than your last guesses.
According to Hans Brainfood's pre flower guide, during this window, feminized strains typically require 7 to 21 days to display preflowers after the light flip, while autoflowering varieties exhibit a slightly shorter duration, showing signs as early as three weeks from germination.
A quick way to inspect without overthinking it
A simple routine works best:
- Check the top and middle nodes first: That's where signs often become visible early.
- Look for pairs: A single suspicious structure can fool you. Repeated pistils at multiple nodes are much clearer.
- Inspect at the same time each day: Consistent light helps you notice subtle changes.
- Don't keep handling the plant: Frequent touching doesn't help and can become a bad habit during a sensitive phase.
A short visual walkthrough can help lock it in before your next tent check:
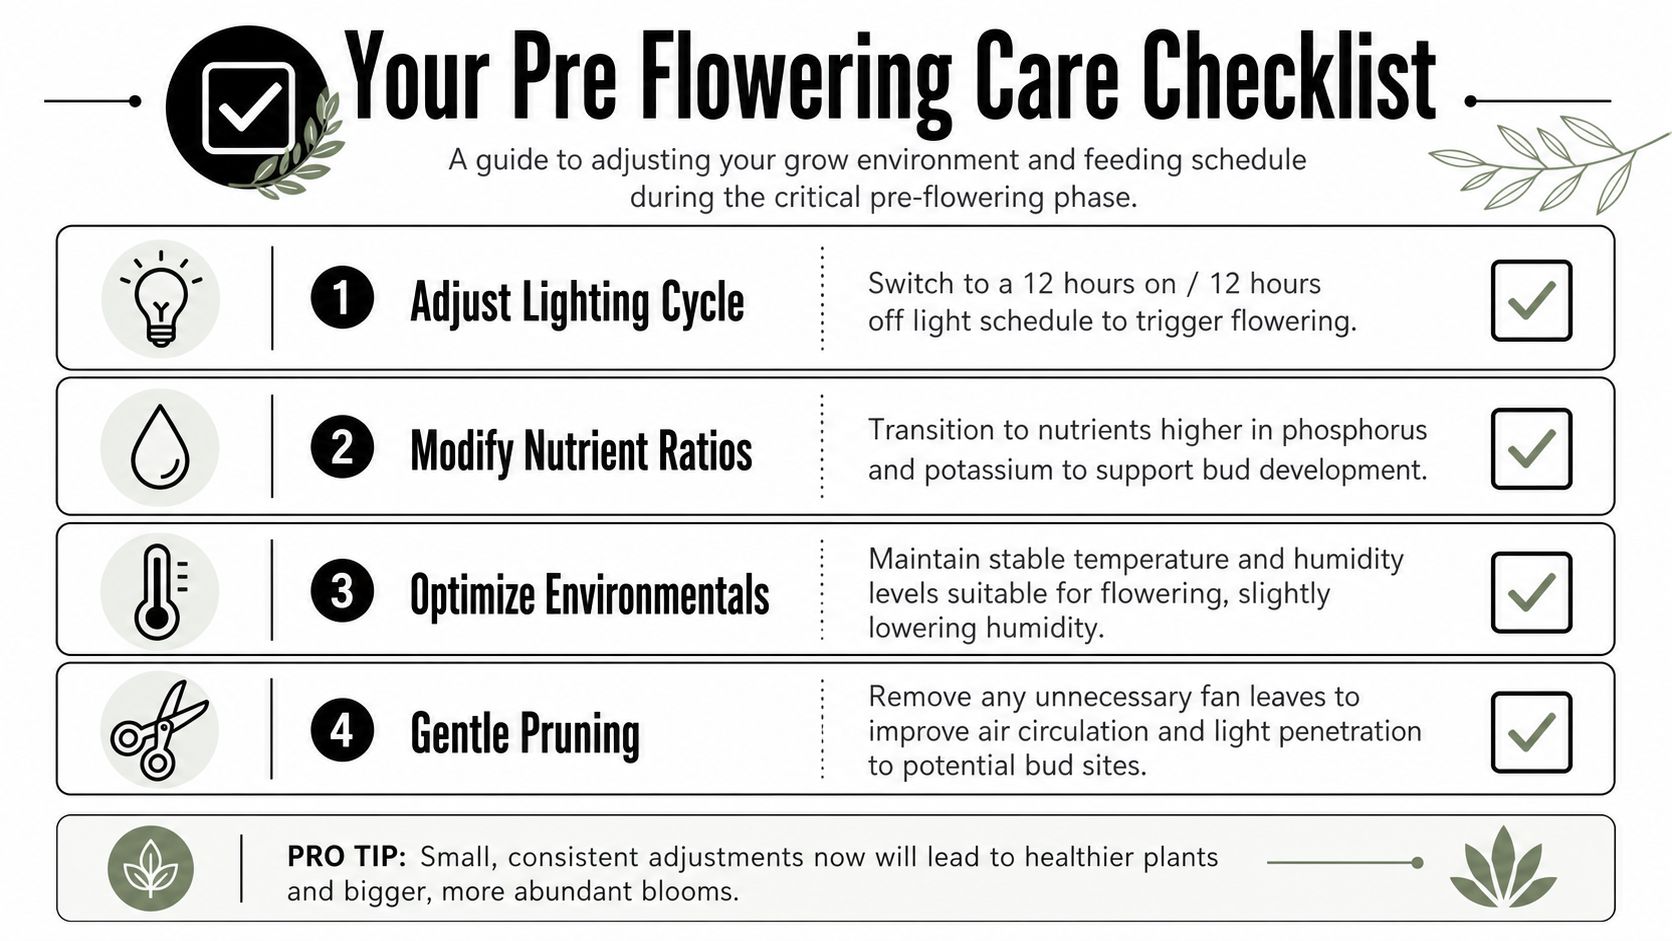
Your Pre Flowering Care Checklist
Once pre flower starts, your job changes. Veg habits don't always carry over cleanly. The plant now wants a more stable environment, a more bloom friendly feed, and less interference from training that causes recovery time.
Get the environment under control
According to Pacific Seed Bank's flowering guide, optimal pre flower protocols reduce nitrogen and introduce phosphorus-forward bloom bases with N-P-K ratios near 1-3-2, while maintaining relative humidity between 50 to 55% and temperatures of 22 to 26°C, 72 to 79°F.
That gives you a practical target. Not a reason to obsess over every tiny swing, but a range that supports the transition without inviting extra stress.
The checklist that actually matters
- For photoperiod cultivars, lock in the light cycle: Once you switch to 12 hours on and 12 hours off, keep it consistent. Pre flower is not the time for sloppy timers or random interruptions.
- Ease off heavy veg feeding: The plant doesn't need to be pushed like it's still trying to build only leaves and stems.
- Start the bloom transition cleanly: A phosphorus-forward bloom base makes more sense here than staying on a nitrogen-heavy veg schedule.
- Watch humidity with more discipline: As structure develops, stale damp air becomes a bigger problem than it was in earlier veg.
- Keep airflow simple and reliable: Oscillating fans and decent exhaust do more than fancy add-ons if your room is otherwise dialed in.
What to stop doing
A lot of avoidable pre flower problems come from growers doing too much.
- Stop high stress training before this stage hits: The plant is reallocating energy now. Big structural stress can slow momentum.
- Don't do a major defoliation all at once: If you need cleanup, keep it selective and light.
- Don't chase every tiny leaf signal with more nutrients: Overcorrection is common right here.
- Don't keep reshaping autos late: Autoflower cultivars don't usually reward rough handling once pre flower starts.
Best habit: Make one useful adjustment, then give the plant time to answer. Pre flower rewards steady hands more than clever ones.
Troubleshooting Common Pre Flower Issues
Most problems in pre flower look dramatic before they're actually serious. The plant is changing fast, so normal behavior can feel suspicious if you haven't seen it before. The key is knowing which issues need action and which ones just need patience.
According to Wikipedia's cannabis cultivation overview, the energy redistribution that occurs during this 1 to 3 week period is decisive for the final flower quality, as the plant shifts from vegetative growth to resource allocation for bud production, meaning any stress can limit potential yield. That's why calm corrections beat aggressive fixes here.
When the stretch gets out of hand
Some cultivars put on height fast in pre flower. If the canopy starts creeping too close to the light, act early.
| Problem | What it usually means | Better response |
|---|---|---|
| Rapid vertical growth | Normal pre flower stretch | Raise or adjust the light and improve canopy spacing |
| Weak, floppy top growth | Stretch plus poor support or poor airflow | Add support and improve air movement |
| Crowded upper canopy | Veg ended with too little headroom | Tuck or lightly reposition growth instead of heavy pruning |
The move that usually backfires is panic pruning. If the plant is already stretching, a harsh strip can add stress right when it's trying to set flower sites.
When preflowers seem slow to appear
Slow doesn't always mean wrong. Different cultivars show their signs with different pacing, and plants also react to environment, root space, and how hard they were pushed in veg.
Use a simple check:
- For photoperiod cultivars: Confirm your light schedule is stable and uninterrupted.
- For autoflower cultivars: Check whether the plant still looks healthy and actively growing.
- For both: Review recent stress. Heavy training, transplant shock, or unstable conditions can slow visible progress.
If the plant looks healthy, upright, and actively developing, patience usually solves more than another bottle does.
Setting the Stage for a Great Harvest
Pre flower is short, but it decides a lot. During this stage, the plant sets its posture, reveals its early flower signs, and asks for a different style of care. If you catch that shift early, the rest of bloom gets much easier to manage.
The win here isn't doing more. It's doing the right less. Stable lighting, a cleaner nutrient transition, good airflow, and a lighter touch with training usually beat a complicated routine. That's especially true for home growers who want strong results without turning their spare room or tent into a full time job.
The big takeaways worth keeping
- Watch the nodes closely: They tell you when the plant has really entered pre flower.
- Adjust care quickly, not aggressively: Small, timely changes work better than big reactive ones.
- Respect cultivar differences: Photoperiod and autoflower plants don't ask for the same pace.
- Protect the transition: Stress during this stage can echo through the rest of flower.
Growing your own supply is one of those hobbies that pays you back in more than one way. You skip dispensary lines, avoid extra tax on every pickup, and get the satisfaction of producing flower that matches your own taste, setup, and routine. And once you understand the pre flowering stage, you stop guessing and start reading the plant with a lot more confidence.
If you're planning your next run, Botanist Seeds makes it easier to compare cultivars for your space, timeline, and growing style. Use the comparison tool to sort through feminized and autoflower options, match a cultivar to your setup, and start the next grow with a lot more confidence than guesswork.