





A Home Grower’s Guide to the Stages of Growing Cannabis
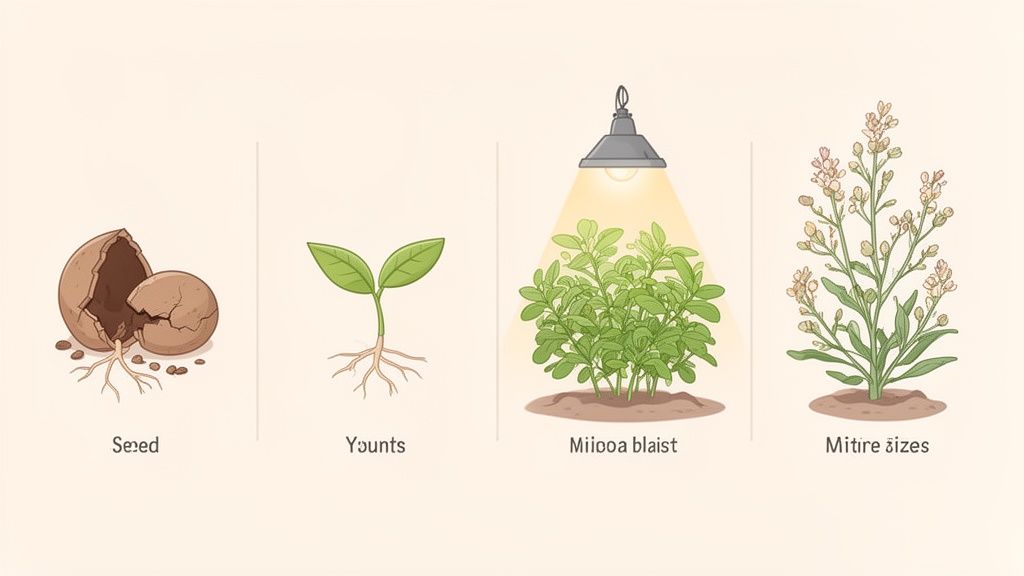
Growing your own cannabis is a journey, and like any good journey, it helps to have a map. The entire process, from seed to your stash jar, breaks down into four main stages: Germination, Vegetative, Flowering, and finally, Harvest.
Think of this as your roadmap. Knowing what's coming next helps you anticipate your plant's needs, solve problems before they start, and makes the whole experience less stressful and way more rewarding.
Your Cannabis Grow Timeline From Start to Finish
Starting your first home grow is an incredible feeling. But without a clear picture of the road ahead, that excitement can quickly turn into confusion. This guide gives you that high-level overview, walking you through the entire lifecycle of a cannabis plant so you know exactly what to expect.
Knowing the timeline helps you plan your life around the grow. It’s all about working smarter, not harder, so you can achieve a fantastic harvest without the headache. That’s the real secret to becoming a self-sufficient hobbyist: valuing your time and getting killer results.
The Four Main Stages of Cannabis Growth
Every cannabis plant follows the same biological script. Whether you're growing a speedy autoflower or a massive photoperiod cultivar, it will progress through these fundamental stages. The timing might shift, but the journey is always the same.
-
Germination & Seedling: This is where it all begins. Your seed cracks open, sends down a single taproot, and pokes its head above the soil as a tiny, fragile seedling. The main goal here is simple: provide a gentle, stable environment to help it build a strong foundation for the growth to come.
-
Vegetative Stage: Once your seedling has a few sets of true leaves, it kicks into high gear. This is the "growth" phase, where the plant focuses all its energy on building a big, bushy frame of strong stems, branches, and fan leaves.
-
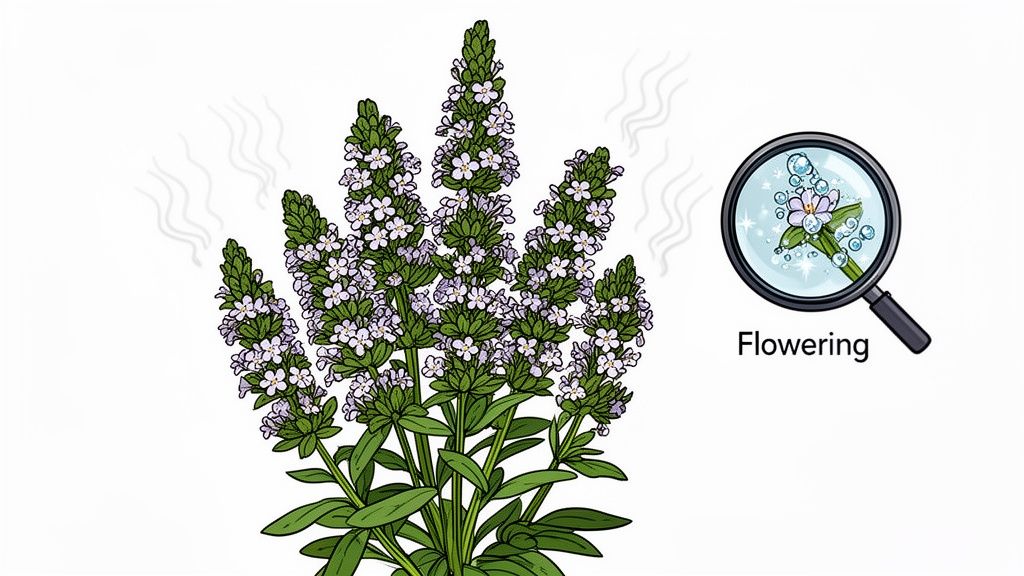
Flowering Stage: This is what it's all about. Triggered by a change in the daily light schedule, or by age in autoflowers, the plant switches its focus from growing tall to producing flowers: the buds. This is when the magic happens and you'll start to see those beautiful, sticky trichomes and smell the unique aromatic profile of your chosen cultivar.
-
Harvest & Curing: The grand finale. Knowing precisely when to chop your plant down is an art, but it's the crucial drying and curing process that follows that truly unlocks the flavor, aroma, and general vibe of your hard-earned buds.
This handy infographic lays out a typical timeline for these phases.
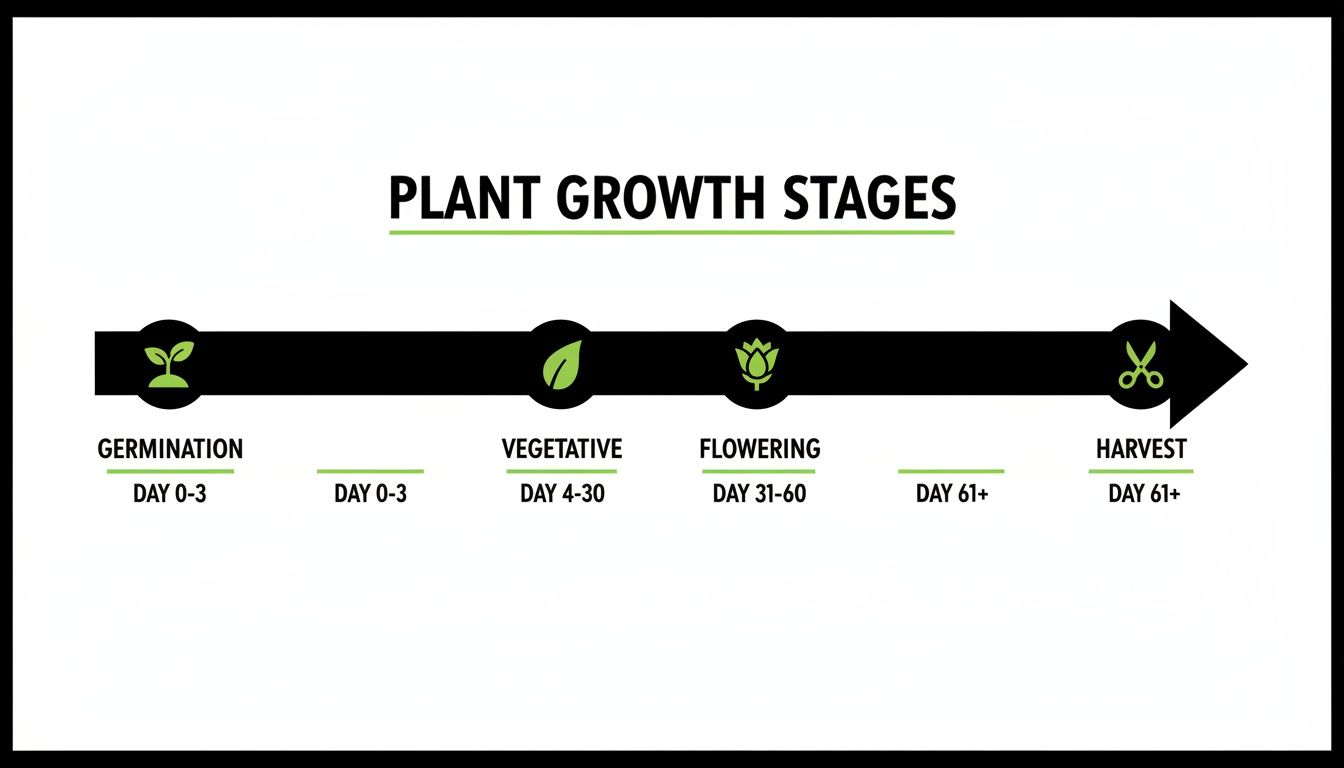
As you can see, the journey from a single seed to a jar full of cured bud unfolds over a few months. Each stage has a clear purpose and its own unique set of needs.
For a smoother, more predictable experience, I always recommend starting with high-quality feminized or autoflowering seeds. This lets you skip the headache of dealing with unwanted plants and focus all your attention on growing gorgeous, flower-producing female plants. It's a simple choice that makes a world of difference.
The Germination and Seedling Stage
Alright, this is where the magic really begins. Think of this first phase as laying the foundation for a skyscraper: a strong, solid start here makes everything that follows easier and far more rewarding. Getting this part right is one of the most important things you can do for your future harvest.
The whole process starts with germination, which is just waking your seeds up from their nap. Once your seed sprouts, it officially becomes a seedling. This is a short but incredibly delicate stage where the plant develops its very first leaves and establishes the root system that will support it for the rest of its life.
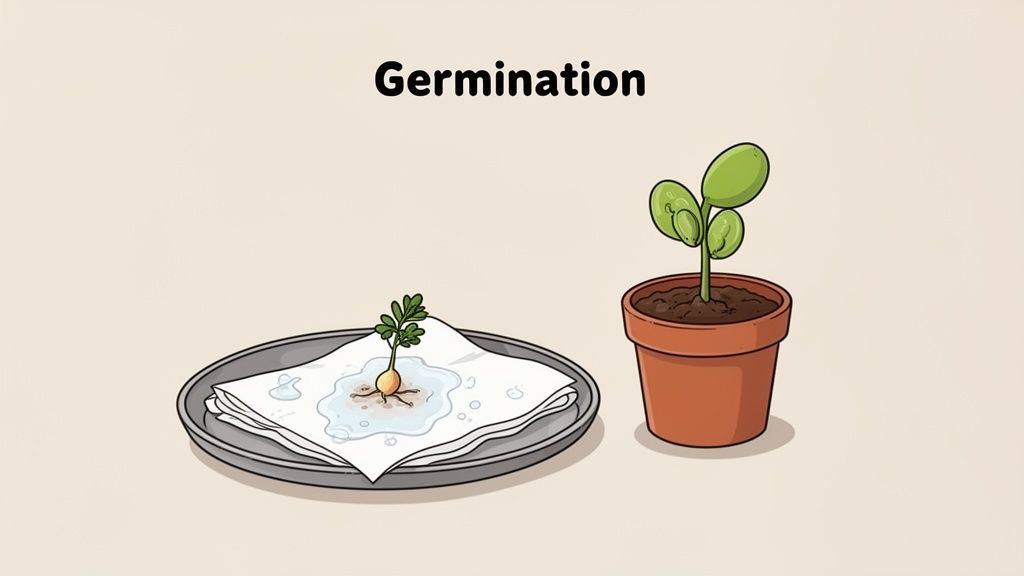
Sprouting Your Seeds: The Paper Towel Method
You’ll find a few different ways to germinate seeds, but the paper towel method is a classic for good reason. It’s practically foolproof, costs nothing, and you get a front-row seat to the action.
Here’s all you need to do:
- Step 1: Get two paper towels and dampen them with water. You're aiming for the consistency of a well-wrung-out sponge: moist, but definitely not dripping.
- Step 2: Carefully place your seeds on one of the damp towels, leaving about an inch of space between each one.
- Step 3: Lay the second damp towel over the top, covering the seeds completely.
- Step 4: Slide the paper towel "sandwich" into a plastic Ziploc bag or place it between two dinner plates. This creates a dark, humid environment perfect for germination.
- Step 5: Find a warm, dark spot to store them. On top of the refrigerator or inside a kitchen cabinet is perfect. You want the temperature to stay consistently between 70-85°F.
Peek in on your seeds once a day to make sure the towels haven't dried out. Before you know it, often within a few days, you'll see the seed casings crack open and a tiny white taproot poking out. That little root is the signal you’ve been waiting for: it's alive!
The germination and seedling stages are the make-or-break foundation for your entire grow. This phase typically spans just 3-10 days for germination followed by 2-3 weeks as a seedling. Using feminized seeds, many growers see success with the paper towel method in as little as 24-72 hours.
From Sprout to Seedling
Once that little taproot is about a quarter-inch long, it's planting time. You have to be incredibly gentle here; that tiny root is fragile. Using a pair of tweezers, carefully place the sprouted seed into your soil or a starter plug, about a half-inch deep with the taproot pointing down. Lightly cover it with soil and give it a soft mist of water.
Your plant is now officially a seedling. Within a day or two, you should see a small shoot push its way up through the soil. The first two little leaves that open up are round and called cotyledons. Think of these as the plant's packed lunch: they come pre-loaded with all the food it needs to get started.
Shortly after, the first set of "true" leaves will appear. These are the ones you'll recognize, with those classic serrated edges. For the next 2-3 weeks, your only job is to provide a stable, gentle environment. If you're curious about more specific timelines, you can learn more about how long it takes to germinate weed seeds.
Caring for Your Young Plant
Seedlings are a lot like newborns. They don't need much, but their basic needs are non-negotiable. The most common mistake new growers make is trying to do too much: too much light, too much water, and too many nutrients will do more harm than good.
Key Care Tips for Seedlings:
- Lighting: Intense light will overwhelm a seedling. A simple T5 fluorescent light or a low-wattage LED placed a couple of feet above the plant is plenty. Stick to a consistent light schedule of 18 hours on, 6 hours off.
- Watering: Keep the soil moist but never soggy. Overwatering is the number one killer of seedlings, as it suffocates the new, delicate roots. When in doubt, it’s always better to let them get a little dry than to drown them.
- Humidity: Young plants thrive in high humidity. Aim for 65-75%. An easy trick is to cut the top off a plastic bottle or use a clear plastic cup to create a mini "humidity dome" over your seedling.
- Nutrients: Hold off on the nutrients for now. Your seedling gets everything it needs from the cotyledons and the soil for the first couple of weeks. Feeding too early will cause "nutrient burn," which can scorch the roots and stunt growth.
Once your plant has developed 3-4 sets of true leaves, not counting the first round cotyledons, it’s a sign that it’s strong enough to handle more light and is ready for its first light feeding. At this point, it graduates from being a fragile seedling and officially enters the vegetative stage.
The Vegetative Stage: Building Your Plant's Foundation
Once your seedling has pushed out its first few sets of iconic, serrated leaves, it's officially graduated. Welcome to the vegetative stage, or what I like to call the plant's "teenage years." This is a period of explosive growth where its only job is to get bigger, stronger, and build the sturdy framework of stems and leaves needed to support hefty buds later on.
This is one of the most active and rewarding phases of the entire grow. You'll see real, tangible progress almost daily as your plant packs on size. It’s also your single biggest opportunity to shape the plant to maximize your harvest. What you do right now directly determines the quality and quantity of your future buds.
Creating the Perfect Environment for Growth
Think of your plant as a little solar-powered factory during veg. Its fan leaves are the solar panels, working overtime to soak up light and fuel the rapid growth of photosynthesis. Your job is to create the ideal workshop conditions for it to thrive.
-
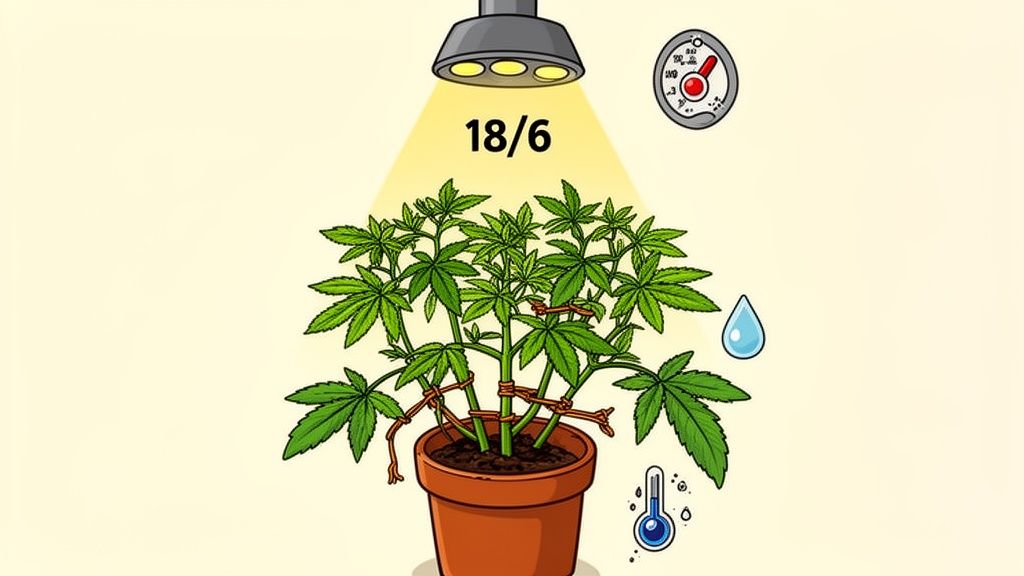
Light Schedule: For standard photoperiod cultivars, the gold standard is an 18/6 cycle: that's 18 hours of light on and 6 hours of darkness. This long "day" tells the plant it's the peak of growing season, so it pours all its energy into structural growth. Autoflowers aren't as picky, but most growers give them an 18/6 or even a 20/4 schedule to really push their potential.
-
Temperature: Your plants are comfortable at roughly the same temperatures you are. Aim for a pleasant 70–85°F (21–29°C) while the lights are on. A small temperature dip when the lights go out is completely normal and healthy.
-
Humidity: Vegging plants like things a little less damp than seedlings do. A relative humidity of 40–60% is the sweet spot. It's dry enough to ward off mold and pests but still humid enough for good growth patterns.
Feeding Your Hungry Teenager
All this growth requires a lot of fuel. While a seedling gets by on its own stored energy, a plant in the vegetative stage is hungry for nutrients from its growing medium. The single most important nutrient right now is Nitrogen (N), the primary building block for creating new leaves and stems.
You'll want to find a nutrient blend specifically designed for vegetative growth, which will be rich in nitrogen. A word of advice: always start at half-strength. See how your plant responds before gradually working up to the full recommended dose.
It's far more common for new growers to overfeed their plants than to underfeed them. Keep an eye out for "nutrient burn": crispy, yellow, or brown leaf tips. If you spot it, just ease up and switch to plain, pH-balanced water for a week or so.
Speaking of pH, keeping your water and soil in the right range is non-negotiable. If the pH is off, your plant can't access the nutrients you're giving it, leading to deficiencies even in well-fed soil. To really get a handle on this vital topic, check out our guide on why pH is so important for cannabis plants.
Training Your Plant for Bigger Yields
This is where you get to play plant architect. Training is all about gently manipulating the plant’s branches to create a wider, flatter canopy. The goal is simple: get more light to more bud sites. This encourages the plant to develop a whole field of colas instead of just one big one at the very top.
One of the easiest and most beginner-friendly techniques is Low-Stress Training (LST). It’s exactly what it sounds like. You gently bend the main stem and side branches down and away from the center, securing them with soft plant ties. This technique breaks the plant’s natural tendency to grow straight up and sends growth hormones out to the lower branches, encouraging them to grow up and form their own main colas.
Depending on your cultivar and how big you want your final plant to be, the vegetative stage can last anywhere from 3 to 8 weeks, sometimes even longer. For autoflowers, this phase is much quicker, often wrapping up in just 3-4 weeks before they begin flowering on their own. Use this time wisely to build a strong, bushy plant that’s primed for an amazing harvest.
The Flowering Stage: Watching the Buds Develop
This is it: the moment all your hard work in the vegetative stage pays off. The flowering stage is when your plant shifts its focus from growing bigger to producing the dense, resinous buds you’ve been working toward. It’s also when the plant's true character starts to shine, revealing the unique aromatic profile and bud structure of its specific genetics.
If you're growing a photoperiod plant, you're the one who gives it the signal to start flowering. By switching your lights to a strict 12 hours on, 12 hours off schedule, you’re essentially mimicking the shorter days of fall. That period of uninterrupted darkness is the critical trigger that tells your plant, "Time to make flowers!"
For anyone growing autoflowers, the process is even simpler. True to their name, autoflowers will switch into flowering on their own after just a few weeks, no matter what light schedule you're using. This hands-off transition is a huge reason why they're such a favorite among home growers.
Week by Week: The First Signs of Flowers
The first one to three weeks after you flip your lights to 12/12 are often called "the stretch." Don't be surprised if your plant shoots up and nearly doubles in height. This is its last big push for size before it redirects all that energy into making buds. It's a totally normal and expected phase.
Right after the stretch, you’ll start to see the first real evidence of flowers. Take a close look at the nodes, the junctions where the fan leaves meet the stem. You're looking for delicate, wispy white hairs, called pistils, emerging from tiny, teardrop-shaped pods. Seeing those first pistils is the definitive sign that flowering has officially begun.
Over the next few weeks, these small clusters of pistils will begin to stack up, creating the foundation for what will eventually become your main buds, or colas. It's a slow but steady process that's incredibly rewarding to watch.
Shifting Nutritional Needs for Bud Production
Just as your plant's goals are changing, its appetite is, too. During veg, it was all about nitrogen (N) for leafy, structural growth. Now, your plant is hungry for Phosphorus (P) and Potassium (K) to fuel the development of heavy, resinous flowers.
This is the point where you’ll want to swap your "grow" nutrients for a "bloom" formula. These nutrient mixes are specifically formulated with less nitrogen and much more of the P and K that buds crave. Making this switch is one of the most important things you can do to ensure you get the best possible size, density, and aromatic profile from your harvest.
Be sure to introduce the bloom nutrients gradually, starting with a half dose to avoid shocking the plant. As always, let the leaves be your guide. They’ll tell you if your plant is happy or stressed.
As buds get denser, the risk of mold goes up. Lowering your relative humidity to the 40-50% range is crucial during flowering. This simple adjustment makes it much harder for mold or mildew to get a foothold deep inside your colas.
Maximizing Resin and Aroma
This is where the magic really happens. As flowering progresses, you'll see a frosty layer of trichomes start to coat the buds and nearby sugar leaves. These microscopic, glistening glands are the resin factories that produce the terpenes that give a cultivar its unique smell. The air in your grow space will become incredibly fragrant.
To get the most out of your plant, your goal is to provide a stable, low-stress environment.
- Stable Temperatures: Keep daytime temps between 68-80°F (20-26°C). Too much heat can actually bake off delicate terpenes, robbing your final product of its full aroma.
- Good Airflow: A gentle breeze from an oscillating fan does wonders. It strengthens stems, prevents hot and humid pockets, and discourages pests and mold.
- Be Patient: The flowering stage can take anywhere from 8 to 12 weeks or even longer, depending on the cultivar. Resist the urge to meddle too much. Trust the process and let the plant mature at its own pace.
Watching the buds swell and get caked in a thick layer of frosty trichomes is the ultimate reward. You’re on the home stretch now, and all that's left is nailing the timing for a perfect harvest.
Harvesting and Curing for a Perfect Finish
You’ve made it. After all those weeks of nurturing your plants, the finish line is finally in sight. This is where patience truly separates the good from the great, transforming your healthy plant into a final product that makes you forget all about dispensary lines and taxes.
But harvesting isn't as simple as just chopping the plant down. It's an art of timing. Pull the trigger too early or too late, and you can completely change the vibe of your buds. The real secret to nailing this perfect harvest window is getting up close and personal with the trichomes, those tiny, frosty resin glands covering your flowers.
Knowing When to Harvest Your Plant
To the naked eye, trichomes look like a simple dusting of sugar. But grab a jeweler's loupe or a cheap digital microscope, and you'll see them for what they are: tiny, mushroom-shaped glands that act as your plant's built-in ripeness indicator. They change color as the plant matures, telling you everything you need to know.
Here’s the progression you’ll be watching for:
- Clear Trichomes: If they look like little glass mushrooms, it’s too soon. The plant is still in peak production mode, so harvesting now would mean missing out on a ton of character and aroma.
- Cloudy or Milky Trichomes: This is the sweet spot for a peak experience. When most of the trichome heads have turned from clear to a milky white, the plant is at its most potent. Harvesting now typically results in a more energetic vibe.
- Amber Trichomes: As the plant ages further, those milky trichomes will begin to turn a beautiful amber color. The amber indicates a shift in the bud's profile, known for producing a more relaxing, body-centric effect.
Ultimately, your preference is what matters. For a fantastic, well-rounded effect, a great rule of thumb is to harvest when you see a mix of about 70-80% cloudy trichomes and 20-30% amber trichomes.
Harvest timing is probably one of the most debated topics among growers, and it's a skill you'll hone with every cycle. For a deeper look into the visual cues, our guide on when to harvest your cannabis plants has you covered.
The Drying Process
Once you've made the cut, the next critical step is drying. The goal is simple: slowly remove most of the water from your buds over 7 to 14 days. If you rush this part, you'll end up with a harsh smoke that tastes like hay, completely ruining the aromatic profile you worked so hard for.
You'll want a dark, cool space with gentle air circulation; a closet or your grow tent works perfectly. Try to keep the temperature between 60-70°F with a relative humidity of 55-65%. You can hang the whole plant upside down or snip off individual branches to hang from a wire or string.
You'll know they're ready for the next stage when the smaller stems on the buds snap cleanly instead of just bending.
Curing for Top-Shelf Quality
Curing is what separates decent homegrown from true top-shelf flower. Think of it like aging fine wine or cheese. This slow, deliberate process smooths out the smoke, breaks down the grassy-tasting chlorophyll, and allows the full terpene profile of your cultivar to blossom.
The best part? It's incredibly simple and requires just a few basic supplies.
- Trim Your Buds: Carefully trim the small "sugar leaves" from your dried flowers. Place the trimmed buds loosely into airtight glass jars, like classic Mason jars.
- Fill and Seal: Fill your jars about 75% full to leave some room for air to circulate. Seal them up and stash them in a cool, dark place.
- Burp the Jars: For the first week, open the jars once or twice a day for 5-10 minutes. This releases moisture and replenishes oxygen in a process we growers call "burping."
- Continue Curing: After that first week, you can reduce burping to just once every few days. A solid cure takes at least four weeks, but many growers will let their jars sit for two months or even longer for truly exceptional smoothness and flavor.
This final stage is your victory lap, ensuring all your time and effort pays off with a final product you can be incredibly proud to say you grew yourself.
Frequently Asked Questions About Growing Cannabis
Even with a perfect roadmap, a few questions always seem to pop up, especially on your first couple of grows. Let's run through some of the most common ones I hear. Getting these details right is what separates a good harvest from a great one, giving you that extra bit of confidence as you get started.
Growing your own cannabis is an incredible experience. You learn something new with every single plant, and before you know it, you'll have complete control over your supply and a much deeper appreciation for the process.
How Long Does It Take to Grow Cannabis?
This is the big one, and the real answer is: it all comes down to the genetics you choose to grow. The journey from seed to a finished, cured bud can vary quite a bit, but we can definitely map out a general timeline.
For a standard photoperiod feminized cultivar, a good ballpark estimate looks like this:
- Germination & Seedling: 1–2 weeks
- Vegetative Stage: 3–8 weeks, but honestly, this is up to you. You can veg for longer if you want a bigger plant.
- Flowering Stage: 8–12 weeks
Autoflowers, on the other hand, are the sprinters of the cannabis world. They operate on their own internal clock, not the light cycle, which dramatically speeds things up. Most autoflowers will go from a popped seed to a ready-to-chop plant in just 10–13 weeks total. It's a massive advantage if you're looking for a quick turnaround.
What's the Difference Between Autoflower and Feminized Seeds?
This is a fantastic question because your choice here really dictates how you'll manage your entire grow. Both types are designed to produce female, bud-bearing plants, but they get the signal to start flowering in completely different ways.
Feminized seeds are "photoperiodic." Think of them like a light-sensitive switch. They will happily keep growing bigger and bushier as long as they get more than 12 hours of light per day. To get them to flower, you have to be the one to flip the switch by changing your light timer to a strict 12/12 schedule, 12 hours on, 12 hours off.
Autoflower seeds, thanks to their unique genetics, have that switch built-in. They don't care about the light schedule; they will begin to flower automatically after just a few weeks of growth. This makes them an incredibly straightforward choice for beginners or anyone who prefers a more hands-off approach.
When Do I Start Feeding My Plants Nutrients?
Patience is a virtue, especially here. One of the classic rookie mistakes is being too eager with the nutrient bottle. Most quality potting soils come packed with enough food to get your little seedling through its first few weeks without any help from you.
As a rule of thumb, hold off on adding any liquid nutrients until your plant has 3–4 sets of true leaves. When you do start, mix your solution at a quarter or half of the recommended dose. See how the plant responds first. It's always easier to fix an underfed plant than a burnt one.
Giving a young plant too much, too soon, can lead to "nutrient burn." You'll see yellowing, crispy leaf tips, and the plant's overall growth can be stunted. Let the plant use up what's in the soil first; it will tell you when it's getting hungry.
How Do I Know When It's Time to Harvest?
This is the moment all your hard work has been leading up to, and nailing the timing is key to getting the exact vibe you're looking for. While the little hairs on the buds, the pistils, turning brown is a decent clue, the real secret is to look at the trichomes.
To do this right, you'll need a jeweler's loupe or a cheap digital microscope. You're looking at the tiny, mushroom-shaped resin glands that cover the buds.
- Mostly Cloudy/Milky: This is generally considered the point of peak character. Harvesting here often leads to a more energetic and uplifting vibe.
- Mix of Cloudy & Amber: When you start seeing about 15–30% of the trichomes turning a beautiful amber color, you're in the sweet spot for a more balanced, full-body effect. This is the go-to harvest window for many experienced growers.
- Mostly Amber: If you wait longer, the bud's profile changes, which is known for its sedative qualities. Harvesting at this stage will typically give you a much more relaxing, "couch-lock" type of vibe.
Now that you've got a handle on the entire journey, you can confidently pick the right genetics for your space and goals. The Botanist Seeds comparison tool is perfect for this, letting you filter cultivars by flowering time, size, and aromatic profile. You can find the ideal seed to match your setup and style by starting your adventure today at https://botanistseeds.com.












