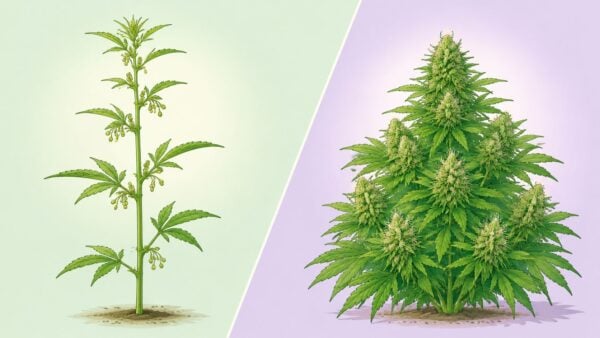
Mastering Seedling Stage Weed Growth
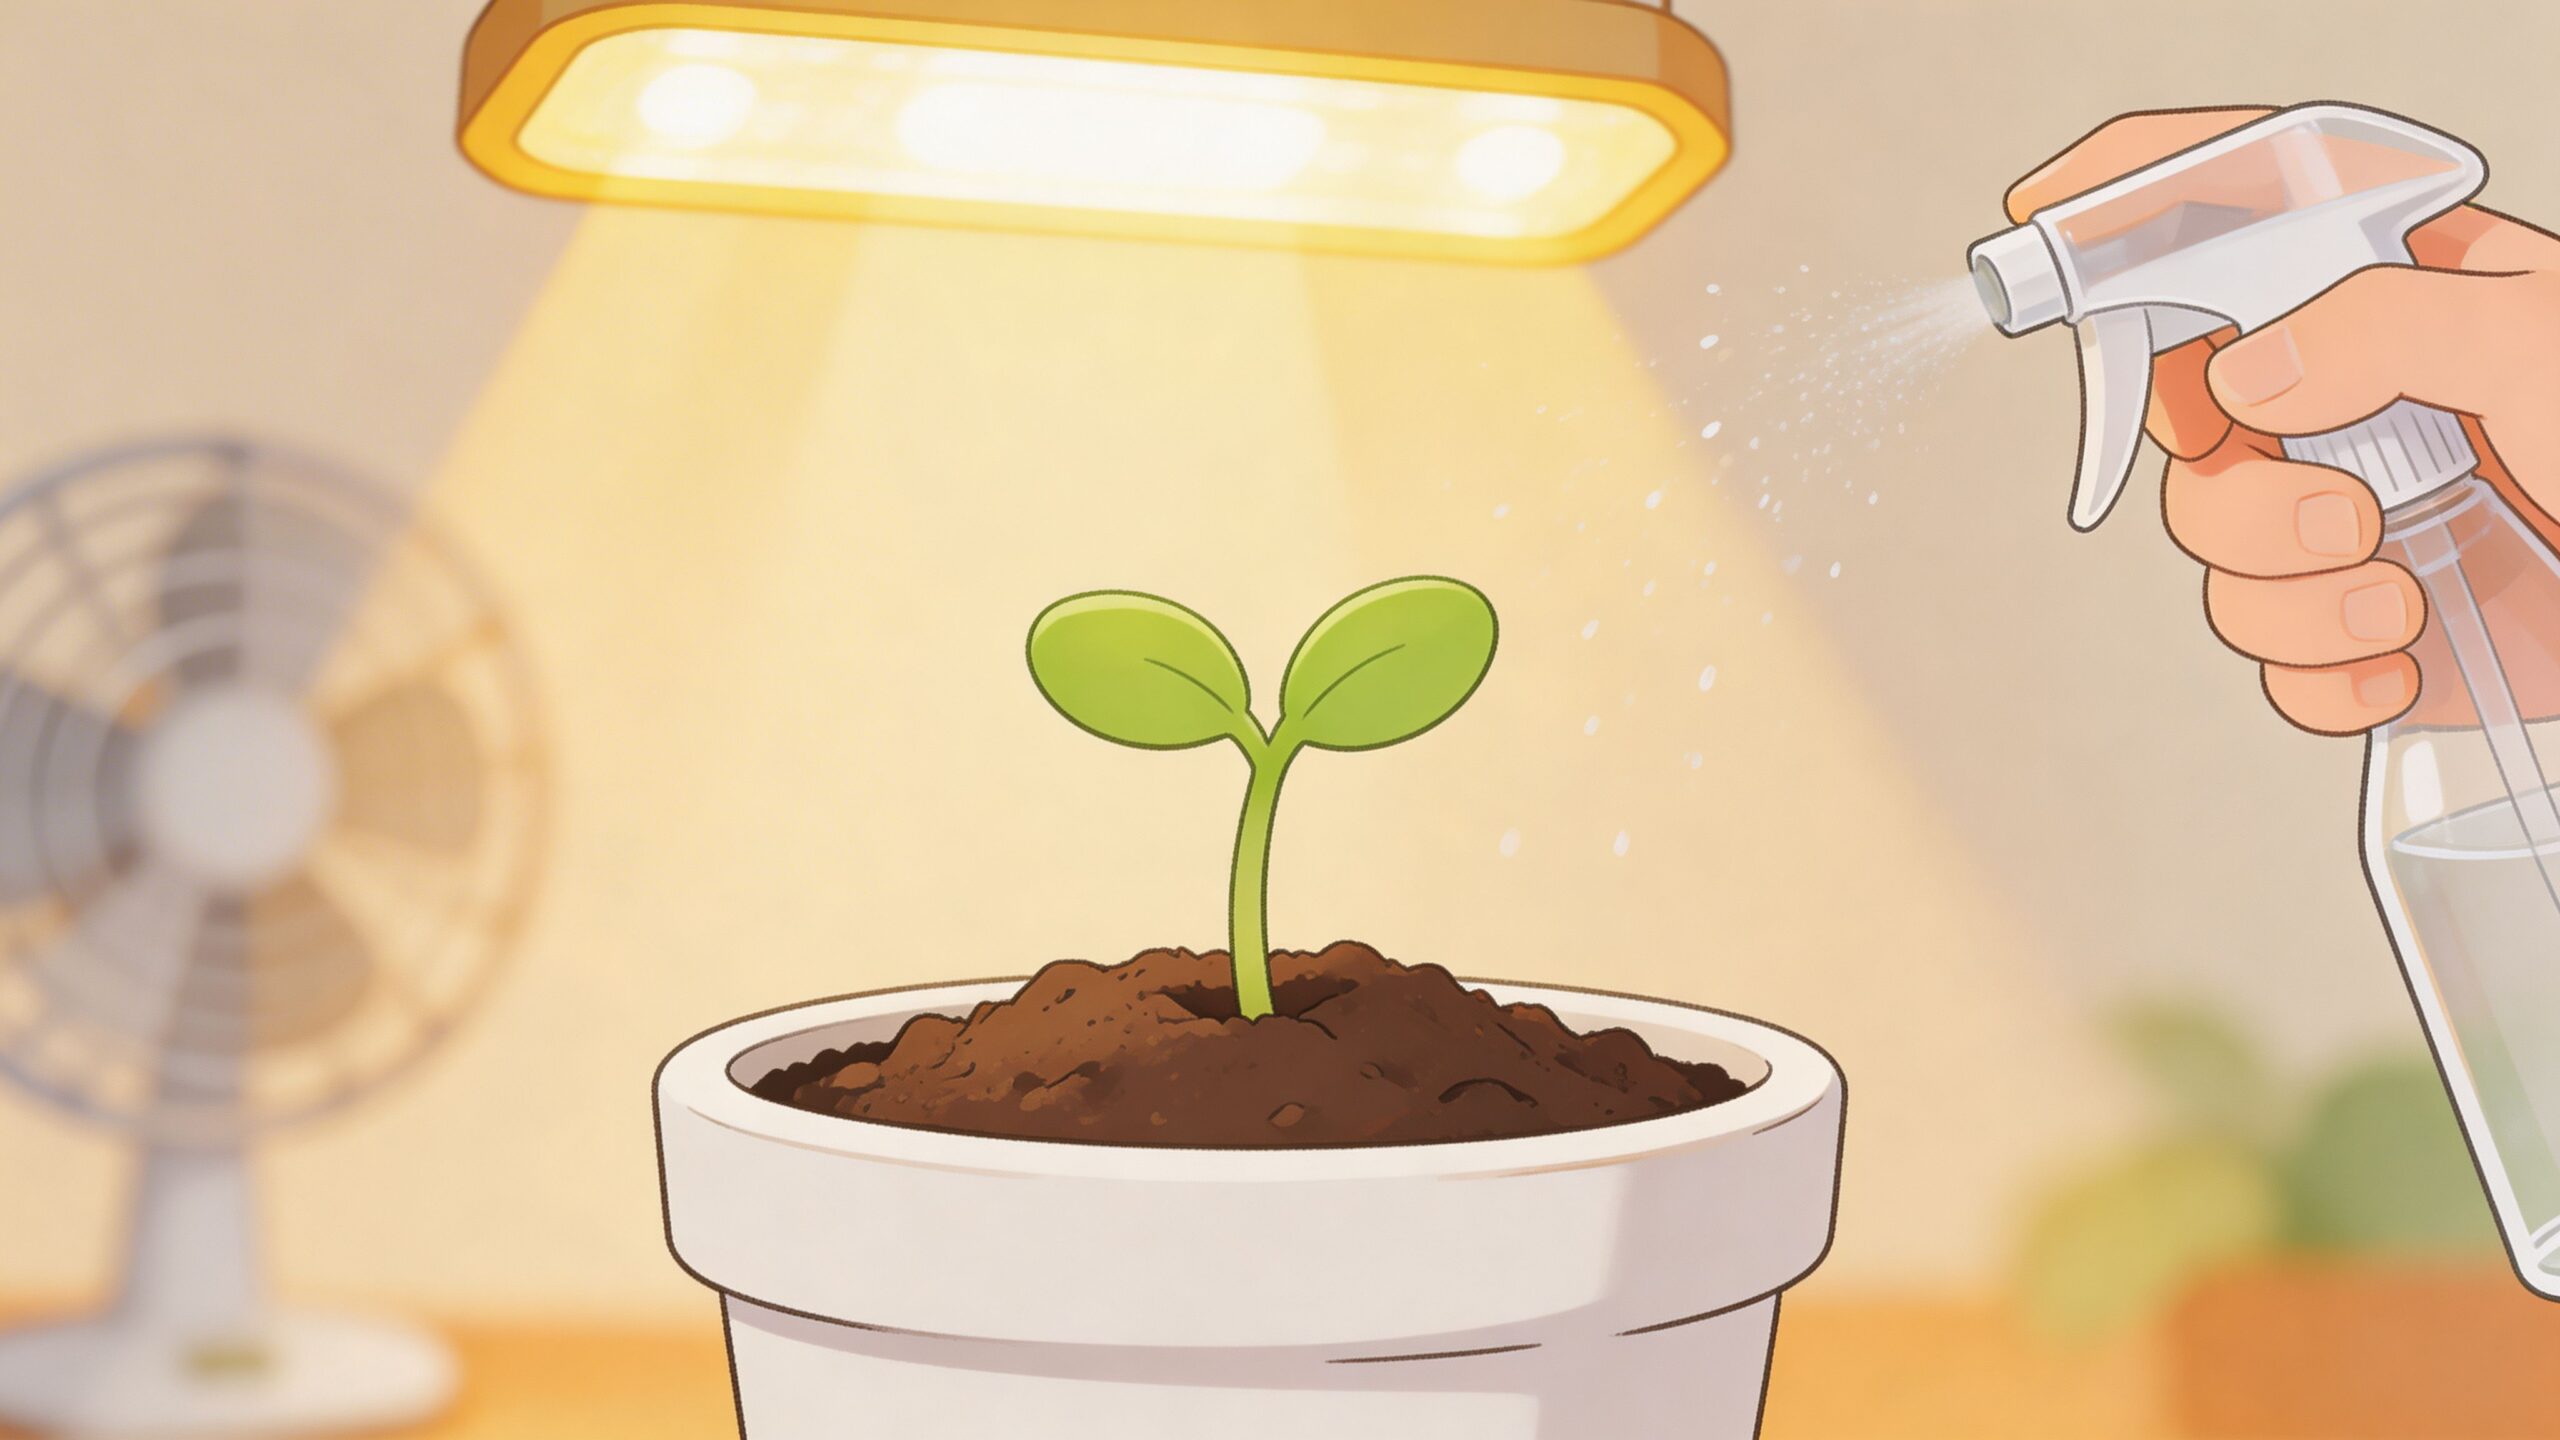
That first sprout pops up and suddenly the fun part feels a little stressful. One minute you're staring at the pot like a proud parent, the next you're wondering if the light is too strong, the room is too dry, or that tiny green stem is about to keel over for no reason.
That feeling is normal. The seedling stage weed growers worry about most is the one right in front of them, because this is the fragile window where a healthy plant gets its footing, or starts behind from day one.
The good news is this part isn't complicated once you stop guessing. A few numbers matter, a few habits matter, and a few common mistakes wreck more seedlings than anything else. Get those right, and your feminized or autoflower cultivars have a clean runway into veg.
Your First Sprout and What to Do Next
You check the pot in the morning, and there it is. A tiny stem, seed shell either hanging on or already dropped, with two little round leaves reaching up. That first day makes a lot of growers want to start tweaking everything. Resist that urge.
For the next stretch, the job is simple. Keep conditions steady, keep your hands off it as much as possible, and watch for signs of progress instead of trying to force it. Early growth is slow on top because the plant is busy building below the surface. The top growth gets your attention, but the root zone does the work that keeps the whole plant moving.
A healthy new sprout usually shows a few clear signs:
- Stem stays upright: A slight lean is common, but it should not collapse at the base.
- Cotyledons open fully: Those first round leaves should spread and start catching light.
- New growth appears from the center: The first serrated leaves should begin forming soon after the sprout opens.
- Color stays even: Pale green can be normal at first, but blotchy yellowing or twisting is an early warning.
This is also the point where growers make the same mistakes over and over. They water the whole pot, add nutrients too early, or blast the seedling with the same fixture settings they plan to use later. None of that helps. A fresh sprout wants mild light, light moisture around the root area, and time.
If you're using an indoor setup, get familiar with how to match your grow light to each stage of cannabis growth. It saves a lot of guesswork once the seedling is up and you need to set distance and intensity without frying it.
One practical rule I stick to: if the seedling looks basically fine today, do not "fix" it. Check it, note any change, and let it grow. Daily observation helps. Constant correction usually makes things worse.
Creating the Perfect Seedling Nursery
You pop the tent open on day three and the sprout looks off. The stem is stretching, the shell is hanging on, or the leaves seem stalled. A lot of growers blame the seed. In a home setup, the nursery environment is usually the primary problem.
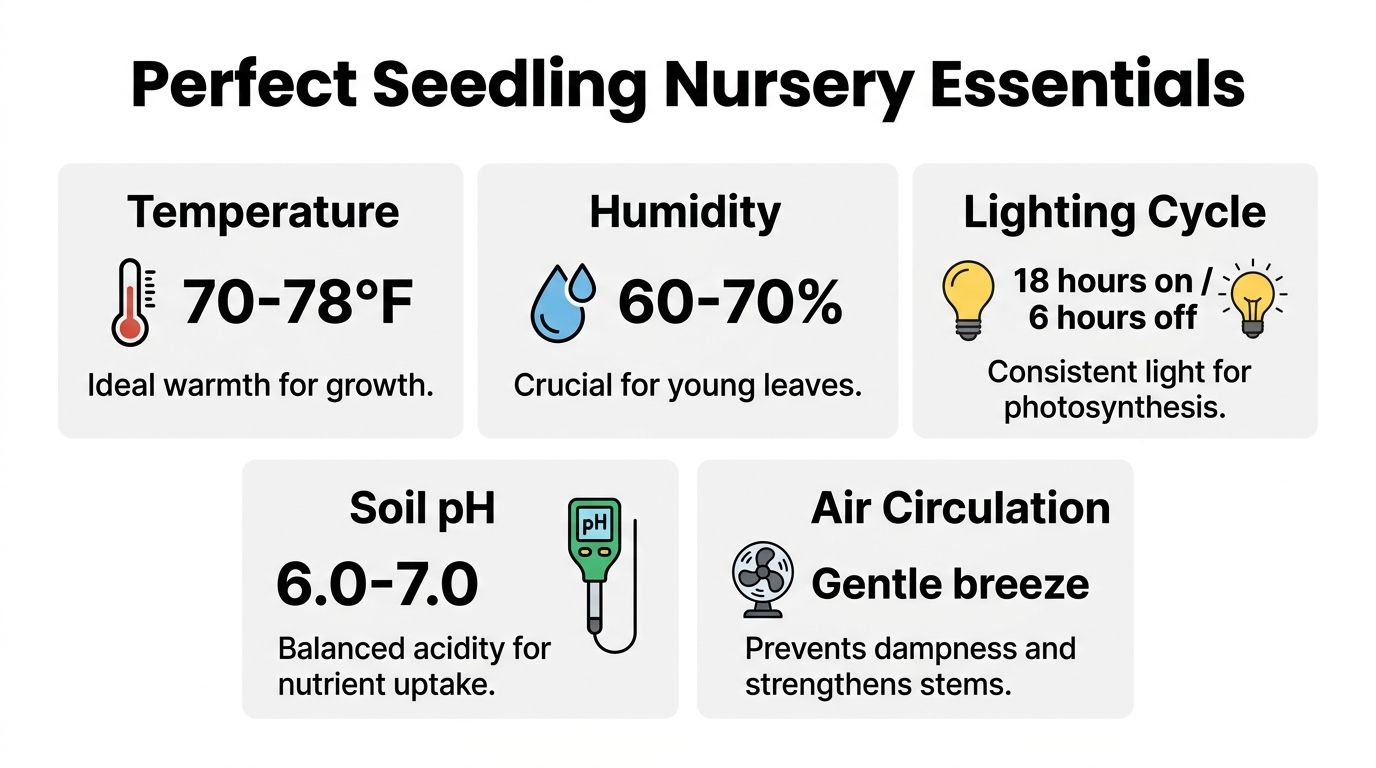
The goal is simple. Give the seedling enough light to stay compact, enough warmth to keep growing, enough humidity to avoid stress, and a root zone that stays airy instead of soggy. Fancy gear helps, but stable numbers matter more than expensive equipment.
Light that keeps seedlings short and steady
For seedlings, I aim for PPFD around 200 to 400. That range is strong enough to prevent stretching without hammering a brand-new plant. Go much lower and the stem reaches. Go much higher and growth can slow, especially if heat and humidity are already out of line.
An easy home setup usually includes a dimmed LED, T5, or CFL. The exact fixture matters less than what the plant shows you. If the stem is climbing fast and spacing out, raise intensity a bit or bring the light closer. If the leaves are praying hard, tacoing, or looking washed out, back it off.
A steady light schedule also helps keep things predictable. Many home growers run seedlings at 18 to 24 hours of light. If you are still sorting out fixture type, hanging height, or dimmer settings, this guide on how to match indoor cannabis lighting to each growth stage is a practical reference.
Keep temperature stable, not perfect
Seedlings handle a decent range, but they hate swings. A good working target is 68 to 77°F during lights-on and 62 to 72°F at night. Once the space starts creeping past 80°F, small problems show up fast. Leaves dry out quicker, the medium swings harder, and weak seedlings stall instead of settling in.
That is why location matters. A closet shelf above a warm driver, a windowsill with cold night drafts, or the floor of a garage can all throw off a good start.
Here are the numbers worth checking first:
| Nursery factor | What works |
|---|---|
| Daytime temp | 68 to 77°F |
| Night temp | 62 to 72°F |
| Humidity | 65 to 80% |
| PPFD | 200 to 400 |
| Medium pH | 5.5 to 6.5 |
You do not need to chase the exact middle of every range every hour. You do need to keep the nursery from drifting all over the place.
Humidity and root-zone texture matter more than beginners expect
A fresh seedling has barely any roots, so dry air hits it harder than it would hit an older plant. 65 to 80% humidity is a solid target early on. If your room sits much lower than that, the plant can lose moisture faster than the roots can keep up, and growth slows for no obvious reason.
The medium needs the same balanced approach. Use a light, airy mix that drains well and still holds some moisture around the root zone. If the mix packs down into mud, oxygen drops and the seedling struggles. If it dries too fast, the plant never gets settled. For soil grows, a slightly acidic root zone usually works best, with pH around 6.3 to 6.5 and enough aeration from perlite or a similarly loose amendment.
One small trade-off here is worth knowing. High humidity makes life easier for the seedling, but stale air can invite problems. Keep gentle airflow in the space. You want the leaves to barely move, not flap around.
A good nursery does not look dramatic. It looks boring. Steady light, steady warmth, steady moisture, and plenty of air in the root zone. Get those right and a lot of early seedling trouble never starts.
Seedling environment targets by stage
| Growth Stage | Temperature Range | Relative Humidity | VPD Target |
|---|---|---|---|
| Germination and emergence | Around 25°C | Stable and moderately high | Keep moisture loss gentle |
| Cotyledon stage | Around 25°C | Around 65 to 75% | Around 0.8 kPa |
| First true leaves | About 25°C to 35°C | Around 65 to 75% | Around 0.8 kPa |
| Juvenile transition | About 25°C to 35°C | Gradually adjust with plant response | Monitor leaf and media response |
VPD, or vapor pressure deficit, describes how strongly the air pulls moisture from the plant and growing medium. Treat 0.8 kPa as a reference, not a command. Leaf posture, container weight, surface moisture, and growth rate show whether the setting is working.
How to identify a true leaf set
Count a leaf set when the leaves emerge from the same node and have the characteristic shape of the plant's mature foliage. Don't count cotyledons as a true set. Also, avoid counting every individual leaflet as a separate leaf set.
A practical reading sequence looks like this:
- Cotyledons open: The seedling has emerged, but it's still in a vulnerable establishment phase.
- First true leaves appear: The plant is beginning to rely more on active photosynthesis and expanding its root demand.
- Additional true leaf sets develop: The stem and root system are gaining structure, and environmental inconsistencies become easier to spot.
- Nodes become clear: The plant is moving toward juvenile vegetative development rather than emerging from the seed.
First true leaves often appear within roughly 7 to 14 days after emergence in crop guides, although the exact pace depends on the cultivar and growing conditions. The University of Arkansas handbook places that milestone within this general range.
Watering and Feeding Your New Sprouts
A lot of seedlings get wrecked in the first week for one simple reason. The pot stays wetter than the roots can use.
That happens fast in a home setup, especially if you start in a container that's too large or keep adding water on a schedule instead of checking the medium first. Seedlings need moisture near the root zone, but they also need oxygen. If the mix stays soaked, growth slows, stems stay weak, and the plant can stall before it ever gets going.
Water less, but water with intent
Early on, small amounts work better than full soakings. I like to moisten a small ring around the seedling instead of saturating the whole pot. That encourages the roots to spread without leaving the entire container cold and soggy for days.
The trade-off is simple. Water too little and the root zone dries before the plant can settle in. Water too much and the roots sit in stale, airless media. For most sprouts, the safer mistake is slightly dry rather than constantly wet.
A practical routine looks like this:
- Start small if you can: A smaller pot is easier to read and easier to dry back.
- Water the root area, not the whole container: Keep the moisture where the seedling can use it.
- Lift the pot before you water: A light pot tells you more than droopy leaves do.
- Use a loose mix: If water hangs around too long, add more aeration next run.
If you want a more detailed walkthrough, this guide on watering your cannabis plant does a good job showing how to build better habits.
What a thirsty seedling looks like, and what a drowned one looks like
What a thirsty seedling looks like, and what a drowned one looks like. This situation often confuses beginners. A thirsty seedling and an overwatered seedling can both look limp, but the pot tells the true story.
If the container still feels heavy and the top stays dark for too long, back off. The roots probably need air more than they need more water. If the pot is light and the medium has dried through the upper layer, a careful watering usually perks the plant back up within a reasonable window.
Watch the container. It gives the answer faster than the leaves do.
This quick video helps make those early care habits easier to picture in a real setup:
Hold the nutrients
Fresh seedlings do not need a feeding program right away. If you're in a decent starter mix, plain water usually carries them through the earliest stage.
A good rule for home growers is to wait until you see 3 to 4 sets of true leaves before adding nutrients. Even then, start light. Half-strength is often plenty for a first feed, and some rich soils need even less. Bottles make it easy to overdo things. Burned tips on a seedling are a lousy way to learn that lesson.
A simple early-care routine
Keep it boring:
- Check the pot weight and surface moisture first.
- Water lightly only when the medium has started to dry.
- Keep the root zone moist, not soaked.
- Wait for 3 to 4 sets of true leaves before feeding.
- Start nutrients gently and watch the response.
That approach works because it matches how seedlings grow in a small home setup. Small roots, small drinks, light feeding, and no panic.
Spotting Trouble Before It Starts
You check the tray in the morning and one seedling looks off. It was fine last night. That is how early trouble usually shows up. Fast enough to make new growers overreact.
Healthy seedlings are pretty plain. Trouble has patterns. If you catch those patterns early, the fix is usually small.
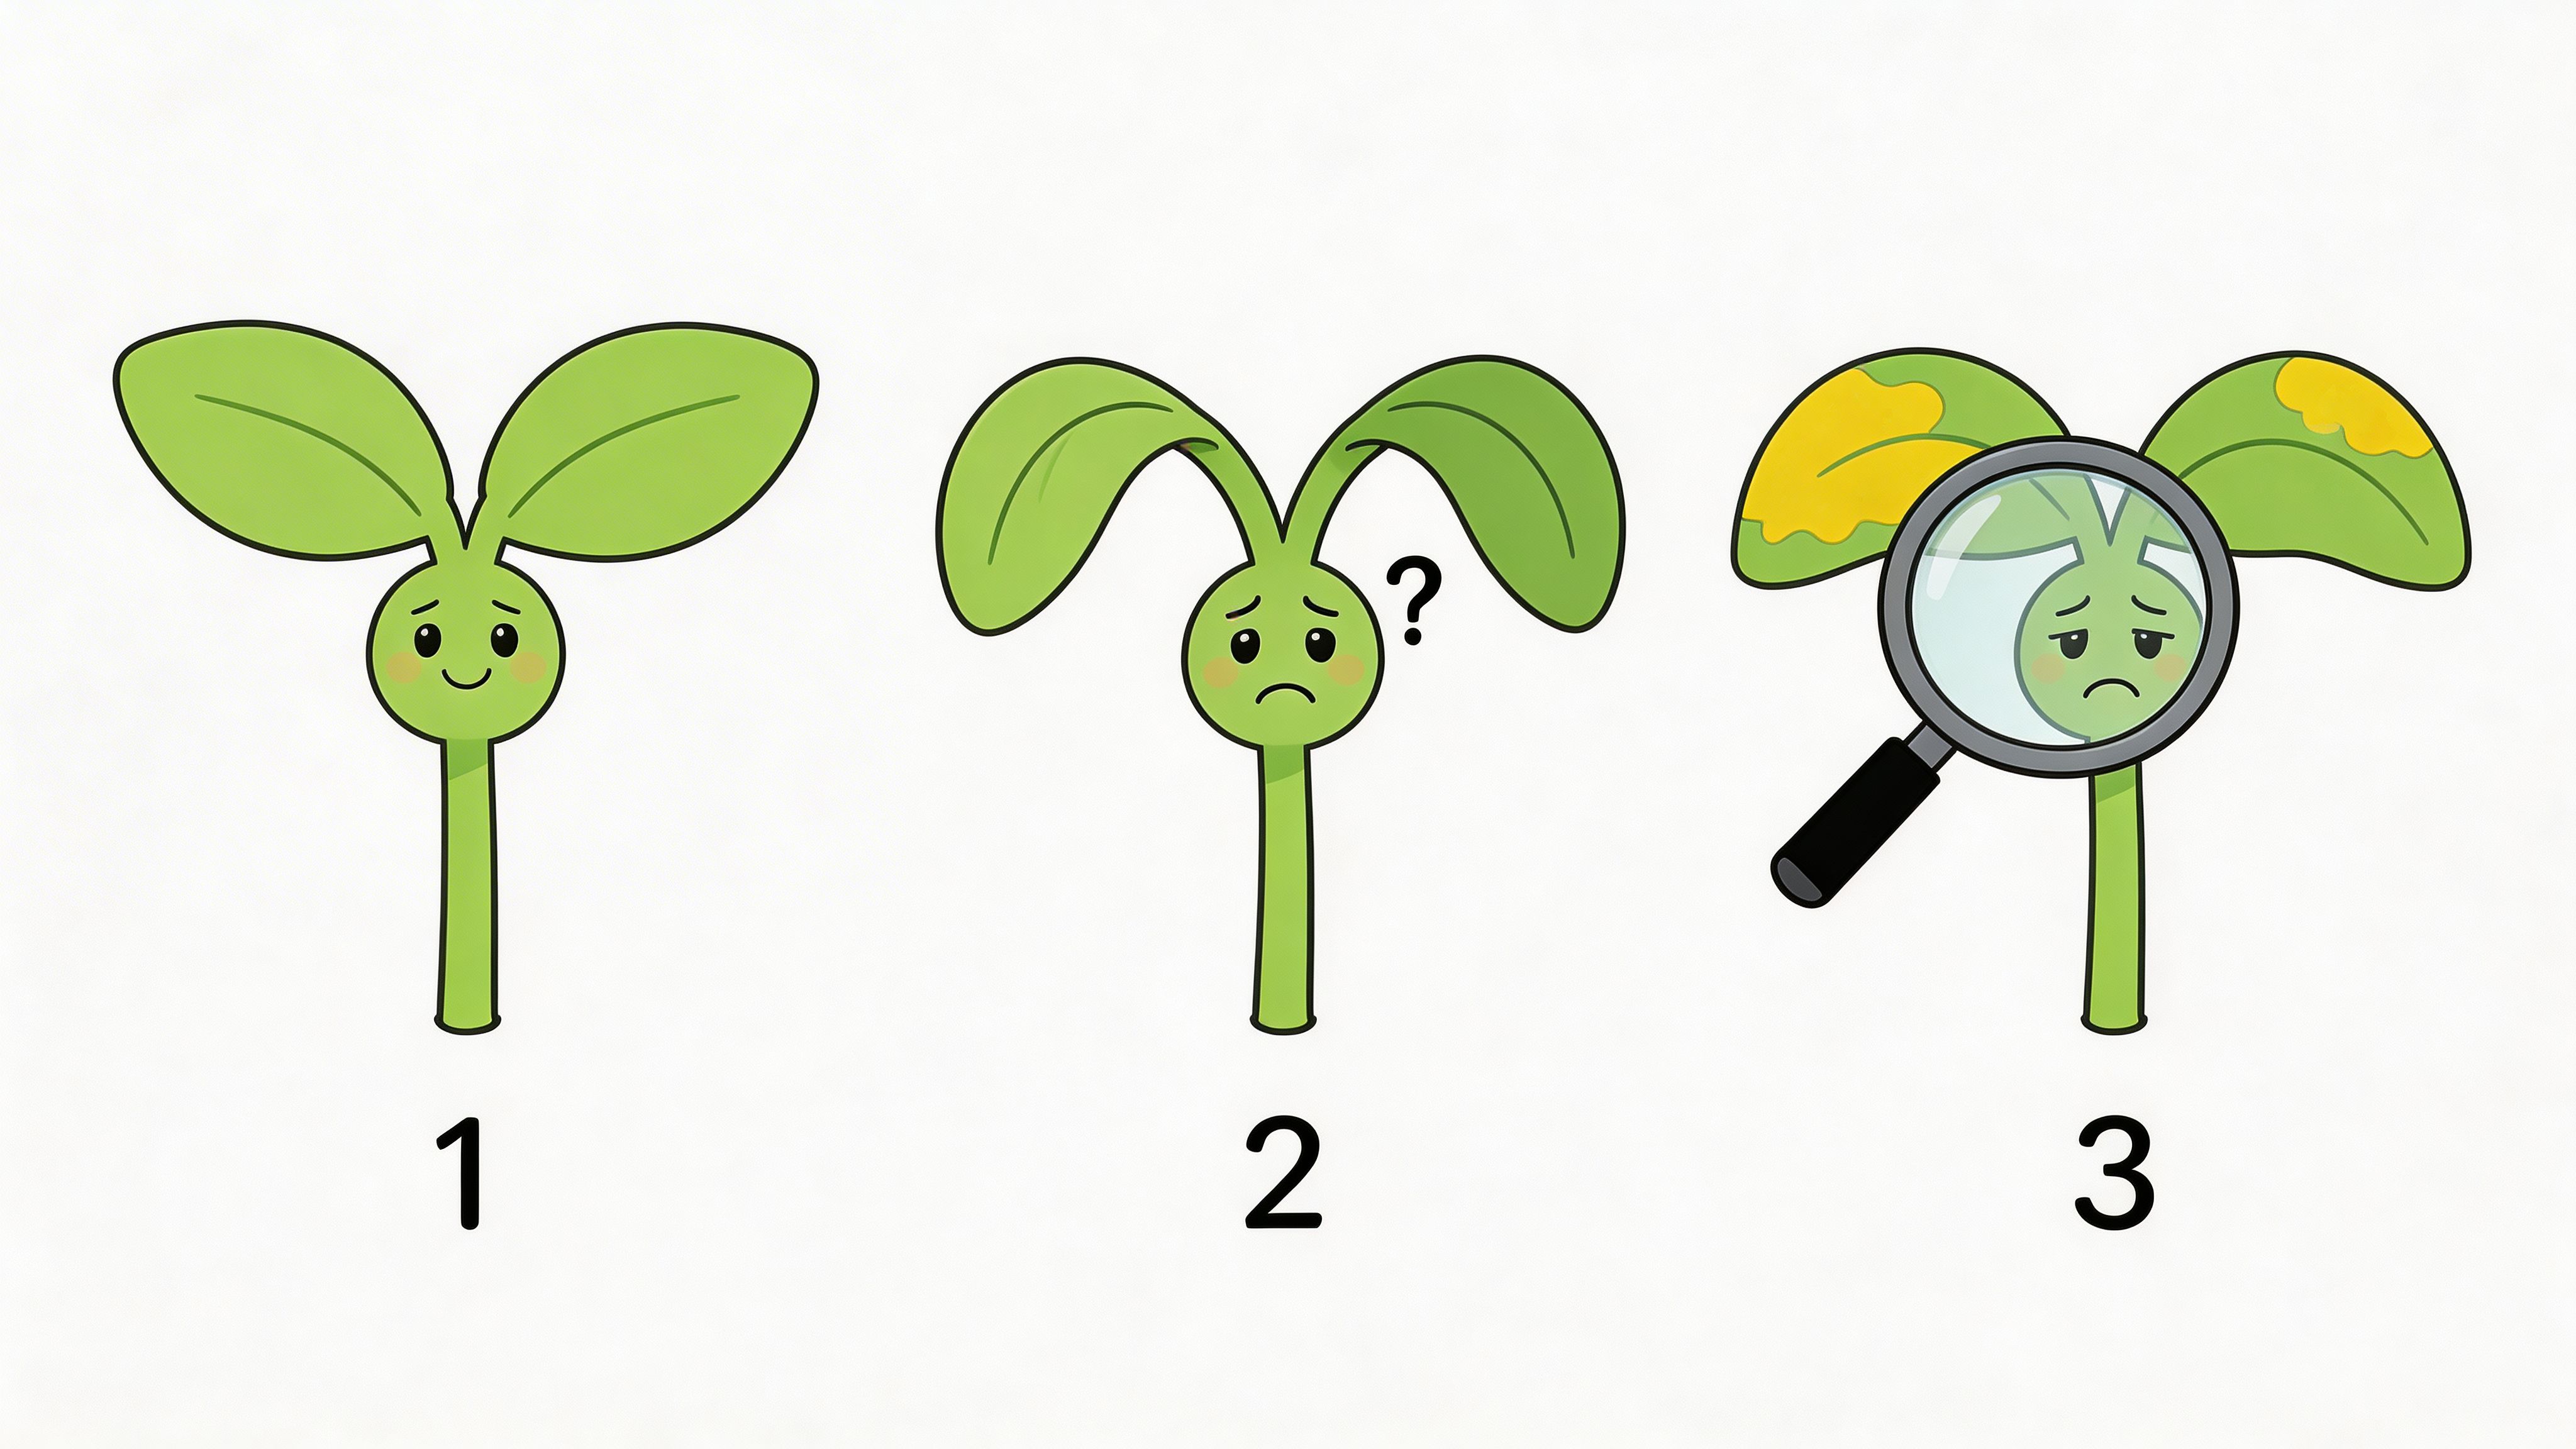
Stretching and weak stems
A stretched seedling looks tall, skinny, and unstable. The plant is reaching because the light is not doing enough work.
In a home setup, this usually means the fixture is too weak, too high, or both. Warm temps can make it worse by pushing fast, soft growth. Get your numbers back into a useful range. For most seedlings, that means moderate light intensity, steady temps, and no guessing. If you're running LEDs, this is the stage where PPFD matters more than fancy gear talk.
Air movement helps too. According to Vivosun's cannabis seedling guide, gentle airflow with a fan can strengthen stems by 20 to 30% and reduce the risk of damping-off in humid, stagnant setups.
Keep the breeze indirect. Leaves should barely twitch. If the seedling is bent over from the fan, you've gone too far.
Yellowing and stalled growth
Yellowing scares people into feeding too early. I see that mistake all the time.
Most young seedlings yellow because something around the root zone is off. Wet media, compacted soil, poor drainage, or pH drift are more common than an actual nutrient shortage. A tiny plant with tiny roots cannot use much anyway.
Check the basics in order:
- Watering: If the container stays wet too long, fix that first.
- Root environment: Dense starter mix slows roots and holds too much moisture.
- pH: Root uptake gets messy when the medium drifts out of range. If you need a practical refresher, keep this guide to pH for cannabis handy.
- Feeding: If the seedling is still young, extra nutrients usually add stress instead of solving it.
A yellow seedling is often stressed, not hungry.
Damping-off and stale air
Damping-off is brutal because the timeline is short. The stem pinches near the soil line, the seedling folds over, and that plant is usually done.
The usual setup behind it is familiar. Wet surface. Humid air. Poor circulation. A tray or pot that never really dries at the top.
Keep the room fresh and the soil surface from staying swampy. A small fan helps, but only if it moves air across the area without drying the plant out. There is a trade-off here. Too little airflow invites fungus. Too much airflow dries the medium fast and can stress weak sprouts. Aim for steady, boring conditions.
Actual weeds in the pot
The phrase seedling stage weed can also mean real weeds showing up in the pot. Indoors, that usually points to contaminated soil, reused media, or sloppy cleanup between runs.
Pull them early. Do not let them settle in and compete for moisture, root space, and light.
A seed bank notes in its rookie guide to mastering the seedling stage that hand-pulling or selective vinegar-based herbicide use can achieve a 92% success rate with no crop damage when used carefully in early conditions. For a few starter pots at home, hand-pulling is the better call. It is simpler, cleaner, and there is no chance of splash or drift landing where you do not want it.
| Symptom | Most likely issue | Best first move |
|---|---|---|
| Tall and flimsy seedling | Light too weak or too far | Adjust fixture intensity or distance |
| Droopy in wet soil | Overwatering | Let the medium dry properly |
| Stem weak at soil line | Damp, stagnant conditions | Improve gentle airflow |
| Unexpected extra sprouts | Weed contamination in medium | Remove immediately by hand |
What works and what doesn't
A lot of bad seedling advice comes from people trying to do too much.
What works
- Stable conditions: Fix the room before blaming the plant.
- Gentle airflow: Enough to move air, not hammer the leaves.
- Early weed removal: Small weeds are easy to remove. Bigger ones become a mess.
- Watching for patterns: One symptom rarely tells the whole story.
What doesn't
- Adding nutrients to every problem: That turns mild stress into burn or lockout.
- Changing five things at once: You lose the trail and learn nothing.
- Ignoring the medium: Most seedling problems start below the surface.
Good troubleshooting is boring in the best way. Check the obvious first, make one correction at a time, and let the seedling respond.
The Big Move Transplanting Your Seedling
You know that moment. The seedling finally looks legit, and you're tempted to move it right away because the tiny starter pot feels like a trap. That rush is how roots get torn up for no good reason.
Transplant when the plant is established enough to handle it. In a home setup, that usually means the seedling has a couple sets of true leaves, holds itself upright, and the root ball comes out in one piece instead of falling apart in your hand. Height matters less than structure. A short, stocky seedling with a solid root zone is more ready than a tall, stretched one.
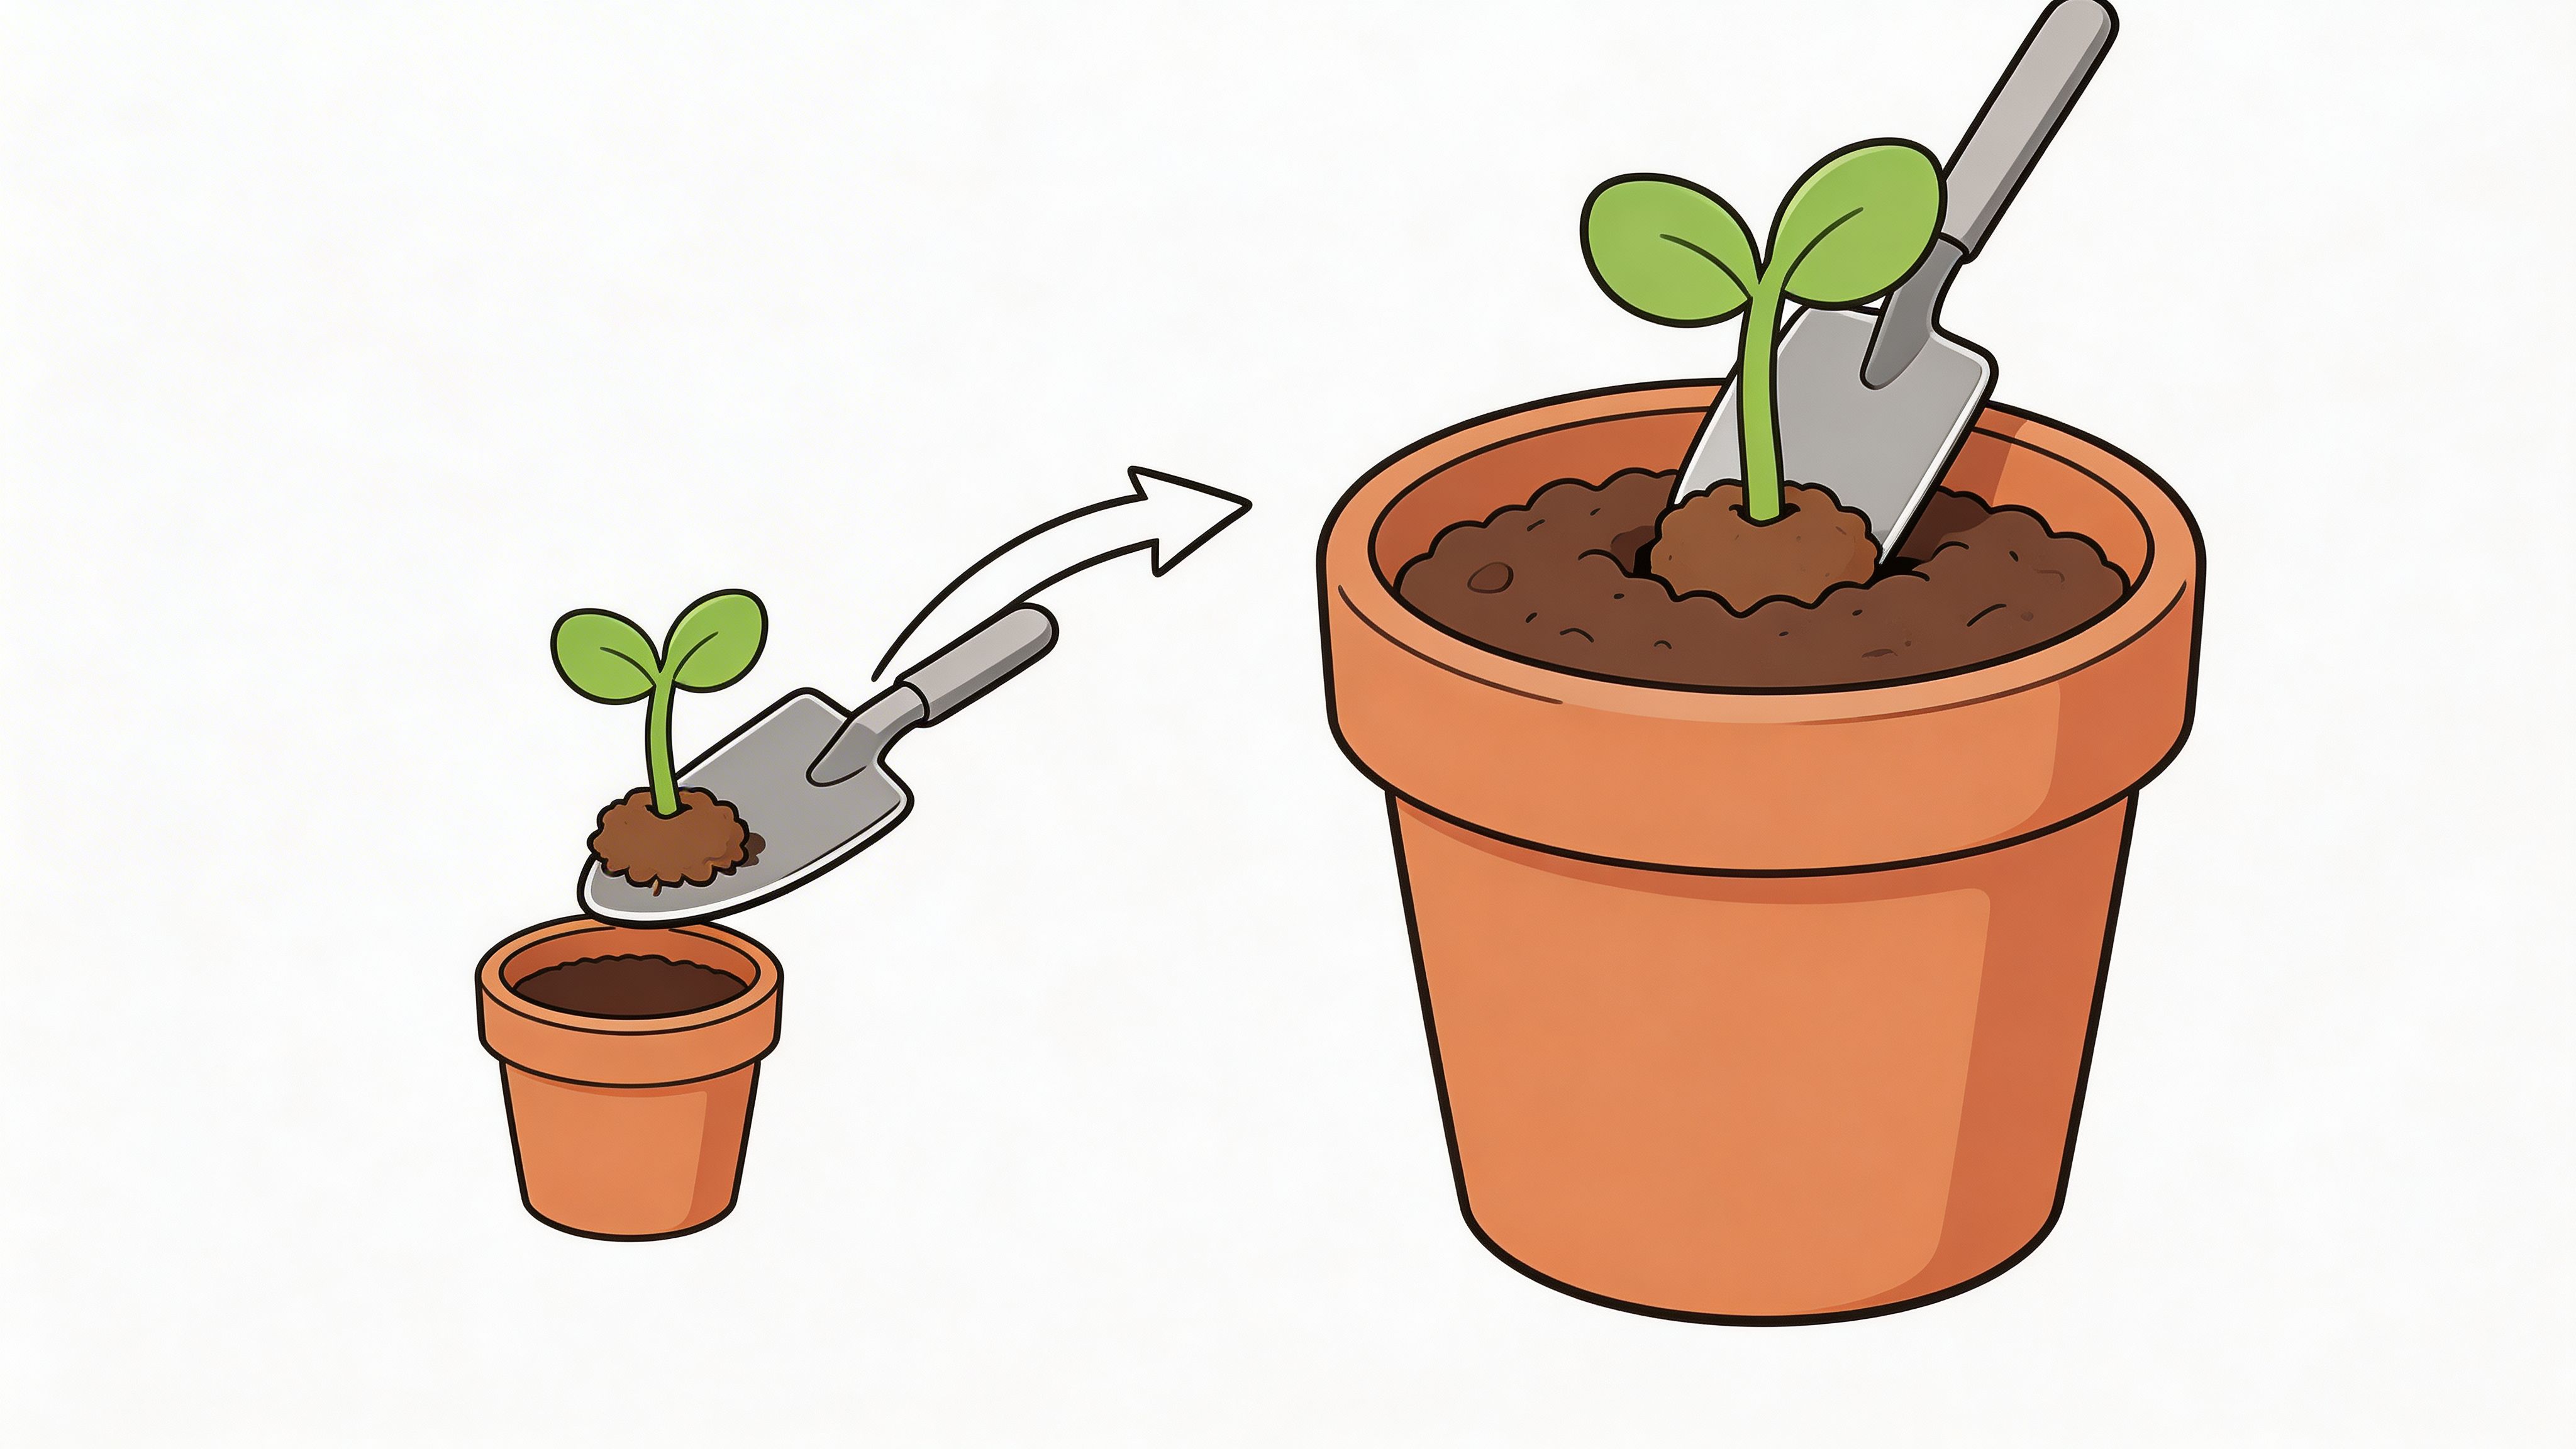
Prep the new pot before you touch the plant
This job goes best when the roots stay exposed for as little time as possible.
Fill the new container first. Use a light mix with enough air in it that it won't turn heavy after watering. Pre-make the hole so the root ball drops in without forcing it. I like the new medium slightly moist, not soaked, because dry pockets can pull water away from the root zone and a drenched pot stays cold and sluggish.
For most home growers, the first transplant only needs a modest step up in pot size. Going too big sounds efficient, but a small plant sitting in a huge volume of wet medium dries slowly and often stalls.
The actual move
Keep it simple and keep your hands calm.
- Water the seedling lightly beforehand if the pot is dusty dry. Slight moisture helps the root ball hold together.
- Loosen the edges if needed. Squeeze a plastic nursery pot or run a finger around the inside if the medium is sticking.
- Turn and slide the plant out carefully. Support the root mass from below. Avoid grabbing the stem.
- Set it at the same depth in the new pot. No need to bury the stem deeper unless it's badly stretched and still stable enough to correct.
- Backfill gently. Press just enough to remove big air gaps, then stop.
Most transplant shock comes from haste. Rough handling, transplanting a weak seedling, or dropping it into a poorly watered pot causes more trouble than the move itself.
Aftercare that helps
Right after the move, keep the environment steady. Seedlings do well with moderate light, mild airflow, temperatures around 72 to 78 degrees Fahrenheit, and relative humidity near 60 to 70 percent. Those numbers give the roots a fair shot to settle in without asking the leaves to do too much work.
Water enough to settle the medium around the root ball, then leave it alone. You are aiming for contact, not a swamp. If the whole pot stays soaked for days, the plant slows down and the roots get lazy.
Expect a short pause, not a collapse. A healthy seedling may look a little quiet for a day, then pick back up. If it droops hard and stays there, check the basics first: pot size, watering, planting depth, and root damage.
Autoflowers deserve extra care here. They have less time to recover from mistakes, so a clean transplant and stable conditions matter more than they do with photoperiod plants.
Your Seedling Stage Starter Checklists
A simple checklist beats a cluttered brain every time. If you're trying to keep seedling stage weed care clean and repeatable, save these.
Gear and setup checklist
- Starter pots: Small containers with good drainage.
- Light, airy medium: Something that won't stay heavy and soggy.
- Perlite-amended mix: Helpful for keeping the root zone breathing.
- Low-intensity light: T5, CFL, or a dimmable LED setup.
- Thermometer and humidity meter: You need real readings, not guesses.
- Spray bottle or gentle watering tool: Better control around delicate roots.
- Small fan: For light airflow, not a wind tunnel.
- Labels: Especially useful if you're running multiple cultivars.
Daily seedling check-in
- Check posture: Is the seedling upright and steady?
- Check the medium: Is it dry enough to water, or are you just tempted?
- Check the leaf color: Clean green is good. Sudden yellowing means stop and inspect.
- Check light position: If the seedling is stretching, adjust.
- Check airflow: Enough movement to keep things fresh.
- Check for weeds or contamination: Pull anything unwanted before it becomes a problem.
The cheat-code mindset
The best routine is short enough that you will do it.
You don't need a complicated spreadsheet for one young plant on a shelf or in a tent. You need consistency. A two-minute check each day catches most issues while they're still easy to fix.
From Fragile Sprout to Thriving Plant
The seedling stage is short, but it sets the tone for everything after it. If you keep the environment steady, resist overwatering, hold back on nutrients early, and deal with problems while they're still small, your plant has a solid start.
That's really what home growing is about. Not chasing perfection, just stacking good decisions early so the rest of the run gets easier. When a tiny sprout turns into a healthy, aromatic plant you raised yourself, the payoff feels real. No dispensary line, no guessing, no disconnect from the process.
Strong results start with strong genetics, and that's where seed choice matters.
If you're choosing your next feminized or autoflower cultivars, Botanist Seeds makes it easy to compare options and find a fit for your setup, your experience level, and the kind of grow you want to run.