





A Home Grower’s Guide to Lighting for Growing Cannabis Indoors
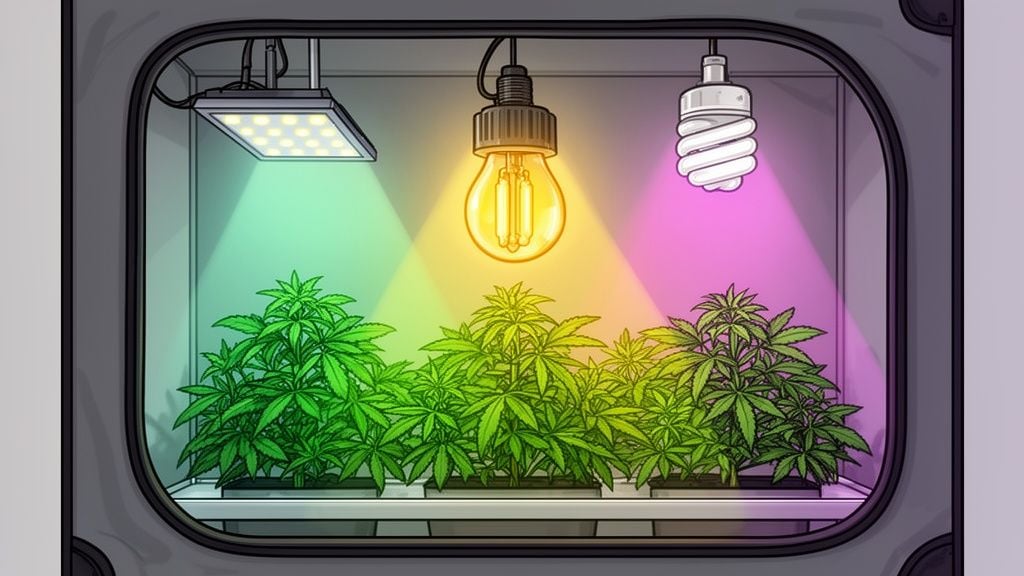
When you're setting up an indoor grow, nothing will make or break your success more than your choice of lighting. Think of your grow light as the sun for your little indoor garden: it's the engine that drives everything from how fast your plants grow to the final quality of your buds. Get this right from day one, and you'll save yourself a ton of headaches, time, and money.
Why Your Grow Light Is Your Most Critical Decision
I've seen it countless times: a grower has the best feminized seeds, top-shelf nutrients, and a dialed-in environment, but a weak or unsuitable light leads to a sad, disappointing harvest. Your light is directly responsible for photosynthesis, the process where plants turn light into the energy they need to live and grow.
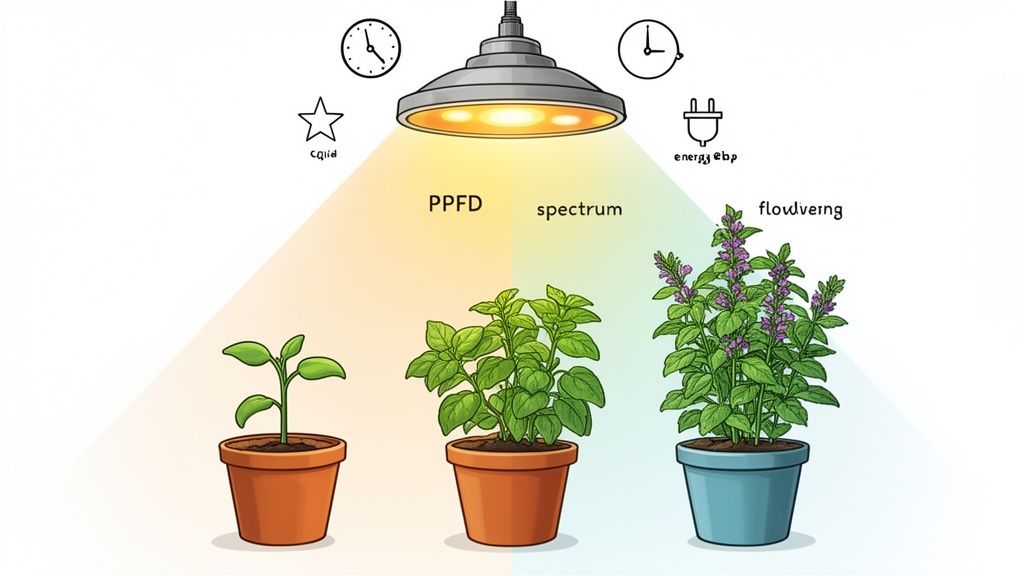
It’s a simple equation: better quality light means more energy. That extra energy fuels faster vegetation, stronger branches, and most importantly, bigger, denser flowers. For anyone serious about growing their own supply, investing in a quality light isn't just a recommendation; it's a necessity. It’s the difference between a small personal stash and a supply that lets you skip dispensary lines and taxes for months.
A Quick Look at the Main Light Types
Before we get into the details, it helps to have a snapshot of the most common grow lights you'll encounter. Each has its own set of pros and cons, from how much they cost upfront to how much heat they kick out.
Quick Light Type Comparison
| Light Type | Best For | Initial Cost | Energy Use | Heat Output |
|---|---|---|---|---|
| LED | All-around performance, full-cycle growing | High | Low | Low |
| HPS | High-yield flowering, larger commercial ops | Medium | High | Very High |
| CFL | Seedlings, very small spaces | Low | Low-Medium | Low |
This table gives you a starting point. Modern LEDs are the go-to for most home growers for their efficiency and low heat, while HPS lights are still workhorses for pure flowering power, and CFLs are great for getting your young plants started.
Light Spectrum and How Your Plants Use It
Cannabis plants respond differently to various colors, or spectrums, of light. Understanding this is key to guiding your plant through its life cycle.
Blue Spectrum: This is your "veg" light. It encourages plants to grow stout and bushy with strong roots and lush leaves. A plant with enough blue light won't stretch into a lanky, weak mess. It stays compact and strong.
Red Spectrum: When it's time to flower, red light takes center stage. This part of the spectrum signals to the plant that it's time to produce buds. It's absolutely crucial for developing dense, heavy flowers and has a major impact on your final yield and aromatic profile.
This is why "full-spectrum" LEDs have become so popular. They provide a balanced diet of both blue and red light (plus other useful spectrums), making them versatile enough to handle the plant's entire life. You can learn more about how this aligns with your plant's development in our detailed guide on the stages of growing cannabis.
The Numbers That Really Matter
As you shop for a light, you'll be hit with a lot of technical specs. The single most important metric to focus on is Photosynthetic Photon Flux Density (PPFD). It’s a mouthful, but all it means is the amount of usable light that actually hits your plants. PPFD is the most honest measure of a light’s true power for your grow space.
Lighting is the cornerstone of indoor cultivation, often making up 50% of a grower's energy costs while directly impacting yields by 20-30%. For home growers using top-tier autoflower or feminized seeds, optimized full-spectrum LEDs can even lead to a 15% increase in potency, turning a good harvest into a great one.
Choosing Your Light: LED vs. HPS vs. CFL
Alright, let's get to the heart of it: choosing the right light for your indoor grow. This isn't about finding the one "best" light on the market. It’s about figuring out what’s best for your space, your budget, and what you’re trying to achieve. We'll break down the three main players you'll encounter: LEDs, HPS, and CFLs.
Think of it like this: you wouldn't buy a semi-truck to run errands around town, and you wouldn't try to haul furniture with a moped. Each light type has its place, and picking the right one from the start will save you a ton of headaches down the road.
The Modern Standard: LEDs
Let's kick things off with Light Emitting Diodes, or LEDs. These have totally taken over the home grow scene, and for very good reasons. They sip electricity, run remarkably cool compared to older lights, and their lifespan is measured in years, not months.
The real game-changer with LEDs is their full-spectrum output. A quality LED grow light is engineered to provide both the blue light plants crave during vegetative growth and the heavy red light needed for flowering, all from one fixture. This means you can run the same light from sprout to harvest. That kind of simplicity is a huge win, and many growers find the balanced spectrum leads to plants with better aromatic profiles. While the initial price tag is higher, the savings on your power bill month after month really add up.
The Old-School Workhorse: HPS Lights
Next up are High-Pressure Sodium (HPS) lights. For decades, if you were growing indoors, you were likely using HPS. These things are absolute powerhouses, blasting out an intense, orange-red glow that flowering cannabis plants adore. They are famous for producing seriously heavy, dense buds and cost less upfront than a comparable LED setup.
But that power comes with some major trade-offs. HPS lights run incredibly hot and are incredibly inefficient, wasting a huge amount of energy as heat: often 30-50% of the electricity they pull. These bulbs can easily raise the temperature in a grow tent by 10-15°C, meaning a robust ventilation and cooling system isn't a suggestion; it's a requirement to avoid cooking your plants.
For a hobby grower in a small tent, that HPS heat is a constant battle. In a 2×2 or 3×3 foot space, you'll be fighting to keep things stable, which means more fans, more noise, and more energy costs just to manage the environment.
The Budget-Friendly Starter: CFLs
Finally, we have Compact Fluorescent Lights, or CFLs. You know these as the spiral-shaped bulbs from the hardware store. Their main draw is being dirt cheap and putting out very little heat, which makes them a solid choice for a few niche jobs.
You wouldn't use CFLs to flower a full-sized plant: they just don't have the punch. But they are perfect for a couple of specific tasks:
- Seedlings: The gentle light is ideal for young, delicate seedlings that would get overwhelmed by a powerful LED or HPS.
- Micro-Grows: If you're experimenting with a single, small autoflower in a PC case or a tiny cabinet, a handful of CFLs can absolutely get the job done on a shoestring budget.
Think of CFLs as training wheels. They’re a fantastic, low-risk way to get your plants through the early stages, like the ones we detail in our guide on The Growth or Veg Phase, but you'll need to upgrade for serious flower production. For almost every new grower aiming for a satisfying harvest, starting with a quality LED is the most direct path to success.
Matching Your Light to Your Grow Space
Choosing the right grow light isn't just about picking the most powerful one you can afford. I've seen countless new growers make the mistake of either blasting a tiny tent with a massive light, creating a hot, stressful mess, or underpowering a bigger space and ending up with wispy, disappointing buds. The key is balance.
Your first move is simple: measure your space. Don't eyeball it. Grab a tape measure and find the actual square footage of your grow tent or closet. A standard 2×2 foot tent gives you 4 square feet to work with, while a 4×4 foot tent is a much larger 16 square feet. This number is the starting point for everything else.
Finding the Right Power Level
With your square footage handy, you can start to ballpark the wattage you’ll need. This is where things get tricky, because not all watts are created equal. A 400W HPS light and a 400W LED are two completely different beasts in terms of light output and heat.
Here are the rules of thumb I’ve used for years:
- LEDs: These are the industry standard for efficiency. Plan for 30-40 watts of actual power draw per square foot.
- HPS: The old-school powerhouse. Because they throw off so much heat, you need to aim higher, around 40-60 watts per square foot.
- CFLs: These are really only suitable for seedlings. If you go this route, about 30 watts per square foot will get them started.
This chart lays out the most common lighting options and where they fit into a typical home grow.
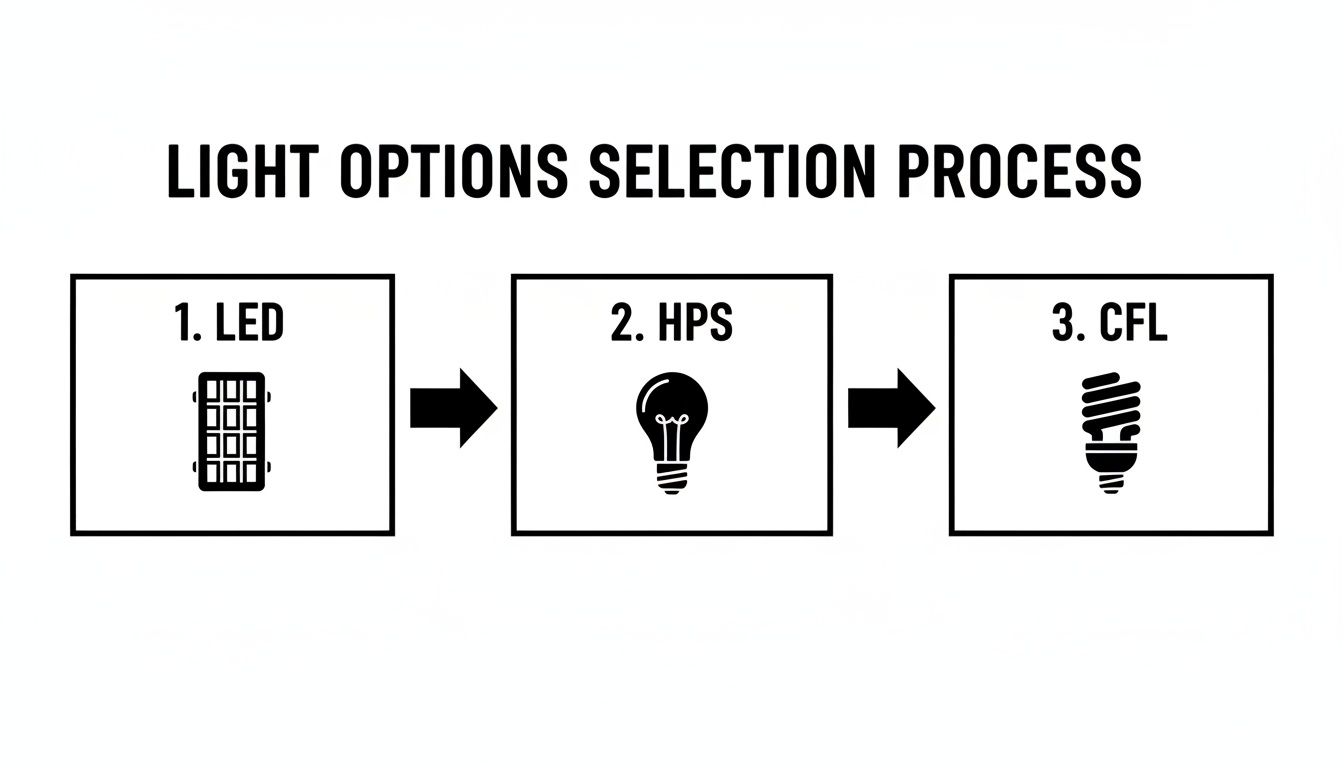
Many growers start with CFLs, graduate to the raw power of HPS, and eventually land on the cool efficiency of modern LEDs. It's a familiar path.
Reading PPFD Maps Like a Pro
Wattage is just a rough estimate. To truly understand how a light will perform in your tent, you need to learn to read a PPFD map. Reputable manufacturers provide these charts, which show the exact light intensity, measured in PPFD, at various points under the fixture. This is how you spot a great light from a mediocre one.
Your goal is to find a light that bathes your entire canopy in consistent, usable light. A good PPFD map is your cheat sheet for avoiding hot spots that burn your plants and weak corners that leave you with underdeveloped buds.
Let's say you're in a 4×4 tent heading into flower. You're shooting for a PPFD of roughly 800-1000 µmol/m²/s across that whole 16 square foot canopy. If a light’s map shows 1200 in the center but drops to 300 at the edges, your outer plants are going to suffer. That's a recipe for an uneven harvest.
Here are a couple of real-world examples:
A 2×2 Tent: Perfect for a single, hefty autoflower. You're lighting just 4 square feet, so a quality 120-150 watt LED will deliver plenty of power. You'll want to see a PPFD map with a strong, even core right where your plant will live.
A 4×4 Tent: This is a classic setup for four good-sized photoperiod plants. To cover all 16 square feet effectively for flowering, you’ll be looking at a much beefier LED, probably in the 450-600 actual watt range. Here, the PPFD map is absolutely critical for ensuring all four plants get the intense light they need for dense flower production.
Getting the right light for your space is one of the most important decisions you'll make. If you want to skip the headache of matching components yourself, check out our guide on choosing the perfect all-in-one grow tent kit. These kits come with a pre-selected light, tent, and ventilation system designed to work together perfectly.
Setting Up Your Lights for Optimal Growth
You’ve picked out your light, awesome. Now for the fun part: getting it dialed in. This is about more than just plugging something in and hoping for the best. You're creating a tiny, self-contained sun and sky for your plants, and getting the setup right from day one is just as critical as the light you chose.
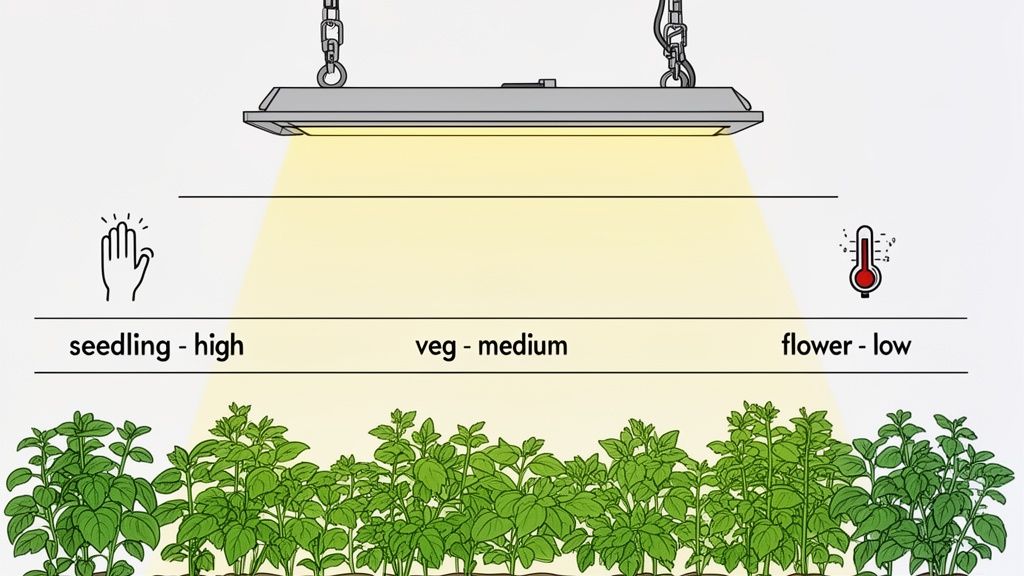
First things first, let's get that light hung securely. Most lights include basic hanging wires, but do yourself a huge favor and grab a pair of adjustable ratchet hangers. Trust me, they make life so much easier. You’ll be able to raise and lower your light with a simple tug as your plants shoot up, no re-tying or fumbling with chains. Just make sure everything is level and solidly attached to your grow tent's support bars.
Dialing in the Distance
Finding the sweet spot for your light’s height is a constant balancing act. If you hang it too close, you’ll cause light burn and stress the tops of your plants. Too far away, and they’ll stretch desperately toward the light, growing tall and spindly instead of bushy and strong. This ideal distance changes as your plants grow.
While you should always check the manufacturer's recommendations for your specific LED, these are some battle-tested guidelines that work for most setups:
- Seedling Stage: Little sprouts are delicate. I always start my lights high, around 24-30 inches from the seedlings. If your light has a dimmer, set it low to 25-50% power.
- Vegetative Stage: Once they're growing strong, you can bring the light closer. Aim for 18-24 inches and slowly bump the intensity up to 50-75%. This is where they’ll do most of their bulking up.
- Flowering Stage: Time to give them everything you've got. The light can come down to 12-18 inches from the top of the canopy, and you'll want to crank it to 100% intensity. Always watch your top leaves closely for any signs of curling or bleaching.
Here's an old-school grower's trick: the "hand test." Place your hand palm-down just above your plant's tallest point for 30 seconds. If the heat feels uncomfortable on the back of your hand, the light is too close. Simple, but it works.
Setting Your Light Schedules
Beyond height and intensity, the daily light schedule is how you communicate with your plants. You're essentially telling them what season it is, which dictates how they grow. The schedule you use will depend entirely on whether you're growing photoperiod or autoflower cultivars.
For Photoperiod Feminized Cultivars
These cultivars need a change in the light cycle to trigger their flowering response. This gives you, the grower, total control over the plant’s size.
- Vegetative Phase (18/6): You’ll run your lights for 18 hours on, 6 hours off each day. This long "daylight" period encourages your plants to focus on vigorous, leafy growth.
- Flowering Phase (12/12): When you're happy with their size and ready to see buds, you "flip" the schedule to 12 hours on, 12 hours off. This mimics the shorter days of autumn and tells the plant it's time to flower. That 12-hour dark period is critical: it must be completely uninterrupted.
For Autoflower Cultivars
Autoflower cultivars are a whole different beast. As their name suggests, they flower automatically based on age, not on the light cycle. This makes them incredibly straightforward. You just have to decide how many hours of light to give them per day.
The two most popular schedules for autoflowers are:
- 18/6: This is the go-to for many growers. It provides plenty of light for robust growth but also gives the plants a solid rest period. As a bonus, it's a bit easier on your electricity bill.
- 20/4: Some growers swear by giving their autos a bit more juice with a 20-hour light cycle. The idea is that more light equals more growth and bigger yields, though it will naturally use more power.
There really isn't one "correct" schedule here; different cultivars can respond differently. If you're just starting out, an 18/6 schedule is a fantastic and reliable place to begin. Nail your setup and schedule, and you’ve built the perfect foundation for an amazing harvest.
Managing Heat and Maximizing Your Investment
You’ve got the perfect light picked out. Great. But don't just hang it, plug it in, and expect magic. Two other things are just as critical for a successful harvest: handling the heat your light generates and knowing exactly what it'll cost you to run it.
Getting these two elements right from the start is what separates the hobbyists from the pros. It means creating a stable environment where your plants can thrive and avoiding any shocking surprises on your monthly electricity bill.
Taming the Temperature
Every single grow light produces heat, even the most efficient, modern LEDs. If you don't have a solid plan for moving that hot air out of your grow tent, you're asking for trouble. High temperatures will stress your plants, stunt their growth, and basically roll out the welcome mat for pests and mold.
This is where your exhaust fan becomes your light's most important partner. The goal is simple: create a steady, gentle exchange of air. Your exhaust fan, mounted near the top of the tent, pulls hot, stale air out. This creates negative pressure, which naturally draws cool, fresh air in through the lower intake vents. It’s a simple concept that's absolutely essential for managing both heat and humidity.
To get the right fan, you need to look at its CFM rating, which stands for Cubic Feet per Minute. This tells you how much air the fan can move. Figuring out the right CFM for your space is refreshingly simple.
First, find the volume of your tent in cubic feet: Length x Width x Height. For a standard 4x4x7 foot tent, the math is 4 x 4 x 7 = 112 cubic feet.
But in the real world, things aren't perfectly efficient. Your carbon filter, ducting, and even the light fixture itself create resistance. As a rule of thumb, I always add 25-50% to the tent's volume to find the target CFM. So for that 112 cubic-foot tent, you’ll want a fan rated for at least 140-168 CFM. This ensures your expensive light can actually do its job in an ideal environment.
Calculating Your Energy Costs
Let's talk money. Running a powerful grow light 12-18 hours a day might sound expensive, but estimating the cost is easy. All you need is your light's actual power draw in watts (not the "equivalent" wattage) and your local electricity rate, which you can find on your utility bill in cents per kilowatt-hour (kWh).
Here's a quick breakdown using a common 300W LED light and an average electricity rate of $0.15 per kWh.
Vegetative Stage (18 hours/day):
- 300W x 18 hours = 5,400 watt-hours, or 5.4 kWh per day.
- 5.4 kWh x 30 days x $0.15 = $24.30 per month.
Flowering Stage (12 hours/day):
- 300W x 12 hours = 3,600 watt-hours, or 3.6 kWh per day.
- 3.6 kWh x 30 days x $0.15 = $16.20 per month.
To make this even easier, here's a table showing what you might expect for different grow scenarios.
Energy Cost Estimation Per Month (Example)
This table provides a sample calculation to help you estimate the monthly electricity cost of running a grow light, based on its wattage and a sample utility rate of $0.15 per kWh.
| Light Wattage | Hours Per Day (Veg) | Hours Per Day (Flower) | Monthly kWh (Veg) | Monthly Cost at $0.15/kWh (Veg) | Monthly Cost at $0.15/kWh (Flower) |
|---|---|---|---|---|---|
| 100W | 18 | 12 | 54 kWh | $8.10 | $5.40 |
| 300W | 18 | 12 | 162 kWh | $24.30 | $16.20 |
| 500W | 18 | 12 | 270 kWh | $40.50 | $27.00 |
| 720W | 18 | 12 | 388.8 kWh | $58.32 | $38.88 |
As you can see, the costs are pretty reasonable, especially when you think about the money you're saving by growing your own.
The efficiency gains in recent years are staggering. Since 2016, top-tier full-spectrum LEDs have cut running costs by 40% while pushing yields up to 2-2.5g per watt. In Europe, 65% of new home grows now rely on LEDs, and some growers with a 4×4 tent report saving over $2,000 a year compared to HPS. You can find more details on these market trends on Roots Analysis.
Smart Features That Save You Money
This is where today’s LEDs truly pull away from older tech. A quality fixture with a built-in dimmer is, in my opinion, a non-negotiable feature. It gives you the power to dial in the light intensity for each growth stage, which saves a surprising amount of electricity.
Seedlings don't need, or want, 100% light intensity. By dimming your light to 50% during the first few weeks, you're not just saving a ton on your power bill. You're also giving your delicate young plants a much gentler start, reducing stress and helping them establish strong roots.
This single feature pays for itself by protecting your investment in good genetics and keeping your running costs as low as possible. It’s the key to making your grow both incredibly productive and highly efficient.
Common Questions About Indoor Grow Lights
Let's run through some of the most frequent questions I hear from growers just getting started with indoor lighting. Getting these fundamentals down will save you a ton of headaches and help you feel way more in control of your grow room.
We'll clear up some common marketing jargon you see on light packaging and decode the signals your plants are sending you. Think of this as your go-to cheat sheet for grow light basics.
What Does 'Full Spectrum' Actually Mean?
You've probably seen "full spectrum" splashed across every LED light box out there. So what is it, really? In simple terms, it's a marketing term for a light that tries to replicate the complete range of natural sunlight. It’s delivering not just the essential reds and blues, but also the greens, whites, and other wavelengths that plants use.
For us home growers, this is fantastic. A quality full-spectrum light can take a plant all the way from a fragile seedling to a fully mature, flowering plant without needing to swap bulbs. Many experienced growers, myself included, have found that full-spectrum LEDs often produce cannabis with a much richer and more complex aromatic profile than you'd get from older HPS lights.
Can I Use a Regular Light Bulb to Grow Cannabis?
I get this question all the time, and the answer is a hard no. A standard incandescent or halogen bulb from your lamp is completely useless for growing cannabis. It's the wrong tool for the job, plain and simple.
Here's exactly why they just don't work:
- Wrong Spectrum: They pump out a lot of heat and almost none of the specific red and blue light cannabis craves for photosynthesis.
- No Intensity: They have virtually zero of the power (the PAR or PPFD we discussed earlier) needed to fuel vigorous growth.
Trying to use a regular bulb will just give you sad, lanky, stretched-out plants that will never produce any buds worth trimming. You absolutely must invest in a proper grow light, whether it’s an LED, HPS, or even a set of strong CFLs for very young seedlings.
How Do I Know if My Light Is Too Close to My Plants?
Don't worry, your plants will absolutely tell you when the light is too much. The most common sign is light burn. It can sometimes look like a nutrient issue, but it only shows up on the very top leaves: the ones closest to your light.
Keep an eye out for leaves turning yellow or brown, especially at the tips and edges. Another classic sign is when the leaves start curling up at the edges, almost folding into a "taco." This is the plant's defense mechanism, trying to physically shield itself from the overwhelming light.
The old-school 'hand test' is still the quickest way to check. Just hold your hand, palm-down, right at the top of your plant canopy for 30 seconds. If the back of your hand gets uncomfortably hot, your light is too close. It’s a simple trick that has saved more harvests than I can count.
Ready to stop guessing and start growing? The right seeds make all the difference. At Botanist Seeds, we've curated a collection of top-tier feminized and autoflower cultivars designed for success. Use our comparison tool to find the perfect match for your setup and start your home-growing journey with confidence.
Find your perfect cultivar today at https://botanistseeds.com.












