




A Complete Guide to Your First Grow Tent Kit
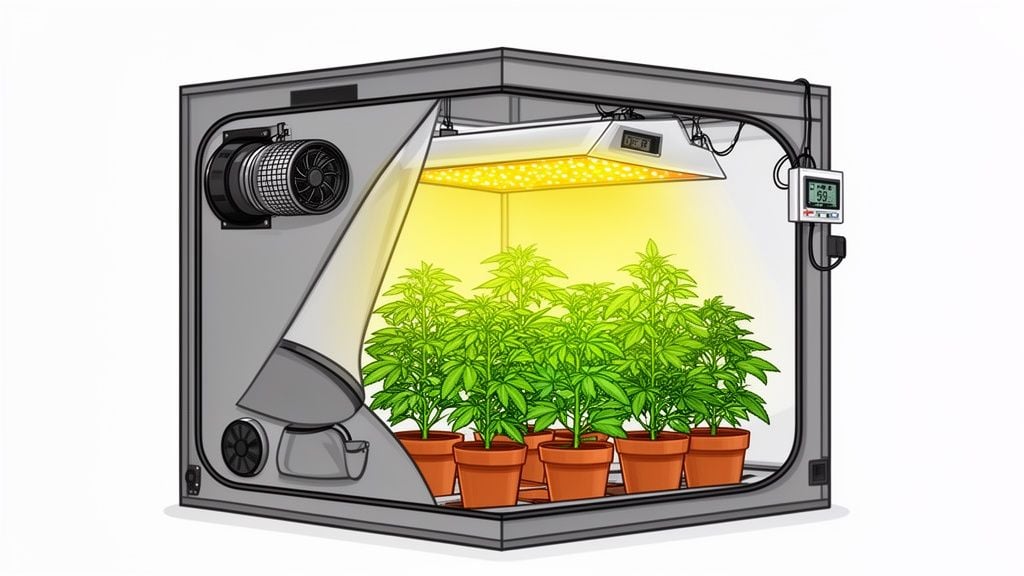
A grow tent kit is basically a complete indoor garden in a box. It’s a self-contained system with everything you need to create the perfect growing environment, giving you total control over light, climate, and privacy from the day you plant a seed to the day you harvest.
Why a Grow Tent Kit Is the Smartest Way to Start
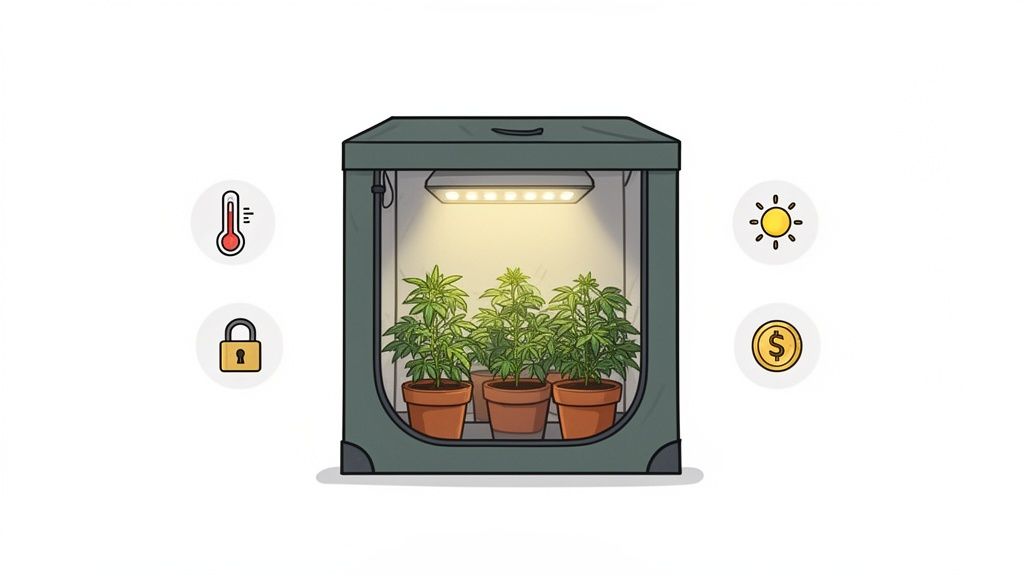
Let's be real: growing at home should be a fun, rewarding experience, not a source of endless frustration. If you’ve ever tried piecing together a grow setup from scratch, you know how quickly the trips to the hardware store and conflicting online advice can get overwhelming. A complete grow tent kit cuts right through all that noise.
Think of it as creating a personal biosphere for your plants. Instead of trying to adapt to your home’s unpredictable environment, you're giving them a dedicated space where every component is designed to work together.
Take Control of Your Grow
The single biggest advantage of using a grow tent kit is the total control it gives you. You're no longer just a grower; you're the architect of a perfect ecosystem, fine-tuned for your plants. That level of control is what consistently separates a disappointing harvest from an amazing one.
A grow tent kit turns a spare closet or a corner of the basement into a high-performance garden. You get to set the rules and create ideal conditions on your terms, instead of just crossing your fingers.
This means you literally create the "weather" inside the tent. You decide the sunrise and sunset with the light timer, you dial in the perfect temperature, and you manage the humidity. For anyone who wants to be self-sufficient, this is a game-changer. You can follow a proven method from day one without all the costly and time-consuming trial and error.
The Practical Benefits of a Kit
Beyond just growing great plants, a kit brings some real-world wins that make it a smart investment right from the start.
- Saving Money: One of the clearest perks is skipping the dispensary lines and, more importantly, saving a ton of money on hefty dispensary taxes. A good kit can easily pay for itself after just a couple of successful harvests.
- Total Privacy and Discretion: A grow tent is your personal business. The sealed design keeps your hobby contained and out of sight, while the carbon filter ensures that all light and odors stay exactly where they belong: inside the tent.
- Quality Control: You know exactly what goes into your plants because you put it there. No mystery pesticides, no strange curing methods. You oversee the entire process, which means you get a pure, clean final product you can trust.
- Personal Satisfaction: There's a special kind of pride that comes from cultivating your own supply. Watching a tiny seed transform into a thriving, mature plant is an incredibly fulfilling experience that connects you directly to what you consume.
A quality grow tent kit makes home cultivation feel accessible and efficient. It bundles the essential equipment you need into one straightforward package, giving you the right foundation to support the premium feminized and autoflower cultivars from Botanist Seeds. This guide will walk you through the rest, so you can start your journey with complete confidence.
Understanding Each Component in Your Grow Tent Kit
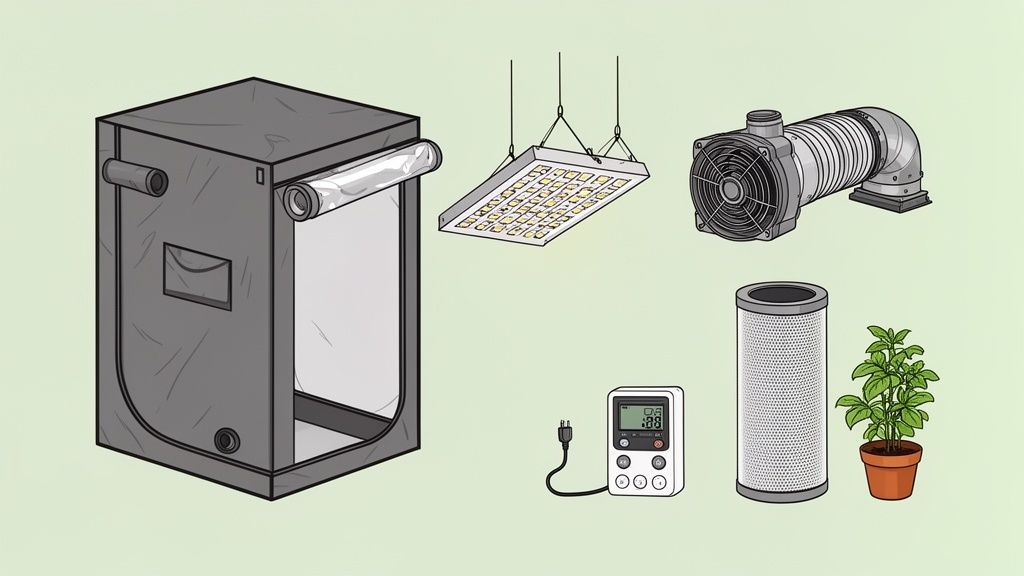
When you first open up a grow tent kit, it can feel a little overwhelming. You have a box full of specialized gear, and it's not always obvious how it all fits together. But here's the good news: every single piece has a specific job, and they all work together to form a complete, self-contained growing environment.
Think of it less like assembling furniture and more like creating a tiny, perfect world for your plants. Once you understand the why behind each component, setting it all up becomes much more intuitive. Let's break down the core parts so you know exactly what you're working with.
A standard grow tent kit comes with a few essential pieces of hardware that create the perfect indoor garden. Each one plays a key role in controlling light, air, and temperature: the three pillars of a successful grow.
Core Components of a Standard Grow Tent Kit
| Component | Primary Function | Why It Matters |
|---|---|---|
| Grow Tent | Creates an enclosed, light-proof, and reflective environment. | Gives you complete control over your plant’s light cycle and maximizes light efficiency, which is crucial for healthy growth and flowering. |
| LED Grow Light | Provides the specific light spectrum plants need for photosynthesis. | Acts as the "sun" for your indoor garden, directly fueling plant growth from seedling to harvest. |
| Ventilation System | Circulates fresh air, removes heat and humidity, and controls odor. | Prevents stale air, mold, and heat stress, ensuring your plants have the fresh CO₂ and stable climate they need to thrive. |
| Carbon Filter | Scrubs odors from the air exhausted from the tent. | Essential for discreet growing. It neutralizes the strong aromas that flowering plants produce, keeping your hobby private. |
| Timer | Automates the on/off schedule for your grow light. | Guarantees your plants get a consistent and uninterrupted light cycle, which is critical for triggering and maintaining the flowering stage. |
With these core pieces working together, you can replicate ideal outdoor growing conditions anywhere in your home. Now, let’s get a closer look at what each one actually does for you and your plants.
The Tent Itself: Your Garden's Foundation
The tent is much more than a frame with some fabric draped over it. It's the foundation of your entire grow, giving you total command over your plant’s world. The tough outer canvas is completely light-proof, which is critical for managing your plant’s "day" and "night" cycles without any outside light leaks causing stress.
Inside, the magic happens. The interior is lined with a highly reflective material, usually a diamond or pebble-textured Mylar. This surface is engineered to scatter light in every direction, ensuring your plants get bathed in light from top to bottom. No corner is left in the dark, which means less wasted energy and more uniform, vigorous growth.
The LED Grow Light: Your Plant’s Personal Sun
Your LED grow light is the engine of the entire operation. It delivers the full-spectrum light that drives photosynthesis, powering your plant’s journey from a tiny sprout to a bud-heavy final product. Thankfully, modern LEDs are a world away from the hot, power-hungry bulbs of the past.
Today's high-efficiency LEDs run much cooler and use a fraction of the electricity. This is a huge win for your power bill and makes managing tent temperatures much easier. These smart LEDs can cut energy consumption by 20-30% compared to older tech, making home growing more accessible than ever.
The Ventilation System: The Lungs of Your Grow
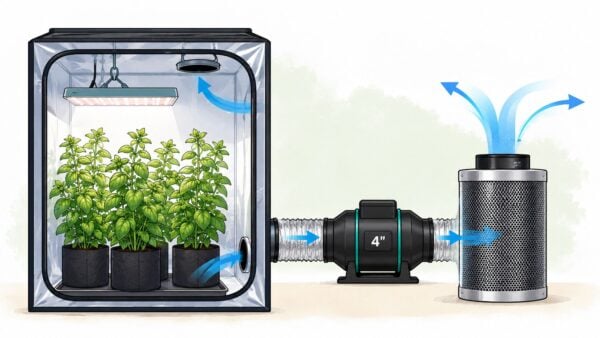
Just like us, your plants need to breathe. The ventilation system is the set of lungs for your tent, constantly exchanging old, stale air for fresh, CO2-rich air from outside. This system is typically made up of an inline fan, ducting, and a filter.
This constant airflow accomplishes a few vital tasks:
- Temperature Control: It efficiently pulls out the warm air generated by the grow light.
- Humidity Management: It stops moist, stagnant air from building up, which is a leading cause of mold and mildew.
- Fresh Air Supply: It delivers the steady supply of CO₂ that plants consume during photosynthesis.
Without proper ventilation, your tent would quickly become a hot, humid box: the exact opposite of the stable, breezy environment your plants crave. You can learn more about dialing in your environment in our complete guide on growing cannabis.
A great ventilation setup is like a constant, gentle breeze for your plants. It keeps the air fresh, the temperature stable, and the plants happy. It’s one of the most important factors for a healthy, problem-free grow.
The Carbon Filter: Your Odor-Control Secret
As your plants mature and begin to flower, they’ll produce some very potent and distinct aromas. This is where the carbon filter becomes your best friend. It attaches directly to your ventilation system to "scrub" the air clean before it’s exhausted from the tent.
Inside the filter is a bed of activated carbon, which has a massive surface area that traps and neutralizes odor molecules on contact. When installed correctly, it guarantees that the only thing leaving your tent is fresh, odor-free air. For any grower concerned with privacy, a quality carbon filter is non-negotiable.
Finally, every kit includes a simple but essential timer. This little device plugs into your light and automates your light schedule, turning it on and off at the exact same times every single day. This unwavering consistency is what tells your plants when to grow and when to flower, making it a crucial tool for a successful harvest.
How to Choose the Right Grow Tent Size
Let's get real about one of the first, and most important, decisions you’ll make: what size grow tent to get. Think of it like buying your first car: you need to be honest about your budget, how much garage space you have, and what you actually plan to do with it.
Choosing wrong can either choke your harvest potential before you even plant a seed or, worse, you'll end up with a giant box that simply won't fit where you need it to. To avoid that classic beginner's mistake, let’s figure out how to match a tent to your space and growing goals.
Start with Your Space and Goals
Before you get attached to a shiny new grow tent kit, grab a tape measure. Seriously. Find the spot in your spare room, closet, or basement where you envision your setup, and measure it out. Don't forget to leave yourself some wiggle room on all sides: you'll need it for ventilation and to actually work on your plants.
With your physical dimensions in hand, have an honest chat with yourself about what you want to accomplish. Are you just growing a little something for yourself? Or are you aiming to become the most popular person in your friend group? The answer directly points to the right tent size.
A small tent is like a nimble sports car: perfect for a quick, personal run. A bigger tent is the family SUV; it's built for serious hauling but needs a lot more room to park and maneuver.
Here’s a quick rundown of the most popular sizes and what you can realistically expect from them:
- The 2'x2' Tent: This is the perfect starting point if you're new to the game or just don't have a lot of space. It’s small enough to tuck away in a closet and is ideal for raising one or two compact autoflower plants.
- The 4'x4' Tent: Meet the fan favorite. This is the sweet spot for most home growers, offering a fantastic balance of growing space and a manageable footprint. You can easily grow two to four bigger feminized cultivars or a whole squad of autoflowers. It’s the top seller for a good reason.
- The 5'x5' Tent: For growers with big ambitions. This tent gives you some serious real estate, comfortably housing four to six large plants for truly substantial harvests. Just be sure you have the room for it and are ready for the upkeep that comes with a larger garden.
Matching Tent Size to Your Preferred Cultivars
The kind of plant you want to grow is a huge factor here. Cultivars, just like people, have different needs. Some are short and stout, others are tall and lanky, and you need to give them the space they need to flourish.
Our autoflower cultivars are absolutely brilliant for smaller tents. Their compact size and fast lifecycle make them incredibly efficient in a 2'x2' or 2'x4' setup. You can easily fit a couple of them in there without anyone feeling crowded.
On the other hand, our feminized cultivars often grow into much larger, taller plants that need both horizontal and vertical space to hit their full potential. For these beauties, a 4'x4' tent is a solid starting point, giving you enough room for plant training techniques that will really pack on the weight. If you're running several of these larger ladies, a 5'x5' tent will give them the luxurious space they deserve.
Planning for a Perpetual Harvest
If you're really looking to level up your growing game, think about your entire workflow from seed to harvest. Many seasoned growers run what’s called a perpetual harvest, which is a way of saying they always have something growing. This typically means using two separate tents: a small one for seedlings and young plants, and a bigger one just for flowering.
For instance, you could use a small 2'x2' kit to get your seeds going and through their vegetative stage. As soon as they're big enough to start flowering, you'd move them into a larger 4'x4' tent to finish their journey. The moment that move happens, you can pop a new batch of seeds in the small tent.
This two-tent system creates a non-stop production line, ensuring a steady supply year-round. If that sounds like your kind of setup, just make sure you plan your space for two tents instead of one. No matter what you choose, you can use the Botanist Seeds comparison tool to find cultivars perfectly suited to the size and style of your dream grow.
Your Step-by-Step Grow Tent Setup Guide
So, the box has arrived. It’s time to get this thing built and bring your personal garden to life. Don't even bother with those confusing instruction pamphlets and their tiny diagrams: we'll walk through this together, one logical step at a time. This is the fun part, where a box of parts becomes a perfect, self-contained growing environment.
Think of it less like a chore and more like building with adult-sized Legos. No special tools are needed, just a bit of patience. We’ll start with the skeleton and work our way up.
Step 1: Assemble the Tent Frame
First up, find some floor space and lay out all your poles and corner connectors. Take a minute to group the poles by length. It seems simple, but it will save you a headache later. Start by building the square base of the frame, connecting the shorter poles with the bottom corner pieces.
Once you have a solid base, pop the vertical poles into the corners. Now, build the identical top square on the floor and then lift it onto the vertical poles, making sure every connection is snug and secure. This metal frame is the backbone of your entire operation.
Step 2: Fit the Tent Canvas
This next part requires a bit of finesse, not force. Unzip every single zipper on the canvas: doors, vents, everything. Gently pull the canvas over the top of the frame, working it down each side evenly. It's a lot like putting on a tight jacket.
The key here is to go slow and avoid yanking on the fabric or seams. Once the canvas is mostly on, you may need to duck inside to pull the bottom floor into place. Make sure the waterproof spill tray is laid out flat inside before zipping everything shut.
Pro Tip: To make sure your zippers are truly light-proof, run them back and forth a couple of times to "settle" them. Once closed, check that the interior fabric flaps behind the zippers are laying flat. They're designed to block any potential light leaks, but only if they're positioned correctly.
Step 3: Install the Ventilation and Filter
With the tent sealed, it’s time to install its lungs. Your ventilation system: the inline fan, carbon filter, and ducting: is crucial for managing heat and odor. For the best results, you'll want the carbon filter inside the tent, hanging from the top support bars.
- Connect one end of your flexible ducting to the carbon filter.
- Feed the other end of the ducting through one of the upper exhaust ports to the outside of the tent.
- Attach that end of the ducting to the intake side of your inline fan.
- Finally, run a second piece of ducting from the fan’s exhaust to wherever you plan to vent the air (like a nearby window or into the same room).
This setup pulls smelly air through the filter first, scrubbing it clean before it ever touches the fan. This not only gives you the best odor control but also helps keep your fan running efficiently for longer.
Choosing the right size tent is all about balancing your plant count with your available space, as this visual guide shows.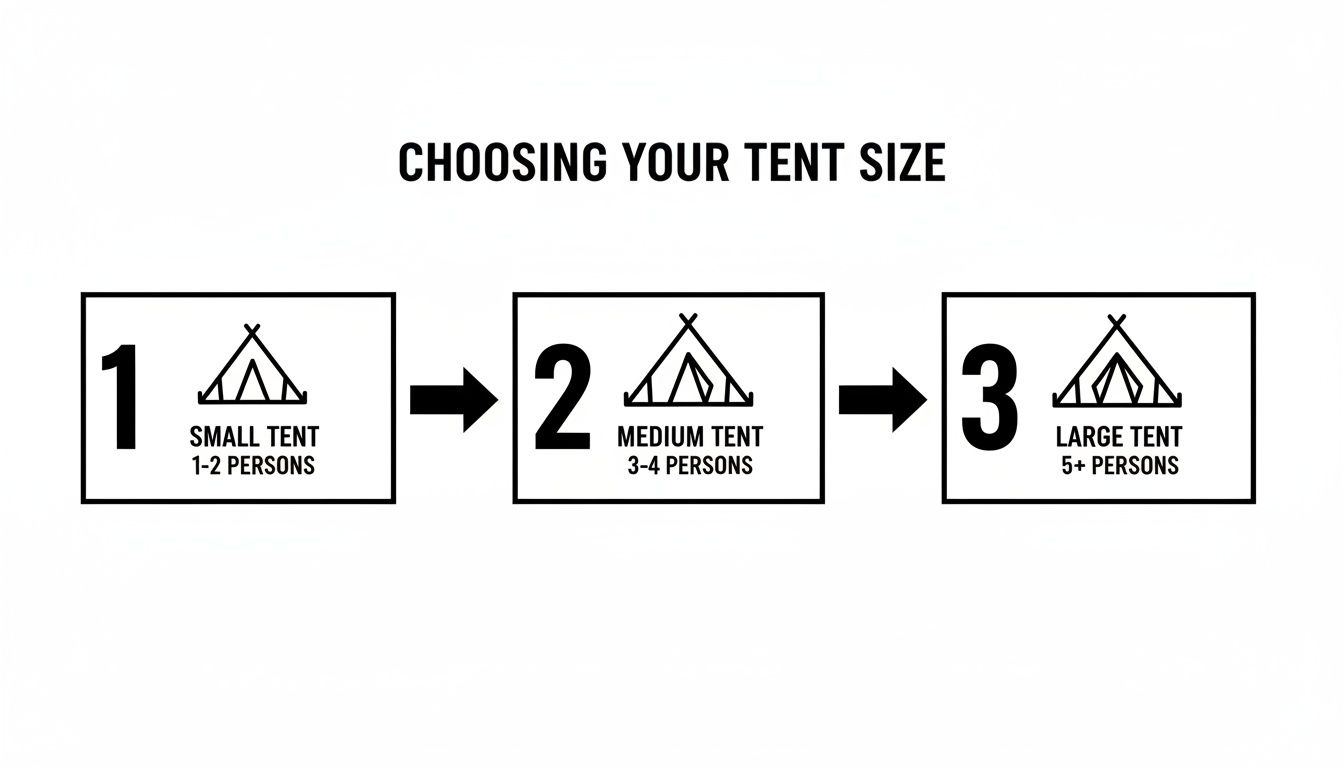
Whether you're starting with one or two plants or planning a larger perpetual harvest, there's a tent size designed for your goals.
Step 4: Hang the Light and Set the Timer
The last big piece of the puzzle is installing the personal sun for your plants: the LED grow light. Use the hangers that came with your kit to suspend the light from the center support bars. Adjust the height based on the manufacturer’s recommendation for the seedling stage: you'll be moving it up as the plants grow.
With the light hanging securely, plug its power cord into your timer, and then plug the timer into a reliable power strip or wall outlet. For most autoflowers, a light cycle of 18 hours on and 6 hours off is the gold standard for promoting strong, healthy growth.
And that’s it! Your grow tent is officially assembled and ready for its first residents. You've just created a perfect, controllable environment to grow some amazing plants.
To help you keep track, here is a simple checklist to follow during the assembly process.
Grow Tent Kit Setup Checklist
| Step | Action Item | Key Tip |
|---|---|---|
| 1 | Unpack & Organize | Group all poles and connectors by size before you begin building. |
| 2 | Build the Frame | Assemble the base first, then add the vertical poles, and finish with the top frame. |
| 3 | Fit the Canvas | Unzip all zippers completely, then gently slide the canvas over the frame. Don't force it. |
| 4 | Install Ventilation | Hang the carbon filter inside the tent and connect it to the fan outside via ducting. |
| 5 | Hang the Light | Use the provided hangers to suspend the LED from the central support bars. |
| 6 | Set the Timer | Plug the light into the timer and set your desired schedule (e.g., 18/6 for autoflowers). |
Following these steps in order will make the setup smooth and ensure everything is placed correctly for optimal performance from day one.
Pairing Your New Tent with Perfect Cultivars
With your grow tent up and running, it's time for the most exciting decision: choosing what to grow. A dialed-in setup like yours deserves some equally impressive genetics. Let's connect the dots between your new gear and the harvest you've been dreaming of.
Think of it this way: you wouldn't try to raise a Great Dane in a tiny studio apartment. The same logic applies to your plants. Matching a cultivar's natural growth habits to your tent’s dimensions is the single biggest key to a smooth, rewarding grow.
Matching Cultivars to Tent Size
The home grower is no longer a niche hobbyist: you're part of a massive movement. In fact, residential demand for grow tents has completely outpaced commercial interest. The market for home growers is set to grow by more than USD 300 million between 2023 and 2028, all thanks to people like you taking control of their own cultivation.
Let’s make sure you get it right from day one.
For Small Tents (e.g., 2'x2'): Space is your main constraint, so you need plants that stay compact and finish quickly. Our autoflowers are the perfect solution. They're genetically wired to start flowering in just a few weeks and tend to stay short and bushy, making them ideal for tents with limited headroom. You can comfortably fit one or two without things getting crowded.
For Medium Tents (e.g., 4'x4'): This is the sweet spot for versatility. A tent this size gives you plenty of options. You can pack it with a bunch of autoflowers for a fast turnaround, or you can step up to our high-yielding feminized cultivars. These plants get bigger and respond incredibly well to training, letting you fill out the entire canopy for some seriously impressive harvests. A 4'x4' is the perfect playground for learning those techniques.
For Large Tents (e.g., 5'x5' and up): If you've got the room, you have the potential for massive yields. This is where big, photoperiod-sensitive feminized cultivars really show what they can do. With enough space to stretch their legs, you can grow several large, tree-like plants that will keep your jars overflowing for a long time to come.
Thinking About Aromas and Environment
Another important factor is the cultivar's aroma. While your carbon filter is a workhorse, some cultivars are notoriously fragrant: or "loud," as growers say. If keeping things discreet is a top priority, you might want to choose a cultivar known for a more subtle, sweet, or fruity scent.
Your grow tent is a finely tuned environment. Choosing cultivars that align with its capabilities: both in size and odor control: sets you up for a stress-free experience and a fantastic result. It's about working smarter, not harder.
The Botanist Seeds comparison tool is your best friend here. It lets you filter our entire seed catalog by key traits like height, flowering time, and yield potential. You can use it to pinpoint the exact cultivars that will thrive in the environment you’ve built.
For those just getting their feet wet, picking a forgiving cultivar is a great way to build confidence. If you're looking for recommendations on plants that are easy to manage indoors, you might be interested in our guide to the easiest strains to grow.
Ultimately, pairing the right seeds with your tent is the final piece of the puzzle. When you consider your space and your goals from the very beginning, you can choose genetics that will flourish, leading to the kind of personal harvest that makes all this effort so worthwhile.
Simple Routines for a Thriving Indoor Garden
So, your tent is up, the lights are humming, and your plants are in their new home. What's next? Now comes the best part: settling into a simple rhythm of care that will make your garden flourish. Don't think of it as a list of chores. It's more like being a good plant parent, which is all about consistent, easy check-ins.
Keeping your tent in great shape is the secret to a bigger, better harvest, and it makes the whole experience a lot more fun. A few straightforward routines are all it takes to guide your grow from a tiny seedling to a successful harvest.
Your Daily 5-Minute Check-In
The most valuable thing you can do is spend five minutes in your tent every day. This short visit is your window into the health of your garden. Try to make it a regular part of your morning or evening: it’s time well spent.
- Check Temperature and Humidity: Just glance at your hygrometer. Are the readings where they should be for your plant's current growth stage? This simple look-see lets you spot environmental shifts before they cause any real trouble.
- Look at Your Plants: I mean, really look at them. Are the leaves reaching for the light? Is their color deep and uniform? Healthy plants look happy and full of life. Drooping or discoloration tells you something needs attention.
- Check the Soil: The classic finger test never fails. Stick your finger about an inch deep into the soil. If it’s dry, it’s probably time for a drink. If you feel moisture, hold off for another day.
This daily habit is how you stay ahead of the game. It’s all about being proactive, not reactive, which is the key to a grow you can actually enjoy.
Watering and General Tidiness
Watering is a skill, and it's where most new growers stumble. The trick is to water deeply but let the soil dry out in between. When you do water, give enough so a little bit runs out of the bottom into the saucer. This ensures the entire root ball gets hydrated. Then, just wait for the pot to feel light again.
A clean grow space is a healthy grow space. Taking a few minutes to wipe up spills, remove dead leaves, and keep your tools organized prevents pests and disease from ever getting a foothold. It's a simple step that pays huge dividends.
This isn't just about keeping things looking nice. A well-maintained tent is a pristine environment where your plants can put all their energy into growing, free from the stress of pests or mold.
The Big Picture on Home Growing
Mastering these simple routines is what turns a grow tent kit from a box of parts into a powerhouse. There's a reason the global grow tent market is expected to reach USD 1.27 billion by 2032: growers everywhere are discovering these kits are the ultimate starting point. They give beginners the control to boost yields by 30-50% compared to the gamble of growing outdoors. You can read more on the future of home cultivation in this market intelligence study.
Your tent gives you the ability to create the perfect climate. Your daily care is what keeps it dialed in, leading to the immense pride that comes from a successful harvest you grew all on your own.
Frequently Asked Questions About Grow Tent Kits
You have questions, and we have answers. Over the years, we've heard just about everything from growers getting started. Let's walk through a few of the most common ones to clear things up before you get started.
How Much Can I Realistically Harvest?
Let's get right to it: this is what everyone wants to know. Your final harvest weight really boils down to three things: your skill level, the cultivar you’re growing, and the size of your tent.
For a first-timer working with a 2'x2' tent and a hardy autoflower, pulling 2-4 ounces is a totally realistic goal. It's the perfect way to learn the ropes and still end up with a nice personal supply.
Once you have a harvest or two under your belt, those numbers start climbing. In a 4'x4' kit, a grower who knows their way around a couple of healthy feminized cultivars can easily see 8-16 ounces, sometimes even more. That controlled environment is your secret weapon for maximizing yield.
Will a Grow Tent Kit Make My Electric Bill Go Up?
It's a fair question, but don't sweat it too much. Modern kits, especially those running high-efficiency full-spectrum LEDs, are built to be light on power consumption. Most growers find their bill only goes up by about $20-$50 a month, depending on local rates.
When you think about the money you'll save by growing your own instead of buying it, the kit usually pays for itself in just one or two harvests. It's a small price to pay for total control and self-sufficiency.
Is a Grow Tent Kit Completely Smell-Proof?
A well-designed grow tent kit is your best defense against unwanted odors. The whole system is engineered for stealth: the sealed tent contains the air, the inline fan pulls it out, and the carbon filter scrubs it clean before it's released.
Is any system 100% foolproof? Probably not. But a properly sealed and vented kit will eliminate the vast majority of tell-tale smells, keeping your hobby discreet and your air fresh.
This is non-negotiable when you’re growing some of the more pungent feminized cultivars, which you can explore in our full feminized seed catalog. Proper odor control means your grow stays your business, and nobody else's.
Ready to start your own indoor garden? Botanist Seeds makes it easy to find the perfect genetics for your new setup. Explore our curated selection of premium feminized and autoflower seeds at https://botanistseeds.com and begin your growing journey with confidence.