





Table of Contents
Germinating cannabis seeds is the easiest part of the grow to get right and the easiest part to ruin. Seeds do not need fertilizer, light, or anything clever. They need moisture, warmth, oxygen, and to be left alone. Most failed germinations come from a grower doing too much, not too little.
This guide covers the four methods worth using, the exact conditions your seeds want, and what to do the moment a taproot appears. Every Botanist Seeds order is backed by our 90% Germination Guarantee, and following the steps below is how you keep that coverage intact.
- 🌡️ Temperature: Keep seeds at 22–25°C (71–77°F). Below 20°C germination stalls; above 28°C you risk rot.
- 💧 Humidity: Aim for 70–90% around the seed. Damp, never soaking. A drowned seed suffocates.
- 🌙 Darkness: Seeds germinate in the dark. Light is for seedlings, not seeds.
- 🥛 Water: Use distilled, RO, or filtered water at room temperature. Chlorinated tap water is a common, avoidable killer.
- ⏱️ Timeline: Most seeds crack in 24–72 hours. A visible taproot appears in 3–5 days. Give slow seeds up to 7–10 days before writing them off.
- 🌱 Plant when the taproot is 1–2 cm (about ½ inch) — root tip pointing down, 10–15 mm deep, then hands off.
- ✅ Guarantee: Botanist Seeds backs every order with a 90% Germination Guarantee.
What You Need Before You Start
You can germinate seeds with things already in your kitchen. Gather everything first so you are not fumbling with wet seeds later.
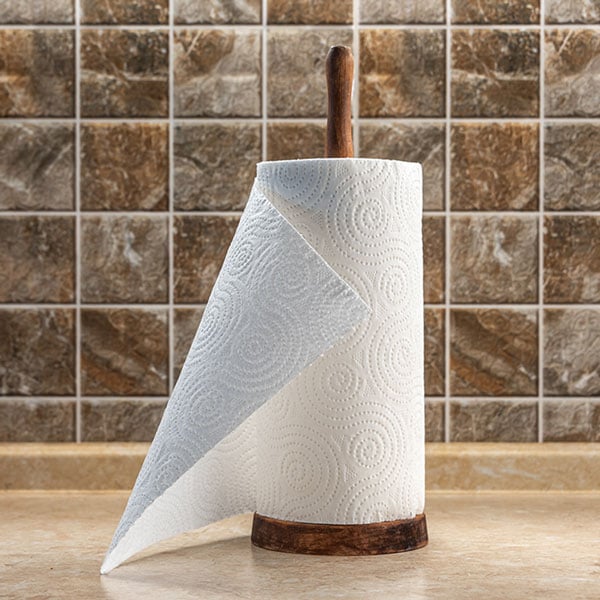
Plain paper towel (unbleached, no printed patterns or lotion)
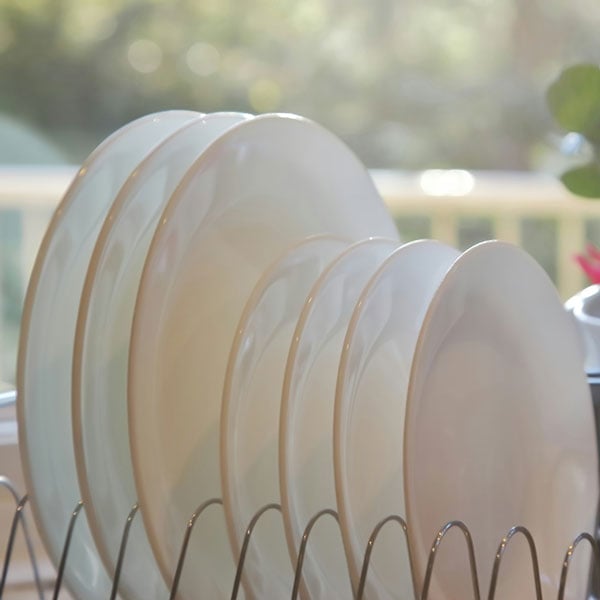
Two dinner plates, or a sealable container
Distilled or RO water at room temperature
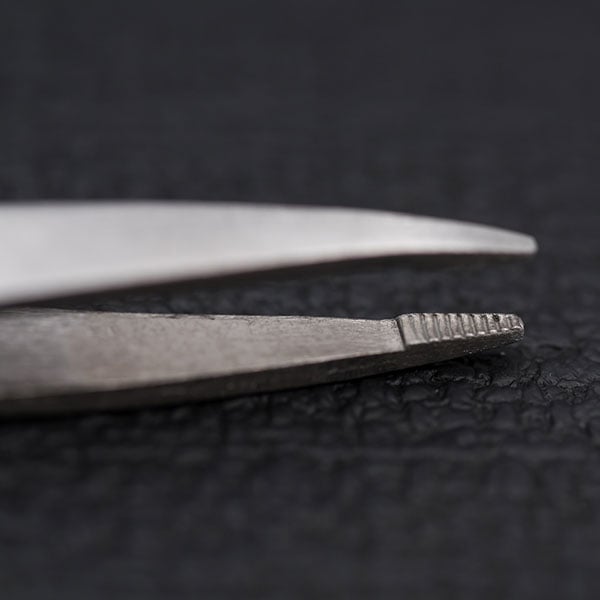
Clean tweezers
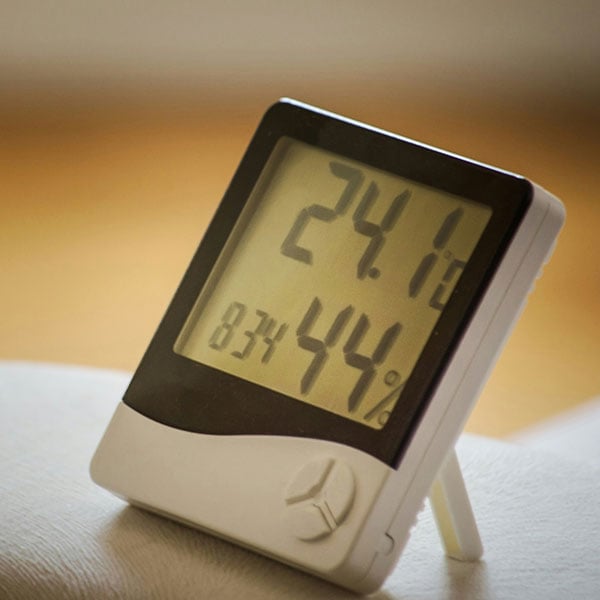
A thermometer, ideally with a humidity reading

A dark, draft-free spot that stays warm
Four Ways to Germinate Cannabis Seeds
There is no single correct method. There is the method that suits your setup, your seed count, and how much you are willing to handle a fragile root.
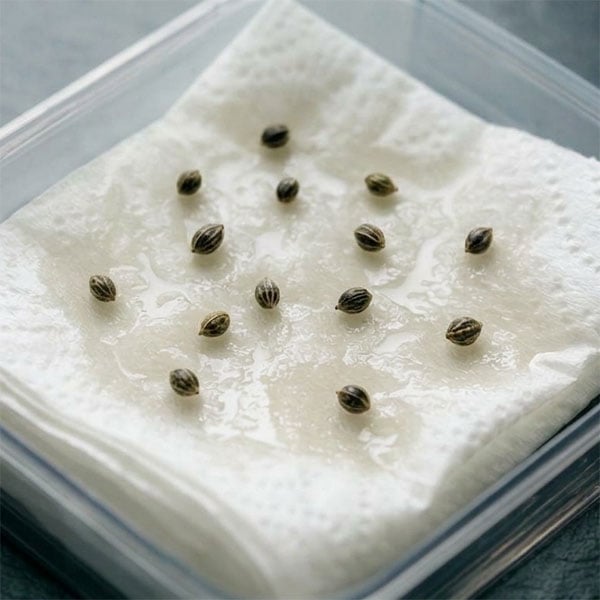
The Paper Towel Method
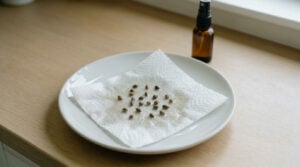
Seeds go between two sheets of damp paper towel, sandwiched between plates, and sit in the dark. It is the most popular method for one reason: you can see exactly what is happening without disturbing anything.
- Best for: Beginners, small batches, anyone who wants confirmation before committing soil.
- Timeline: 24–72 hours to crack.
- Trade-off: You have to transplant a delicate taproot by hand.
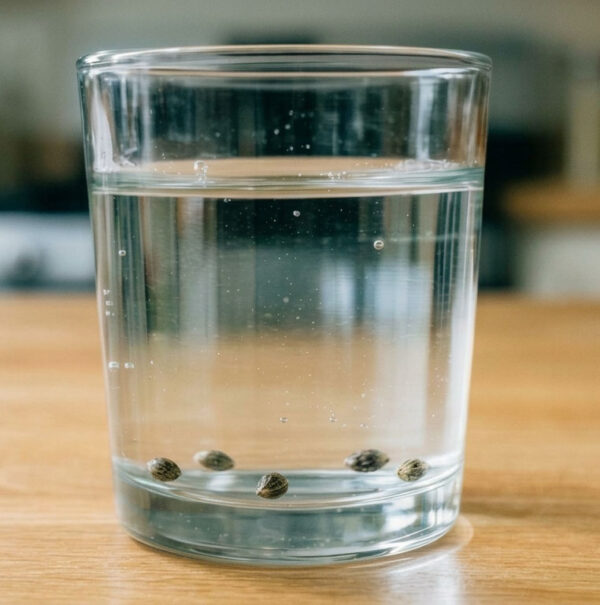
The Glass of Water Method
Drop seeds into a glass of room-temperature water and leave them in a dark, warm spot. Dry, hard-shelled seeds often benefit most, since the soak softens a shell that would otherwise resist.
- Best for: Drier seeds, hard shells, seeds that failed to crack using another method.
- Timeline: 12–24 hours of soaking, then move to paper towel or medium.
- Trade-off: Water holds limited oxygen. Past 24 hours, seeds start drowning.
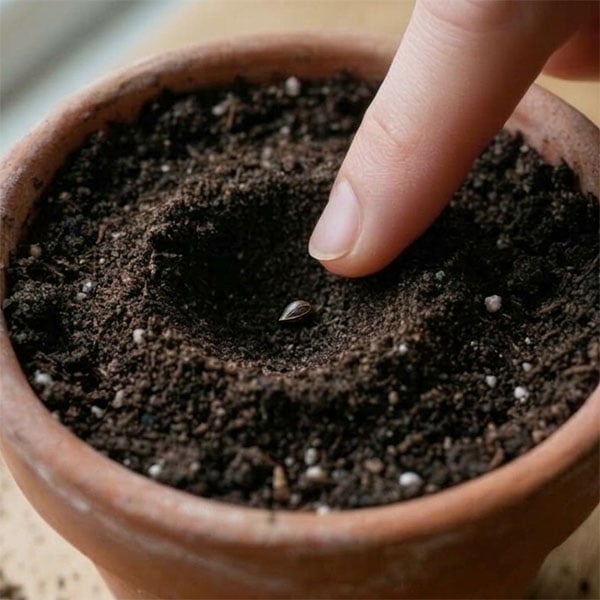
Direct to Medium
Plant the seed straight into pre-moistened soil or coco, 10–15 mm deep, and let it come up on its own. This is how it works in nature.
- Best for: Growers who want zero transplant shock, outdoor grows, autoflowers.
- Timeline: 4–10 days to break the surface.
- Trade-off: You are working blind. If a seed fails, you will not know for a week.
Autoflowering seeds especially reward this method. Autos run on a fixed clock rather than a light schedule, so days lost to transplant recovery are days of yield you never get back.
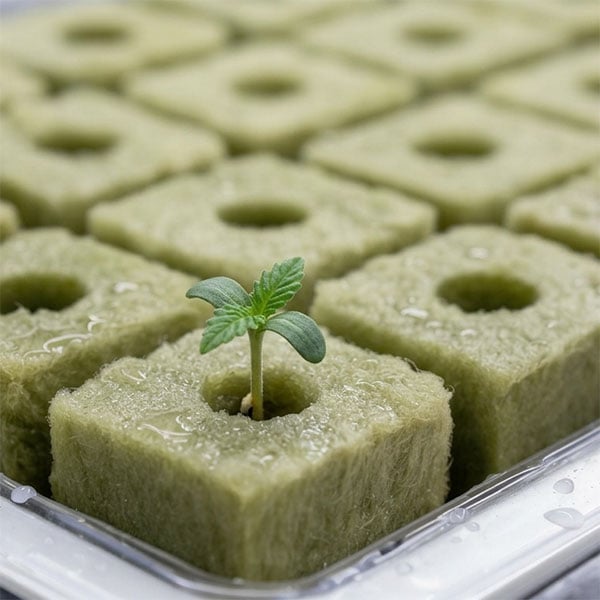
Starter Cubes and Plugs
Rockwool cubes, peat plugs, and pre-formulated soil plugs hold moisture and air in a stable ratio, which is exactly what a germinating seed wants. Drop the seed in the pre-made hole, keep the cube damp, and move the whole cube into your medium once roots show.
- Best for: Running many seeds at once, hydroponic setups, repeatable results.
- Timeline: 1–3 days, often the fastest of the four.
- Trade-off: Costs money, and rockwool needs pH-adjusted water before use.
Step-by-Step: The Paper Towel Method
This is the method we recommend to first-time growers. Follow it exactly.
Step 1 — Dampen Two Sheets of Paper Towel
Wet the towel with room-temperature distilled water, then wring it out until it is damp but not dripping. Squeeze one corner: if water runs out, it is too wet.

Step 2 — Space the Seeds Out
Lay the seeds on one sheet with at least an inch between them. Taproots tangle, and separating them later means snapping one.
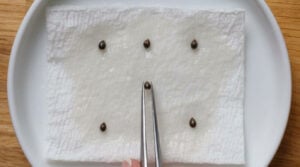
Step 3 — Cover and Sandwich
Lay the second damp sheet on top, then place the whole thing between two plates, or in a sealed container. The goal is to trap humidity while leaving a little air.
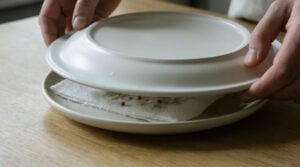
Step 4 — Put It Somewhere Warm and Dark
Find a spot holding 22–25°C. The top of a fridge, a linen cupboard, or a drawer near a heat source all work. Avoid direct sunlight and windowsills, where temperature swings 10 degrees overnight.
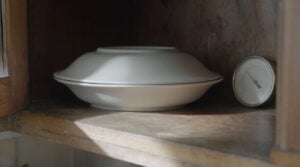
Step 5 — Check Once a Day, No More
Open it once every 24 hours. Confirm the towel is still damp and re-mist if it has dried at the edges. Do not poke the seeds, do not turn them over, and do not squeeze them to see if they are soft.
Step 6 — Wait for the Taproot
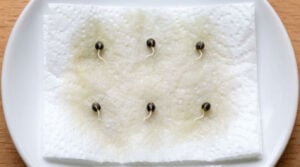
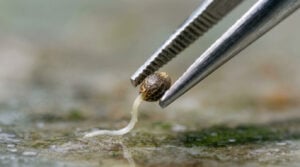
You are looking for a white root pushing out of the split shell. Most seeds crack within 24–72 hours and show a clear taproot by day three to five. A seed that has done nothing by day seven may still come — give it to day ten before replacing it.
Step 7 — Plant at 1–2 cm of Root
Once the taproot reaches roughly ½ inch, it is ready. Longer roots are more fragile and more likely to have grown into the paper towel fibers.
Step 1 — Dampen Two Sheets of Paper Towel
Wet the towel with room-temperature distilled water, then wring it out until it is damp but not dripping. Squeeze one corner: if water runs out, it is too wet.
Step 2 — Space the Seeds Out
Lay the seeds on one sheet with at least an inch between them. Taproots tangle, and separating them later means snapping one.

Step 3 — Cover and Sandwich
Lay the second damp sheet on top, then place the whole thing between two plates, or in a sealed container. The goal is to trap humidity while leaving a little air.
Step 4 — Put It Somewhere Warm and Dark
Find a spot holding 22–25°C. The top of a fridge, a linen cupboard, or a drawer near a heat source all work. Avoid direct sunlight and windowsills, where temperature swings 10 degrees overnight.
Step 5 — Check Once a Day, No More
Open it once every 24 hours. Confirm the towel is still damp and re-mist if it has dried at the edges. Do not poke the seeds, do not turn them over, and do not squeeze them to see if they are soft.

Step 6 — Wait for the Taproot
You are looking for a white root pushing out of the split shell. Most seeds crack within 24–72 hours and show a clear taproot by day three to five. A seed that has done nothing by day seven may still come — give it to day ten before replacing it.
Step 7 — Plant at 1–2 cm of Root
Once the taproot reaches roughly ½ inch, it is ready. Longer roots are more fragile and more likely to have grown into the paper towel fibers.
Moving Your Sprouted Seed Into Its First Home
Pre-moisten your medium before you make the hole. Dry soil wicks water away from the root.
- Make a hole 10–15 mm deep with a pencil or your finger.
- Lower the seed in taproot pointing down. Gravity has already told the root which way is down; fighting it costs the seedling days.
- Cover loosely with medium. Do not press or compact it — the shoot has to push through.
- Mist the surface lightly. Do not soak the pot.
- Give gentle light. An 18/6 schedule with the lamp well back, or indirect natural light, is plenty. Seedlings burn easily.
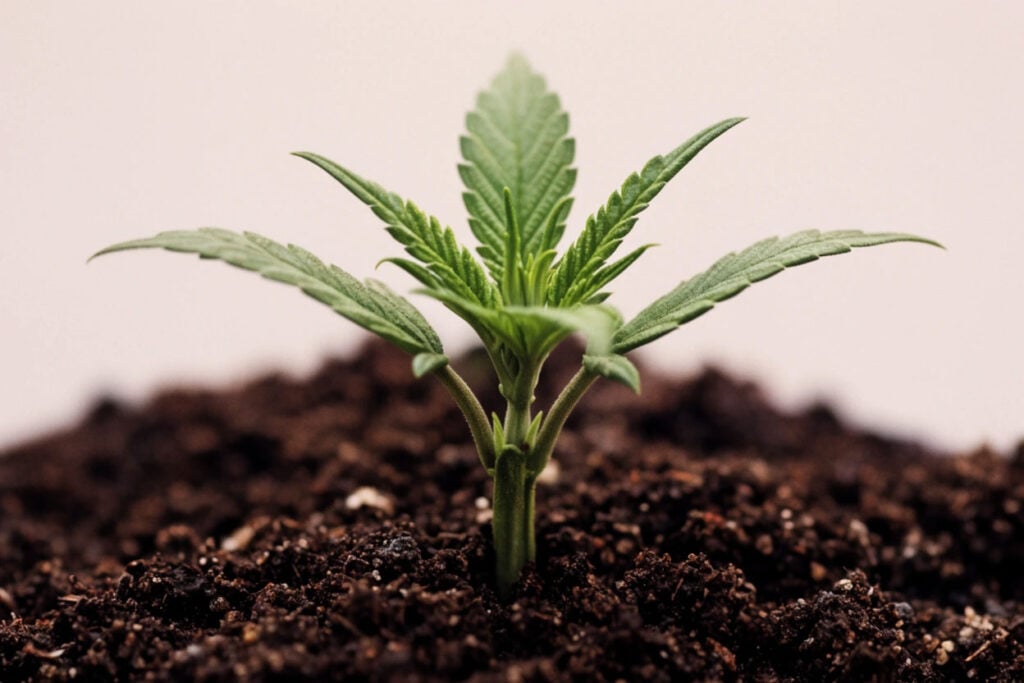
Expect the shoot to break the surface in 2–5 days. Keep the surface lightly damp and resist the urge to feed. The seed carries everything the plant needs for its first week or two.
Common Mistakes That Kill Germination Rates
- Soaking too long. Past 24 hours in water, seeds run out of oxygen and rot.
- Using tap water. Chlorine and chloramine damage the emerging root. Filter it, or leave tap water uncovered for 24 hours before use.
- Too cold. A room at 18°C will not kill seeds, but it slows them so badly that growers give up on viable ones.
- Too much light. Seeds germinate in darkness. Save the lamp for after the shoot appears.
- Squeezing seeds. Testing firmness with your fingers crushes the internal embryo.
- Planting too deep. Anything past 20 mm and the shoot exhausts itself before it reaches air.
- Feeding nutrients. A germinating seed cannot use them, and salts in the medium pull moisture back out of the root.
Backed by Our 90% Germination Guarantee
Every order from Botanist Seeds is covered by our 90% Germination Guarantee. If you follow the conditions above — correct temperature, clean water, proper depth — and your seeds do not perform, we stand behind them.
Full terms, eligibility, and how to file a claim are on our Germination Guarantee. Questions before you start? Email contactus@botanistseeds.com or call 1 888 826 7849.
Getting It Right the First Time
Germination rewards patience more than skill. Set the temperature, use clean water, keep it dark, and check once a day instead of six. The growers with the highest success rates are almost always the ones doing the least.
Once your taproot is down and the first true leaves appear, the plant is out of its most fragile stage. From there, the grow is yours.
What People Ask When Germinating Seeds
Most seeds crack open within 24–72 hours, and you'll usually see a little white taproot by day three to five. Fresh seeds tend to be the quickest. Older or hard-shelled seeds can take seven to ten days, so try not to worry if one is slow. Give it the full window before you replace it.
Not necessarily, so don't give up on it yet. Check that the towel is still damp and the spot is staying above 21°C. A chilly room is the most common reason seeds stall. If everything looks right and there's still nothing by day ten, the seed probably wasn't viable, and that isn't your fault.
Save that for last, and only for an old seed that has already been through a soak without cracking. Gently rubbing the seam with fine sandpaper can help water get in, but it's easy to nick the embryo inside. Try a 24-hour soak first. That's often all a stubborn seed needs.
They can, as long as they've been kept cool, dark and dry. Well-stored seeds stay viable for several years, though fewer will sprout and they may take longer as they age. Seeds that have sat somewhere warm or humid lose their strength much faster, so a sealed container in the fridge is a kind home for them.
Aim for 22–25°C (71–77°F), with 70–90% humidity around the seed. Keeping it steady matters more than hitting an exact number. A calm, constant 22°C will do better than a room that swings between 18°C and 27°C.
Oh, it happens to all of us. Plant it anyway, since you have nothing to lose. Some seedlings with a snapped root tip do bounce back, though most don't. Next time, hold seeds by the shell with clean tweezers. It almost completely prevents this.
Absolutely. Plant them 10–15 mm deep in soil you've moistened beforehand, and keep the surface lightly damp. You won't be able to watch the root appear, but you also skip transplant stress entirely. That's a lovely trade for autoflowers.
