




A Home Grower’s Guide to pH for Cannabis
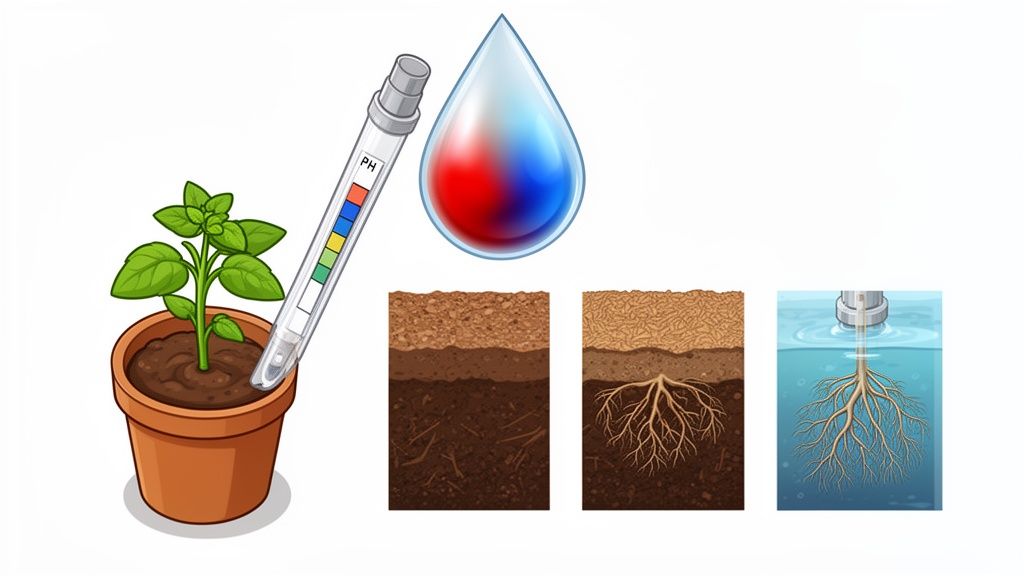
For any home grower, the secret to a huge, healthy harvest often comes down to one simple thing: getting the pH right. The magic numbers you're aiming for are a pH between 6.0-7.0 in soil and a slightly more acidic 5.5-6.5 in soilless media like coco coir or hydroponics.
Getting this right is probably the single most impactful thing you can do for your plants.
Why pH Is the Key to Unlocking Your Plant's Potential
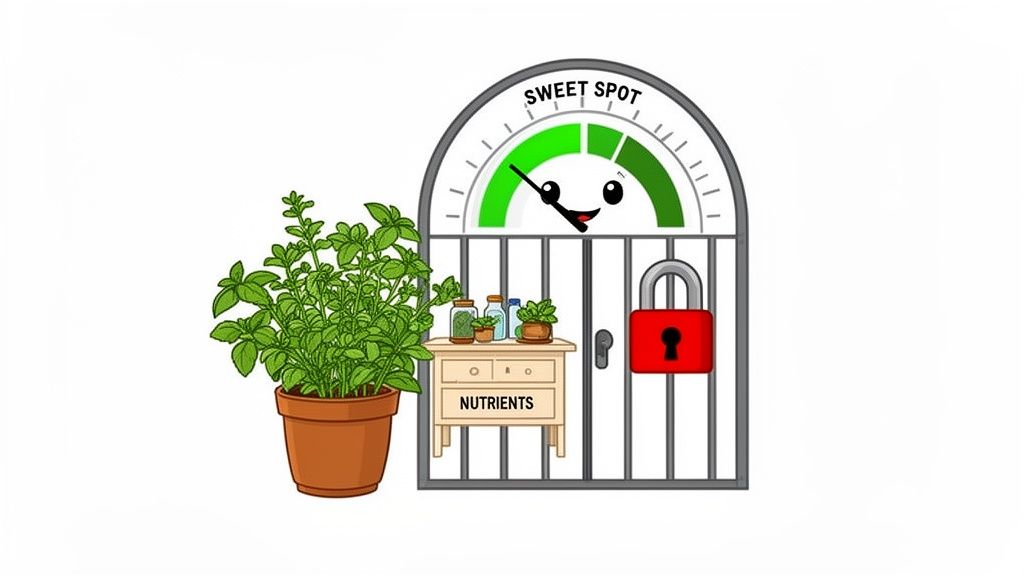
Here's the best way to think about it: pH is the gatekeeper standing between your plant's roots and the nutrients you're feeding them. It's a scale from 0 to 14 that measures how acidic or alkaline your water and grow medium are. When that number is in the "sweet spot," the gate swings wide open, letting your cannabis plants soak up all the essential food they need to thrive.
If your pH drifts too high or too low, that gate slams shut. This is a classic grower problem called nutrient lockout. Suddenly, your plant is starving, even though there's a buffet of food right there in the soil. You'll see it as stunted growth, yellowing or discolored leaves, and a disappointing harvest. You could be feeding your plants the best nutrients money can buy, but without the correct pH, they're completely wasted.
Quick Guide to Ideal Cannabis pH Ranges by Grow Medium
One of the first things every grower learns is that the perfect pH isn't a universal number. It changes based on what you're growing in. Soil, coco, and hydro setups each have a unique chemical environment that dictates which pH level makes nutrients available to the roots.
This table gives you the target ranges for the most common growing methods. Find your setup and you'll know your sweet spot.
| Grow Medium | Ideal pH Range |
|---|---|
| Soil | 6.0 – 7.0 |
| Coco Coir | 5.5 – 6.5 |
| Hydroponics / DWC | 5.5 – 6.5 |
As you can see, the medium makes all the difference. Let's quickly break down why.
Different Setups, Different Rules
Your chosen grow medium directly impacts how you'll manage pH. There's no one-size-fits-all answer here, so you have to play by the rules of your specific setup.
- Soil: Growing in soil is the most forgiving. The organic matter and microorganisms in good soil act as a natural buffer, helping to stabilize pH swings. You have a wider margin for error, which is great for beginners.
- Coco Coir: This popular medium is technically a soilless, hydroponic-style of growing. It naturally holds onto certain minerals, so it requires a more acidic pH than soil to prevent nutrient lockout, especially for calcium and magnesium.
- Hydroponics: In a hydro system, there's no soil to buffer anything. The roots are directly exposed to the nutrient solution, making pH management absolutely critical. You have to be precise and monitor it constantly.
The bottom line is that managing pH is a non-negotiable part of growing great cannabis. It's the difference between a plant that just survives and one that truly thrives, expressing the full potential of its genetics.
By taking the time to understand this single concept, you’re putting yourself on the fast track to a much smoother and more successful grow. It’s a simple habit that pays off with bigger yields and better quality, especially when you're working with premium feminized seeds. This foundation is a core part of what we teach in our other articles on growing cannabis.
Choosing the Right Tools for Testing Cannabis pH
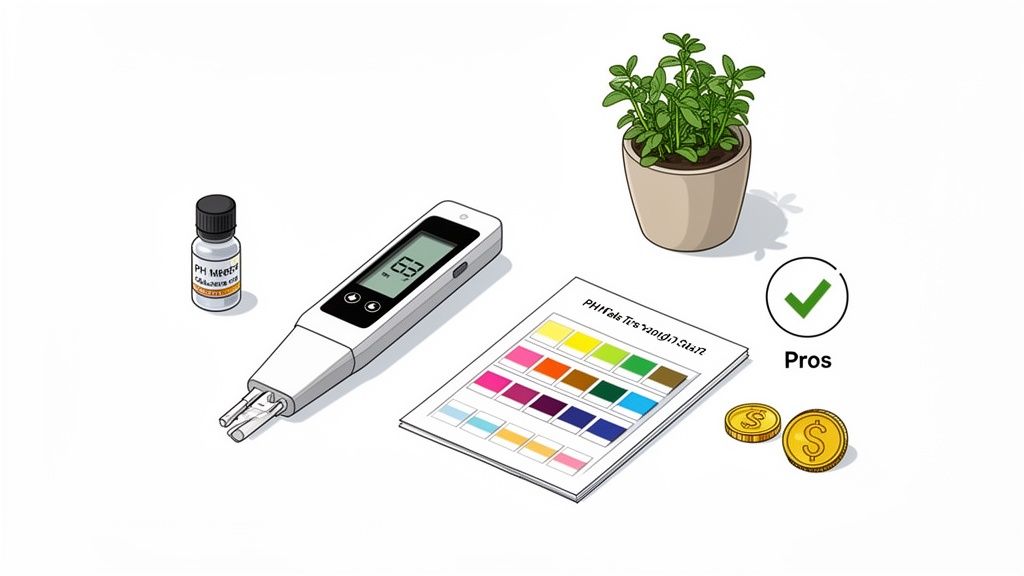
As any experienced grower will tell you, you can’t manage what you don’t measure. Now that we've covered why pH is so critical for your cannabis plants, it’s time to get practical. How do you actually check it?
You’ve got a couple of great options that fit any budget or experience level. It really comes down to choosing between a simple, reliable tool and one that offers a higher degree of precision.
Digital pH Meters
Think of a digital pH meter as the serious grower's go-to instrument. This is a handheld device with a glass probe on the end. You just dip it into your water or nutrient solution, and in a few seconds, you get a precise digital reading, often accurate to a tenth of a point.
That level of accuracy is a game-changer. When you’re aiming for a very specific target, like 5.8 for a hydroponic setup, a digital meter removes all the guesswork. You know exactly where you stand.
Of course, with great precision comes a little bit of responsibility. Digital meters must be calibrated regularly to maintain their accuracy. This means dipping the probe into special solutions with a known pH (typically 4.0 and 7.0) and adjusting the meter to match. It's a quick, simple task that becomes part of your routine.
A digital meter is an investment in your garden's consistency. If you're serious about getting the absolute best from your plants, especially with sensitive autoflower or feminized cultivars, the accuracy is well worth the minor upkeep.
pH Test Strips or Drops
If a digital meter is the precision instrument, then pH test strips or drops are the old-school, reliable standby. These are either small paper strips or a liquid dye kit. You dip a strip into your water or add a few drops to a sample, and the color changes based on the pH. You then match that color to the included chart.
Here’s the simple breakdown of this method:
- Pros: They are incredibly cheap, widely available, and have zero learning curve. No batteries, no calibration. For a brand-new grower, it's a fantastic, low-risk way to start monitoring your pH.
- Cons: The main downside is the lack of precision. You're matching colors by eye, which can be subjective, and you're getting a pH range (like "somewhere between 6.0 and 6.5") instead of a hard number.
For growers using soil, which is more forgiving and has a wider pH sweet spot, test strips are often more than enough to do the job. However, if you're running coco or a hydro system where pH can drift quickly, a digital meter is the smarter choice. In my experience, most growers who start with strips eventually upgrade to a digital meter.
Making the Right Choice for Your Grow
So, which one should you buy? If you're just starting your first grow and want to keep initial costs low, strips are a perfectly fine place to begin. They’ll get you in the habit of testing.
But if you see yourself sticking with this hobby and want to eliminate one of the biggest variables that can hurt your harvest, a quality digital pH meter is one of the best tools you can own. The upfront cost pays for itself by helping you prevent nutrient lockout, an issue that can derail an entire crop.
Having the right tools is just as important as your lights or ventilation. If you're building your first garden from the ground up, our guide to choosing a complete grow tent kit can help you make sure you've got all the essential components for a successful run.
How to Adjust pH in Your Water and Nutrient Solution
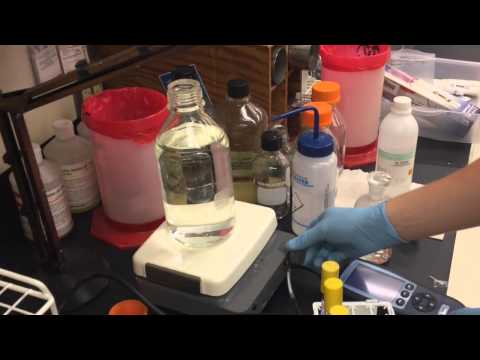
Alright, you’ve tested your water and the pH is off. Don't panic. This is a normal part of every grower's routine, and getting it right is much simpler than it sounds. Adjusting the pH for your cannabis plants is a quick process that will soon become second nature.
The trick is to think like you're seasoning a soup: you add a little bit, stir, and taste. You’d never dump the whole salt shaker in at once, right? The same idea applies here: make small adjustments, stir well, and re-test. This "less is more" mindset will save you a world of headaches and keep you from overcorrecting, which is often a bigger problem than what you started with.
The Correct Order of Operations
Before you start adding anything to your water, let's nail down the sequence. Getting this habit right is one of the most important things you can learn for consistent, accurate pH readings. It stops you from chasing a moving target.
Here’s the simple, non-negotiable order:
- Start with Your Water: Fill your container with the amount of water you plan to use for this feeding.
- Add Your Nutrients First: This is the key. Mix in all your base nutrients and any supplements you're using. Nutrients are almost always acidic and will cause the pH of your plain water to drop significantly.
- Test the pH: Once everything is mixed thoroughly, now is the time to test the pH of the final solution. This reading is what your plants will actually get.
- Adjust if Necessary: If your pH is outside the target range, you can now add your pH adjuster.
Following this order is crucial. If you pH your plain water first and then add acidic nutrients, you'll just have to adjust it all over again. Work smarter, not harder.
Using pH Up and pH Down Products
The most straightforward and reliable way to manage pH is with commercially made solutions called pH Up and pH Down. These are concentrated liquids that you add drop by drop to your nutrient mix.
A small bottle from any hydro store will last you a surprisingly long time, making it a worthy investment. pH Down is typically a food-grade acid (like phosphoric acid), while pH Up is a base (like potassium hydroxide). They are specifically designed to be stable in your solution, so your pH won't drift all over the place a few hours later.
Here’s how to use them safely:
- Start Small: Add just a few drops of pH Up or pH Down to your reservoir. Seriously, start with maybe a quarter of a capful for a five-gallon bucket. You can always add more.
- Mix Thoroughly: Stir the solution for at least 30 seconds to make sure the adjuster is completely distributed.
- Wait and Re-Test: Give it a minute or two to settle, then test the pH again.
- Repeat as Needed: Keep going with tiny additions and re-testing until you've landed in your sweet spot.
The goal is to gently guide the pH into place, not jolt it. It might take a few rounds the first time you do it, but you'll quickly get a feel for how much your specific water and nutrient mix needs.
What About Organic Alternatives?
For growers working with living soil, the philosophy is a bit different. In an organic garden, the goal is to foster the microbial life that helps buffer the soil's pH naturally. While commercial adjusters will work, many organic growers prefer to use natural inputs to make gradual changes.
- To Lower pH (Make More Acidic): Amending soil with inputs like compost, worm castings, or peat moss will gradually lower its pH. Some growers use a splash of lemon juice or vinegar in their water, but be warned: these aren't very stable and can cause the pH to swing back up after a short time.
- To Raise pH (Make More Alkaline): Materials like dolomite lime, wood ash, or crushed oyster shells can be mixed into your soil to slowly raise the pH over time.
These organic methods are really for long-term soil health, not for quick, on-the-fly fixes. For immediate adjustments when watering soil and for all coco and hydroponic growing, sticking with a proper pH Up/Down solution is the most reliable and consistent method for keeping your cannabis plants happy.
Tailoring pH to Your Plant's Growth Stage
A cannabis plant’s appetite changes dramatically as it grows, and your pH strategy needs to change right along with it. Think of it like this: pH is the gatekeeper that decides which nutrients can get to your plant's roots. By adjusting your pH levels at each stage, you're essentially opening the right gates at the right time.
This isn't about chasing a single "perfect" number. It's about steering your pH within a specific range to give your plants access to the exact menu of nutrients they're craving for that particular phase of life.
The Delicate Start: Seedling Stage
As soon as your seeds pop, you're dealing with tiny, fragile seedlings. Their root systems are brand new and incredibly sensitive. Getting the pH right at this point is everything, it lays the foundation for the entire life of the plant.
For these little guys, a slightly more acidic environment is ideal. It helps them absorb the phosphorus they need for strong root development and the nitrogen required for that first flush of green, leafy growth.
- Soil: Aim for a pH between 6.0 and 6.5.
- Coco & Hydro: Keep it in a tighter window of 5.6 to 6.2.
A stable pH here helps seedlings establish themselves fast, giving you a much healthier, more vigorous plant down the road.
Fueling Growth: Vegetative Stage
Once your plant has a few solid sets of leaves, it kicks into high gear. This is the vegetative stage, and it’s all about explosive growth. Your plant’s one mission is to build a powerful frame with as many branches and broad leaves as possible to capture light.
To fuel all this construction, the plant gets hungry for nitrogen, along with plenty of magnesium and calcium. The best way to deliver this is to let your pH swing a little within the target range. Different nutrients become available at slightly different pH points, so a little fluctuation is actually a good thing.
For instance, nitrogen is easier for the plant to absorb at a slightly lower pH, while magnesium uptake is better on the higher end of the range. Letting your pH drift a bit ensures the plant gets a full, balanced meal.
- Soil: A pH of 6.0 to 7.0 gives you a great working range. Don't be afraid to water at 6.2 one day and 6.7 the next.
- Coco & Hydro: Work within 5.7 to 6.3.
Focusing on Buds: Flowering Stage
The moment you flip your lights for photoperiod cultivars or your autoflower decides it's time, the plant’s entire mission changes. It stops trying to get bigger and redirects all its energy into producing dense, sticky, resin-covered buds.
This shift comes with a whole new diet. The plant now craves massive amounts of phosphorus (P) and potassium (K), the two key players in any bloom nutrient formula. These are the elements responsible for flower density, weight, and developing those incredible aromatic profiles you’re after.
To make sure your plant can pack on the weight, you’ll want to slightly lower your pH target. Both phosphorus and potassium are much easier for the plant to absorb in a slightly more acidic root zone.
- Soil: Narrow your target range down to 6.0 to 6.5.
- Coco & Hydro: Bring your pH down to between 5.8 and 6.2.
This small adjustment makes a world of difference. It's the final key that unlocks your plant's full potential, helping it bulk up and finish strong for a truly impressive harvest.
Troubleshooting Common pH Problems in Your Garden
Even the most seasoned growers run into pH issues from time to time. Don't sweat it. Think of it as part of the journey. The great thing about cannabis plants is they're pretty talkative, if you know how to listen. They’ll show you clear signs when something’s off, and spotting them early is the key to keeping your harvest on track.
When you see a problem, the first instinct is often to panic. But with a little know-how, you can quickly diagnose the issue, fix it, and get a huge confidence boost in the process.
Decoding What Your Plants Are Telling You
So, what exactly happens when your pH goes sideways? The plant’s roots essentially get locked out from absorbing specific nutrients, even if they're plentiful in the soil or water. This is called nutrient lockout.
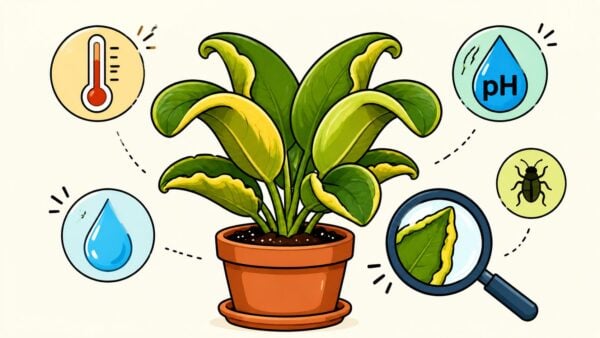
Different nutrients become unavailable at different pH levels, and each deficiency paints a different picture on the leaves. Learning to read these visual cues is one of the most valuable skills you can develop as a grower. Yellowing, brown spots, or curled, twisted growth aren't random; they're your plant sending up a flare, telling you something is wrong in the root zone.
This decision tree gives you a fantastic visual roadmap for where your pH should be at every stage of growth.
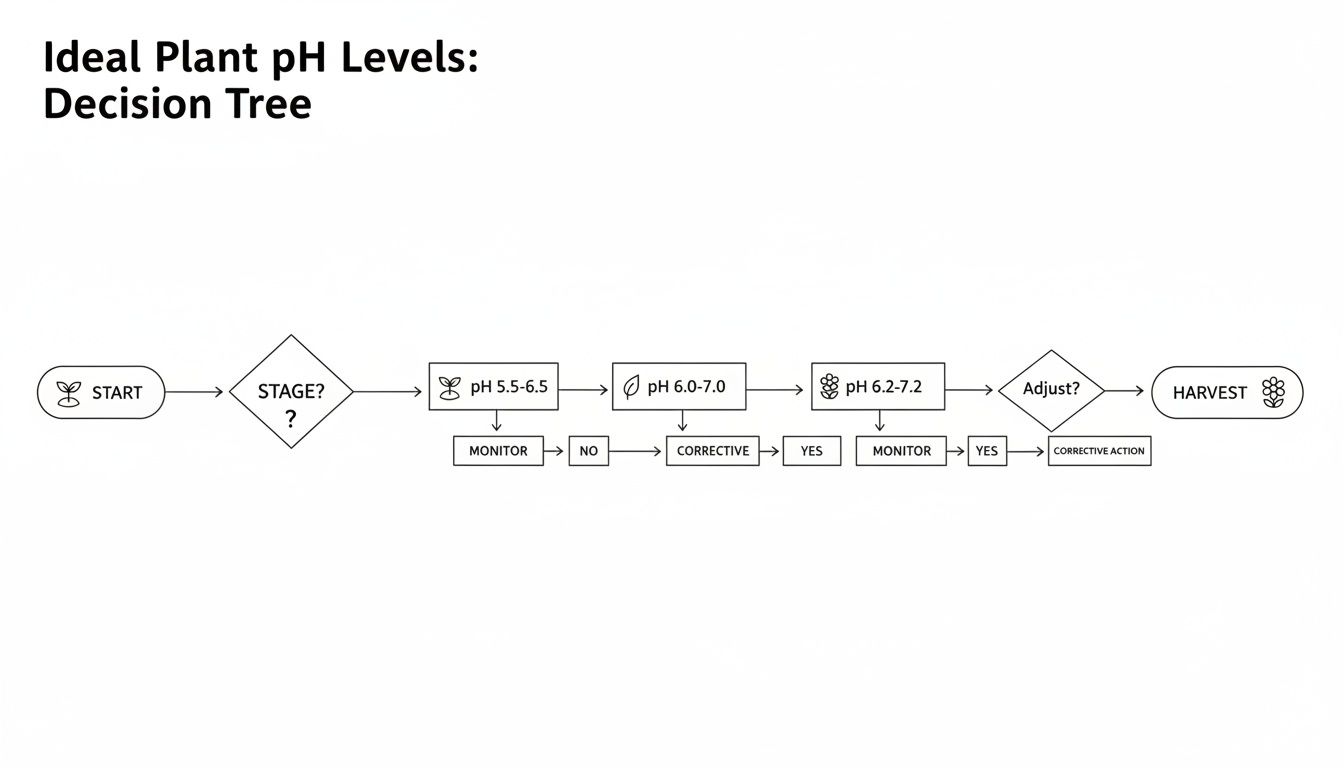
As you can see, you’ll want a slightly more acidic environment for seedlings and flowering plants to help with root development and bud-building nutrients. During the vegetative stage, you have a little more wiggle room.
Common pH-Related Nutrient Lockout Symptoms
To help you play detective, we've put together a quick reference table. Use it to connect what you're seeing on the leaves to what might be happening with your pH.
| Symptom (On Leaves) | Potential pH Problem | Nutrient Being Locked Out |
|---|---|---|
| Yellowing between veins on new growth | Too High (alkaline) | Iron, Manganese |
| Yellowing on older, lower leaves | Too High (alkaline) | Magnesium |
| Brown spots and twisted new growth | Too Low (acidic) | Calcium |
| Overall yellowing starting from bottom | Too Low or Too High | Nitrogen |
| Dark, curled, "claw" leaves | Too Low or Too High | Could indicate a nutrient toxicity from pH swings |
Paying attention to where the issue shows up (new top leaves vs. old bottom leaves) is just as important as the symptom itself. It gives you a much clearer idea of what's really going on.
The Grower's Diagnostic Game Plan
Okay, so you've spotted some discolored leaves. What's next? Don't just dump more nutrients on the plant, that can actually make things much worse. Your first move is always to check the pH.
- Check Your Process: First things first, double-check your routine. Are you adding nutrients to your water before you test and adjust the pH? This is a super common mistake that throws everything off.
- Test Your "Input": Mix your next feeding exactly as you normally would. Before you water, test the pH of that nutrient solution. Is it in the right range for your medium?
- Test Your Runoff: If your input pH is perfect but your plants are still unhappy, it's time for a runoff test. Water your plant until you see about 10-20% of the water drain out of the bottom holes. Collect that runoff water and test its pH.
- Connect the Dots: Is your runoff pH wildly different from your input pH? That's a sure sign that excess nutrient salts have built up in your grow medium, creating a toxic environment for the roots.
A big difference between your input pH and runoff pH is the smoking gun. For example, if you water with a solution at pH 6.5 and your runoff comes out at pH 5.2, you know the root environment has become far too acidic.
How to Get Your Plants Back on Track
If that runoff test confirms a pH problem in the root zone, the fix is usually a "flush." It sounds dramatic, but it’s really just about hitting the reset button on your soil or coco.
To flush your plant, you’ll slowly pour a large amount of plain, pH-balanced water through the medium. A good rule of thumb is to use two to three times the pot's volume. For a 3-gallon pot, that means slowly running 6-9 gallons of properly pH'd water through it. This bath washes away all the built-up salts and rebalances the medium's pH.
After the flush, let the medium dry out a bit. When it's time for the next feeding, use a half-strength nutrient solution to ease the plant back into its routine. This simple reset can turn a sad-looking plant around in just a few days, getting you right back on track for a successful harvest.
Answering Your Top Questions About Cannabis pH
Let's go over some of the most common, real-world questions that come up once you start trying to dial in your pH. We hear these all the time from growers, so let's clear the air and get you growing with confidence.
How Often Should I Test My pH?
This one comes down to your growing medium, but the golden rule is consistency.
If you're growing in hydroponics or coco coir, the answer is simple: test your nutrient solution every single day. These soilless mediums are "unbuffered," meaning they have no natural cushion to absorb pH swings. The pH can drift overnight, so a daily check is non-negotiable for keeping your plants thriving.
For those growing in soil, you have a bit more breathing room. Quality soil acts as a natural buffer, helping to keep the pH stable. Still, the best practice is to test your water or nutrient solution every time before you feed. It might sound tedious, but it quickly becomes a two-minute habit that prevents weeks of headaches trying to fix a nutrient lockout down the road.
Do I Really Need to Test My Runoff?
Testing your runoff pH isn't something you need to do every day, but it’s an incredibly powerful diagnostic tool. Think of it as getting a direct status report from your plant's root zone.
All you have to do is water your plant thoroughly and collect a sample of the water that drains from the bottom of the pot. Test the pH of that collected runoff, and here’s what it can tell you:
- Runoff pH is close to your input pH: Perfect. This means the environment in your root zone is stable and balanced.
- Runoff pH is way off from your input pH: This is a huge red flag. It’s a strong indicator that you have a buildup of nutrient salts in your medium, which is throwing the entire system out of whack.
If your plants look healthy and you're consistently pH-ing your water, you can skip this test most of the time. But the moment you see yellowing leaves, spots, or stunted growth, a runoff test should be your very first step in troubleshooting the problem.
Can I Use Lemon Juice or Vinegar to Adjust pH?
You technically can, but we strongly advise against it for reliable growing. While common household acids like lemon juice (citric acid) and vinegar (acetic acid) will definitely lower your pH, they come with a major drawback: they're not stable.
The pH drop from these organic acids is often temporary. Your solution's pH can creep back up within hours, completely undoing your work. They can also feed unwanted bacteria, especially in a hydroponic reservoir.
You're far better off investing in a quality, buffered "pH Down" product, which is typically made from phosphoric acid. It's designed specifically for this purpose, provides a stable and lasting pH reading, and a small bottle will last you a very long time. It's a tiny expense for a massive amount of stability and peace of mind.
Does My Choice of Cultivar Affect the Ideal pH?
This is a sharp question. For the most part, the core biology of cannabis is consistent across all varieties. The ideal pH ranges we’ve outlined, 5.5-6.5 for hydro/coco and 6.0-7.0 for soil, are the gold standard for virtually any cultivar, from a zippy sativa-dominant to a heavy-hitting indica-dominant one.
What can change is how aggressively a particular cultivar interacts with the pH in its medium. Some heavy-feeding cultivars are incredibly hungry and will strip certain nutrients from the solution much faster than others. This rapid uptake can cause the pH in the root zone to fluctuate more often.
So, the strategy isn't to find a new pH target for each cultivar. Instead, it's about staying disciplined with your monitoring. Keeping your grow medium stable within the correct pH range ensures that any feminized or autoflower cultivar from Botanist Seeds can access the full buffet of nutrients it needs to reach its full genetic potential.
Ready to find a cultivar that perfectly matches your growing style and setup? The Botanist Seeds comparison tool makes it easy to filter and find the ideal feminized or autoflower seeds for your next home grow. Stop guessing and start growing with genetics you can count on. https://botanistseeds.com