





A Guide to Growing with Coco Coir Growing Medium
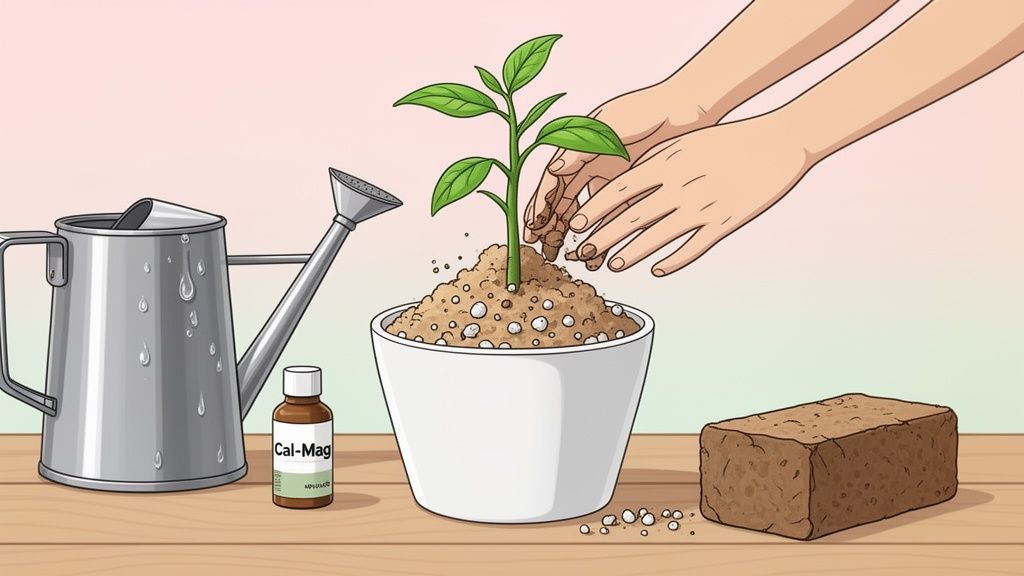
Growing with coco coir is my go-to recommendation for anyone looking to get the precision of hydroponics but with the familiar feel of growing in a pot. It's the perfect middle ground. You get full control over what your plants eat and drink, which means explosive root development and, honestly, some of the best results you'll see from your seeds.
So, What's the Big Deal with Coco Coir?
If you've been around the growing community for a while, you’ve heard people praising coco. This isn't just hype. For growers who want to see consistent, high-quality results without a ton of guesswork, making the switch is a great move.
The magic of coco really comes down to one thing: control. Soil is great, but it comes with its own baggage: pre-existing nutrients, fluctuating pH, and a structure you can't really change. Coco, on the other hand, is basically a blank slate. It’s inert. That means you are the one calling all the shots, deciding exactly what nutrients your plants get from day one. This is why so many experienced growers swear by it; it takes the mystery out of feeding.
Here’s why it works so well in practice:
- Plenty of Oxygen: Coco is incredibly light and fluffy. This structure allows a massive amount of oxygen to get to the roots, which is the secret for strong growth and avoiding root rot.
- Holds Water, Not Weight: While it’s airy, coco is also a champ at holding moisture. It acts like a sponge, keeping water available for your plants without becoming a swampy, waterlogged mess.
- Surprisingly Forgiving: New growers often think coco sounds too technical, but the opposite is true. Because it holds both water and air so well, it gives you a much wider margin for error if you over or underwater a bit.
- Eco-Friendly and Reusable: Coco is a byproduct of the coconut harvest, making it a renewable resource. Better yet, you can rinse and buffer it to use for several grows, saving you money and reducing waste.
The move to coco isn't just about personal preference; the results are real. We're seeing more and more research confirming what growers have known for years: certain plants grown in coco-based mediums can produce significantly bigger yields than those in other substrates. We aren't talking about a small bump: it's a real difference you can see.
The Payoff in Your Grow Room
Let's be honest, the end goal is to get a fantastic harvest without a lot of hassle. Using coco sets you up for exactly that. By creating the perfect home for your plant's roots, you're paving the way for a stronger growth or veg phase and a much more bountiful flower cycle. It's about enjoying the process, saving money on dispensary taxes, and the satisfaction of growing your own supply.
The data backs this up. Some studies, for instance, have shown that growing in coir can lead to a 29% greater floral dry weight and an 11% increase in overall flower yield compared to other mediums. Those aren't just numbers; that’s a real boost to your harvest. It all comes down to giving your autoflower or feminized seeds the best possible start to reach their genetic potential.
How to Prepare Your Coco for a Perfect Grow
If there’s one mistake I see new coco growers make, it’s using the medium straight out of the bag. You can’t treat it like soil. Prepping your coco coir is the single most important thing you can do to set your Botanist Seeds cultivars up for success and avoid a ton of headaches later.
Think of raw, compressed coco as a dry, chemically unbalanced sponge. Our job is to hydrate it properly and then correct its chemistry. This process is called "buffering."
What is Buffering and Why Does It Matter?
The term “buffering” gets thrown around a lot, and it sounds more complicated than it is. Basically, coco coir has a natural chemical structure that loves to hang on to calcium and magnesium. It also comes loaded with sodium and potassium from the coconut husk itself.
If you plant directly into unbuffered coco, something called cation exchange will happen. The coco will grab the first calcium and magnesium you feed your plants and, in exchange, release its own sodium and potassium. This is a recipe for problems, leaving your young plants starved for Cal-Mag right from the start.
Buffering is just the simple act of pre-charging the coco coir with calcium and magnesium. By soaking it in a Cal-Mag solution, we satisfy the coco’s chemical appetite. This ensures that when you start feeding, the nutrients go straight to your plants, not into the medium.
Seriously, don’t skip this. A little time spent buffering now will save you from chasing down mysterious deficiencies and yellowing leaves later.
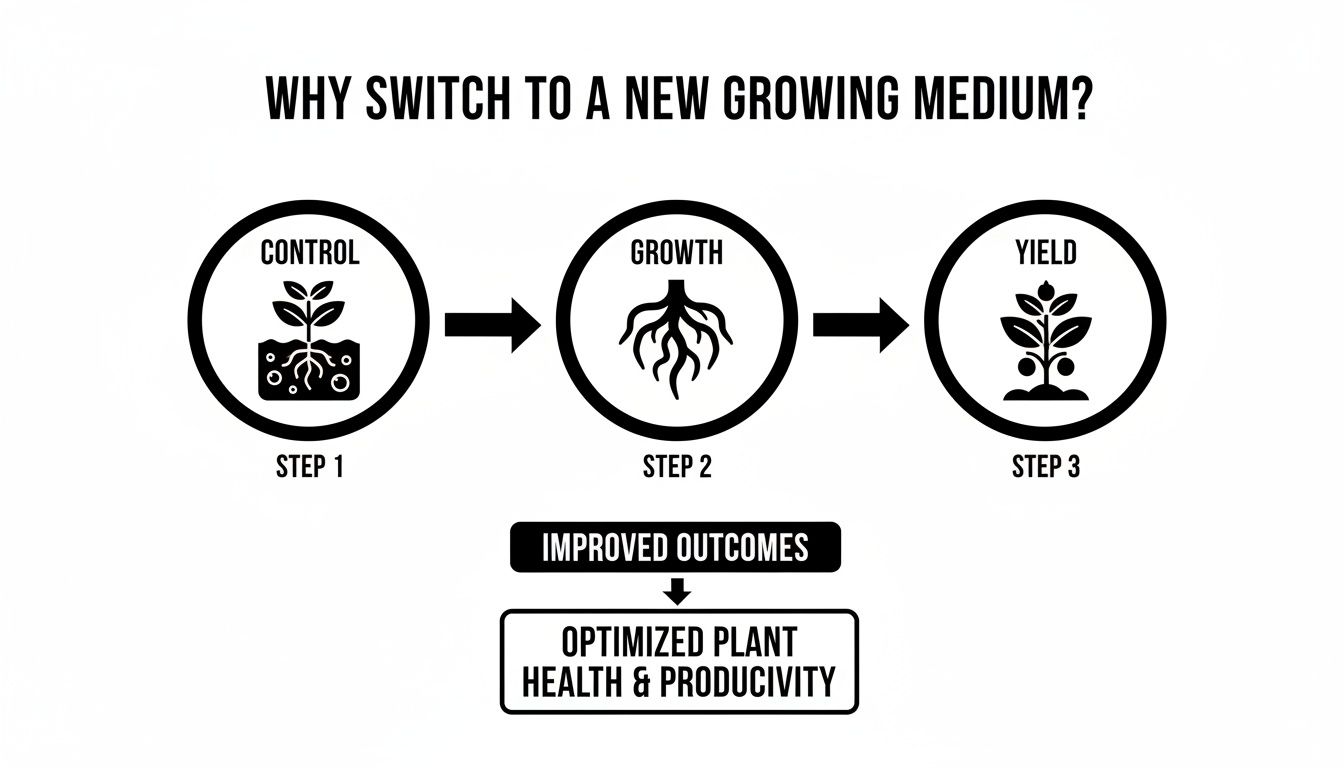
As you can see, taking control of your medium from the start is the foundation for healthier plants and, ultimately, a much better harvest.
The Rehydration and Buffering Process
Alright, let's get our hands dirty. You’ll just need a couple of large buckets or fabric pots for this.
First up is rehydration. If you’re starting with a compressed brick of coco, drop it into a large bucket or, even better, a big fabric pot that allows for drainage. Slowly add plain tap water and watch it expand: it’s pretty satisfying. A typical 1 kg (about 2.2 lbs) brick will expand into roughly 15 liters (about 4 gallons) of fluffy medium.
Once the brick is fully broken apart and damp, it's time to wash away the factory dust and excess salts.
- Rinse It Clean: Fill the container with water, completely submerging the coco. Give it a good stir, let it settle for a minute, and then drain all the water out. You want to repeat this rinse-and-drain cycle two or three times until the runoff water looks mostly clear. This flushes out a lot of the initial sodium.
Now for the main event: the buffer soak. After that final rinse, it’s time to load up the coco with the good stuff.
- Soak in Cal-Mag: Refill your container with fresh water, but this time, add a quality Cal-Mag supplement. A standard dose is usually around 5 ml per gallon, but always check the label on your specific product. Make sure the coco is fully submerged in the solution and let it soak for a minimum of 8 hours. If you have the patience, a full 24-hour soak is even better.
After its long bath, drain the Cal-Mag solution and do one last, quick rinse with pH-adjusted water (I aim for a pH of 6.0). This washes away any excess, unbonded minerals that might throw off your initial nutrient solution.
Finally, squeeze out the excess water. Grab the coco by the handful and wring it out until it’s just damp, not sopping wet. You're aiming for the consistency of a well-wrung-out sponge: when you give a handful a good squeeze, only a few drops should come out. This gives you that perfect, airy texture that provides an ideal balance of moisture and oxygen for new roots.
Crafting The Perfect Coco Coir And Perlite Mix
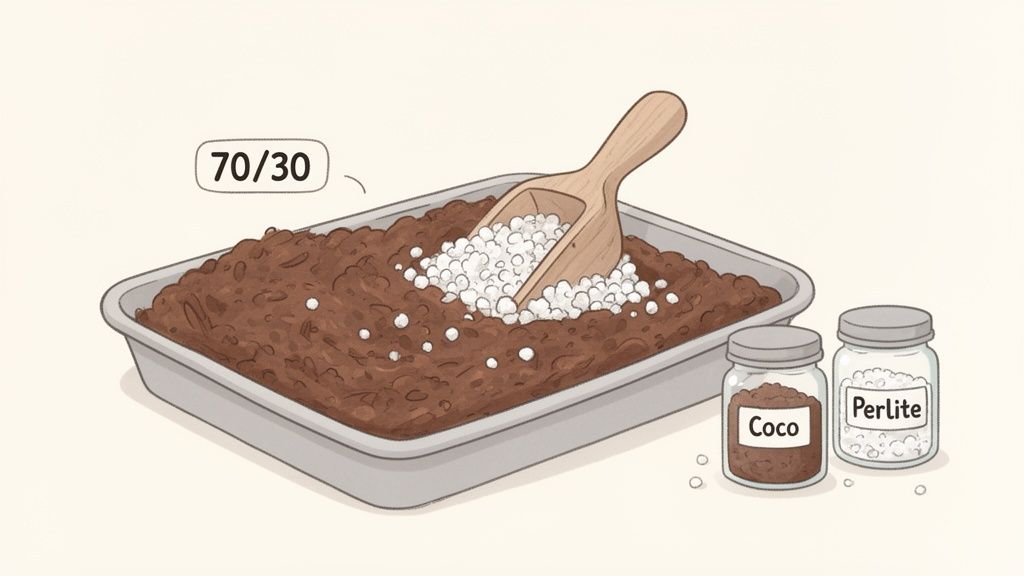
So, you've buffered your coco, and now you have a fantastic, inert medium ready to go. While you could grow in pure coco, mixing in an amendment is where you can really improve your root zone. Think of it like giving your plant's roots a five-star hotel with an all-you-can-breathe oxygen bar.
The main reason we add anything to coco is to improve aeration and prevent compaction. As you water throughout the grow, plain coco can start to settle, squeezing out precious air pockets. By adding an amendment like perlite, we introduce thousands of tiny spaces that hold oxygen, which is absolutely vital for strong root growth and nutrient absorption.
The Classic 70/30 Ratio: A Grower's Gold Standard
Talk to a dozen experienced growers, and you’ll likely hear a dozen different opinions on the "perfect" mix. But one recipe consistently comes up as the most reliable and forgiving starting point: the 70/30 coco-to-perlite blend.
This ratio is the industry standard for a good reason. It’s the sweet spot.
- 70% Coco Coir: This is your foundation, holding onto water and nutrients like a sponge, ensuring your plants have a consistent supply to draw from.
- 30% Perlite: These lightweight volcanic rocks are the key to drainage and aeration. They stop the coco from becoming a dense, waterlogged mess and keep the roots breathing easy.
The 70/30 mix is incredibly versatile, working beautifully for a wide range of watering styles and cultivars. If you're new to coco or just want a bulletproof setup, this is where you should start.
Common Coco Coir Mix Ratios
While 70/30 is a fantastic all-rounder, different blends serve different purposes. Some growers might want more water retention for a hand-watering setup, while others using automated irrigation may prefer maximum drainage.
| Mix Ratio (Coco:Amendment) | Amendment | Primary Benefit | Best For |
|---|---|---|---|
| 70:30 | Perlite | Balanced water retention and aeration | All-purpose; great for beginners and most irrigation styles. |
| 50:50 | Perlite | Maximum aeration and drainage | High-frequency fertigation, flood-and-drain, or DWC setups. |
| 80:20 | Perlite | Increased water-holding capacity | Hand-watering; growers who want to water less frequently. |
| 100% Coco | None | Highest water retention | Experienced growers with dialed-in irrigation systems. |
Ultimately, your choice depends on your system and how often you plan to water. The 70/30 mix remains the most foolproof option for the vast majority of home growers.
How To Mix Your Medium The Right Way
Getting a perfectly uniform substrate is crucial: you don't want dry pockets of perlite or dense clumps of coco. I find it easiest to do my mixing in a large, clean tote bin, a wheelbarrow, or, for bigger batches, even a cheap kiddie pool.
Start with your buffered, still-damp coco at the bottom. Then, pour the perlite on top.
A quick pro-tip: perlite is notoriously dusty. To avoid breathing that stuff in, always wear a mask. I also like to give the perlite a quick mist with plain water before I start mixing; this knocks the dust down significantly.
Using your hands or a small garden trowel, gently fold the two together. Your goal is a light, airy, and consistent mix. Keep turning it over until it looks uniform from top to bottom.
This focus on creating an ideal root environment isn't just theory: it delivers real results. The unique physical properties of coco coir are known to foster superior root development. Studies and grower experiences, like those documented on riococo.com, show that its structure encourages massive, fibrous root systems that are incredibly efficient at nutrient and water uptake. This is the bedrock of a thriving plant.
When you're ready to pot up, just fill your fabric pots and give them a light shake to settle the medium. Don't pack it down! Compacting the mix defeats the whole purpose of adding perlite in the first place. By keeping it light and airy, you're giving your autoflower or feminized plants the perfect head start to build a powerful root system and a bountiful harvest.
Watering and Feeding Plants in Coco Coir
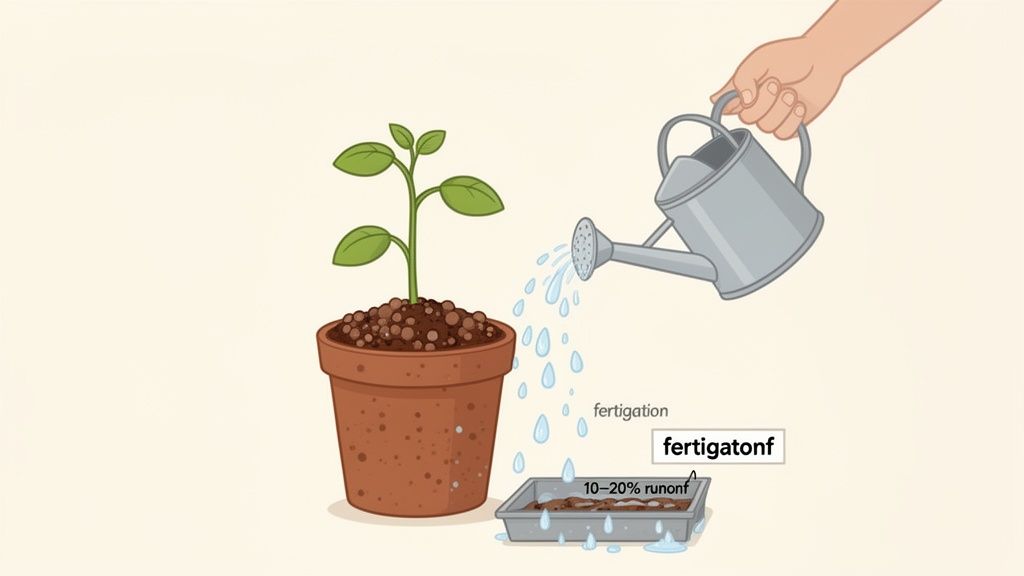
This is where growing in coco really shines and where you can gain an incredible amount of control over your plant’s growth and yield. If you’re used to soil, the first thing to do is throw out the old "water, then wait for it to dry" habit. Coco is a whole different ballgame.
The Art of High-Frequency Fertigation
Because buffered coco is an inert medium, it contains zero nutrients. This means it’s up to you to deliver everything your plants need, exactly when they need it. We do this through fertigation: a fancy word that simply means feeding with every watering. In a well-run coco grow, there are no "plain water" days.
The trick is to water frequently, often once or even twice daily as plants mature and get thirsty. This method keeps the root zone consistently moist and constantly supplied with fresh nutrients, which is the secret to explosive growth. Forget the "lift the pot" test from your soil days; if your coco pot feels light, you’ve already waited too long.
A better approach is to watch the top inch of the medium. Once it starts to look dry, it’s time to fertigate again. This rhythm is the heart of growing successfully in coco coir.
Why You Need Runoff Every Single Time
When you water, don't be shy. You want to fully saturate the pot until you see about 10-20% of the liquid you put in coming out the bottom. For example, if you feed with one gallon of solution, you should collect about a pint or a quart of runoff in the tray below.
This step is non-negotiable for two critical reasons:
- It flushes out old, unused mineral salts from the last feeding, preventing them from building up.
- It ensures the entire root mass is soaked with a fresh, perfectly balanced nutrient solution for the plant to use immediately.
A crucial mistake I see growers make is letting their pots sit in the runoff. Never do this. That runoff water is full of concentrated salts you just worked to flush out. Allowing the pot to reabsorb it completely defeats the purpose and can quickly lead to nutrient lockout. Dump your trays promptly after every feeding.
Dialing In Your pH and EC
Here’s where you become the master of your grow. Monitoring your pH and EC (Electrical Conductivity) might sound intimidating, but it's really just like following a recipe. A quality pH and EC meter are the most important tools you'll own for a coco grow.
pH determines which nutrients your plant can actually absorb. If your pH is off, you can be feeding a perfect solution, but the plant will starve because the nutrients are "locked out." For coco, the magic window is a pH between 5.8 and 6.2. I personally like to drift within this range: watering at 5.8 one day, maybe 6.1 the next. This small variation helps the plant access the full buffet of macro and micronutrients. Our guide on the ideal pH for your plants explains this science further.
EC is a measure of the total salt concentration, or the strength, of your nutrient solution. Think of it as the calorie count of your plant’s meal. You’ll adjust this based on your plant's age and stage of growth.
Here’s a solid set of targets to start with:
- Seedlings & Clones: 0.8 to 1.2 EC
- Vegetative Stage: 1.2 to 1.6 EC
- Flowering Stage: 1.6 to 2.2 EC
Always start at the low end of the range and read your plants. Are the leaf tips just starting to look a little burnt? That's a sign they're getting all the food they can handle. Simply back the EC down a notch. This instant feedback loop is what makes coco so powerful: you can steer your plants with precision, fine-tuning their diet to produce the absolute best results from your chosen cultivars.
Troubleshooting Common Coco Growing Issues
Growing in coco coir is incredibly rewarding, but even the best of us hit a snag sometimes. The great thing about coco is how quickly your plants show you what’s wrong. Think of it as direct feedback: once you learn to read the signs, you can fix issues fast, often before they do any real damage.
Let's look at the most common problems you're likely to encounter and get your grow back on track.
Identifying and Fixing Cal-Mag Deficiencies
If you're going to face one problem in coco, this is usually it. A calcium and magnesium deficiency is the classic telltale sign of a medium that wasn't buffered correctly or a nutrient mix that's just a bit off.
Here’s what you’ll see:
- Small, rusty brown spots popping up on your older, lower fan leaves.
- A distinct yellowing between the leaf veins, a pattern called interveinal chlorosis.
- New growth that seems slow or stunted. This happens because calcium is essential for building strong cell walls.
Luckily, the fix is pretty simple. Start by making sure a quality Cal-Mag supplement is part of every feeding. If you're already doing that, try upping the dose by 1-2 ml per gallon for your next few waterings. If that doesn't solve it, your pH might be drifting out of range and blocking nutrient uptake. Double-check that your nutrient solution is locked into that 5.8 to 6.2 sweet spot.
Overwatering and Underwatering Signs
The watering rhythm for coco is a whole different dance compared to soil, and it can take a little time to find your groove. Surprisingly, overwatering is a common mistake, not from watering too often, but from having poor drainage and letting your pots sit in their own runoff.
An overwatered plant looks heavy and bogged down. Its leaves will curl downward from the stem in a distinct "claw" shape. To fix this, you have to ensure your pots can drain freely. And always, always dump your runoff trays after each watering. For more detail, our full guide on watering your plants correctly has some fantastic tips.
On the other hand, an underwatered plant looks limp, sad, and lifeless. The leaves will be droopy and the whole plant just looks thirsty. If you can pick up the pot and it feels light as a feather, you’ve definitely waited too long. The solution is obvious: give it a drink! Just be sure to water slowly to let the coco rehydrate evenly instead of just running straight through.
The key takeaway is to aim for consistency. High-frequency fertigation means watering at least once a day, keeping the medium evenly moist but not saturated. This steady supply of water and nutrients is what makes a coco grow so productive.
Managing Salt Buildup and pH Swings
Because you’re feeding with every watering, mineral salts can build up in the coco over time. This creates a high EC (electrical conductivity) in the root zone, which can lock out other nutrients and start to burn your plants. You’ll spot this when your leaves turn dark and glossy, with crispy, burnt tips that seem to creep inward.
When this happens, it’s time for a proper flush. This isn't just watering heavily; it's a full reset for your medium.
- First, mix a very light nutrient solution: about a quarter of your usual strength: and adjust the pH to 5.8. Using pH'd water with a tiny bit of food is gentler on the roots than plain water.
- Slowly pour this solution through the pot until you get a significant amount of runoff. You're aiming to use about two to three times the container's volume. For a 3-gallon pot, that means flushing with 6-9 gallons.
- Check the EC of the final bit of runoff. The goal is to get it close to the EC of the flushing solution you're pouring in. That’s your sign that the excess salts are gone.
After the flush, let the pot drain completely. With the very next watering, you can go right back to your normal feeding schedule. This simple reset can fix a surprising number of problems and get your plants back to thriving.
Reusing Your Coco for the Next Grow
One of the most satisfying things about growing in coco coir is what happens after you’ve chopped your plants. Unlike soil, which is largely a one-and-done deal, high-quality coco can be cleaned up, recharged, and put right back to work. This isn’t just great for your wallet; it’s a much more sustainable way to grow.For growers mindful of their environmental footprint, this is a massive plus. Coco coir is a byproduct of the coconut industry, made from husks that would otherwise be discarded. It’s a renewable resource, standing in stark contrast to peat moss, which can take millennia to form. You can find more information on the sustainability of different grow media over at AdvancedNutrients.com.
The Rinse and Recharge Process
Getting your used coco prepped for the next cycle is pretty simple. After you harvest, start by breaking up the old root ball. I usually pull the entire mass from the pot, give it a good shake to knock off the loose coco, and then get my hands dirty, tearing the root system apart. You don't need to be surgical about it; a few leftover root fibers won't cause any harm and will eventually decompose, adding a little organic matter to your mix.
With the roots broken up, it's time to flush. I find it easiest to do this in a large fabric pot or a bucket drilled with plenty of drainage holes. Your goal is to flush out any leftover nutrient salts from the last grow. Just rinse it thoroughly with pH-adjusted water until the runoff is mostly clear. This step is critical: it prevents you from carrying old, unbalanced nutrients into your new grow and gives your seedlings a fresh start.
After a good flush, your coco is clean but also completely stripped of its essential buffer. It’s a blank slate again, which means you need to treat it just like you did when it was brand new.
Re-Buffering Your Medium
Now, you have to re-buffer the coco. This is a non-negotiable step that prevents the medium from binding to calcium and magnesium and starving your next crop. It's the exact same process you followed when first prepping the coco.
- Soak the rinsed coco in a fresh batch of water mixed with a quality Cal-Mag supplement.
- Let it marinate for at least 8 hours, though I personally prefer a full 24-hour soak to be safe.
- Drain the Cal-Mag solution, give the coco one final, quick rinse with plain water, and squeeze out the excess moisture.
That’s it. Your coco coir is fully recharged and ready for another round of your favorite Botanist Seeds cultivars. Following this simple process means you can get several successful harvests from a single brick of coco, saving you money and making your garden more sustainable. It’s a true win-win.
Tying Up Loose Ends: Your Coco Questions Answered
Even after you get the hang of it, a few questions tend to come up for growers new to coco. Let's tackle some of the most common ones I hear all the time.
Can I Reuse My Coco Coir?
You bet, and you absolutely should. Reusing your coco mix is one of its biggest perks. As long as the previous run was healthy and pest-free, there's no reason to toss it.
Just break up the old root ball, give it a really good flush with pH'd water to wash out any leftover salts, and then re-buffer it with a quality Cal-Mag supplement. It's a simple step that saves you money and is much kinder to the planet.
Is Adding Perlite Really Necessary?
Look, you can run pure coco, but I almost always recommend against it, especially for your first few runs. Mixing in perlite is all about creating air pockets for the roots. It keeps the medium light and fluffy, which is crucial for root health and prevents compaction over time.
A 70/30 coco-to-perlite ratio is pretty much the gold standard for a reason: it’s forgiving and gives your roots plenty of oxygen. Straight coco holds a ton of water, making it easy to overwater and suffocate your plants if you're not careful.
So, Is Coco a Hydroponic or a Soil Grow?
This one trips people up, but it's technically a form of hydroponics. The key thing to remember is that coco coir is an inert, soilless medium. It contains zero nutrients on its own.
This means you are in complete control and must provide 100% of the plant's nutrition with every feeding, just like in a deep water culture or drip system. Think of it as the best of both worlds: the precision of hydro with the familiar feel and buffer of growing in a pot.
What Kind of Nutrients Work Best?
You'll definitely want to grab a nutrient line specifically formulated for coco coir or hydroponics. These products are designed to be complete, containing every macro and micronutrient your plants will need since the medium itself provides none.
More importantly, a good coco-specific nutrient will have the correct ratio of calcium and magnesium built-in, which helps prevent the lockout issues coco is known for. Don't try to use standard soil nutrients; you're just asking for deficiency headaches down the road.
Ready to pair the perfect cultivar with your new coco setup? The Botanist Seeds comparison tool lets you filter through our premium autoflower and feminized seeds to find exactly what you're looking for. Start exploring our seed collection today!












