





Mastering Low Stress Training for Autoflower Yields
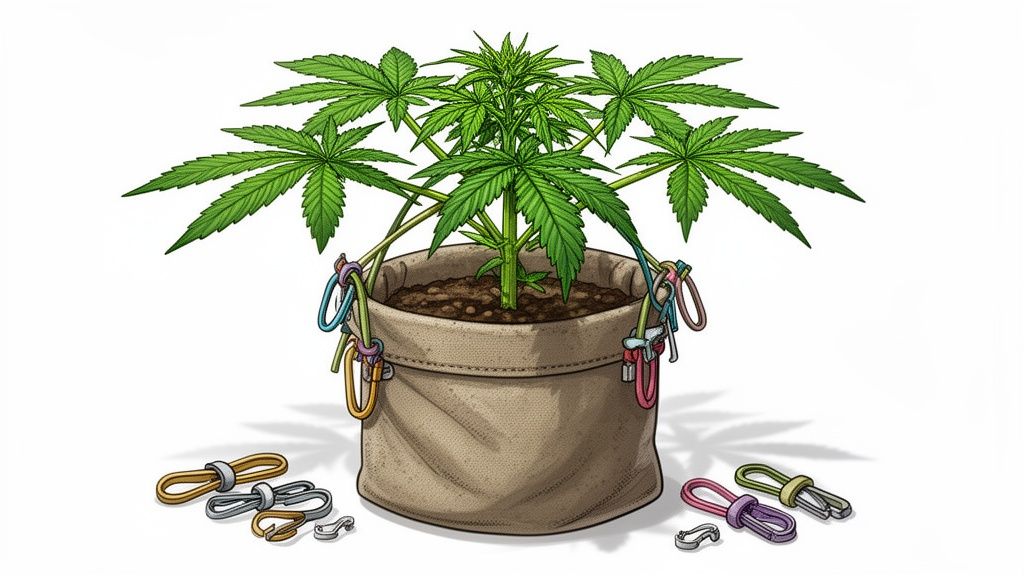
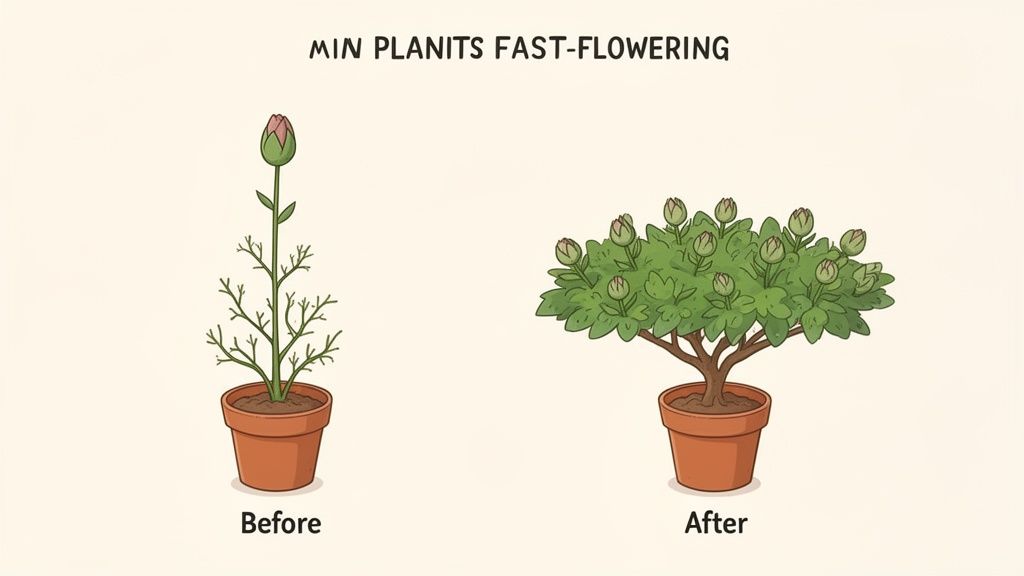
If you've ever grown an autoflower, you've probably seen it shoot up into a classic "Christmas tree" shape. You get one big main cola at the top, and the lower branches produce smaller, less impressive buds. Low stress training, or LST, is how we fix that.
It’s a gentle technique where you simply bend and tie down branches to create a wider, flatter plant. This simple adjustment dramatically improves light exposure for every single bud site, leading to a much bigger and more even harvest. Best of all, it does this without causing the kind of heavy stress that can stunt an autoflower’s rapid growth.
Why Low Stress Training Is a Game Changer for Autoflowers
When you're growing your own, you want to get the most out of every single seed. That's exactly what low stress training helps you do. Think of it less like "training" and more like gently guiding your plant to its absolute full potential.
Autoflowers are on a tight schedule; their internal clock is always ticking from the moment they sprout. This means you can't use aggressive techniques that require a long recovery period. LST is the perfect partner for this fast-paced life cycle. Instead of letting nature take its course, you create a flat, even canopy where every bud gets a front-row seat to the light show.
Maximizing Your Home Grow
The goal here is simple: bigger, better yields from the same space. By carefully spreading the plant out, you trigger a few key biological responses that directly impact your final harvest.
- Breaks Apical Dominance: Plants are wired to push energy to the very top, creating one dominant central stem. LST breaks this natural tendency by bending that main stem down. The plant responds by sending growth hormones out to the side branches, telling them to grow up and become their own main colas.
- Boosts Light Exposure: A flat canopy means no more sad, shadowy lower branches. Every single bud site gets blasted with direct light, which is the fuel they need to swell up into dense, frosty nugs.
- Improves Airflow: When you space out the branches, you allow air to move freely through the entire plant. This is a massive help in preventing common grow room headaches like mold and powdery mildew, especially if you struggle with humidity.
This is a proven way to turn a modest home grow into a seriously productive operation. The real win is skipping dispensary lines, saving money on taxes, and feeling that personal pride that comes from cultivating your own supply. Mastering a hands-on technique like LST just makes the results that much better.
LST vs Untrained Autoflower Expected Outcomes
Here's a quick look at how a little bit of low stress training can impact your final results.
| Growth Characteristic | Untrained Autoflower | LST Autoflower |
|---|---|---|
| Canopy Shape | Christmas tree (conical) | Flat and wide (even) |
| Main Colas | One dominant central cola | Multiple, evenly-sized colas |
| Light Penetration | Poor for lower branches | Excellent across the entire plant |
| Lower Buds | Small, airy "popcorn" buds | Well-developed, dense buds |
| Airflow | Restricted, higher mold risk | Greatly improved, lower mold risk |
| Overall Yield | Moderate | Significantly higher |
As you can see, the benefits of guiding your plant's structure are pretty clear. You’re essentially telling your autoflower how to use your grow light more efficiently.
The Real-World Payoff
So, what does all this actually mean for you? It means no more "popcorn buds": those fluffy, underdeveloped nugs from the bottom of the plant that barely seem worth trimming. With LST, you’re encouraging every single branch to produce top-shelf flower.
The real win with low stress training is turning your entire plant into prime real estate. Every inch of your canopy becomes a potential top-tier bud site, giving you a much more consistent and impressive harvest from the exact same plant and setup.
This simple method gives you more control over the final outcome, which is incredibly empowering for any grower. It’s all about making your grow more efficient and rewarding. For an even more advanced approach, you can combine LST with a trellis in what's known as the Screen of Green (SCROG) method.
Your Simple LST Toolkit
Good news: you don't need a bunch of fancy, expensive gear to get started with low-stress training. Seriously, most of the essentials are probably hiding in a junk drawer or can be grabbed for a few dollars. We’re not talking about high-tech gadgets here, just simple tools to gently persuade your plants to grow how you want them to.
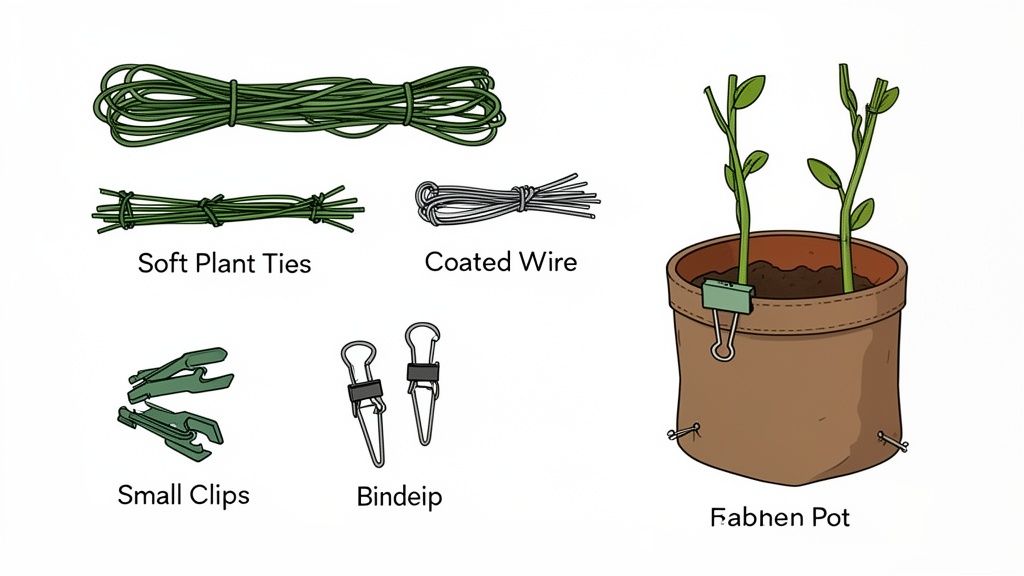
The single most important item is what you'll use to tie down the branches. You need something soft and forgiving that won’t cut into the stems as they thicken up. Whatever you do, never use string, fishing line, or bread ties. They’re notorious for slicing right into the plant and causing some serious damage.
The LST Essentials
Your training kit is refreshingly simple. All you're really doing is creating anchor points and gently securing branches to them.
- Soft Plant Ties: These are my go-to. They're basically a flexible wire core wrapped in soft rubber or foam. They have just enough grip to hold a branch steady without ever choking it.
- Coated Garden Wire: This is a great alternative to soft ties. It's essentially a thin, pliable wire with a plastic coating. You can cut it to any length you need, making it super versatile for securing branches.
- A Small Drill or Awl: This is for creating anchor points if you're using classic plastic nursery pots. A few quick holes around the rim are all it takes.
- Your Growing Container: Yep, the pot itself is a crucial part of your toolkit. It’s the foundation that holds everything in place.
Choosing the Right Pot for the Job
While you can technically LST in just about any container, some pots make the whole process a lot smoother. Picking the right one from the start can save you a bit of a headache.
For my money, fabric pots are the best choice for LST. Their breathable material is perfect for creating anchor points on the fly. I just use a safety pin to poke through the fabric and loop my tie through it: instant anchor, exactly where I need it.
If you’re using a standard plastic pot, just grab a small drill and pop a few holes around the top rim. This one simple step turns a basic pot into a perfect LST rig with plenty of tie-down spots.
No drill? No problem. A handful of large binder clips clamped onto the rim of a plastic pot works surprisingly well. You can just thread your wire or ties right through the metal loops. It's a great little DIY hack that proves anyone can do this, no matter their setup.
Finding the Perfect Time to Start Training
If there's one golden rule with autoflowers, it's that timing is everything. These plants are on a seriously fast track, which means our window for applying low-stress training is tight but crucial.
Jump in too early, and the seedling is just too fragile to handle any manipulation. But if you wait too long, the main stem gets woody and stiff, making it a nightmare to bend without snapping. Hitting that sweet spot is the secret to a successful LST session. The good news? Your plant will give you some pretty clear signals when it's ready. You just have to know what to look for.
Reading the Plant Cues
The ideal moment to start LST is when your autoflower has developed between 3 and 5 nodes. What’s a node? It’s simply the junction on the main stem where a set of leaves and a new branch emerge.
You’ll see those first little round "feeder leaves" (the cotyledons) pop up first, but don't count those. We're only interested in the true, serrated cannabis leaves that appear after them. Once you can count at least three distinct sets of these true leaves, your plant is in the prime stage for its first gentle bend.
This stage is perfect because the main stem has built just enough structure to be bent without breaking, yet it's still green and flexible. It’s the Goldilocks zone: not too weak, not too rigid.
Trying to train a tiny seedling with only one or two nodes is just asking to accidentally decapitate it. On the flip side, waiting until it has seven or eight nodes means the lower stem has already begun to "harden off," drastically increasing the risk of it cracking under pressure.
Identifying the Nodes
Let's get specific so you can feel confident when you go in for that first tie-down.
- Skip the Cotyledons: First, find that very first pair of small, rounded leaves at the base. Those are the cotyledons. Ignore them for your count.
- Count the True Leaves: Now, start counting up. The first set of serrated, fan-style leaves is node one. The next set is node two, and you just keep going up the stem.
- Find Your Target: When you can clearly identify 3 to 5 of these nodes, it’s go-time. At this point, the plant is usually around 3-4 inches tall and is just about to hit a major growth spurt.
Nailing this timing is so important because autoflowers have a very short vegetative window. To learn more about this rapid development, check out our guide to the autoflower growth phase. Starting LST at the 3-5 node stage ensures you have enough time to create a wide, even canopy before the plant decides on its own to start flowering.
What Happens if You Miss the Window?
Don't panic if you're a bit late to the party. If your plant is already past the five-node mark but is still stretching, you can absolutely still apply some gentle LST. Just focus your efforts on the younger, more pliable top of the main stem and the flexible side branches.
The key is to be extra cautious. Always aim to guide the branches, not force them into submission. If a branch feels too rigid or resistant, it’s far better to leave it alone than to risk snapping it. That’s the whole point of low-stress training for autoflowers: we work with the plant's natural tendencies, setting it up for an easy, productive life that ends in a much bigger harvest.
A Practical Guide to Bending and Tying Your Autoflower
Now for the fun part: getting your hands on the plant. We've covered the why and the when, so let's get into the how. The whole idea is to gently guide your plant’s main stem into a horizontal position. This one move is the secret to getting all those side branches to take off.
Think of it this way: your plant is wired to push all its growing energy to the highest point. By bending that main top down so it's level with the lower shoots, you're tricking the plant's internal signaling system. This little bit of deception redistributes growth hormones evenly, telling all those side branches it's their turn to grow up and become their own main colas.
Making That First, Crucial Bend
The very first bend you make is the most important one. It sets the stage for the rest of your plant's structure. Pick a direction, it doesn't matter which, and find a spot about two-thirds of the way up the main stem where it’s still green and flexible.
Slowly, and I mean slowly, begin to bend the stem over until it's almost parallel with your soil. You’ll feel some resistance, and that’s totally normal. Never force it. If the stem feels too stiff or you hear even the slightest hint of a crack, stop immediately. Give the plant a good watering and try again the next day; a well-hydrated plant is always more pliable.
Once it's bent over, you need to tie it down. Use a soft plant tie to loop around the stem, then anchor the other end to the rim of your pot. A classic beginner mistake is making the loop too tight. Make sure you can easily slide a pencil between the tie and the stem. This gives it room to thicken up without the tie cutting into it later on.
The image below perfectly illustrates the small window you have to get this right.
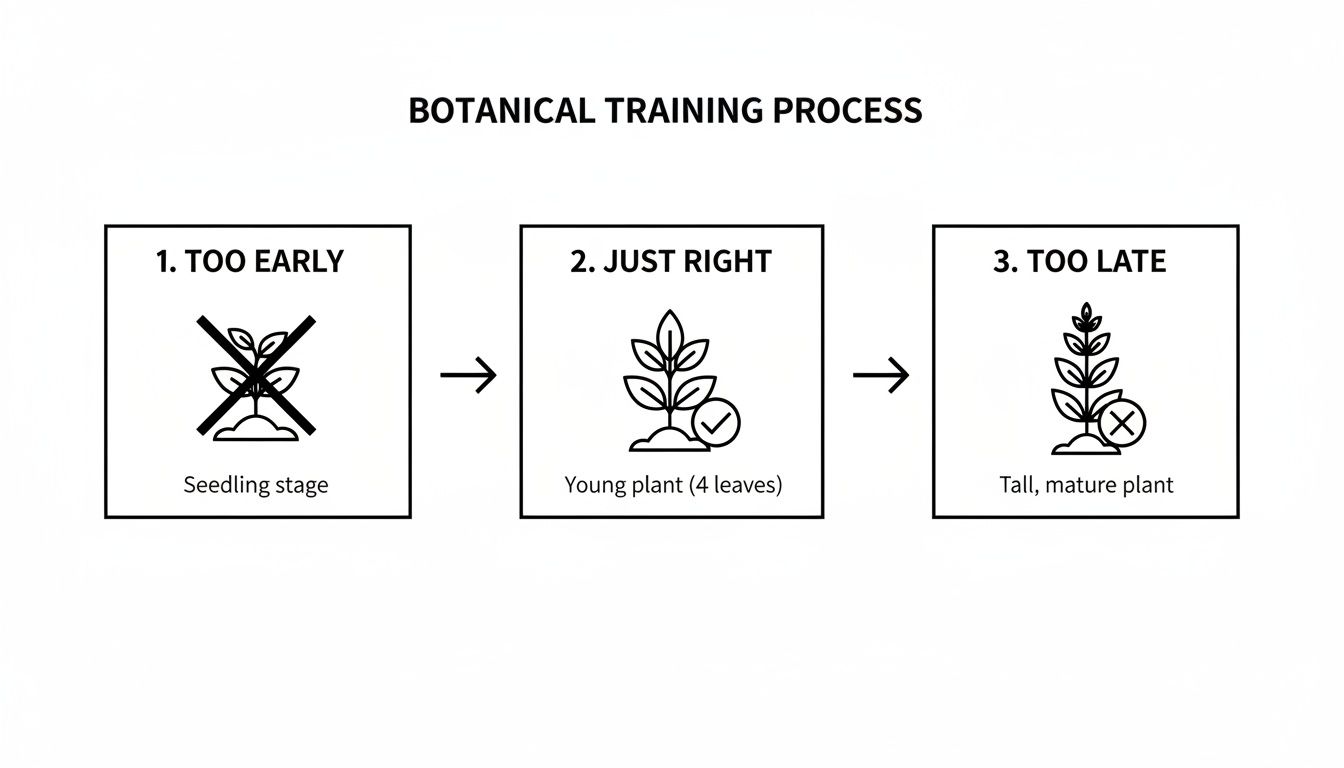
As you can see, jumping in when the plant has a few established nodes is the sweet spot for successful training.
Shaping Your Canopy
With the main stem tied down, the next phase kicks in. In just a few days, you'll see those smaller side branches start stretching for the light. That's your cue. Your new job is to become the architect of a flat, even canopy.
As each of those side branches gets long enough, you'll just repeat the process. Gently pull each one outwards and down, away from the center of the plant, and anchor it with another tie. You're aiming to create a kind of starburst or spiral shape when you look at it from above.
The goal is to maintain an even canopy where no single branch is significantly taller than the others. This ensures every bud site receives an equal share of light, leading to a harvest of consistent, high-quality buds instead of just one big cola and a bunch of tiny ones.
With every branch you tie down, you are actively creating another "top." This is the entire principle behind low stress training autoflower plants. It’s a simple, repetitive action that has a massive impact on your final yield.
A Few Practical Tying Tips
Keeping these few things in mind will make the process much smoother and prevent heartbreaking accidents. This isn't a race; it's a slow and steady dialogue with your plant.
Here are some pointers I've picked up over the years:
- Prep Your Anchor Points First: Before you even touch the plant, get your anchors ready. If you're in plastic pots, drill some small holes around the rim. For fabric pots, you can use safety pins or just poke the plant ties right through the material.
- Support the Base: When you make that first big bend on the main stem, use your other hand to gently support the stem right where it meets the soil. This stops you from accidentally stressing or dislodging the root ball.
- Check Your Ties Often: Autoflowers grow incredibly fast. Check on your ties every couple of days to make sure they aren’t getting too tight. You'll likely need to adjust them as the stems thicken.
- Work with the Plant: Don't try to force a branch into a position it doesn't want to go. See which way it's naturally leaning and just gently guide it in a direction that opens up the canopy. Sometimes the smallest adjustment makes the biggest difference.
This hands-on approach is one of the most rewarding parts of growing. You get a real sense of accomplishment from shaping your plant and seeing it thrive. It turns the process into a craft, and the payoff is a jar full of beautiful buds you guided to perfection.
How to Maintain Your Canopy Week by Week
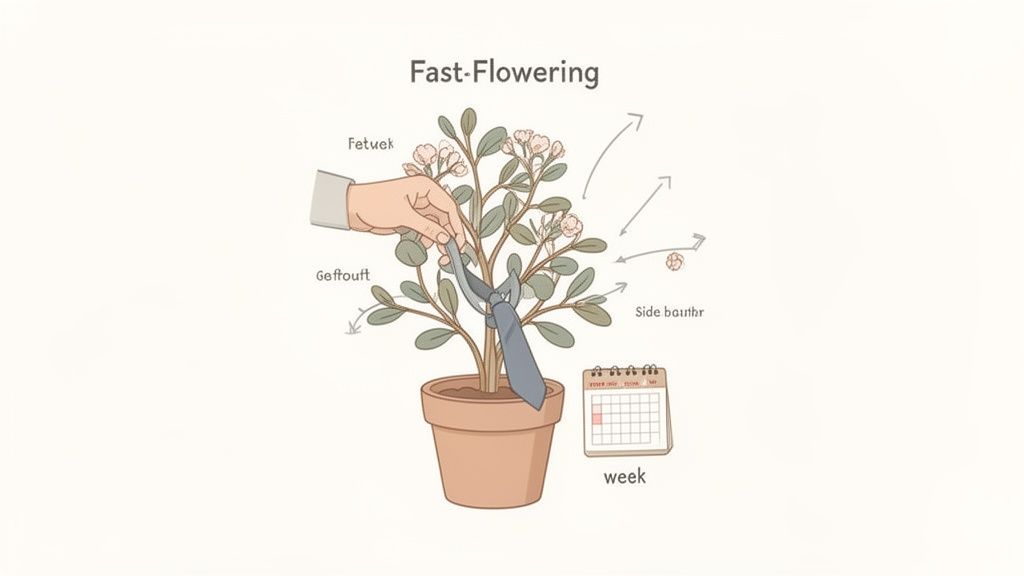
Think of LST less as a one-and-done task and more like a continuous dialogue with your plant. Once you've made that first gentle bend, the real work begins: and by "work," I mean a few minutes of simple, consistent adjustments. This is how you'll keep that canopy flat, open, and ready to pump out an impressive yield from veg all the way through the first couple of weeks of flowering.
Honestly, this part of the process is pretty therapeutic. You’re not performing surgery, just making small tweaks that lead to a massive payoff. It’s all about gentle course correction, making sure every part of your plant is getting the light and air it needs to thrive.
The Rhythm of Adjustments
From here on out, your main job is to check in on your plant every couple of days. Autoflowers grow with surprising speed; a tie that felt perfectly loose on Monday might be digging into the stem by Wednesday. You want to catch that before it causes any damage.
While you're checking your ties, keep an eye out for new growth. Any branch that starts shooting for the sky, trying to become the new main cola, is your next candidate for training. Gently guide it down and out, continuing to build that wide, even canopy.
- The Check-In Routine: Every 2-3 days, just pop in and see how the plant is responding. Notice which branches have grown and where they’re headed.
- Filling the Gaps: The goal is to create a carpet of green. If you see a patch of soil getting hit with direct light, that’s wasted energy. Guide a nearby branch to grow into that empty space.
- Work With the Plant: Never force a branch into a position that feels wrong. Work with its natural growth pattern, simply encouraging it to spread horizontally instead of vertically.
Your week-by-week maintenance boils down to the little things. Loosening a tie here, guiding a new shoot there, these small, consistent efforts are what prevent one cola from shading out all the others, ensuring every single bud site gets its moment in the sun.
This steady, patient approach is the very heart of successful low stress training for autoflower cultivation. It’s a proactive habit that directly translates into a much bigger harvest.
Introducing Light Leaf Tucking
As your plant bushes out, you’ll inevitably see large fan leaves casting shadows over the budding sites developing below them. This is where a simple but brilliant technique called leaf tucking comes into play. And it’s exactly what it sounds like.
Instead of cutting off a leaf, which can be a point of stress for an autoflower, you just gently tuck it under a nearby branch or another leaf. That one tiny move can instantly expose a small, promising bud site to the full power of your light. You’re not hurting the plant; you're just rearranging the foliage for better light exposure.
This is a fantastic, no-stress way to boost light penetration. I do this every single time I check my ties, and you can practically watch the lower buds thank you for it by plumping up.
Knowing When to Ease Up
There comes a point when you need to step back and let nature take over. Once your autoflower hits the flowering stage and that explosive vertical stretch starts to slow down, it's time to ease up on the training. The plant's architecture is mostly set, and the branches will begin to harden.
Your focus should now pivot from bending to supporting. All the plant's energy is being channeled into bud production, and your job is to create the perfect environment for that to happen without interference.
- During the Pre-Flower Stretch: This is your last real opportunity for any significant adjustments. For the first 1-2 weeks of flowering, the plant will stretch like crazy, giving you one final chance to wrangle any stubborn branches into place.
- Once Buds Form: When you see fluffy, distinct bud structures (not just pistils), it's time to stop. The branches are getting woody, and trying to bend them now is just asking for a heartbreaking snap.
- Final Touches: You can, and should, continue with light leaf tucking as needed. But for the most part, your job now is to monitor plant health. The heavy lifting of LST is officially behind you.
Choosing the Right Autoflower Cultivars for LST
Not all autoflowers are created equal when it comes to training. While you can technically apply LST to just about any auto, some cultivars practically beg for it, while others will put up a bit of a fight. Picking a cultivar that’s naturally suited for bending and shaping from the start makes the whole process easier and far more productive.
You're looking for cultivars with a growth structure that welcomes a bit of guidance. Think plants with decent internodal spacing: that's the gap between branch sets. A little extra room between nodes makes it a thousand times easier to weave and tie down branches without creating a tangled, light-blocking mess.
What to Look for in a Cultivar
When you're shopping for seeds, certain descriptions in the strain profile are green flags for LST success. Keep an eye out for these traits.
- Vigorous Growth: You want a plant with some real get-up-and-go. Cultivars described as "vigorous" or "fast-growing" are perfect because they have pliable stems and bounce back from training almost immediately.
- A Branchy Structure: Look for genetics that naturally want to produce a lot of strong side branches. These plants give you a great foundation to work with, so you're really just enhancing what the plant already wants to do.
- Sativa-Leaning Genetics: Sativa-dominant autos often have a lankier, "stretchier" growth habit. This natural flexibility makes their branches incredibly easy to manipulate and tie down without the risk of snapping something.
Your goal is to work with the plant, not against it. A naturally branchy cultivar with a bit of stretch is the ideal canvas for creating that wide, even canopy that will soak up every last photon from your light.
Indica vs Sativa Dominance
Sativa-heavy cultivars might be the easy choice for LST, but don't count the Indicas out. Indica-dominant autos are typically more compact and bushy, which just presents a different kind of challenge.
Their tighter internodal spacing means you'll need a bit more finesse to open up the plant's structure for better light penetration and airflow. It's completely achievable, but it definitely requires a steadier, more patient hand.
Ultimately, it's about what you're comfortable with and the kind of grow you want. If you want to understand these differences better, you can learn more about the various types of cultivars and what to expect from their growth patterns. Using a comparison tool can help you pinpoint those "vigorous" and "branchy" cultivars that will set you up for a fantastic LST experience.
Answering Common LST Questions
Even the most straightforward growing techniques come with a few "what if" scenarios. Let's tackle some of the most common questions that pop up when you're first getting your hands dirty with LST.
Can I Mix LST With Topping or Other Training?
This is a big one, and for autoflowers, the answer is usually a hard no. High-stress training (HST) methods like topping or FIMming involve cutting or damaging the plant. That kind of stress requires recovery time, which is a luxury autos simply don't have with their fixed lifespan.
Your best bet is to stick with pure low stress training autoflower techniques. Gentle bending, tying down branches, and some light leaf tucking are all you need to get fantastic results without risking a stunted plant.
What Happens if I Snap a Branch?
First off, don't panic. It’s a rite of passage for every grower, and it happens to the best of us. If it’s just a small crack and the branch is still mostly attached, you can absolutely play doctor.
A little piece of duct tape or garden tape wrapped around the break acts like a splint. You'll be amazed at how quickly the plant can heal itself, often within a week. If the branch snaps off completely, just make a clean cut to remove it and carry on. The plant will just redirect that energy to its other branches.
When Should I Stop LST?
You'll want to wrap up any major bending and tying once your plant is about two to three weeks into the flowering stage. By this point, the explosive "stretch" phase is ending, and the stems begin to harden off, making them woody and brittle.
At this stage, your plant is shifting all of its resources into building those dense, frosty buds. Your job transitions from trainer to caretaker. Focus on light leaf tucking to expose bud sites and make sure your old ties aren't digging into the swelling stems. Now, you let the plant work its magic.
Ready to apply what you've learned to some premium genetics? The Botanist Seeds comparison tool helps you find the perfect branchy, vigorous cultivar for your LST project. See our entire collection at https://botanistseeds.com.












