





Mold on Weed: Your Guide to Spotting & Preventing It
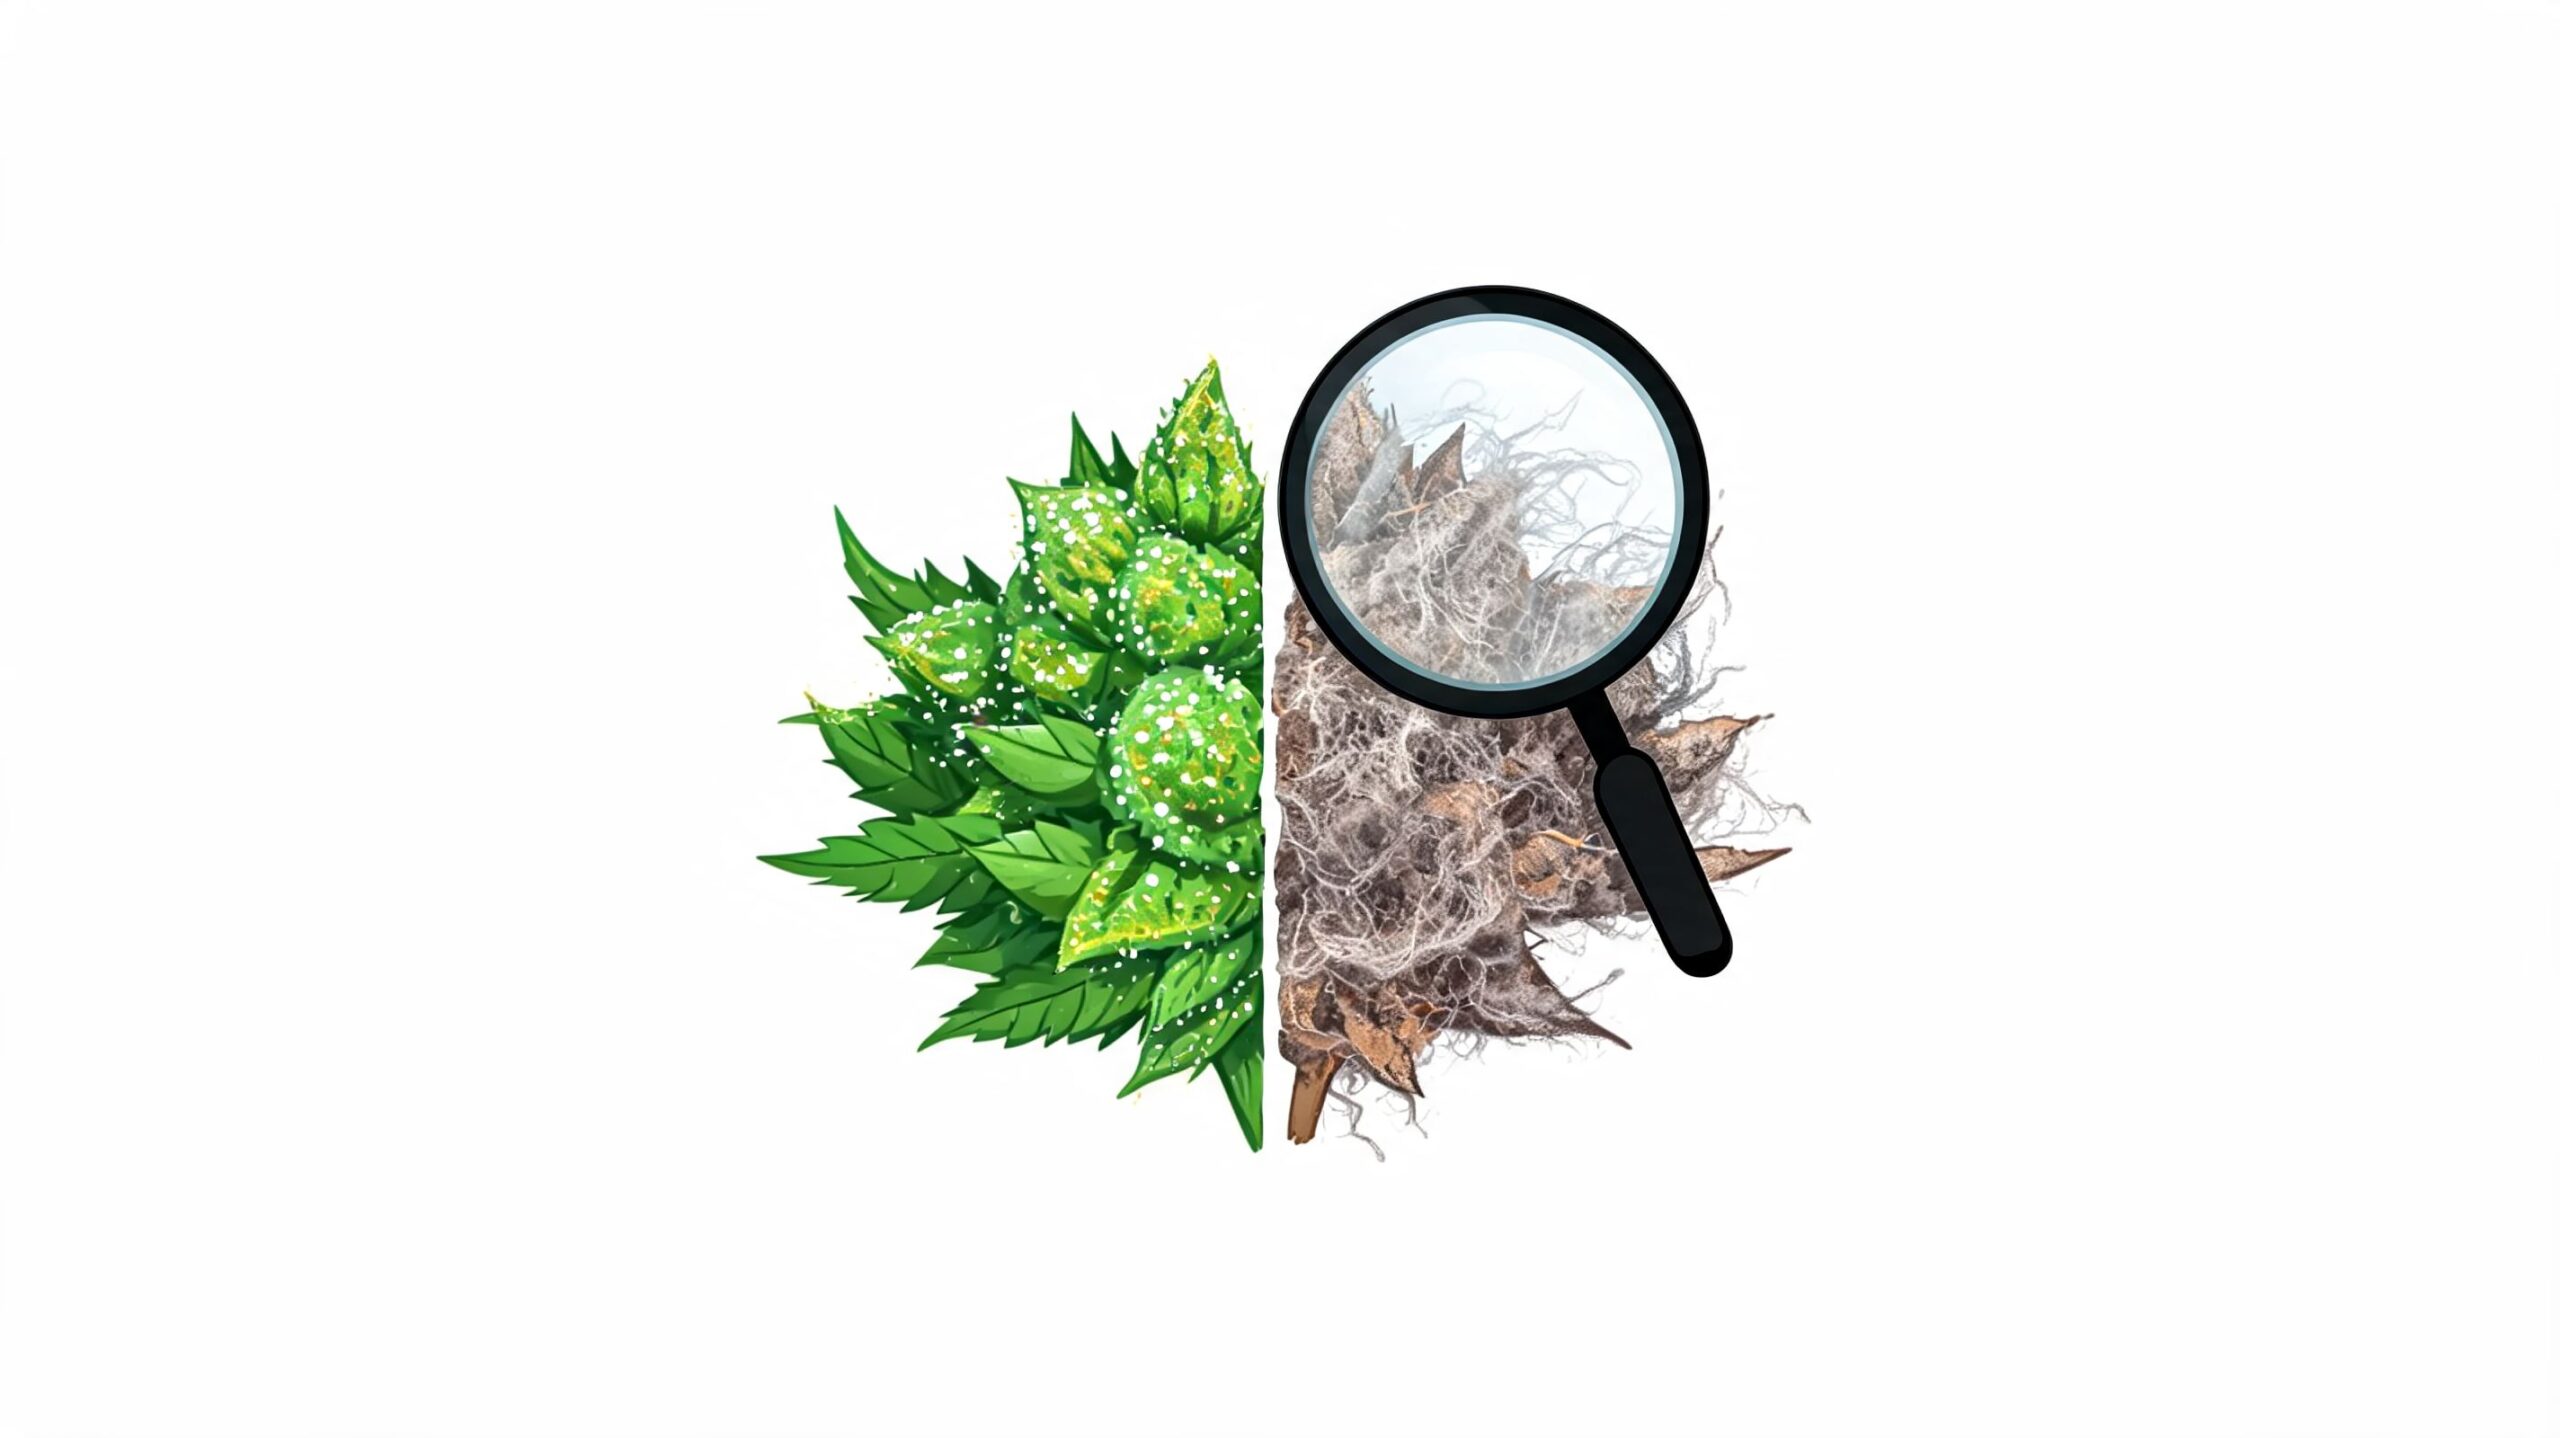
You crack open a jar or lean into a cola you were proud of, and something looks off. Maybe it's a dusty patch, maybe a gray fuzzy spot tucked inside a dense bud, maybe the smell has gone from loud and fresh to damp and stale. That moment sucks.
The good news is that mold on weed usually isn't random bad luck. It shows up when a few preventable things line up, and once you know what to look for, your decisions get a lot easier. You stop guessing. You stop trying to save questionable flower. You start building a grow that gives mold fewer chances.
A lot of home growers also like the simple fact that quality control stays in their hands. That matters, especially when outside testing isn't always as clean or consistent as people assume.
That Sinking Feeling When You Find Mold
If you've found suspicious fuzz on a bud, don't panic, and don't bargain with yourself. The first job is to slow down and inspect, not trim in a rush or convince yourself it's “probably fine.”
Most growers run into this at some point. Dense flowers, a crowded tent, a humid week, jars packed a little too soon, one branch hidden from airflow. Mold doesn't care whether you're on your first run or your tenth. It only cares that conditions worked in its favor.
What usually goes wrong
A mold problem on weed often starts in places growers ignore because the top canopy looks great:
- Inside dense colas: The outside can look perfect while the center is already breaking down.
- Lower branches: They get less airflow and stay cooler and damper.
- Late flower: Buds are thick, leaves overlap, and moisture gets trapped.
- Drying rooms and jars: Plenty of harvests are lost after chop, not before it.
Practical rule: If something looks wrong and smells wrong, treat it like a real problem until you prove otherwise.
That mindset saves harvests. Not because you can rescue moldy buds, but because you can catch issues early, isolate what's affected, and fix the room before more flower gets hit.
The decisions that matter
When dealing with mold on weed, the key questions are simple:
- Is this mold, or just healthy trichomes?
- How did the conditions allow it?
- Can I prevent it next round with better airflow, humidity control, and plant structure?
- Should this bud be tossed?
Those are the calls that separate a frustrating run from a useful lesson. Genetics also matter more than people admit. Some cultivars stack tighter and trap moisture more easily. Others stay a little looser and are just easier to manage at home, especially in a small tent or a humid climate.
How to Spot Mold on Your Buds
The biggest mistake new growers make is confusing trichomes with mold. They both can look pale under grow lights, but they're not close once you know what to check.
Healthy trichomes look like frost. They sparkle. They sit on the bud like tiny crystal heads. Mold looks dull, dusty, webby, or cottony. It often forms patches instead of an even coating.
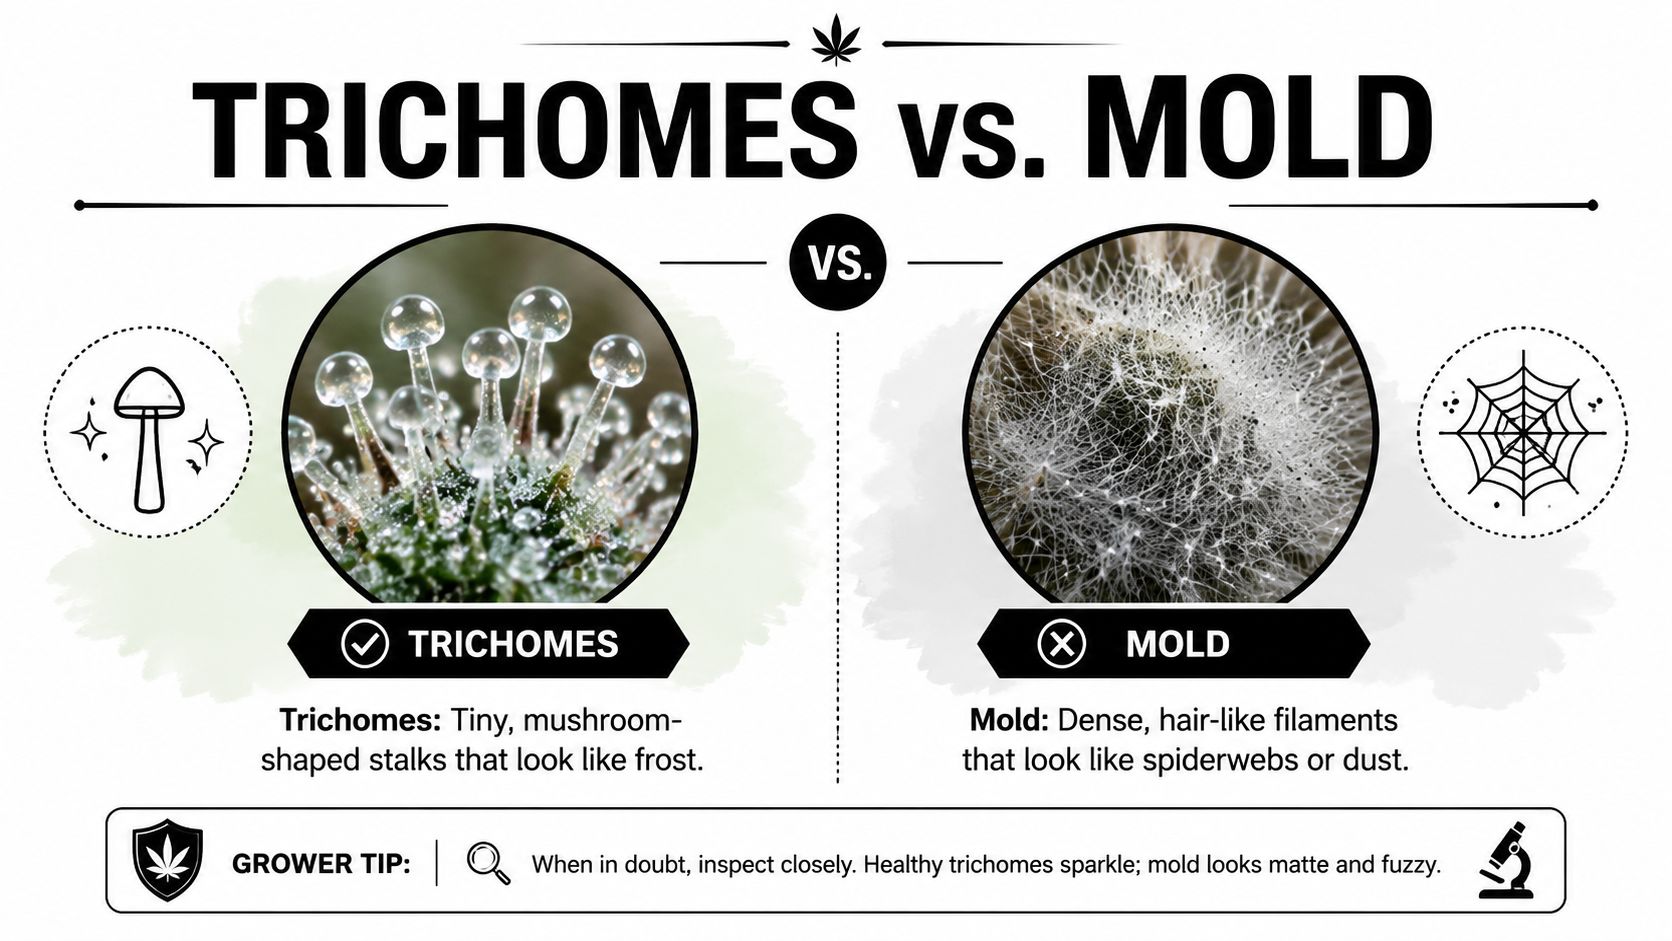
Trichomes versus mold
Use your eyes first, then your nose, then your fingers if needed.
| Feature | Bud Rot (Botrytis) | Powdery Mildew | Healthy Trichomes |
|---|---|---|---|
| Look | Gray or brown, dense, fuzzy rot inside the bud | White, dusty film on leaves or flower surfaces | Sparkling, frosty, crystal-like coating |
| Texture | Soft, collapsing, dead plant matter | Powdery or chalky on the surface | Sticky, resinous |
| Location | Often starts deep in dense colas | Usually starts on outer surfaces | Evenly spread where resin develops |
| Color around it | Nearby plant tissue may look browned or wilted | Leaves may look coated | Bud stays vibrant for its cultivar |
| Smell | Damp, stale, musty | Flat, dusty | Loud, cultivar-specific aroma |
The three common trouble signs
Bud rot is the one that catches growers off guard the most. You peel open a chunky flower and find gray-brown decay in the middle. The outside may still look decent. If a bud feels oddly soft or dead in one spot, open it up.
Powdery mildew usually shows itself earlier and more openly. It looks like someone dusted part of the plant with flour. It sits on surfaces instead of hiding deep inside the flower, at least at first.
Healthy trichomes reflect light. They look intentional. Mold does not. Mold tends to form irregular patches, strands, or fuzzy mats.
Healthy resin looks like frost. Mold looks like contamination.
A quick hands-on check
When you're unsure, use a simple inspection routine:
- Pull the bud apart gently: Don't just inspect the outside.
- Look for gray fuzz or powder: The consumer safety review discussing gray fuzz and powdery residue highlights those as practical warning signs.
- Smell the flower: Musty, basement-like smells are a bad sign.
- Check nearby buds: Mold rarely stays politely contained to one perfect circle.
If you're staring at mold on weed and hoping it is extra frosty resin, compare the shine. Trichomes glisten. Mold usually looks flat and wrong.
The Main Causes of Mold in Your Grow
Mold needs the right environment more than anything else. Spores are around. That part is hard to control completely. Your job is to make your grow room a bad place for them to take hold.
The biggest lever is humidity. Cannabis flower is most vulnerable when humidity goes past 62% RH, and the safest storage and late-flower range is 55 to 62% RH, according to this breakdown on cannabis storage humidity and mold risk. That range matters because once moisture pockets build inside dense flowers or packed containers, fungi like Botrytis and Penicillium get an opening.
The room can read fine and still be risky
Growers often get fooled. Your hygrometer might show an acceptable number in the middle of the tent, while a packed corner, a crowded lower branch, or the center of a thick cola holds extra moisture.
That's why mold on weed often shows up in very specific spots:
- Bushy interiors with poor air movement
- Plants pushed too close together
- Dense cultivars with chunky flowers
- Late flower after heavy watering
- Storage containers with trapped moisture
A grow space doesn't have to feel soaking wet to create a mold problem. It just needs enough hidden dampness for long enough.
Airflow is not the same as wind
A lot of people throw a fan in the tent and assume they've handled it. They haven't. Airflow means old humid air leaves, fresh air comes in, and the canopy doesn't stay stagnant. Wind blasting one cola all day isn't the goal.
If your leaves barely move in some parts of the plant, those spots deserve attention. If your lower branches are buried under shade leaves, they're living in their own little weather system.
For growers dialing in environment, a solid weed VPD chart helps connect temperature and humidity so you're not managing RH in isolation.
Plant structure matters more than people think
Some cultivars make life easier. Others stack so tight that every week of flower feels like a humidity test. If you grow in a small tent, your cultivar choice is part of mold prevention, not just flavor or finish time.
Thick, crowded flowers can create their own microclimate. That's great for bag appeal, not always great for staying clean.
Proactive Steps for a Mold-Free Grow
The best mold strategy is boring. Keep air moving, keep humidity in range, avoid wet crowded plant structure, and don't wait until flower is packed to clean up the canopy. Fancy tricks matter less than consistency.
Build a room that dries itself out
Think about prevention in layers, not one miracle tool.
- Move air across and through the canopy: Oscillating fans help, but they work best with real exhaust and fresh air exchange.
- Control moisture at the room level: A dehumidifier is often more useful than adding another fan.
- Watch the dark cycle: Humidity tends to creep up when lights go out.
- Keep plants spaced: Leaf-on-leaf crowding traps moisture fast.
If you're improving air handling, this guide on choosing an air purifier for cannabis grows is a useful add-on to your ventilation plan.
Prune for airflow, not just looks
A messy undercarriage and a packed center invite trouble. Two habits make a real difference:
Lollipopping clears weak lower growth that won't get good light or airflow anyway.
Light defoliation opens the canopy so moisture doesn't sit between fan leaves and bud sites.
Don't turn the plant into a skeleton. Just remove what blocks airflow and creates little damp pockets. The goal is to let the plant breathe.
Match the cultivar to your setup
This is the trade-off many home growers learn the hard way. A super dense, slow-finishing cultivar can be a headache in a humid garage or a small tent with limited environmental control. A more open-structured autoflower or feminized cultivar is often easier to keep clean.
That doesn't mean looser flowers are always “better.” It means they're often a smarter fit for certain setups. If your room tends to run humid, work with cultivars that don't punish you for it.
Pick cultivars for your actual environment, not just the prettiest photo on a seed page.
A simple prevention checklist
Before late flower hits, make sure you've handled the basics:
- Thin crowded growth: Especially lower and interior leaves.
- Inspect deep inside top colas: Surface checks miss hidden problems.
- Keep late-flower RH steady: Swings cause trouble.
- Water with discipline: Don't leave the root zone and room wet for hours.
- Clean the room: Dead leaves and old plant debris don't help.
Most mold problems don't start with one huge mistake. They start with several small ones that stack up.
Perfecting Your Dry and Cure to Stop Mold
A clean plant can still become moldy flower if the dry and cure go sideways. During this process, growers get impatient, jar too early, or overhandle buds that should just be drying evenly.
Here's a good visual walkthrough before we get into the details:
Drying needs space and patience
When you chop, don't bunch branches together like laundry on a rack. Give them room. Air should move around them, not blast directly into them. Crowded drying makes wet pockets, and wet pockets become mold problems.
Storage and post-harvest humidity still matter here. As noted earlier, the safe window is 55 to 62% RH, and going above that raises mold risk because localized moisture pockets form.
A few practical rules help a lot:
- Hang with spacing: Branches shouldn't touch much.
- Keep the room stable: Big humidity swings make drying uneven.
- Check the densest buds first: They hold moisture longest.
- Don't jar because the outside feels dry: The center can still be wet.
Why hand-trimming is the safer call
Mechanical trimming sounds efficient, but it comes with a quality trade-off. A study on mechanical bud trimming and Penicillium contamination found that machine trimming creates wounds that mold can exploit, and mechanically processed trim waste reached 38 CFU contamination in the reported data.
That doesn't mean every machine-trimmed bud goes bad. It means post-harvest damage gives mold more opportunities. For a home grower, careful hand-trimming is usually the better bet if quality is the priority.
Curing is controlled moisture release
Once buds are dry enough for jars, the job isn't over. Curing works when moisture leaves the center of the flower gradually without getting trapped.
Use a routine, not guesswork:
- Jar only properly dried flower
- Open jars regularly at first
- Smell every jar
- Remove anything suspicious immediately
If you're dialing in post-harvest conditions, this guide to using a dehumidifier for drying weed can help tighten up the room before problems show up.
The Real Risks and When to Toss Your Bud
You crack a jar after all that work, catch a musty note, and spot a patch that looks off deep in the nug. That's the moment to get strict.
If you find confirmed mold on weed, throw that bud out. Don't smoke it, don't cook with it, and don't try to salvage it with wishful thinking.
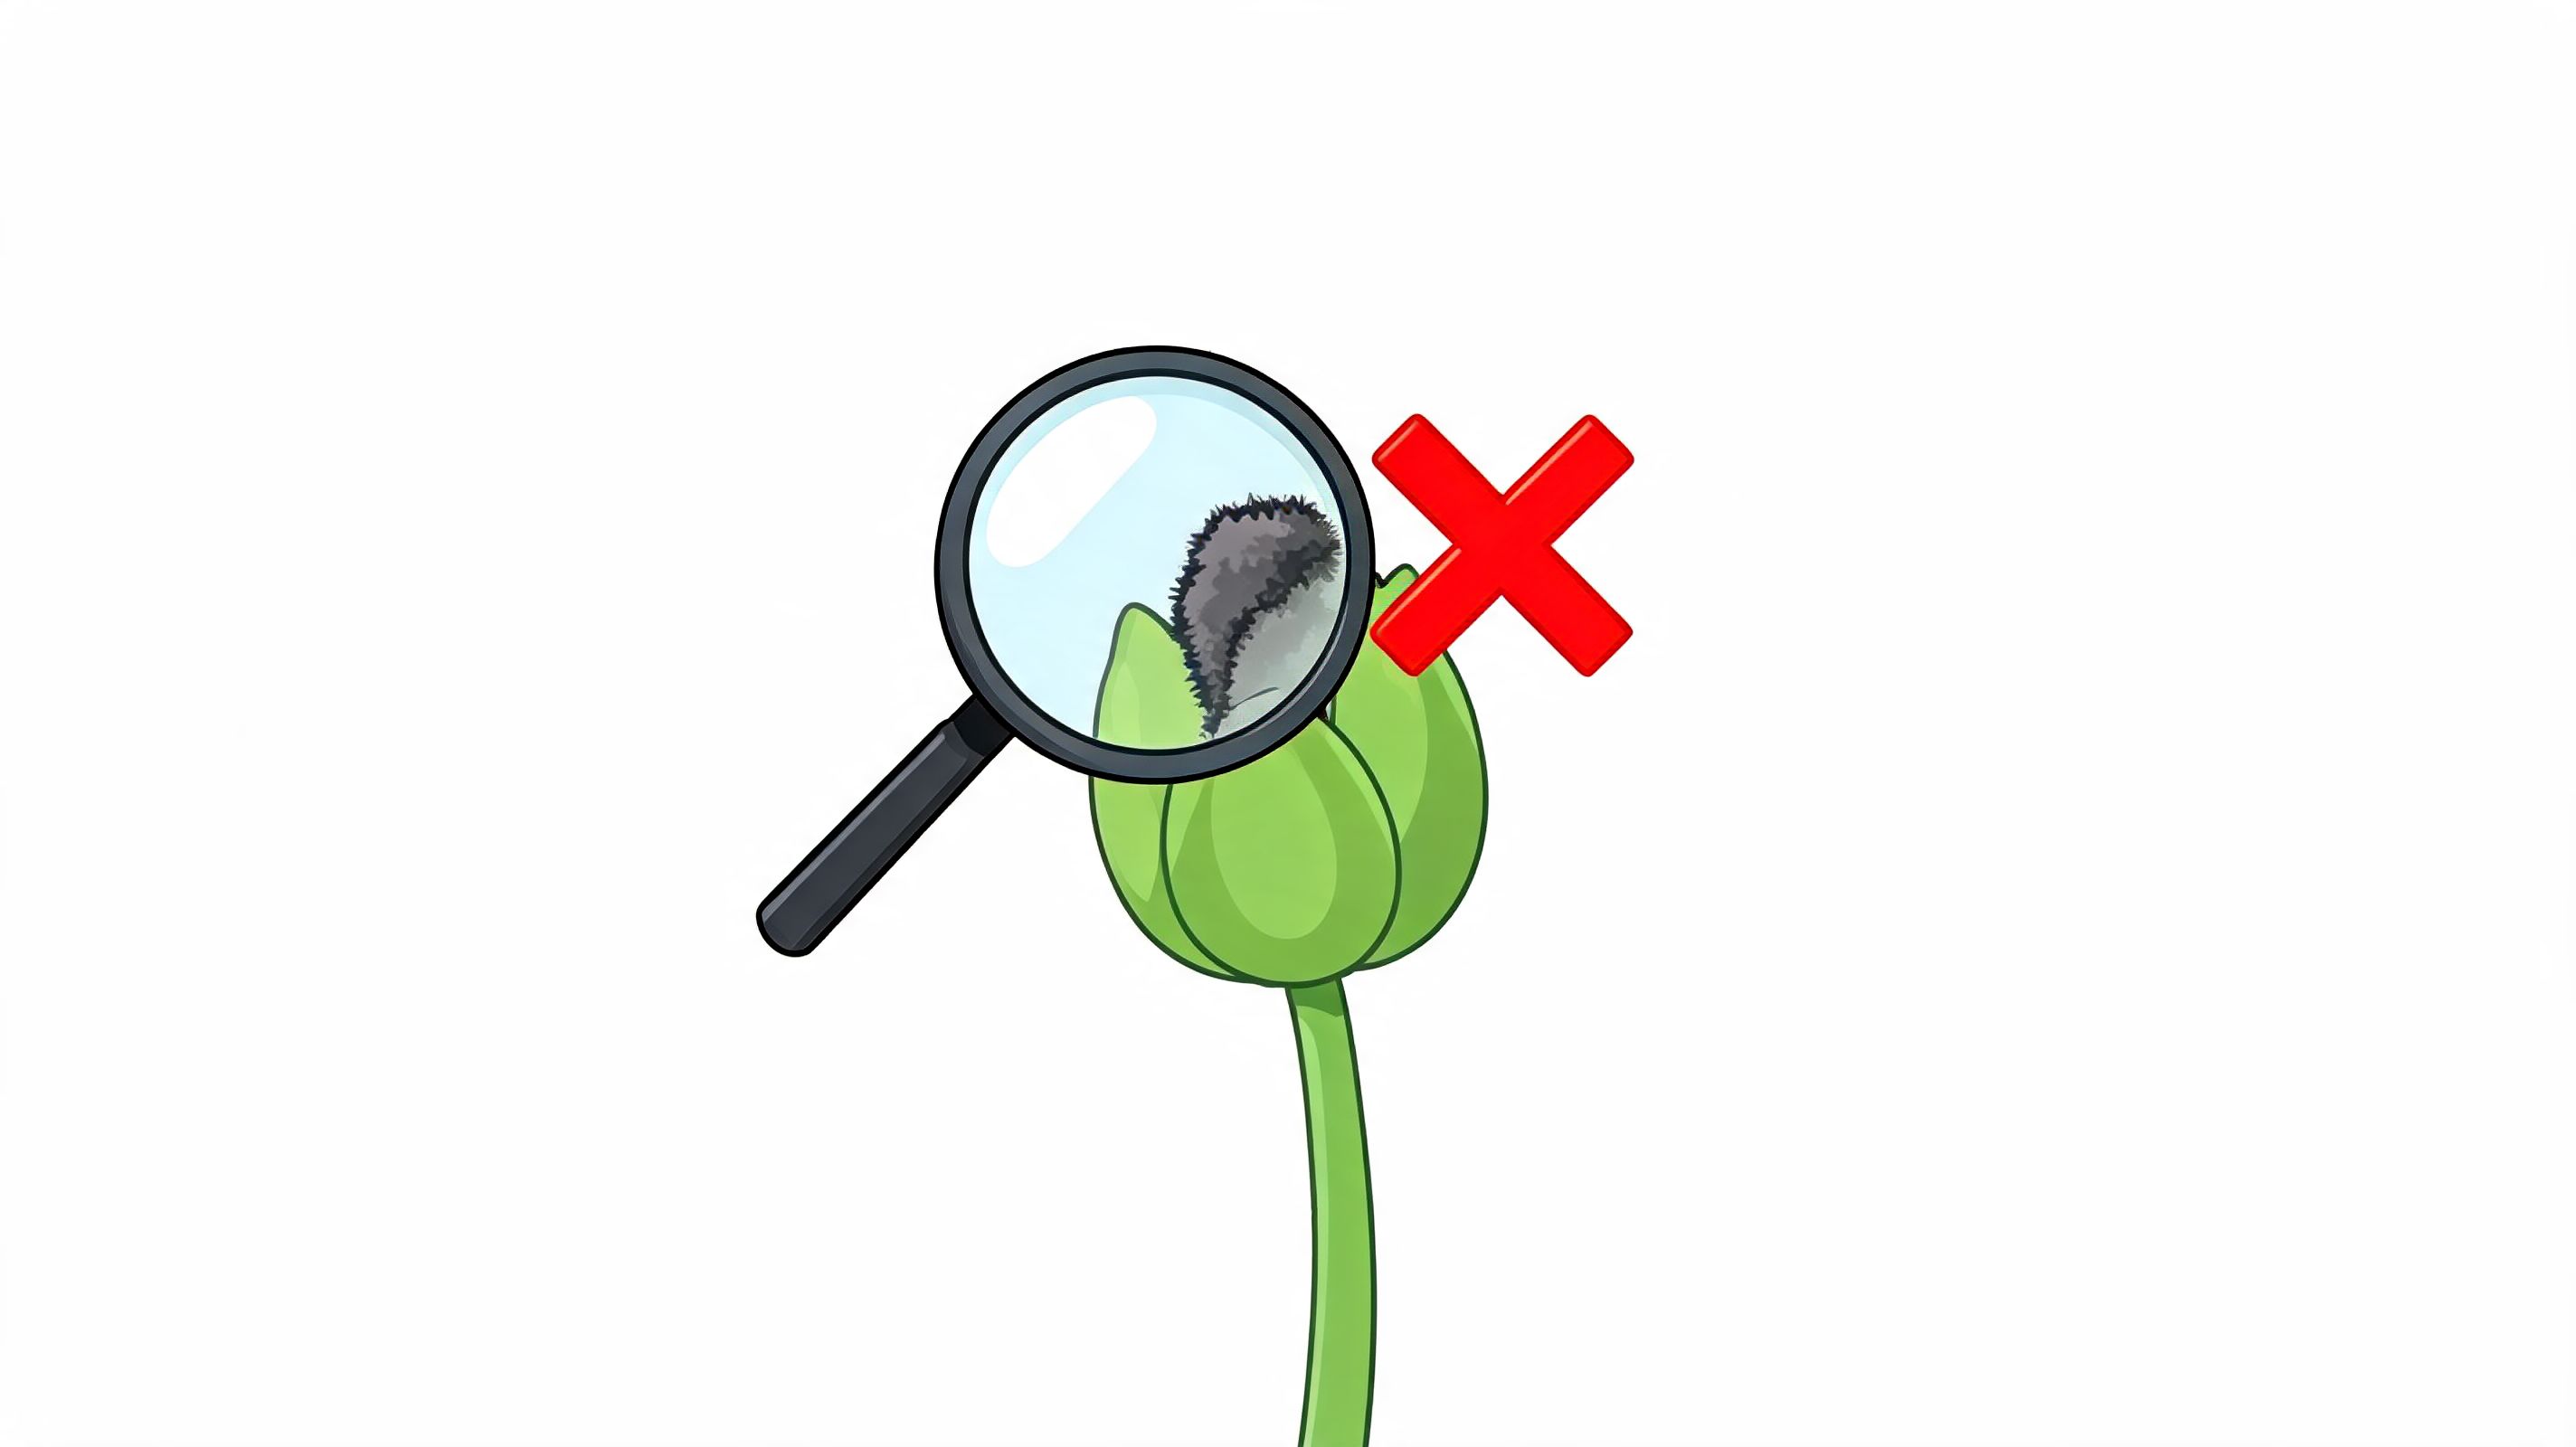
Home growers struggle with this because every jar represents weeks of effort. I get that. Still, visible mold means the flower already failed quality control, and keeping it is a bad trade.
Why tossing it is the right call
Moldy bud is not a minor quality issue. It's contaminated flower. Inhaling it is an avoidable risk, especially for anyone with asthma, allergies, or a weaker immune system.
That's enough reason to be decisive.
If you can see mold, don't try to out-argue it.
A lot of growers lose good judgment here because harvest weight feels precious. Dense top colas, late flower stress, or a humid dry room can wipe out the nicest-looking buds first. That stings, but smoking questionable flower to avoid waste is the wrong move.
What growers try that still fails
These are the usual salvage ideas, and none of them fix the problem:
- Cutting off the moldy spot: What you see on the surface is often only part of it.
- Turning it into edibles: Heat and butter don't turn bad flower into clean material.
- Running concentrates: Starting with contaminated bud still gives you contaminated starting material.
- Keeping the “good half” of a nug: Once a bud is compromised, it's compromised.
Apply the same rule to storage. If one jar smells musty or looks suspicious, empty it, inspect every bud, and separate anything questionable from the rest right away.
A home grower's toss rule
Keep the decision simple:
| What you notice | What to do |
|---|---|
| Gray fuzz, white webbing, dusty growth | Toss the affected bud |
| Musty, damp, stale smell | Inspect closely, and if confirmed, toss it |
| Brown rot inside a cola | Toss the affected material and inspect nearby buds |
| You're unsure and can't verify it's clean | Don't use it |
That last line matters most.
For a home grower, good judgment beats squeezing every gram out of a harvest. Some mold losses are preventable with better airflow, cleaner drying, and less crowding. Some start earlier with plant choice. If your room runs humid or your tent stays tight, dense genetics can make this decision show up more often than it should. Fast-finishing autoflowers or feminized seeds bred for a more open structure can reduce the odds, but once mold is in the bud, genetics won't save that jar. Toss it and protect the rest.
Growing with Confidence and Quality Control
The best part of growing at home isn't just skipping lines or keeping your stash stocked. It's control. You choose the cultivar, you control the environment, you decide when a plant needs thinning, and you decide whether a bud is worth keeping.
That kind of control matters because outside systems aren't always as trustworthy as people expect. A Wall Street Journal analysis of more than two million mold-testing results from legal cannabis markets found suspicious clustering just under legal mold limits, a pattern that pointed to likely underreporting or manipulation by labs, as summarized in this report on commercial cannabis mold testing problems. For a home grower, that's a pretty strong reminder that “tested” and “clean” aren't always the same thing.
What confidence actually looks like
Confident growers don't assume. They check.
- They inspect dense flowers before harvest
- They prune with airflow in mind
- They dry with patience
- They toss questionable bud without drama
- They choose cultivars that fit the room they have
That last one gets overlooked. A humid basement grow and a climate-controlled tent don't ask for the same plant. Autoflowers and feminized cultivars can make home growing simpler, but the smart move is matching structure, finish time, and room conditions.
Good weed starts with genetics, but it stays clean because the grower makes clean decisions all the way through.
You don't need a perfect setup to stay ahead of mold on weed. You need observation, decent environmental control, and the discipline to avoid wishful thinking. That's enough to produce flower you can feel good about keeping.
If you want a cleaner start on your next run, check out Botanist Seeds. Their catalog makes it easier to compare feminized and autoflower cultivars by growth style, helping you pick genetics that fit your space, your climate, and the kind of harvest you want to bring home.












