





Your Guide to Building Awesome Grow Rooms for Weed
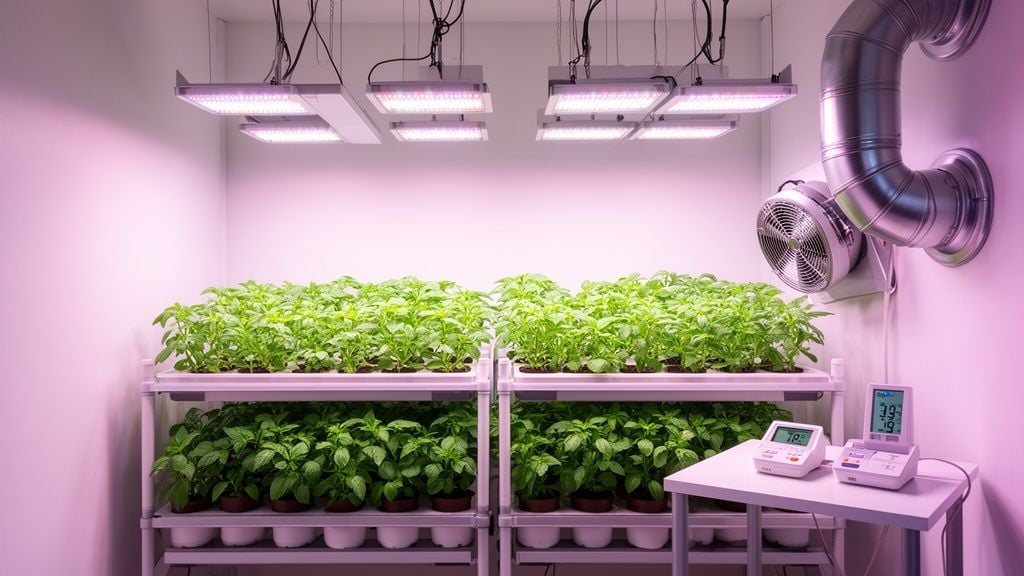
Building a dedicated grow room for weed is way easier than you might think. It’s the best way to get consistent, top-shelf results right from home. The whole point is to create a space where you call the shots, giving you total control over your plant's environment. A little planning up front makes the entire process smoother and, honestly, a lot more fun.
Starting Your Home Grow Without the Headaches
Let's be real: jumping into your first home grow can feel like a huge project. But if you think of it as just building a dedicated space for a hobby, it becomes much less intimidating. We're not talking about a commercial facility here. This is about carving out a manageable, controlled space that lets you grow your own supply, skip the dispensary lines, and avoid those ever-increasing taxes.
The first big decision is just picking the right spot. You don't need a huge area to get amazing results. Many new growers find success by working with what they already have.
- A spare closet: This is the classic choice for a stealthy, small-scale setup. It's easy to keep out of sight, but you'll have to get creative with ventilation and making it totally light-proof.
- A corner of the basement: Basements are often perfect. They tend to stay naturally cool and dark, which is a big head start for controlling the climate. Plus, they usually offer more space to expand if you get hooked on growing.
- An unused spare room: This option gives you the most space and flexibility for a more ambitious setup. The trade-off, of course, is that it's the least discreet choice.
Planning for Convenience and Privacy
Think about how often you'll need to be in that room. You'll want a spot that’s easy to get to for daily check-ins and maintenance. At the same time, you have to consider privacy. The ideal location is out of sight and won’t attract any attention from nosy neighbors or unexpected visitors. Nailing that balance between convenience and discretion is the secret to a stress-free grow.
The goal is to set up a space that works for your life. A well-planned grow room should feel like a natural part of your home, not a complicated science project you have to hide.
This early planning stage is all about looking ahead. For example, if you're leaning toward a closet grow, you might realize an all-in-one package is the easiest way to go. You can learn more about how a grow tent kit streamlines the setup process and takes care of many of these details for you.
These integrated systems are becoming super popular. The global modular cannabis grow room market was valued at USD 300 million in 2024 and is projected to keep climbing, which shows just how many home growers are taking cultivation into their own hands. These systems offer precision control over the environment, helping you get consistent harvests no matter what the weather is doing outside. You can see more research on the growing modular grow room market to understand the trend.
Ultimately, a bit of planning now prevents major headaches later and creates the solid foundation you'll build the rest of your grow on.
Designing Your Grow Room Layout and Environment
So, you've staked your claim on a corner of the basement or a spare closet. Smart move. Now, let's talk about turning that blank space into a high-performance garden. A great grow room is more than a space with a powerful light: it’s a finely tuned, self-contained ecosystem. Getting this blueprint right from the beginning is what separates an average harvest from one that truly shows off a cultivar's potential.
Before you buy any gear, grab a pencil and paper and sketch out your layout. Think about workflow. You need enough space to not only get to your plants from the front but to move around them, inspect them, and do your work without knocking things over. Planning for this access now will save you a ton of frustration later.
This simple breakdown covers the three essential phases of your initial planning.
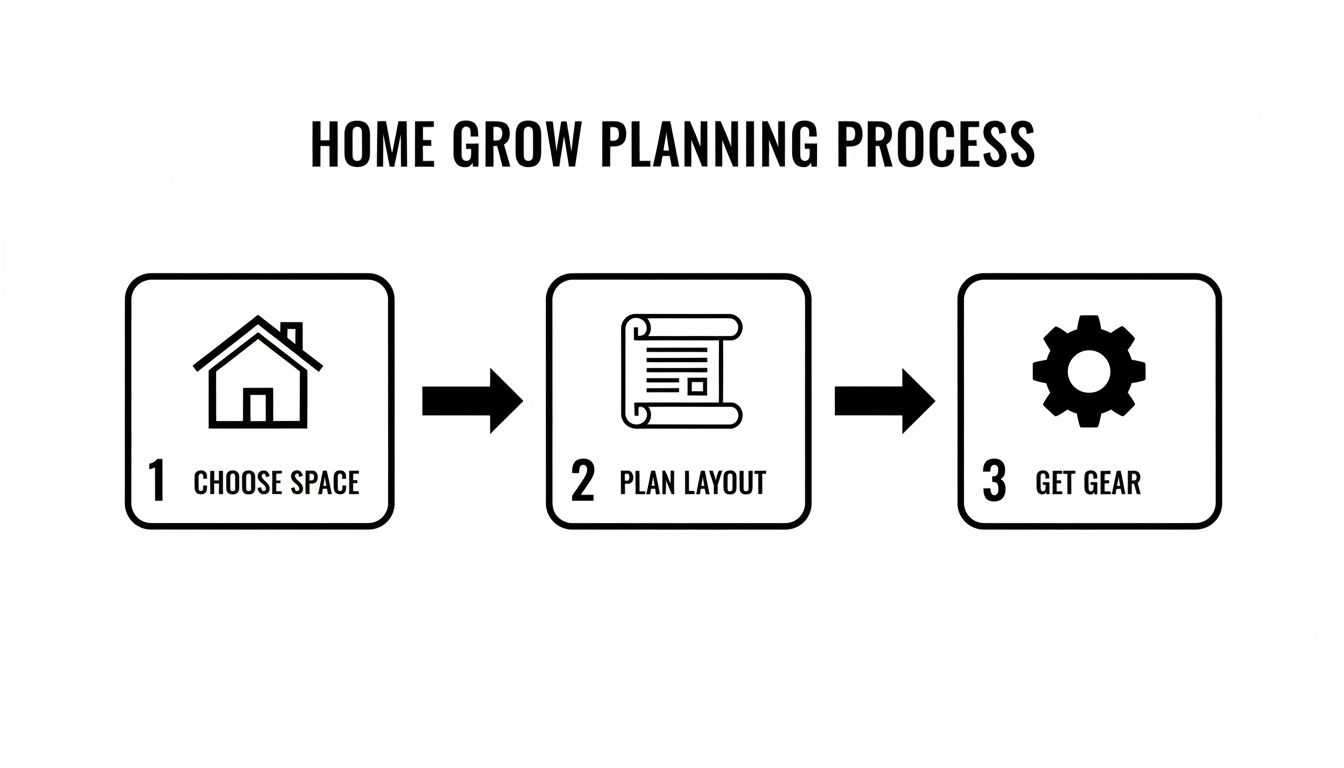
It really is that straightforward: secure your space, design your layout, and then get the equipment to make it happen.
The Three Pillars of a Great Grow Room
When you get down to it, a successful indoor environment comes down to mastering just three things: lighting, ventilation, and climate control. If you can get these three elements working together, you're already 90% of the way to an incredible harvest.
Light: The Engine of Your Garden
Let's start with the big one: lighting. This is the single most important investment you'll make. Your lights are the sun for your indoor garden, driving the photosynthesis that fuels all growth.
For most home growers, the choice comes down to modern LEDs or old-school High-Pressure Sodium (HPS) lights. LEDs cost more up front, there's no denying it. But they run way cooler and are incredibly energy-efficient, which means lower electricity bills over the long run. HPS bulbs are cheaper to buy but throw off a ton of heat, demanding a more powerful ventilation system just to keep temperatures in check.
Here’s a quick look at the most common lighting options for home grow rooms, comparing their cost, efficiency, and heat output to help you decide.
| Light Type | Initial Cost | Energy Efficiency | Heat Output | Best For |
|---|---|---|---|---|
| LED (Light Emitting Diode) | High | Very High | Low | Growers prioritizing long-term efficiency and quality. |
| HPS (High-Pressure Sodium) | Low | Moderate | Very High | Budget-conscious growers with robust ventilation. |
| CMH (Ceramic Metal Halide) | Medium | High | Medium | Growers wanting a balanced spectrum and good efficiency. |
| Fluorescent (T5/CFL) | Very Low | Low | Low | Seedlings and early vegetative growth. |
Ultimately, LEDs have become the standard for a reason. Their efficiency and low heat signature make managing a small space much, much easier.
Ventilation: The Lungs of the Room
Stagnant air is the enemy. Your plants need fresh air to thrive, and a good ventilation system is non-negotiable. It's not just about smell control; proper airflow is vital.
Here’s what it does:
- Pulls in fresh, CO₂-rich air that plants need to photosynthesize.
- Removes hot, humid air, helping you manage temperature and humidity.
- Creates a gentle breeze that strengthens plant stems.
- Contains the powerful aromas from flowering plants.
A typical setup involves an inline exhaust fan, ducting, and a carbon filter. You’ll want to position the fan to pull air from the top of your space (since heat rises), run it through the carbon filter to scrub any odors, and then vent it outside the room. This creates negative pressure, passively drawing fresh, cool air in through a lower vent.
Dialing in Your Climate
The final pillar is creating a stable climate by managing temperature and humidity. The ideal numbers shift as your plants grow. For example, seedlings and young vegetative plants love warmer temps and higher humidity. Flowering plants, on the other hand, require cooler, drier conditions to avoid issues like mold.
Getting your environment right is like giving your plants a five-star resort to grow in. When they're comfortable, they can focus all their energy on producing the results you're looking for, from dense growth to rich aromatic profiles.
A simple digital thermometer/hygrometer is essential for monitoring your environment. Depending on where you live, you might need a small humidifier or dehumidifier to keep your levels locked in.
Lastly, and this is crucial, you must light-proof your room. During the flowering stage, your plants need 12 hours of absolute, uninterrupted darkness. Even a tiny light leak from a crack under the door can stress them, potentially hurting your final yield. Use blackout sheeting or thick weather stripping to seal every last crack.
A completely dark "night" is non-negotiable for a successful flowering cycle. A good trick is to sit inside the sealed room with the lights off for a few minutes. Once your eyes adjust, you'll spot any light leaks you missed.
Equipping Your Grow Room for a Successful Harvest
Alright, with the room layout handled, we get to the fun part: shopping for gear. Think of this as your essential checklist, but with advice from someone who’s already made all the rookie mistakes so you don't have to. The goal isn't to buy the most expensive gadgets; it's to invest in what actually works. Great results come from a smart setup, not a pricey one.
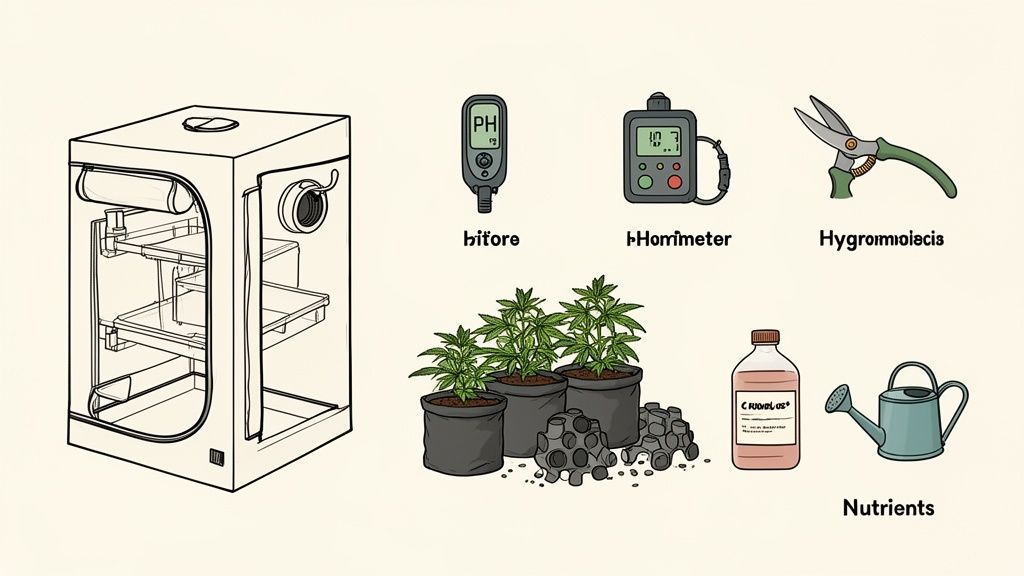
Let’s focus on the equipment that will really make or break your harvest. I'll show you where to spend your money and where you can definitely save, freeing up your budget for the things that have the biggest impact, like killer genetics from Botanist Seeds.
Grow Tents Versus DIY Room Builds
One of your first big decisions is whether to grab a ready-made grow tent or convert a space yourself. There are pros and cons to both.
- Grow Tents: For anyone just starting out, I almost always recommend a tent. They're a fantastic plug-and-play option. You get a light-proof environment with reflective walls and built-in ports for ventilation and cords, all in one box. It just works.
- DIY Room: If you're handy and have a spare closet or a corner you can seal off, you can absolutely build your own space. It offers more flexibility in size and shape and can be cheaper. But remember, you'll be responsible for light-proofing, mounting equipment, and managing airflow from scratch.
For most growers, the simplicity of a tent is worth the investment. It eliminates a ton of potential headaches and lets you focus on learning how to grow plants, not on a construction project.
Containers and Growing Mediums
Next up, your plants need a home. What you choose to grow in will directly affect your watering schedule and how you feed your plants.
- Containers: You can do better than the standard plastic pots from the garden center. Fabric pots are a huge step up. They allow the roots to breathe and "air-prune" themselves instead of getting root-bound, which means a much healthier plant. Air pots are another great choice that achieves a similar result through a different design.
- Growing Medium: This is the foundation for your roots. For beginners, you can't go wrong with a high-quality soil mix; it's by far the most forgiving medium. Coco coir, a popular alternative made from coconut fiber, can lead to faster growth, but it requires a bit more hands-on management with nutrients and watering.
A great starting point that I recommend to all my friends is a quality organic soil in a fabric pot. It’s a classic combination for a reason: it just plain works and gives you a stable environment while you’re learning the ropes.
Picking the right gear isn't about having the fanciest setup. It's about creating a stable, repeatable environment that lets your plants thrive. The less you have to worry about your equipment, the more you can enjoy the process of growing.
Essential Monitoring Tools
You can’t fix problems you don’t know you have. A few simple tools are all it takes to remove the guesswork and dial in your environment.
- Thermo-Hygrometer: This one is non-negotiable. It measures both temperature and humidity. Get a digital one with a probe and place it right at the canopy level of your plants; that’s the microclimate that truly matters.
- pH Meter: This might be the most overlooked tool by new growers, but it’s critical. It makes sure your water and nutrient solution are in the right range for your plants to actually absorb food. For soil grows, you’re aiming for a pH between 6.0 and 7.0.
- Timers: You need a simple outlet timer for your lights. Automating your light schedule is one of the easiest ways to provide consistency and prevent your plants from getting stressed out.
Using data to perfect a grow is a huge trend, with the cannabis cultivation market expected to explode from USD 180.7 billion in 2025 to over USD 651.8 billion by 2034. This growth is fueled by growers at all levels using technology to get better results. If you’re interested in the market side of things, the full cannabis cultivation market report has some interesting information.
Ultimately, your equipment list doesn’t need to be long or complicated. A reliable light, a decent tent, and a few key monitoring tools are really all you need to pull off harvests you can be proud of. And when it comes to the single most important piece of equipment in your room, we’ve got you covered. Learn more in our guide on choosing the right lighting for growing cannabis indoors.
Choosing the Right Cultivars for Your New Setup
Alright, you’ve planned your grow room layout and your gear is on the way. Now for the fun part: deciding which cultivars you're going to grow. With a fully dialed-in indoor setup, you have tons of options, but some plants are simply a better fit for the four walls of a tent or a dedicated room.
This is where you'll connect your shiny new setup with the perfect genetics from the Botanist Seeds catalog. Whether you're aiming for a lightning-fast harvest or want to experiment with plant training to maximize your yield, let's match the right seeds to your space.
Autoflowers for a Fast and Easy First Run
If you’re new to this or just want a quick turnaround, autoflowers are your best bet. I often recommend them to first-timers because they run on their own schedule. You don't need to stress about flipping your light cycle from 18 hours to 12 to trigger flowering; they just do it on their own when they're ready.
For a new indoor grower, this offers some huge advantages:
- Speed: Autoflowers are fast. Really fast. We're talking seed to harvest in just 10-12 weeks for most cultivars. A quick cycle means you get to enjoy your harvest sooner, and you can realistically fit more runs into a single year.
- Compact Size: Most autos tend to stay short and bushy. Their compact nature makes them a perfect match for grow tents or closet grows where ceiling height is a real limitation.
- Resilience: Good autoflower genetics are bred for vigor and toughness. They’re generally more forgiving of the small mistakes we all make when learning, giving you a bit of a safety net.
Their simplicity means you can put all your energy into mastering the basics: watering, feeding, and climate control, without worrying about light cycle management.
Feminized Seeds for Maximum Control and Yield
Now, if you've got a bit more room to play with, especially vertically, and you're aiming to pull down some seriously impressive yields, feminized seeds are what you're looking for. Unlike autos, these plants rely on the light schedule to tell them when to start making buds. This puts you in complete control of the plant's size.
You can keep a feminized plant in its vegetative state (with 18+ hours of light) for as long as you need. This is where experienced growers use training techniques like topping or a Screen of Green (ScROG) to develop a massive, even canopy of colas. When you’re satisfied with its size, you just flip your lights to a 12/12 schedule, and the flowering phase begins.
Choosing between an autoflower and a feminized seed really comes down to your personal goals. Do you want the fastest path to harvest, or do you want to take the driver's seat and manage every stage of the plant's life for the biggest possible outcome?
Get more info on the specific differences in our detailed breakdown of autoflower vs. feminized seeds to see which style fits your personality and your new room.
Don't Forget About the Vibe and Aromatics
While growth habits are important, let's not forget about the end experience. A huge part of the pride in home growing is cultivating something with the specific aroma and "vibe" you truly enjoy. Use our comparison tool to filter through cultivars based on their reported terpene profiles.
The legal cannabis market is absolutely exploding, with some projections showing the U.S. market could hit USD 45.3 billion by 2025. Much of that growth is fueled by home growers like you who are seeking out diverse, top-tier genetics from modern online shops like ours.
Think about your environment, too. If keeping a low profile is a top concern, you might lean toward a cultivar known for a less pungent aroma during flowering. Of course, you can always just make sure your carbon filter is up to the job! The choice is all yours, and that’s the real beauty of building your own personal grow.
Tending Your Garden and Tackling Problems
You’ve built your perfect grow room. The lights are hung, the fans are humming, and you’ve got everything dialed in. Now comes the real art and science of growing: managing the plants themselves. This is where you go from being a builder to a gardener.
Getting your room set up is a huge win, but keeping the living things inside it thriving is a day-in, day-out commitment. Let's get into the rhythm of a typical grow and how to handle the inevitable curveballs your plants will throw at you.
The Rhythm of a Grow Cycle
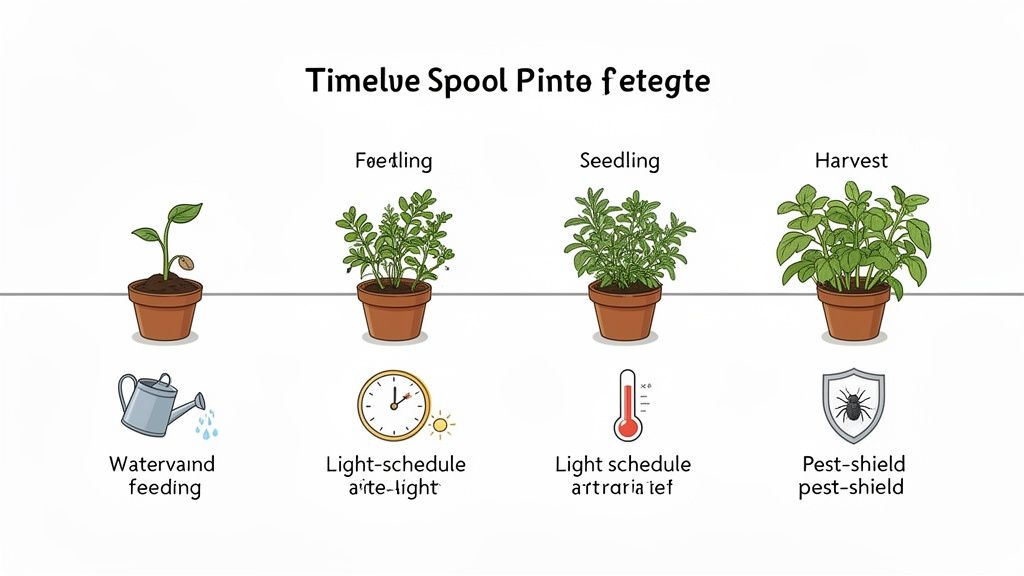
The path from a germinated seed to a trimmed, cured bud follows a predictable timeline. With an autoflower, the entire process can wrap up in an impressively short 10 weeks. If you're working with a feminized cultivar, you're in the driver's seat, deciding exactly how long the plant stays in its vegetative growth phase.
Your daily task is simple but crucial: visit your plants. Take a moment to really look at them. Check the color of the leaves, the moisture of the soil, and how they’re standing. They will give you subtle (and sometimes not-so-subtle) clues about their health.
The most significant event you’ll manage is the switch from vegetative growth to flowering. Autoflowers take care of this themselves, but for feminized plants, you trigger flowering by changing your light schedule. A strict 12 hours of light followed by 12 hours of uninterrupted darkness tells the plant it's time to start producing buds.
Diagnosing and Fixing Common Grow Room Issues
Listen, nobody has a flawless grow every single time. It just doesn't happen. The difference between a beginner and an expert is the ability to spot trouble early and fix it without panicking.
Here are the usual suspects you'll likely run into:
- Nutrient Deficiencies: See yellowing leaves, strange spots, or stunted growth? Your plant might be hungry for a specific nutrient. But before you add anything, check the pH of your water and soil. If the pH is off, the plant can't access the food that's already there, a condition known as nutrient lockout.
- Nutrient Burn: This is the opposite problem, caused by being a little too generous with the plant food. The tell-tale sign is dark green leaves with tips that look burnt and crispy. The fix is simple: flush the growing medium with plain, pH-balanced water and give them a break from nutrients for a few days.
- Unwanted Guests: Spider mites and fungus gnats are the two pests that love indoor gardens the most. Good hygiene is your best defense. If you do spot them, start with gentle solutions like neem oil or an insecticidal soap before reaching for harsher chemicals.
- Environment Fluctuations: Big swings in temperature or humidity will stress your plants out. Keep a close eye on your thermo-hygrometer and make small tweaks to your fans, humidifier, or dehumidifier to keep things stable. Consistency is your best friend.
Think of troubleshooting as a conversation with your plant. The leaves are its way of telling you what it needs. A little attention and a calm response will solve almost any issue you come across.
How to Water and Feed Like a Seasoned Grower
Overwatering is the number one mistake new growers make. It's a classic case of killing your plants with kindness.
Forget watering on a set schedule. The best method is learning the weight of your pots. Lift one right after a thorough watering, and then lift it again every day. When it feels way lighter, it's time to water again. This simple technique makes sure your roots get the oxygen they need and prevents rot.
When it comes to feeding, always follow the directions on the nutrient label, but start at half the recommended strength. It's far easier to give a plant more food than it is to deal with nutrient burn. For feminized cultivars, you’ll use a nitrogen-heavy "grow" formula during veg and switch to a phosphorus-and-potassium-rich "bloom" formula once you flip the lights to 12/12.
Pinpointing the Perfect Harvest Time
The final act is deciding when to harvest. Chopping your plants down too early or too late can dramatically affect the final product's quality and character.
The only way to know for sure is to get up close and personal with the trichomes: the tiny, mushroom-shaped resin glands that cover the buds. You'll need a jeweler's loupe or a digital microscope to see them clearly.
- Clear Trichomes: You're too early. The plant is still building potency. Be patient.
- Cloudy/Milky Trichomes: This is the window for peak potency and generally provides a more energetic, heady vibe. Many growers aim to harvest when the majority of trichomes are cloudy.
- Amber Trichomes: As the compounds in the trichomes mature, they turn an amber color. A higher percentage of amber trichomes is associated with a more relaxing, "couch-lock" body feel.
A great goal for a balanced experience is to harvest when you see mostly cloudy trichomes with just a few amber ones mixed in. This final detail is what takes a good grow to a great one, making sure you get the exact experience you were hoping for when you first chose your Botanist Seeds cultivar.
Common Questions About Building a Grow Room
When you’re gearing up to build your first real grow room, a ton of questions are bound to pop up. That’s a good thing; it means you’re thinking through the details. Let’s tackle some of the most common ones I hear from new growers.
How Much Does It Really Cost to Build a Beginner Grow Room?
The honest answer? It varies. But you definitely don’t have to break the bank to get a solid operation running.
You can get started with a quality starter kit for a few hundred dollars. For example, a complete 2×2 foot grow tent kit, which typically bundles your tent, light, fan, and filter, will usually run you between $300 and $500. From there, you’ll need pots, your grow medium, and nutrients, which might add another $100 to the initial bill.
If there's one place to invest, it's the light. I always tell new growers to spring for a quality LED right from the start. You'll make up the cost in electricity savings, and the difference in your final harvest is night and day. Think of it as an investment that pays for itself after your first couple of successful harvests, saving you money and giving you the pride of growing your own.
How Do I Control the Smell From My Grow Room?
This is probably the most critical question for anyone growing at home, and the answer is simpler than you might think: a carbon filter. This isn't an optional add-on; it's a non-negotiable piece of equipment for discreet growing.
Here’s the simple but smart way it works:
- Your exhaust fan is constantly pulling old, warm air out of your grow space.
- This air is ducted through the carbon filter before it ever leaves the tent.
- The activated carbon inside the filter acts like a sponge, trapping and neutralizing all those potent, tell-tale aromas.
The trick is making sure your fan and filter are a matched pair, correctly sized for your room. Look for the CFM (cubic feet per minute) rating. If your fan is too weak, it won't create enough "negative pressure" to pull all the fragrant air through the filter. While odor-absorbing gels can help with ambient smells outside the room, the carbon filter is doing all the real work.
What Is the Easiest Cultivar for a First Time Grower?
For anyone just starting their indoor growing journey, I almost always recommend an autoflower. They are incredibly forgiving and take a lot of the complex variables out of the equation, letting you focus on the fundamentals.
With autoflowers, you don't have to stress about changing your light cycles to trigger flowering; they handle that on their own. They also tend to be smaller, more compact plants, which makes them a perfect fit for the limited headroom in most grow tents and closets.
Best of all, they're fast. You can go from seed to harvest in as little as 10 to 12 weeks. That quick turnaround is a huge confidence booster and helps you learn the entire plant lifecycle in a fraction of the time.
When you're just starting, getting a successful harvest under your belt is the best motivation. Autoflowers provide a forgiving and speedy path to that first rewarding crop, letting you focus on the fundamentals of watering and feeding.
Once you’re ready to pick one, you can use the Botanist Seeds comparison tool to filter for autoflowers. Pay attention to descriptions that mention resilience or ease of growth; those are your ticket to a great first run.
Can I Use a Spare Closet Instead of Buying a Grow Tent?
Absolutely. The classic closet grow is a time-honored tradition for a reason! It’s stealthy, and you’re using a space you already have. You just have two main challenges to solve: light-proofing and ventilation.
First, that closet needs to be 100% dark during the "lights off" cycle. Even tiny light leaks can stress your plants and mess with their flowering. Weather stripping around the door frame and some good-quality tape can work wonders here.
Second is ventilation. You have to move hot air out and pull fresh air in. This is where you might need to get a little creative, perhaps running some discreet ducting out of the top of the closet. A grow tent is definitely easier since it's an all-in-one system with ports ready to go, but a well-planned closet grow is a satisfying DIY project.
Ready to find the perfect genetics for your new setup? Botanist Seeds makes it easy to compare cultivars and choose the one that's right for you. Explore our full catalog and start your home-growing journey today at https://botanistseeds.com.












