Best Cannabis Strains for Beginners to Grow
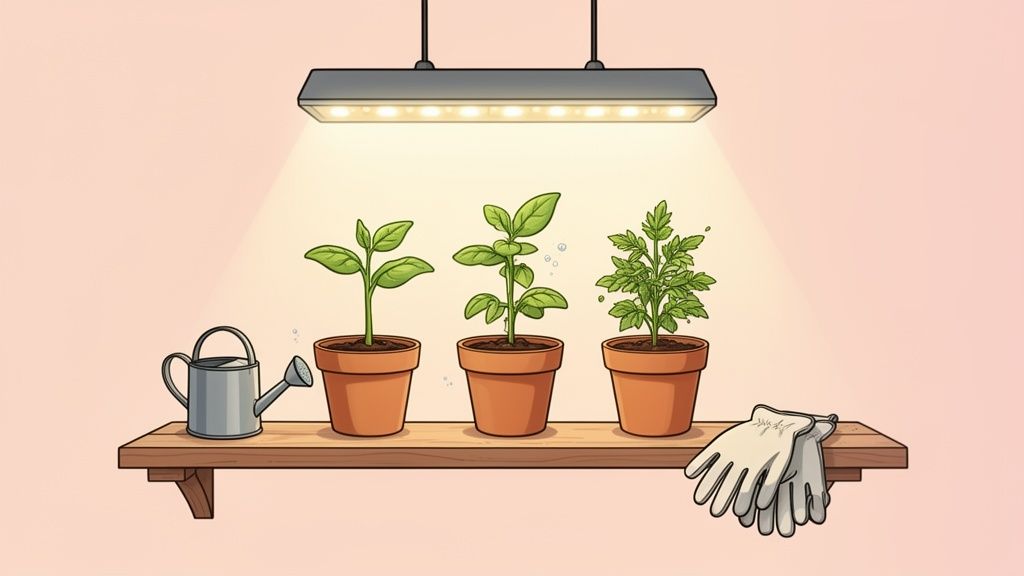
So you're ready to grow your own cannabis. That’s awesome. The most important decision you'll make right now is choosing the right cultivar. Picking a tough, forgiving plant like Blue Dream or Northern Lights can be the difference between a rewarding first harvest and a frustrating learning experience. These classic cultivars are known for handling common beginner mistakes, making them perfect for your first run.
Choosing Your First Cannabis Cultivars
Getting into home growing for the first time should be exciting, not intimidating. Think of it like starting a new hobby. You want to begin with a project that builds your confidence and gives you a great result. The same idea applies to picking your first cannabis seeds.
The trick is to focus on the traits that actually matter for a new grower. You're looking for a plant that's resilient enough to bounce back if you overwater it once or twice, or if your lighting isn't perfectly dialed in. That durability is what truly makes a cultivar "beginner-friendly."
What Makes a Cultivar Easy to Grow
Your goal here is a successful harvest you can be proud of, not a final exam in botany. That’s why we recommend starting with feminized or autoflower seeds. They take a huge amount of guesswork out of the process, because up to 99.9% of feminized seeds grow into bud-producing females.
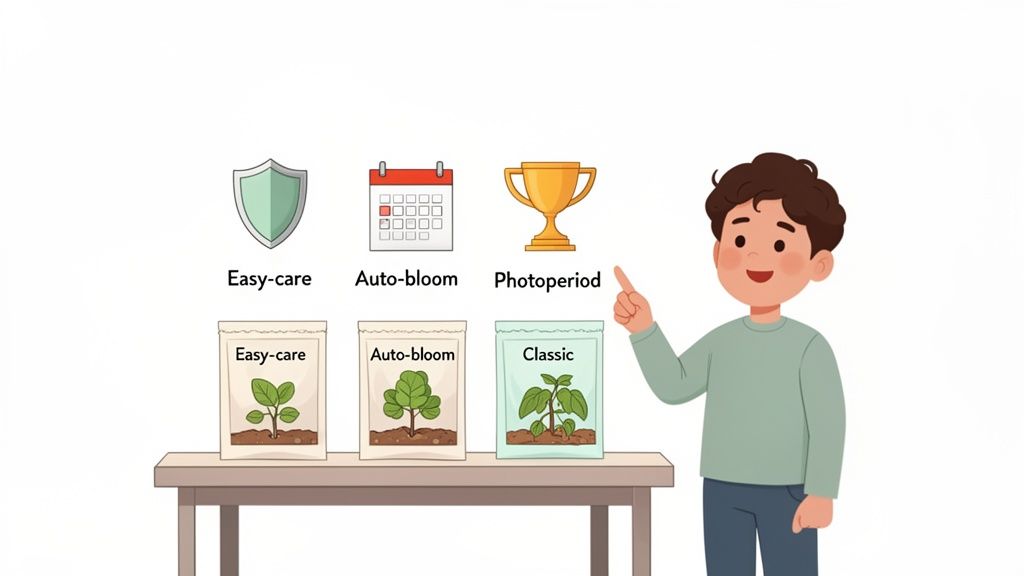
When you're just getting started, it's best to look for a few key characteristics in your seeds.
The table below breaks down the most important traits that define a great beginner-friendly cultivar. Focusing on these will set you up for success right from the start.
Key Traits of Beginner Friendly Cultivars
| Trait | Why It Matters for Beginners |
|---|---|
| High Resilience | These plants can handle common mistakes, like inconsistent watering or temperature swings. |
| Manageable Size | They grow to a predictable height and don't require complex training to keep them in check. |
| Pest & Mold Defense | Strong genetics mean the plant can naturally fight off many common garden problems on its own. |
| Quick Flowering | Autoflowers, for instance, can go from seed to harvest in just 8-10 weeks. |
Think of these traits as a safety net. They give you the room you need to learn the ropes without losing your entire crop to a simple mistake.
Choosing a forgiving cultivar is the single most important decision for a new grower. It builds your confidence and ensures you get to enjoy the personal pride that comes from cultivating your own supply, all while saving money and avoiding dispensary lines.
Start with a Proven Winner
For your first grow, it makes sense to go with a cultivar that’s already a fan favorite. One name you'll hear over and over is Blue Dream. This sativa-dominant hybrid is often called the champion for new growers.
It's no accident that it's a top-selling cultivar. Its balanced, mellow vibe feels uplifting without being overwhelming, and the sweet berry aroma is a welcome bonus. Best of all, it's known for being incredibly straightforward to grow, making it a perfect entry point into home cultivation. You can learn more about top strains for new users and see exactly why this one is so popular.
By keeping these practical qualities in mind, you can use the Botanist Seeds comparison tool with complete confidence. It lets you filter for resilient, easy-to-manage cultivars, helping you find the perfect match for your space and ensure your first grow is a massive success.
Quick Checklist: Match the Seed to Your Habits
- Your space is limited: Look for compact cultivars and lean toward autoflowers if you want less canopy management.
- Your time is limited: Pick something forgiving and fast-finishing, not a cultivar that invites constant training.
- You want a simple first win: Choose feminized seeds with a reputation for sturdy growth.
- You want to shape the plant yourself: Go with a forgiving photoperiod cultivar and plan to be more involved.
- You care a lot about aroma and vibe: Filter for the sensory profile you enjoy, then narrow by growth style.
- You want less stress overall: Favor consistency and resilience over hype.
A first grow goes better when you choose for your real habits, not the grower you think you're supposed to be.
Feminized vs Autoflower Seeds Explained
When you first start shopping for cannabis seeds, two terms will jump out at you: feminized and autoflower. This is your first major decision as a grower, but don't sweat it. There's no wrong answer here. Both are great choices because up to 99.9% of the plants will be bud-producing females. No seed bank can promise every single seed sprouts, but our Germination Guarantee covers orders where too many fail to germinate.
Where they really part ways is in their growth cycle and how much hands-on control you want. Think of it like choosing between a manual and an automatic car. Both will get you to your destination, but the driving experience is completely different.
The Grower in Control: Feminized Photoperiod Seeds
Feminized seeds are the classic, hands-on approach. Their defining trait is that they are photoperiod cultivars, which is just a way of saying their lifecycle is controlled by the amount of light they get each day.
You're in the driver's seat. During the vegetative stage, when the plant is just focused on growing bigger and bushier, you'll keep it under a long light schedule, typically 18 hours of light and 6 hours of darkness. The plant will happily stay in this growth phase as long as you keep those lights on.
This level of control is a huge advantage for a few key reasons:
- You Dictate the Size: Want a monster plant? You can let it veg for months. Working in a small tent? You can flip it to flower when it’s still small. This control directly impacts your potential yield.
- Perfect for Training: That extended vegetative time gives you a big window to experiment with low-stress training (LST) and other techniques. You can bend and shape the plant to create an even canopy, which means more bud sites get direct light.
- A Forgiving Learning Curve: If you make a classic rookie mistake like overwatering or snapping a branch, the long veg period gives the plant plenty of time to bounce back and recover before it has to put energy into making flowers.
When you're happy with the plant's size and structure, you kickstart the flowering stage by switching the light schedule to a perfect split of 12 hours of light and 12 hours of darkness. This change mimics the shortening days of fall and tells the plant it's time to start producing buds.
The Simple and Speedy Choice: Autoflower Seeds
Now for the autoflowers. If feminized seeds are the manual car that puts you in full control, autoflowers are the sleek, modern automatic. These cultivars are practically "set it and forget it" because they flower based on their age, not on any change in the light schedule.
An autoflower runs on its own internal clock. It doesn't care if the lights are on for 12 hours or 20. It will automatically start flowering after just a few weeks of growth, usually around week three or four.
This built-in timer makes them incredibly straightforward and some of the best cannabis strains for beginners who just want a fast, predictable harvest without much fuss.
Here's why so many new growers like autoflowers:
- Incredible Speed: Many autoflower cultivars go from a popped seed to a finished, harvestable plant in as little as 8 to 10 weeks. You get to enjoy the results of your hard work much faster.
- Ultimate Simplicity: There’s no need to mess with light timers. Just plant your seed, give it a consistent 18-20 hours of light per day for its entire life, and watch what happens.
- Compact and Stealthy: Autoflowers generally stay smaller and more compact than their photoperiod relatives. This makes them perfect for small grow tents, closet grows, or a discreet corner on a balcony.
The trade-off for all this speed and simplicity is that you have less control. The plant is on a fixed schedule, so there’s a much shorter window for training, and if you stress it early on, it won't have much time to recover. This can lead to smaller yields compared to a huge, perfectly trained photoperiod plant.
But for a first-timer who wants the best odds of a successful harvest with minimal complications, autoflowers are an unbeatable starting point.
Want to get deeper into the pros and cons? Check out our complete guide on the differences between autoflower and feminized seeds. In the end, the choice is all yours. It just comes down to your space, your goals, and how hands-on you want to get.
Top 5 Recommended Cultivars for Your First Grow
Alright, this is the fun part. We've covered the theory, so let's get into the specifics. Picking your first cultivar can feel like staring at a massive wall of craft beer, not knowing where to start. You just want something good, right? Don't sweat it. We've got you covered.
We've handpicked five absolute workhorse cultivars that are perfect for beginners. These aren't random selections; we chose them specifically for their rock-solid genetics, forgiving nature, and incredible results. For each one, I’ll give you the real-world rundown: what it's like to grow, what it smells like, and the kind of vibe you can expect.
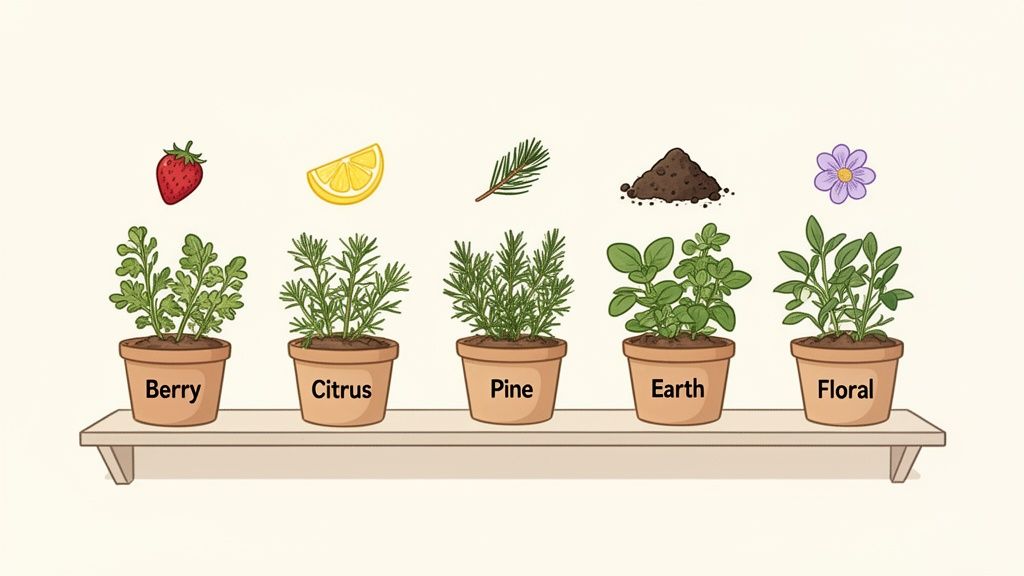
Think of this list as your personal starting lineup. It’s a great way to start exploring what you like before checking out the full Botanist Seeds catalog for your first home grow.
Beginner Cultivar Comparison
To give you a quick overview, here's how our top five beginner-friendly cultivars stack up against each other. This table makes it easy to compare them at a glance and see which one might be the best fit for your goals and setup.
| Cultivar | Seed Type | Flowering Time | Aroma Profile | General Vibe |
|---|---|---|---|---|
| Blue Dream | Feminized | 9-10 weeks | Sweet Berry, Herbal | Clear-headed, Creative |
| Northern Lights | Autoflower | 8-10 weeks (total) | Earthy Pine, Sweet | Deeply Relaxing |
| Gorilla Glue #4 | Feminized | 8-9 weeks | Diesel, Chocolate, Earth | Euphoric, Chill |
| Green Crack | Autoflower | ~9 weeks (total) | Tangy Mango, Citrus | Focused Energy |
| Zkittlez | Autoflower | 8-9 weeks (total) | Tropical Fruit, Candy | Happy, Uplifting |
Each of these offers a unique growing experience and final product, but they all share one key trait: they are incredibly forgiving, making them ideal for learning the ropes.
1. Blue Dream (Feminized)
You can't have a conversation about beginner cultivars without mentioning Blue Dream. This one is a legend for good reason. It’s a beautifully balanced hybrid that’s famously easy to manage and provides a fantastic, functional vibe.
- Growing Experience: This plant is a real trooper. It has a high resistance to common pests and rookie mistakes, giving you a nice safety net as you find your footing. While it can get a bit tall, it responds incredibly well to simple training techniques, making it a great teacher.
- Aroma and Vibe: Get ready for a delicious aroma of sweet berries with subtle herbal undertones. The vibe is what makes it so popular: a gentle, uplifting feeling that keeps you focused and creative. It's the perfect all-day cultivar that won’t lock you to the couch.
2. Northern Lights (Autoflower)
If you want a grow that's fast, straightforward, and about as foolproof as it gets, Northern Lights Auto is your go-to. This is a pure indica that has been a cornerstone of cannabis genetics for decades. It's tough, compact, and finishes in a flash.
- Growing Experience: As an autoflower, this plant is on a mission from day one. It sprints from seed to harvest in as little as 8-10 weeks, asking for very little help along the way. Its small, bushy structure is perfect for closet grows or small tents, and its resilience is top-notch.
- Aroma and Vibe: The smell is a classic cannabis blend of earthy pine and a hint of sweetness. The vibe is pure, unadulterated relaxation. Think of it as the perfect way to unwind after a long day with a calming body sensation.
3. Gorilla Glue #4 (Feminized)
Also known as GG4, this modern classic earned its fame for producing absurdly sticky buds. While the name might sound intense, the feminized version from a good breeder is surprisingly manageable for a motivated beginner aiming for top-shelf results.
- Growing Experience: GG4 is a vigorous plant that pumps out dense, resin-drenched flowers. It’s forgiving with nutrients and loves good airflow. Just be ready for some serious stickiness come harvest time. That name is not an exaggeration.
- Aroma and Vibe: The smell is complex and pungent, with strong notes of diesel, chocolate, and rich earth. The effect is deeply relaxing and euphoric, making it an excellent choice for a quiet evening at home.
For those working with a tight space, you can find more great options in our guide to the easiest strains to grow indoors, where we focus on compact and hardy plants.
4. Green Crack (Autoflower)
Don’t let the name scare you off. Green Crack is an incredible sativa-dominant cultivar celebrated for its energizing effects. The autoflower version makes it super accessible for new growers who want a zippy, daytime harvest without the long wait.
- Growing Experience: This is another speed demon, often finishing its entire life cycle in about 9 weeks. It stays at a reasonable height and shows fantastic resistance to mold and mildew, making it a great "set it and forget it" choice for many.
- Aroma and Vibe: Expect a sharp, tangy burst of mango and citrus that really wakes up the senses. The vibe is pure, focused energy. This is the ultimate "get stuff done" cultivar, perfect for creative projects, weekend chores, or just a clean boost of motivation.
5. Zkittlez (Autoflower)
If you're all about flavor, you have to try Zkittlez. This indica-dominant hybrid took the cannabis world by storm with its unbelievable candy-like taste. The autoflower version packs that entire sensory experience into a simple, easy-to-grow plant.
- Growing Experience: This plant stays short and stout, making it another fantastic pick for small indoor spaces. It may not be the biggest yielder on this list, but the quality of the buds is absolutely outstanding. Its quick flowering time means you'll be tasting the rainbow before you know it.
- Aroma and Vibe: True to its name, the smell is an explosion of sweet, tropical fruit and hard candy. The vibe is happy, calm, and uplifting, giving you a wonderful sense of well-being without being too heavy. It's perfect for unwinding in the evening without getting totally knocked out.
Your Simple Starter Grow Setup
You don’t need a high-tech lab or a massive budget to grow some fantastic cannabis. Honestly, a simple, effective grow space is something anyone can put together. Let’s walk through the absolute must-haves for your first run: a decent light, a small tent, and a fan.
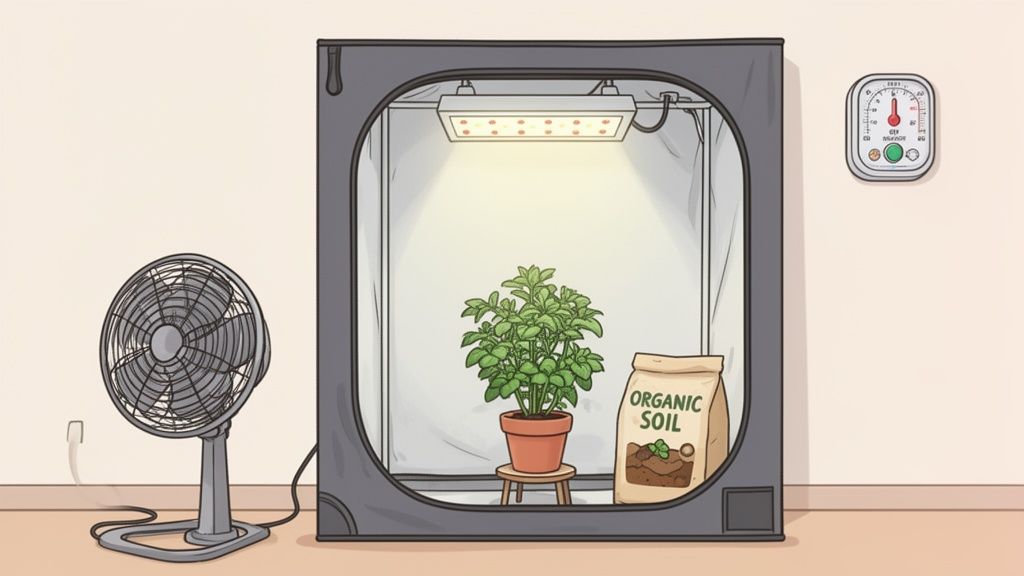
The goal here isn't to get you to buy a ton of expensive gear. It's to show you that a successful home grow is completely within reach. We'll focus on the "why" behind each piece of equipment so you understand its role in keeping your plant happy and thriving.
The Core Components of Your First Grow
Think of your grow space as the perfect little studio apartment for your plant. It doesn't need to be a mansion, just a clean, controlled environment with everything it needs. A spare closet or the corner of a room is often all the real estate you need to get started.
Here are the three non-negotiables for that first setup:
- A Grow Tent: While a closet can work, a small grow tent is one of the best investments you can make. It contains the plant's powerful aroma, reflects precious light back onto the leaves, and makes controlling temperature and humidity so much easier. A simple 2×2 foot tent is the perfect size for one or two plants.
- A Quality LED Light: Light is food for your plant. A good full-spectrum LED is the modern standard because it’s energy-efficient and doesn't run too hot, which helps you avoid scorching your plant's leaves. For a small tent, a quality 100-watt LED is more than enough to get you to a fantastic harvest.
- Air Circulation Fans: You'll actually need two fans. A small clip-on fan inside the tent gently rustles the leaves and strengthens the stems, just like a natural breeze. Then, an exhaust fan pulls old, stale air out and fresh air in, which is critical for managing heat and humidity.
These three items are the foundation of a successful indoor grow. If you want to see some specific recommendations, you can find everything bundled together in our guide on choosing a starter grow tent kit.
Soil and Containers The Easy Way
With your space sorted, it's time to give your plant a good home for its roots. This is another area where keeping it simple will give you pro-level results. For now, forget about complex liquid nutrients and pH meters.
For your first grow, the goal is to eliminate as many variables as you can. Using a pre-mixed organic "super soil" is the single best way to do this. These soils come loaded with all the nutrients your plant needs from seedling to harvest.
This approach lets you focus on the most important skill for any new grower: learning how to water properly. When you use a quality super soil, all you have to do is add water. The soil does all the heavy lifting, slowly feeding your plant as it grows.
For containers, start with fabric pots. They are a beginner's best friend for one reason: they make it almost impossible to overwater. The porous fabric allows roots to breathe and lets excess water evaporate, which is the best defense against root rot, one of the most common mistakes first-timers make. A 3 or 5-gallon fabric pot is the perfect size for most autoflower or smaller feminized cultivars.
By starting with this simple, practical setup, you’re creating the perfect environment for some of the best cannabis strains for beginners to show you what they can do. You get to focus on the fun parts of growing while knowing you’ve built a solid foundation for success.
Common First-Time Growing Mistakes to Avoid
We’ve all been there. Your first grow is incredibly exciting, and it’s natural to want to fuss over your new plant constantly. But if I can give you one piece of advice from someone who has made all the mistakes, it's this: sometimes the best thing you can do is learn when to just let the plant do its thing.
Most beginner issues aren't catastrophes; they're learning moments. We're going to walk through the three biggest hurdles I see new growers face: overwatering, overfeeding, and overreacting to small stuff. Nailing these will give you the confidence to enjoy the journey.
The Overwatering Problem
It sounds crazy, but the number one way beginners kill their plants is by loving them too much with the watering can. It comes from a good place, but cannabis roots absolutely need a cycle of wet and dry to breathe. Yes, breathe. They pull in oxygen from the little air pockets in the soil when it dries out.
When the soil is constantly soggy, the roots essentially suffocate. This leads to droopy, sad-looking leaves that, ironically, make you think the plant is thirsty. Don't fall for it. There's a foolproof way to know when it's time to water:
- Lift the Pot: Right after you've given a plant a good, thorough watering, pick it up. Feel that weight. That's your "full" baseline.
- Wait and Lift Again: Before you even think about grabbing the watering can again, lift the pot. If it still feels pretty heavy, the roots are fine. Give it another day.
- Water When It's Light: When the pot feels noticeably lighter, almost like it's mostly full of air, now you can water.
This simple habit takes all the guesswork out of the equation. It's probably the most valuable skill you can develop as a home grower.
Remember, it's far easier to save a plant that's a little too dry than one that's been drowning for a week. Let the weight of the pot be your guide, not a rigid watering schedule. Your plant will thank you for it.
Going Overboard with Nutrients
Next on the list of well-intentioned mistakes is overfeeding. It’s easy to think that adding more nutrients will lead to bigger buds, but it almost always backfires. This is especially true if you started with a quality amended soil, which likely has plenty of food already baked in.
"Less is more" is your mantra here. Seedlings and young plants are especially sensitive and can get "nutrient burn" in a heartbeat. You'll know it when you see it: the tips of the leaves will turn crispy, yellow, or brown, looking like they were literally singed with a lighter.
If you invested in a good "super soil," your job just got a lot easier. You might not need to add any bottled nutrients for the entire grow. Just add water and let the microbes in the soil do the work of feeding your plant. This is one of the best ways to simplify your first grow and let you focus on the basics.
Lighting Distance and Panicking
Finally, let's talk about your light and your nerves. Your grow light is the sun for your indoor garden, and its distance from the plant is everything. Too close, and you'll literally cook the top leaves. Too far, and your plant will stretch for the sky, getting all thin and leggy instead of bushy and strong.
- Check the Manufacturer's Guide: Every light comes with recommendations for hanging height during the seedling, vegetative, and flowering stages. This is your starting point.
- The Hand Test: Here’s an old-school trick. Place the back of your hand at the very top of your plant, right under the light. If it feels uncomfortably warm after 30 seconds, it's definitely too close for your plant. Back it off an inch or two.
Just as important as managing your light is managing your own anxiety. A weird spot on a leaf or a slight discoloration is not a reason to panic. A single yellow leaf at the bottom of a growing plant is perfectly normal; it's just an old, shaded leaf that the plant is done with. Learn to watch your plant and see what's a pattern versus what's a one-off issue.
By sidestepping these three common hurdles, you'll avoid a ton of beginner stress. This lets you actually enjoy the process, learn from your plant, and cruise toward a first harvest you can be proud of.
Your First 90 Days From Seed to Harvest
So, you’ve got your seeds. What now? Let's break down the entire journey from a tiny seed into a plant ready for harvest. Seeing the process laid out in simple phases takes the anxiety out of your first grow. With autoflowers, this timeline is especially predictable and quick.
We’ll start with the very first step: germination. Think of it as gently waking your seed up from a long sleep. The paper towel method is a classic for a reason: it’s nearly foolproof. Just sandwich your seed between two damp paper towels on a plate, cover it, and tuck it away in a warm, dark spot like a kitchen cabinet. In just a few days, a little white taproot will pop out, signaling it’s ready for soil.
The Vegetative Stage: Weeks 1-4
Once that little sprout pokes its head above the soil, you’re officially in the vegetative stage. For the next 3 to 4 weeks, your plant has a single mission: grow bigger and stronger. Your job is equally straightforward: give it plenty of light and water it correctly.
This is when you'll see the plant really take shape, pushing out its first sets of fan leaves and getting taller and bushier by the day. Think of this as building the factory that will later produce all your buds.
- Your Main Task: Provide a consistent 18-20 hours of light each day.
- What to Watch For: Get a feel for your plant's thirst. Use the "lift the pot" method we discussed earlier to know when it's truly time to water.
- Beginner's Goal: Your primary focus here is to avoid overwatering. Let the plant build a robust root system with healthy, vibrant green leaves.
The Flowering Stage: Weeks 5-12
Around week four or five, something amazing happens. Your autoflower will automatically shift from growing foliage to producing flowers. You don't have to do a thing. The first sign is the appearance of tiny white "hairs," known as pistils, at the nodes where branches meet the main stem. This is where the magic begins.
This timeline highlights some of the most common hurdles new growers face with watering, nutrients, and light.
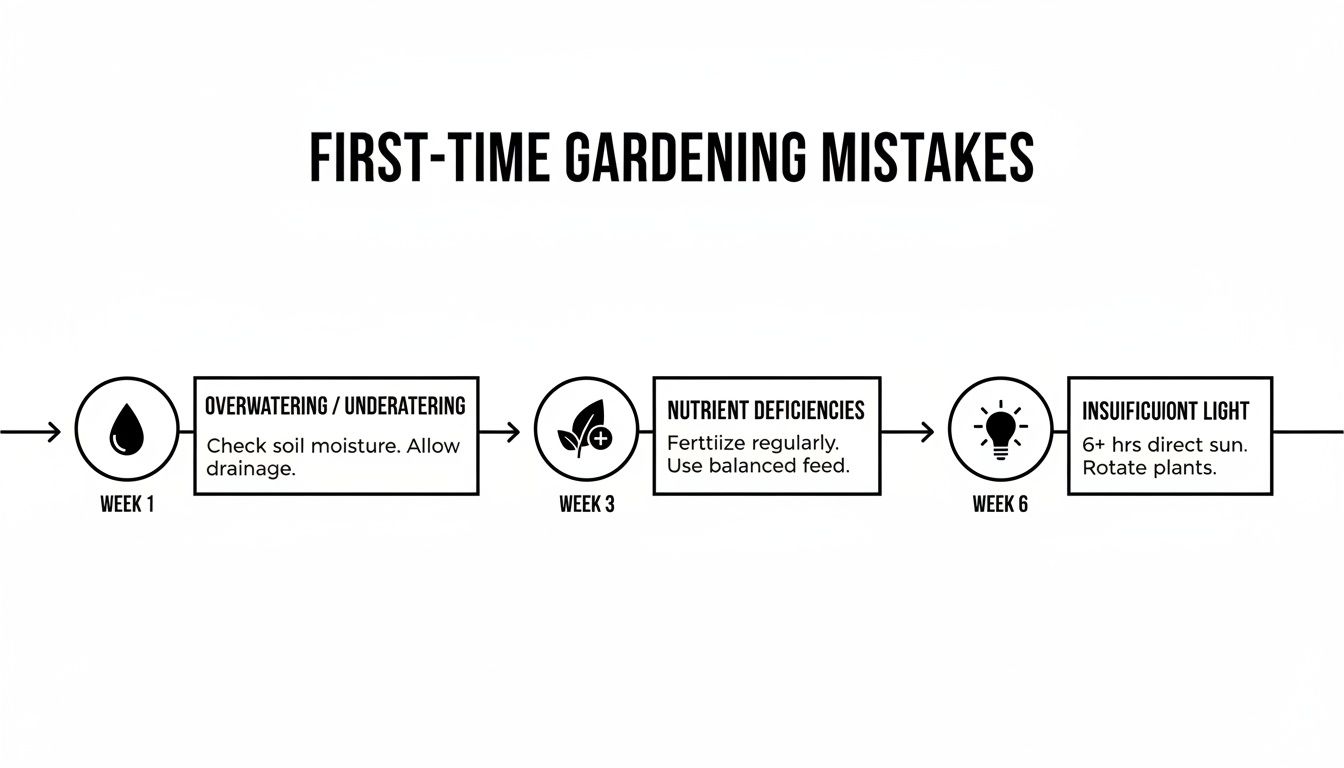
As you can see, most problems come from too much love, not too little. It’s a classic rookie mistake.
Over the coming weeks, those little pistil clusters will swell and ripen into the dense, fragrant buds you’ve been waiting for. The plant’s vertical growth will grind to a halt as it pours all its energy into flower production. Your role now is to be a steady hand, maintaining the environment and letting the plant do its work.
The flowering stage is a lesson in patience. Your plant knows what to do; your role is to provide a stable environment and resist the urge to fuss over it. This hands-off approach often yields the best results for a first-timer.
As you approach the end of the 90-day cycle, you'll see the pistils shift from white to a rich amber or brown, and the buds will be sparkling with a frosty coating of trichomes. These are the cues that harvest day is right around the corner. It's the moment you get to enjoy the incredible pride of cultivating your very own cannabis.
Frequently Asked Questions for New Growers
Getting started with your first grow can bring up a lot of questions. Don't worry, we've all been there. Here are a few common ones we hear from new growers, along with some straightforward advice to get you started on the right foot.
How Many Plants Should I Start With?
Trust us on this one: start with just one or two plants. It’s tempting to want to fill your space right away, but focusing your energy on a couple of plants makes the learning process so much more manageable. You'll be genuinely surprised at the harvest you can get from a single, well-cared-for plant, and you won't feel overwhelmed trying to juggle too much at once.
What Is the Easiest Mistake to Make?
Overwatering is, without a doubt, the number one mistake new growers make. It almost always comes from a good place. You just want to take care of your plant. The best way to avoid this is to get a feel for the weight of your pot. Pick it up right after a thorough watering, then wait to water again until it feels noticeably lighter. Letting that soil dry out a bit is absolutely essential for healthy root development.
Do I Really Need a Grow Tent?
While you can technically grow without one, a grow tent is one of the best investments you can make for your setup. It just makes controlling your plant's world a whole lot easier.
A tent neatly contains your light, helps you manage temperature and humidity levels, and keeps the plant's natural aroma from filling your home. For a relatively small cost, it solves a ton of common problems before they even start.
Think of it as creating the perfect little ecosystem for your plants to flourish. Using a tent helps ensure that even the best cannabis strains for beginners have a stable environment to reach their full potential.
Ready to find the perfect beginner-friendly cultivar for your first grow? Explore the curated selection at Botanist Seeds and use our comparison tool to find your ideal match today. Start your home growing journey at https://botanistseeds.com.