





A Grower’s Guide to Humidity Domes for Seedlings
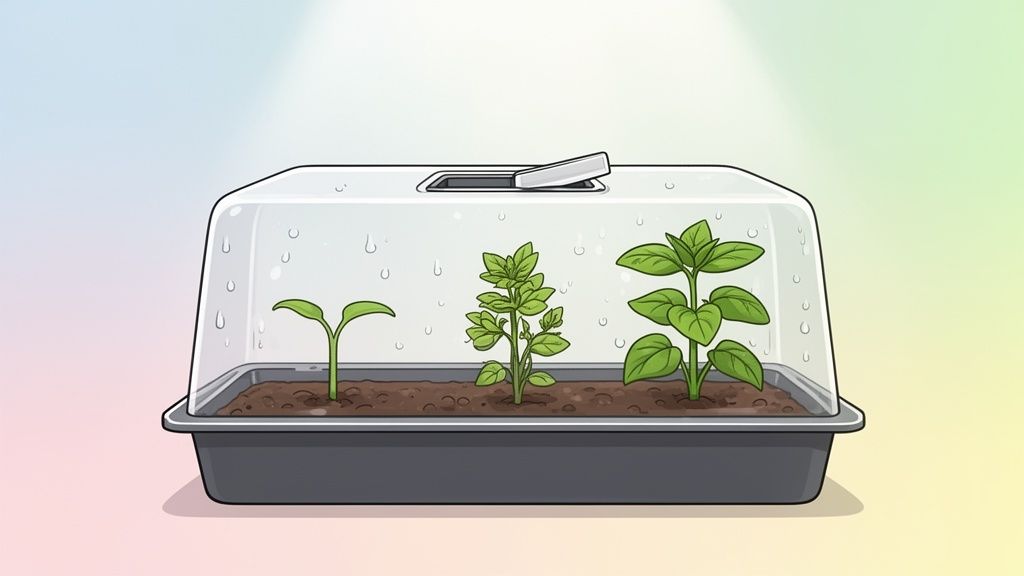
There's nothing more frustrating than watching a promising seedling stall, especially after you've invested in high-quality feminized or autoflower seeds. To give your plants the strong start they deserve, a humidity dome is your secret weapon. It's basically a mini-greenhouse, creating the perfect high-humidity bubble that lets your seedling thrive during its most fragile stage.
Why Humidity Domes Are a Game-Changer for Seedlings
When a seed first sprouts, its root system is tiny and underdeveloped. It simply can’t draw enough water from the soil to stay hydrated, a problem made worse by the typically dry air inside most homes. This is where a humidity dome really shows its value.
A dome traps the moisture evaporating from your growing medium, wrapping the plant in a warm, steamy environment. This high humidity allows the young plant to absorb water directly through its leaves. Think of it as giving your seedling a constant hydration boost, buying it precious time to focus its energy on building a solid root network underground.
Creating the Perfect Microclimate
Your goal is to create a stable micro-environment that fuels healthy, rapid growth. Without this control, seedlings can quickly dry out, wilt, and fail before they ever get a real shot.
A humidity dome helps you nail the key variables:
- Humidity: The dome easily maintains a relative humidity in the 70-80% range, which is the sweet spot for seedlings to absorb moisture through their foliage.
- Temperature: It also helps lock in warmth, shielding the delicate plant from cold drafts that can shock its system and stall growth.
- Protection: Finally, the dome acts as a physical shield, protecting your seedling from curious pets, pests, or an accidental bump.
To put it simply, a seedling's environment is everything. Here's a quick look at the ideal conditions and how a dome helps you get there.
Seedling Environment at a Glance
| Growth Factor | Ideal Range | Why It Matters for Seedlings |
|---|---|---|
| Humidity | 70-80% RH | Enables foliar feeding when roots are too weak to absorb enough water from the soil. |
| Temperature | 70-78°F (21-26°C) | Keeps metabolic processes running efficiently for rapid growth and root development. |
| Airflow | Minimal | Protects from drafts and prevents the seedling from drying out too quickly. |
These early weeks are foundational, setting the stage for the plant's entire life. A strong start directly influences its vegetative vigor and, ultimately, the size of your final harvest. This is something seasoned home growers know all too well.
Grower experience shows that keeping seedlings in a 65-70% relative humidity range can boost root development in the first two weeks. It's a simple step that makes a huge difference in preventing the failures common with unprotected seedlings.
By giving your plant this perfect start, you’re not just ensuring its survival: you're setting it up to thrive. Your autoflower and feminized cultivars will grow faster, develop stronger stems, and charge into the vegetative stage with serious momentum. As many growers on forums like THCFarmer will tell you, it's a simple tool that delivers big results, helping you get the most out of your genetics and your home grow.
Choosing the Right Humidity Dome for Your Setup
When you start looking for a humidity dome, it’s easy to think they’re all just simple plastic lids. And while you don’t need to break the bank for one, a few key differences can have a big impact on your seedlings’ success.
For most home growers, the go-to option is a clear plastic dome made to fit a standard 1020 seed tray. They’re perfect for starting multiple seeds at once, letting you keep all your seedlings happy under one roof. Just be sure to look for one made from sturdy, BPA-free plastic. The cheap, flimsy ones get brittle and crack after just a season or two, a total waste of money. A quality dome will be a reliable part of your toolkit for years.
Key Features to Look For
Beyond the durability of the plastic, there’s one feature that is an absolute must-have: adjustable vents. These are usually just little sliding windows or dials on top of the dome.
Seriously, consider these non-negotiable. Vents are critical for a process called “hardening off,” where you slowly get your delicate seedlings used to the drier world outside the dome. Over a week or two, you’ll gradually open the vents to lower the humidity, preparing them for life in your main grow space and preventing transplant shock. If you’re planning out that main space, our complete grow tent kit guide is a great resource for matching up your gear.
The most important thing to remember is that a dome’s function beats its price tag every time. The goal is to trap humidity effectively while still giving you control over airflow. A basic dome with good vents will always outperform a fancy, sealed model.
Comparing Your Dome Options
So, which one is right for you? It really just depends on your budget, your space, and how many plants you’re starting. Here’s a quick rundown of the common choices:
Standard Tray Domes: These are the workhorses of the propagation world. They fit snugly on 1020 trays and are perfect for starting a dozen or more seedlings. They offer fantastic value and make managing your environment incredibly simple.
High-Top Domes: Think of these as standard domes with a growth spurt. That extra few inches of height is a lifesaver for cultivars known to stretch fast, as it keeps the leaves from touching the plastic. When leaves press against a wet dome, it traps moisture and can become a breeding ground for problems.
DIY Options: If you’re just starting one or two seeds, you don’t need a full-size setup. A two-liter soda bottle with the bottom cut off, or even just a clear plastic cup flipped over your pot, works great in a pinch. Just be sure to poke a few small holes in the top for ventilation as your seedling gets bigger. It’s a great way to get started without spending any cash.
A Step-by-Step Guide to Using Your Humidity Dome
When it comes to using a humidity dome, timing is everything. Once your feminized or autoflower seeds have successfully popped and you see that first tiny set of true leaves emerge, it's time to put your dome to work. Be patient here: you're waiting for the true leaves, not the little round cotyledons that show up first.
Seat the dome snugly over your seedling tray. For the first two or three days, you’ll want to keep any vents completely closed. This is how you create that warm, humid micro-environment your seedlings crave. Think of it as a temporary tropical paradise that traps moisture, encouraging them to establish strong roots and healthy early growth. The tell-tale sign you've got it right? Condensation beading up on the inside of the plastic.
The Hardening-Off Process
After about day three or four, it's time to start gently introducing your seedlings to the real world. This important process is called “hardening off,” and it’s all about slowly getting your plants used to the lower humidity levels of your main grow space. Skipping this step can shock them, but a gradual transition makes them tough and resilient.
Here’s a simple timeline that works well:
- Days 3-5: Crack the vents open about a quarter of the way. This lets in just a little fresh air and begins the process of lowering the humidity.
- Days 6-9: Now, open those vents to the halfway mark. Your seedlings are getting noticeably stronger and can handle a bit more of the drier ambient air.
- Days 10-14: Go ahead and open the vents completely. At this point, the dome is basically just a physical shield while the plants fully adjust to life in your tent.
This chart breaks down how to choose the right dome for your needs, whether you're starting a full tray or just a few seeds.
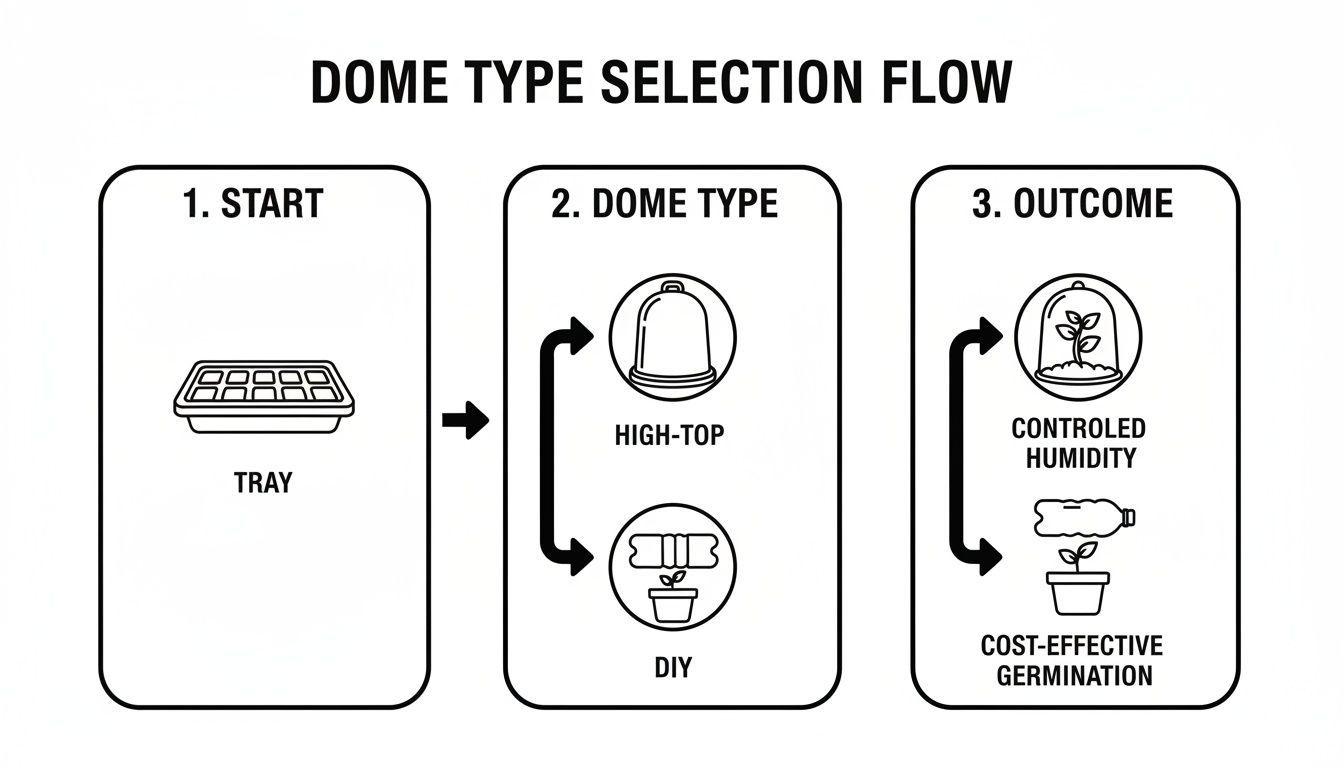
As you can see, the specific tool doesn't matter as much as the principle: controlling humidity and airflow is the key to giving your young plants a head start.
One of the biggest mistakes new growers make is leaving the dome on for too long or keeping it sealed tight. Remember, you're not trying to build a permanent sauna; you're just giving your seedlings some temporary life support.
Getting the balance right is what separates good results from great ones. You can learn more about ideal timelines in our guide on how long it takes for cannabis seeds to germinate. By the time you hit the end of week two, your seedlings should be fully hardened off and ready to thrive on their own.
How to Troubleshoot Common Humidity Dome Problems
Even when you do everything right, you can still run into a few snags with a humidity dome. It happens to every grower. The good news is that the most common problems are usually easy to fix, especially if you catch them early.
The two things you'll see most often are mold and a fungal issue called "damping off." If you notice fuzzy white or gray patches on your soil or the inside of the dome, that's mold. It loves the still, humid air we’re creating, so it’s not surprising when it shows up.
The fix is simple: ventilation, ventilation, ventilation. As soon as you spot it, wipe the mold off the dome's interior. Then, get some air moving immediately. You can do this by opening the dome’s built-in vents a bit more or even just propping up one corner. That little bit of fresh air is usually all it takes to shut mold down.
Dealing with Damping Off and Leggy Seedlings
Damping off is a much bigger headache. This fungal disease targets a seedling's stem right at the soil level, turning it mushy and causing the whole plant to rot and fall over. Unfortunately, once a seedling is hit, there's no saving it. It's almost always caused by a mix of overwatering, compacted soil with poor drainage, and not enough airflow.
The best defense is a good offense. To prevent it from ever starting, stick to these rules:
- Don't Overwater: You want your growing medium to be moist, never soggy. A good rule of thumb is to let the very top layer dry out just a little before watering again.
- Use the Right Mix: Always start with a light, fluffy seed-starting mix designed for great drainage.
- Know When to Quit: Don't keep the dome on for more than two weeks. After that point, the risk of fungal problems starts to outweigh the humidity benefits.
Another thing you might see are "leggy" seedlings: tall, skinny plants that look weak and stretched out. This is a classic sign they aren't getting enough light. They are literally stretching themselves thin, desperately reaching for a stronger light source.
If your seedlings look leggy, either move your light closer to the dome or consider upgrading to a more powerful grow light. The goal is to give them enough intensity so they can spend their energy building thick, strong stems instead of reaching for the sky.
Sometimes, the issue isn't just the dome but the humidity in your entire grow space. If you're wrestling with low ambient humidity, our guide on how to raise humidity in a grow tent has some great strategies that can help stabilize your whole environment.
Learning to spot these warning signs is what really separates a frustrating start from a successful harvest. A quick adjustment can get your grow back on the right path, helping your feminized or autoflower seeds grow into the healthy, vigorous plants you’re hoping for.
When to Remove the Humidity Dome for Good
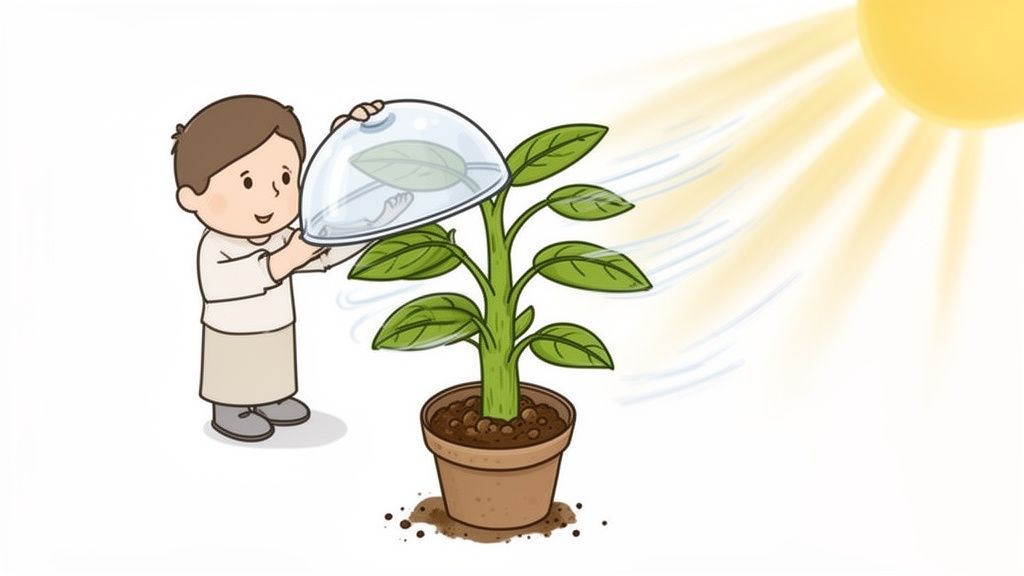
Think of a humidity dome as a set of training wheels for your seedlings. It's an amazing tool to get them started, but knowing when to take it off for good is just as important as knowing when to put it on. The dome is a temporary crutch, not a permanent home, designed to support your plant only until its root system is ready to take over.
As a general guideline, you'll want your seedlings completely weaned off the dome after about 10 to 14 days. By this time, the plant should have a sturdy look and be actively growing. More importantly, its roots will finally be developed enough to pull all the water it needs directly from the growing medium.
Your Plant's Graduation Checklist
Instead of just marking your calendar, let your plants tell you when they’re ready. They give off some pretty clear signals. Once you can check all these boxes, it’s time to let them fly solo.
- Strong Root Development: The best sign is seeing healthy, bright white roots starting to poke out of the bottom of your starter plugs. This means the root system is established and searching for more room.
- Multiple Sets of True Leaves: Don't count the first little round leaves (cotyledons). You want to see at least two to three sets of serrated "true" leaves. This is a clear indicator of vigorous growth.
- A Sturdy, Upright Stem: The main stem should look thick and strong enough to hold up the leaves without help. If it looks thin, pale, or "leggy," it's not ready.
- Successful Hardening Off: You should have already completed the hardening-off process by gradually opening the vents. If the plant handled that without wilting or showing signs of stress, you're good to go.
Leaving the dome on for too long actually sets your plants up for failure. It makes them ‘soft’ and unprepared for the drier air of your main grow space. Worse, that stagnant, humid environment is the perfect breeding ground for mold and damping-off disease.
Don't underestimate how important this transition is. Getting it right is a huge step toward a successful harvest. If you want to check out the grower community's thoughts on airflow, there are great discussions on forums like 420 Magazine.
Once your little plants have hit all their milestones, take that dome off with confidence. Now the real fun begins.
Frequently Asked Questions About Humidity Domes
Humidity domes seem straightforward, but we see growers trip up on the details all the time. It's a simple tool, but getting it right can feel a bit tricky when you're just starting out. Let's clear up some of the most common questions we hear from fellow growers.
Can I Use a Plastic Bag Instead of a Dome?
It's a classic DIY thought, and yes, you can use a plastic bag in a pinch. But honestly, it often creates more problems than it solves.
While a ziplock bag or some plastic wrap will trap moisture, they have no structure. They inevitably sag, sticking to your seedling's delicate new leaves. This traps water directly against the foliage, which blocks precious light and becomes a perfect invitation for mold.
A proper humidity dome gives your plant crucial personal space. Its rigid, clear walls allow for much better light penetration and a bit of natural air movement. Plus, those adjustable vents on a good dome are your best friend when it’s time to slowly and safely harden off your seedlings. For what they cost, a dedicated dome is a small investment that pays off big in consistent, healthy results.
Do Seedlings Need Light Under a Humidity Dome?
Yes, absolutely. The second that seedling pokes its head out of the soil, the clock starts. It needs light immediately to begin photosynthesis and start producing its own energy. Without it, you’ll get those sad, pale, and "leggy" seedlings that are stretching desperately for any light they can find.
You should be providing 16-18 hours of light per day, but keep it gentle. A simple T5 fluorescent fixture or a dimmable LED grow light is all you need for this stage. Just be careful not to place the light too close: it can easily bake the air inside the dome and cook your fragile plant. The dome itself should always be made of clear plastic to let every possible ray of light hit those leaves.
What Is the Ideal Temperature Inside a Humidity Dome?
You’re aiming for a warm, balmy environment, not a sauna. Think of a perfect spring day. The sweet spot for the temperature inside your humidity dome is right between 70-80°F (21-27°C). That warmth, combined with high humidity, is the magic recipe for encouraging explosive root growth.
A lot of growers, especially those with grow rooms in cooler basements, use a seedling heat mat under the tray to keep this temperature stable. Tossing a cheap digital thermometer inside the dome is also a smart move to keep an eye on things and make sure it never gets too hot.
If you’re just starting one or two seeds of a new feminized or autoflower cultivar, a DIY dome can work. A two-liter soda bottle with the bottom cut off makes a decent temporary mini-greenhouse. Just be sure to poke a few small holes in the top for ventilation as the seedling gets bigger. It’s a no-cost way to test the waters, but a proper vented dome gives you far more control to get the absolute best results from your investment in quality seeds.
Ready to give your seedlings the strongest start possible? At Botanist Seeds, our comparison tool makes it easy to find the perfect feminized or autoflower cultivars for your setup. Explore our genetics today and see the difference a great beginning can make.












