





How to Plant Weed Seeds Indoors for a Perfect Start
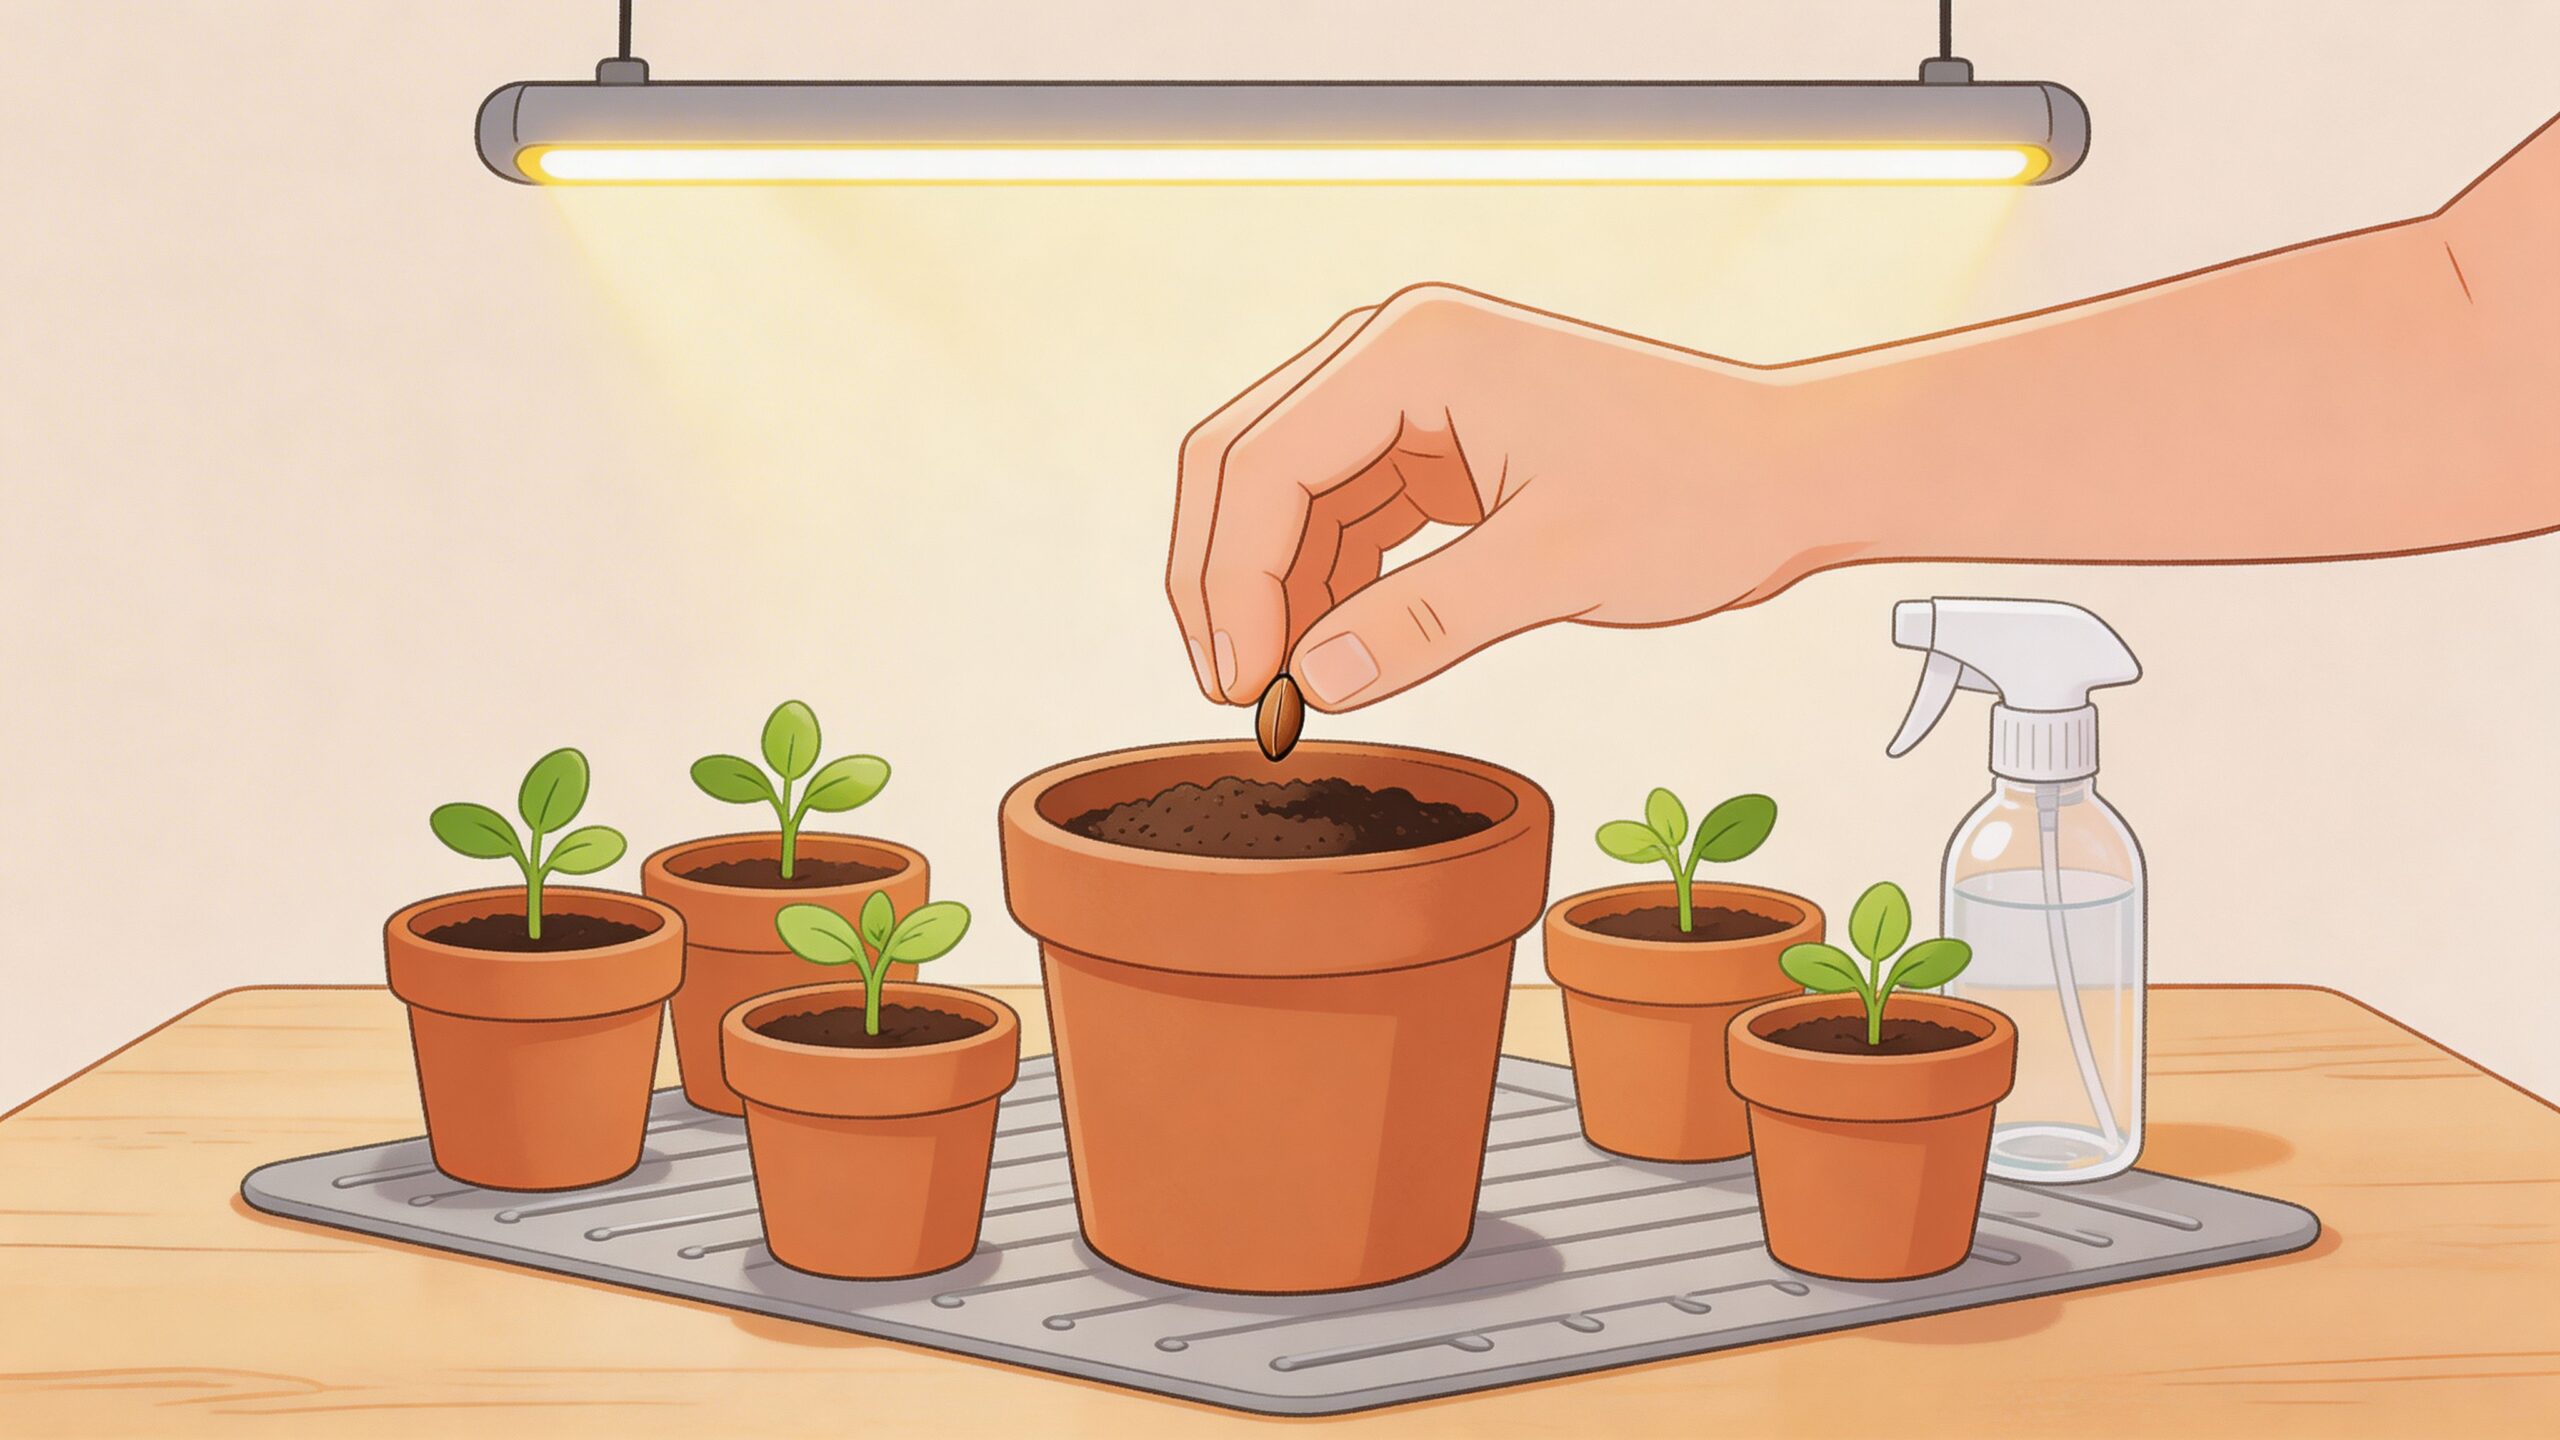
You’ve got a fresh pack of seeds on the table, a pot nearby, and about ten browser tabs open telling you ten slightly different things. That’s a normal place to start.
The good news is that how to plant weed seeds indoors is not complicated once you strip out the noise. You don’t need a lab. You don’t need a giant tent on day one. You need a simple setup, stable conditions, and a method you can follow without second-guessing every step.
For first grows, keeping it simple matters more than trying to look like an expert. That’s why this guide sticks to feminized and autoflower cultivars, the options that make home growing a lot more straightforward. You get to focus on learning the plant, dialing in your space, and building confidence instead of adding extra complications.
There’s also a practical side to all this. Growing your own means fewer dispensary runs, less money lost to taxes and impulse buys, and a lot more control over what you keep in the jar. It also feels good. Watching a seed crack, push upward, and turn into something you grew yourself is one of those small wins that hooks people fast.
If you’re still deciding what fits your style, this breakdown of autoflower vs feminized seeds helps make that first choice a lot clearer.
Your First Indoor Grow Starts Here
Most new growers don’t fail because the process is too hard. They fail because they try to do too much at once.
One person starts with a huge pot, dense soil from the yard, and a random windowsill. Another keeps opening the paper towel every few hours to “check progress” and ends up damaging the root. Someone else plants too deep, waters too hard, and then assumes the seed was bad. None of that means they can’t grow. It just means the first step got messier than it needed to be.
A cleaner approach works better. Start small. Use a light seed-starting medium. Keep your environment steady. Touch the seed as little as possible.
Practical rule: A seed needs warmth, moisture, and calm. Most beginner problems come from giving it too much attention, not too little.
Indoor growing gives you a real advantage here. You control the basics. No surprise rain, no cold night outside, no wildlife digging around your pots. That control is why so many hobby growers prefer to start indoors even if they plan to move plants later.
For a first run, think in two phases:
- Phase one: Get the seed to sprout.
- Phase two: Keep the seedling happy for the first couple of weeks.
That’s it. You’re not trying to master the whole grow on day one. You’re trying to get a clean start.
Gathering Your Gear Before You Plant
A first indoor grow usually goes sideways in a very ordinary way. The seed is fine, but the pot is too big, the mix is too heavy, the room gets cold at night, and the light is still sitting in the box when the sprout shows up.
That is why getting your setup ready before planting matters so much. For a beginner growing feminized or autoflower seeds at home, the goal is simple. Keep the process small, clean, and easy to control.
Start with small containers
Small containers make moisture control much easier. That matters more than people expect.
A seed in a large final pot often sits in wet soil for too long because only a tiny part of that container is being used by the new root. In small starter pots, trays, or plugs, it is easier to water lightly and see how fast the medium is drying.
Good beginner options include:
- Small nursery pots: Easy to label, move, and check every day.
- Starter plugs: Handy if you want less mess and an easier transplant.
- Seedling trays: A practical choice if you are starting a few seeds at once.
For autoflowers, many growers prefer to avoid transplanting later. That is a real trade-off. You get less root disturbance, but moisture control is harder in a big pot. If you go straight into the final container, water a small ring around the seed site instead of soaking the whole pot.
Use a light, airy medium
Dense soil causes slow starts. It holds too much water, limits oxygen, and can crust over on top.
Use a clean seed-starting mix, a light potting mix, or a coco and perlite blend that stays fluffy after watering. The University of Minnesota Extension recommends using a sterilized soilless mix for starting seeds indoors because it provides good moisture retention and air space while lowering disease pressure in young plants, as explained in this seed-starting basics guide from UMN Extension.
That advice fits cannabis seedlings well. Feminized and autoflower seeds do best in a medium that stays moist without turning muddy. Press it in lightly, but do not pack it down.
Keep the seed zone warm and steady
Room temperature is not always pot temperature. Floors run cooler. Window areas swing more than people notice. Closets can trap heat during the day and drop fast at night.
Seedlings handle steady conditions better than fluctuating ones. If your space runs cool, a basic heat mat can help keep the root zone from stalling out. If your home stays comfortably warm around the clock, you may not need one.
The point is consistency, not buying extra gear for the sake of it.
Get a simple light ready
Seeds can sprout without much light, but the seedling needs proper light almost immediately after it breaks the surface. Waiting until it stretches is a beginner mistake that is easy to avoid.
A basic LED grow light is enough for this stage. You do not need a complicated setup for one small hobby grow. You just need something ready to switch on the same day the seedling emerges. If you want help choosing one, this guide on lighting for growing cannabis indoors lays out the common options in plain English.
Keep the tool list short
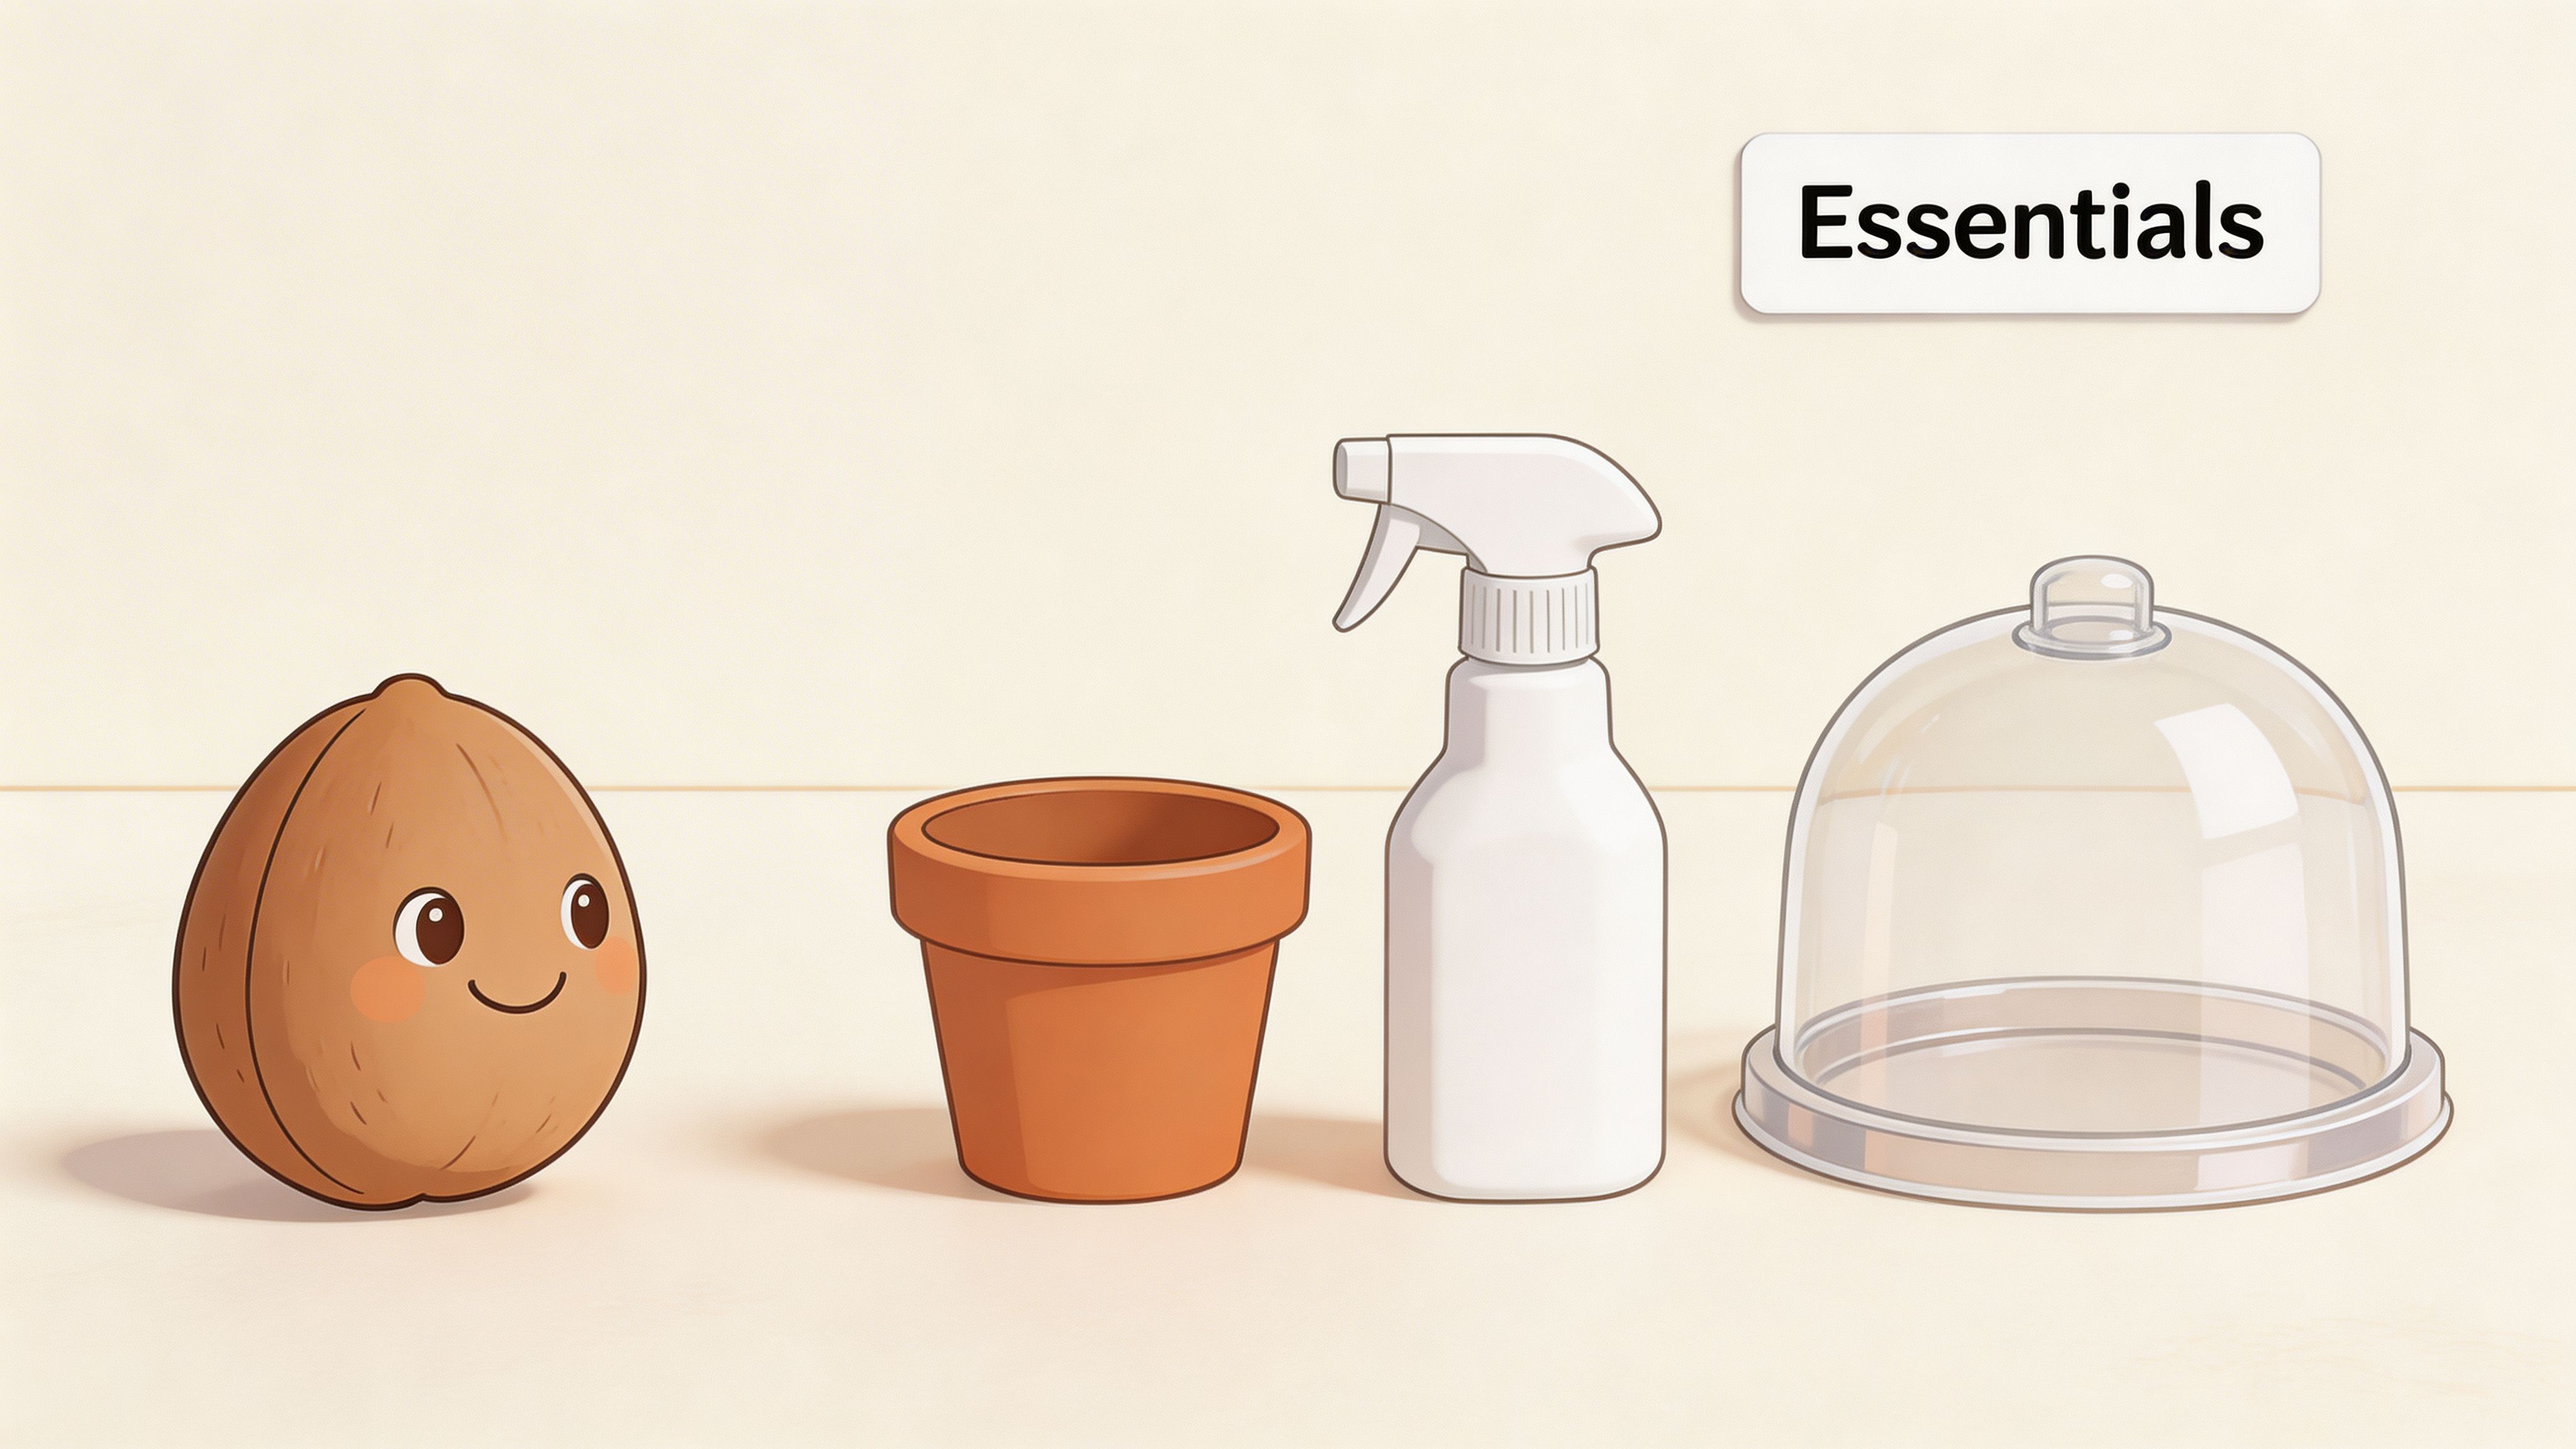
A simple setup usually works better than a crowded one. For a first run, gather:
- Seeds: Feminized or autoflower seeds keep the process simpler than regular seeds.
- Starter containers: Small pots, plugs, or trays.
- Growing medium: Light, airy, and clean.
- Spray bottle or small watering tool: Better control than pouring from a cup.
- Clean water: Let chlorinated tap water sit out if needed.
- Tweezers: Useful if you need to move a germinated seed carefully.
- Heat mat: Helpful in cool rooms.
- Light source: Ready before the sprout appears.
- Labels: Smart if you are testing more than one cultivar.
I would also keep a towel under the tray and a notebook nearby. The towel catches runoff. The notes help you remember what you did, which is useful when you are trying to repeat a good start.
What works, and what usually causes problems
| Better choice | Usually causes trouble |
|---|---|
| Small starter pot | Large wet container |
| Light seed-starting mix | Heavy garden soil |
| Light watering control | Dumping water all at once |
| Stable room conditions | Drafty window area |
| Light set up in advance | Scrambling after the sprout appears |
A good gear setup does not need to look fancy. It just needs to give your seeds a calm start, which is exactly what a self-sufficient home grow is about.
How to Germinate Your Cannabis Seeds
You’ve got your feminized or autoflower seeds on the table, your starter pots ready, and now it feels like one wrong move could waste the whole run. That feeling is normal. Germination is simple once you stop chasing tricks and stick to one clean method.
For a first indoor grow, two methods make sense. The paper towel method gives you visibility. Direct sowing gives you less handling. Both work. The better choice depends on whether you want to monitor the seed closely or leave it alone and let it sprout in place.
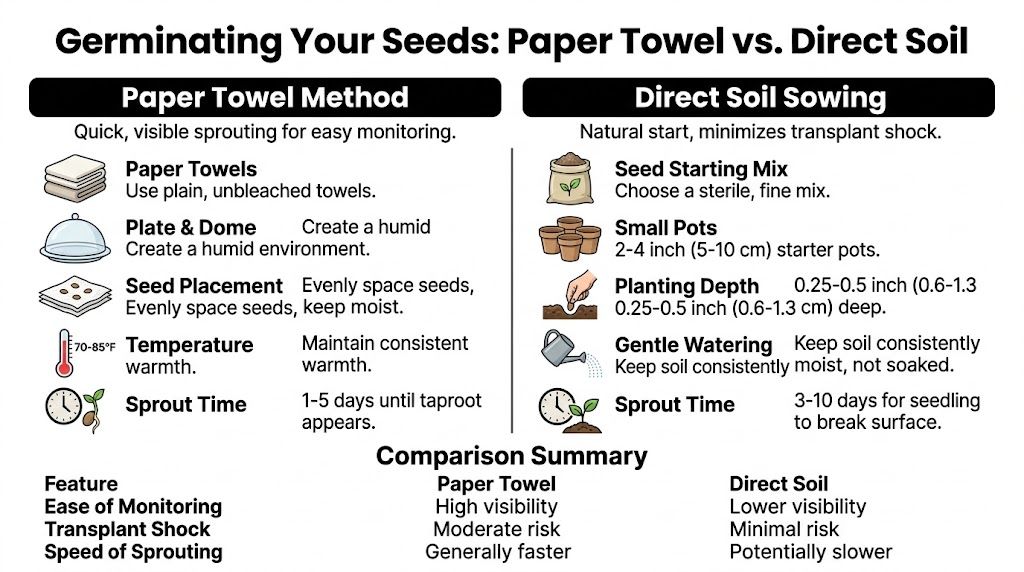
The paper towel method
Paper towel is popular for one reason. You can see what the seed is doing.
That helps beginners who want confirmation that a seed has cracked before they commit space in a tray or pot. It also helps when you are starting just a few seeds and want to keep the process tight and predictable. The trade-off is simple. Once the taproot appears, you have to move the seed without damaging it.
How to do it
Moisten the towels
Use plain paper towels and clean water. Get them evenly damp, not soaked. If water runs when you squeeze the towel, it is too wet.Place the seeds
Set the seeds on one towel with a little space between them. Cover them with a second damp towel.Hold moisture in
Put the towels inside a zip bag or between two plates. The goal is to keep the environment humid without leaving the seeds sitting in standing water.Keep them warm and dark
A cupboard, drawer, or other stable spot works well. Warmth helps. Sharp temperature swings do not.Check once a day
Open the towels gently and only as much as needed. You are looking for the shell to split and a small white root to appear.Plant as soon as the root shows
Once the taproot is visible and still short, move the seed into pre-moistened medium about 0.5 to 1 inch deep, root down, and cover it lightly.
A lot of growers ruin this method by fussing over it. Daily checks are enough. Constant opening, poking, and repositioning dries the towel and raises the chance of tearing the root.
If your room is dry, keeping stable moisture can take a little more attention. A simple guide on raising humidity in a grow tent can help if your setup dries out fast.
Why beginners like it
- You get quick feedback: You can tell which seeds are moving and which are still dormant.
- You avoid planting duds: Helpful if you only have a small number of seeds.
- You learn fast: Watching the process once makes the next run easier.
Where it goes wrong
The biggest risk is handling. A fresh taproot is delicate, and it does not take much pressure to damage it.
The second problem is moisture imbalance. Towels that dry out can stall a seed. Towels that stay soggy for too long can encourage rot. Aim for evenly damp and warm, not wet and sealed up forever.
Direct soil sowing
Direct sowing is the lower-fuss option. You plant the seed where it will start growing, then leave it there.
For autoflowers, this is often the cleaner choice because it avoids one extra move early on. Feminized photoperiod seeds also do well this way, especially if you prefer a more hands-off start.
How to do it
- Fill a small starter container: Use a light seed-starting mix or a plug that holds moisture without compacting.
- Pre-moisten the medium: It should feel evenly moist all the way through, not muddy.
- Plant shallow: Make a small hole about twice the seed’s width. Drop the seed in and cover it lightly.
- Keep the top layer from drying hard: A light mist or careful small watering is enough.
- Stay patient: Do not dig around to check on it. If the conditions are right, it will come up on its own.
This method removes the transplant step during germination, which is why many home growers stick with it. You do lose visibility below the surface, so patience matters more. If you tend to hover, direct sowing can save you from your own hands.
Why growers choose it
It is simple. Plant once, keep the medium lightly moist, and wait.
That simplicity fits the whole point of a self-sufficient home grow. You do not need a complicated setup or a bunch of gadgets to get healthy starts from feminized or autoflower seeds.
Where this method goes sideways
Most problems come from overwatering, planting too deep, or using a heavy mix that stays packed and airless.
Cold rooms slow everything down too. Seeds like steady warmth. If your space runs cool, a heat mat under the tray can make germination much more consistent.
Which method should you choose
Here’s the practical answer:
| Method | Best for | Upside | Trade-off |
|---|---|---|---|
| Paper towel | Growers who want to see progress | Easy to monitor | You must handle the seed after it cracks |
| Direct soil | Growers who want less interference | No transfer during germination | You have to wait without digging around |
If you are starting autoflowers, I usually lean toward direct sowing. If you are starting feminized seeds and want to confirm every seed before planting, paper towel is fine.
Pick one method and run the whole batch the same way. That teaches you more than switching between methods seed by seed.
A note on seed differences
Even within beginner-friendly seed types, some seeds crack fast and some take their time. Fresh, well-made feminized and autoflower seeds usually germinate without much drama if warmth and moisture stay steady.
That is why simple wins here. No fancy hacks. No textbook routine for every possible seed on earth. Just a clean start, stable conditions, and enough restraint to let the seed do its job.
Caring for Your New Seedlings
Once the sprout is up, the job changes. Germination is over. Now you’re protecting a tiny plant that has very little margin for error.
This stage is where growers often get excited and start doing too much. More water, more light, more attention. Seedlings usually want less.
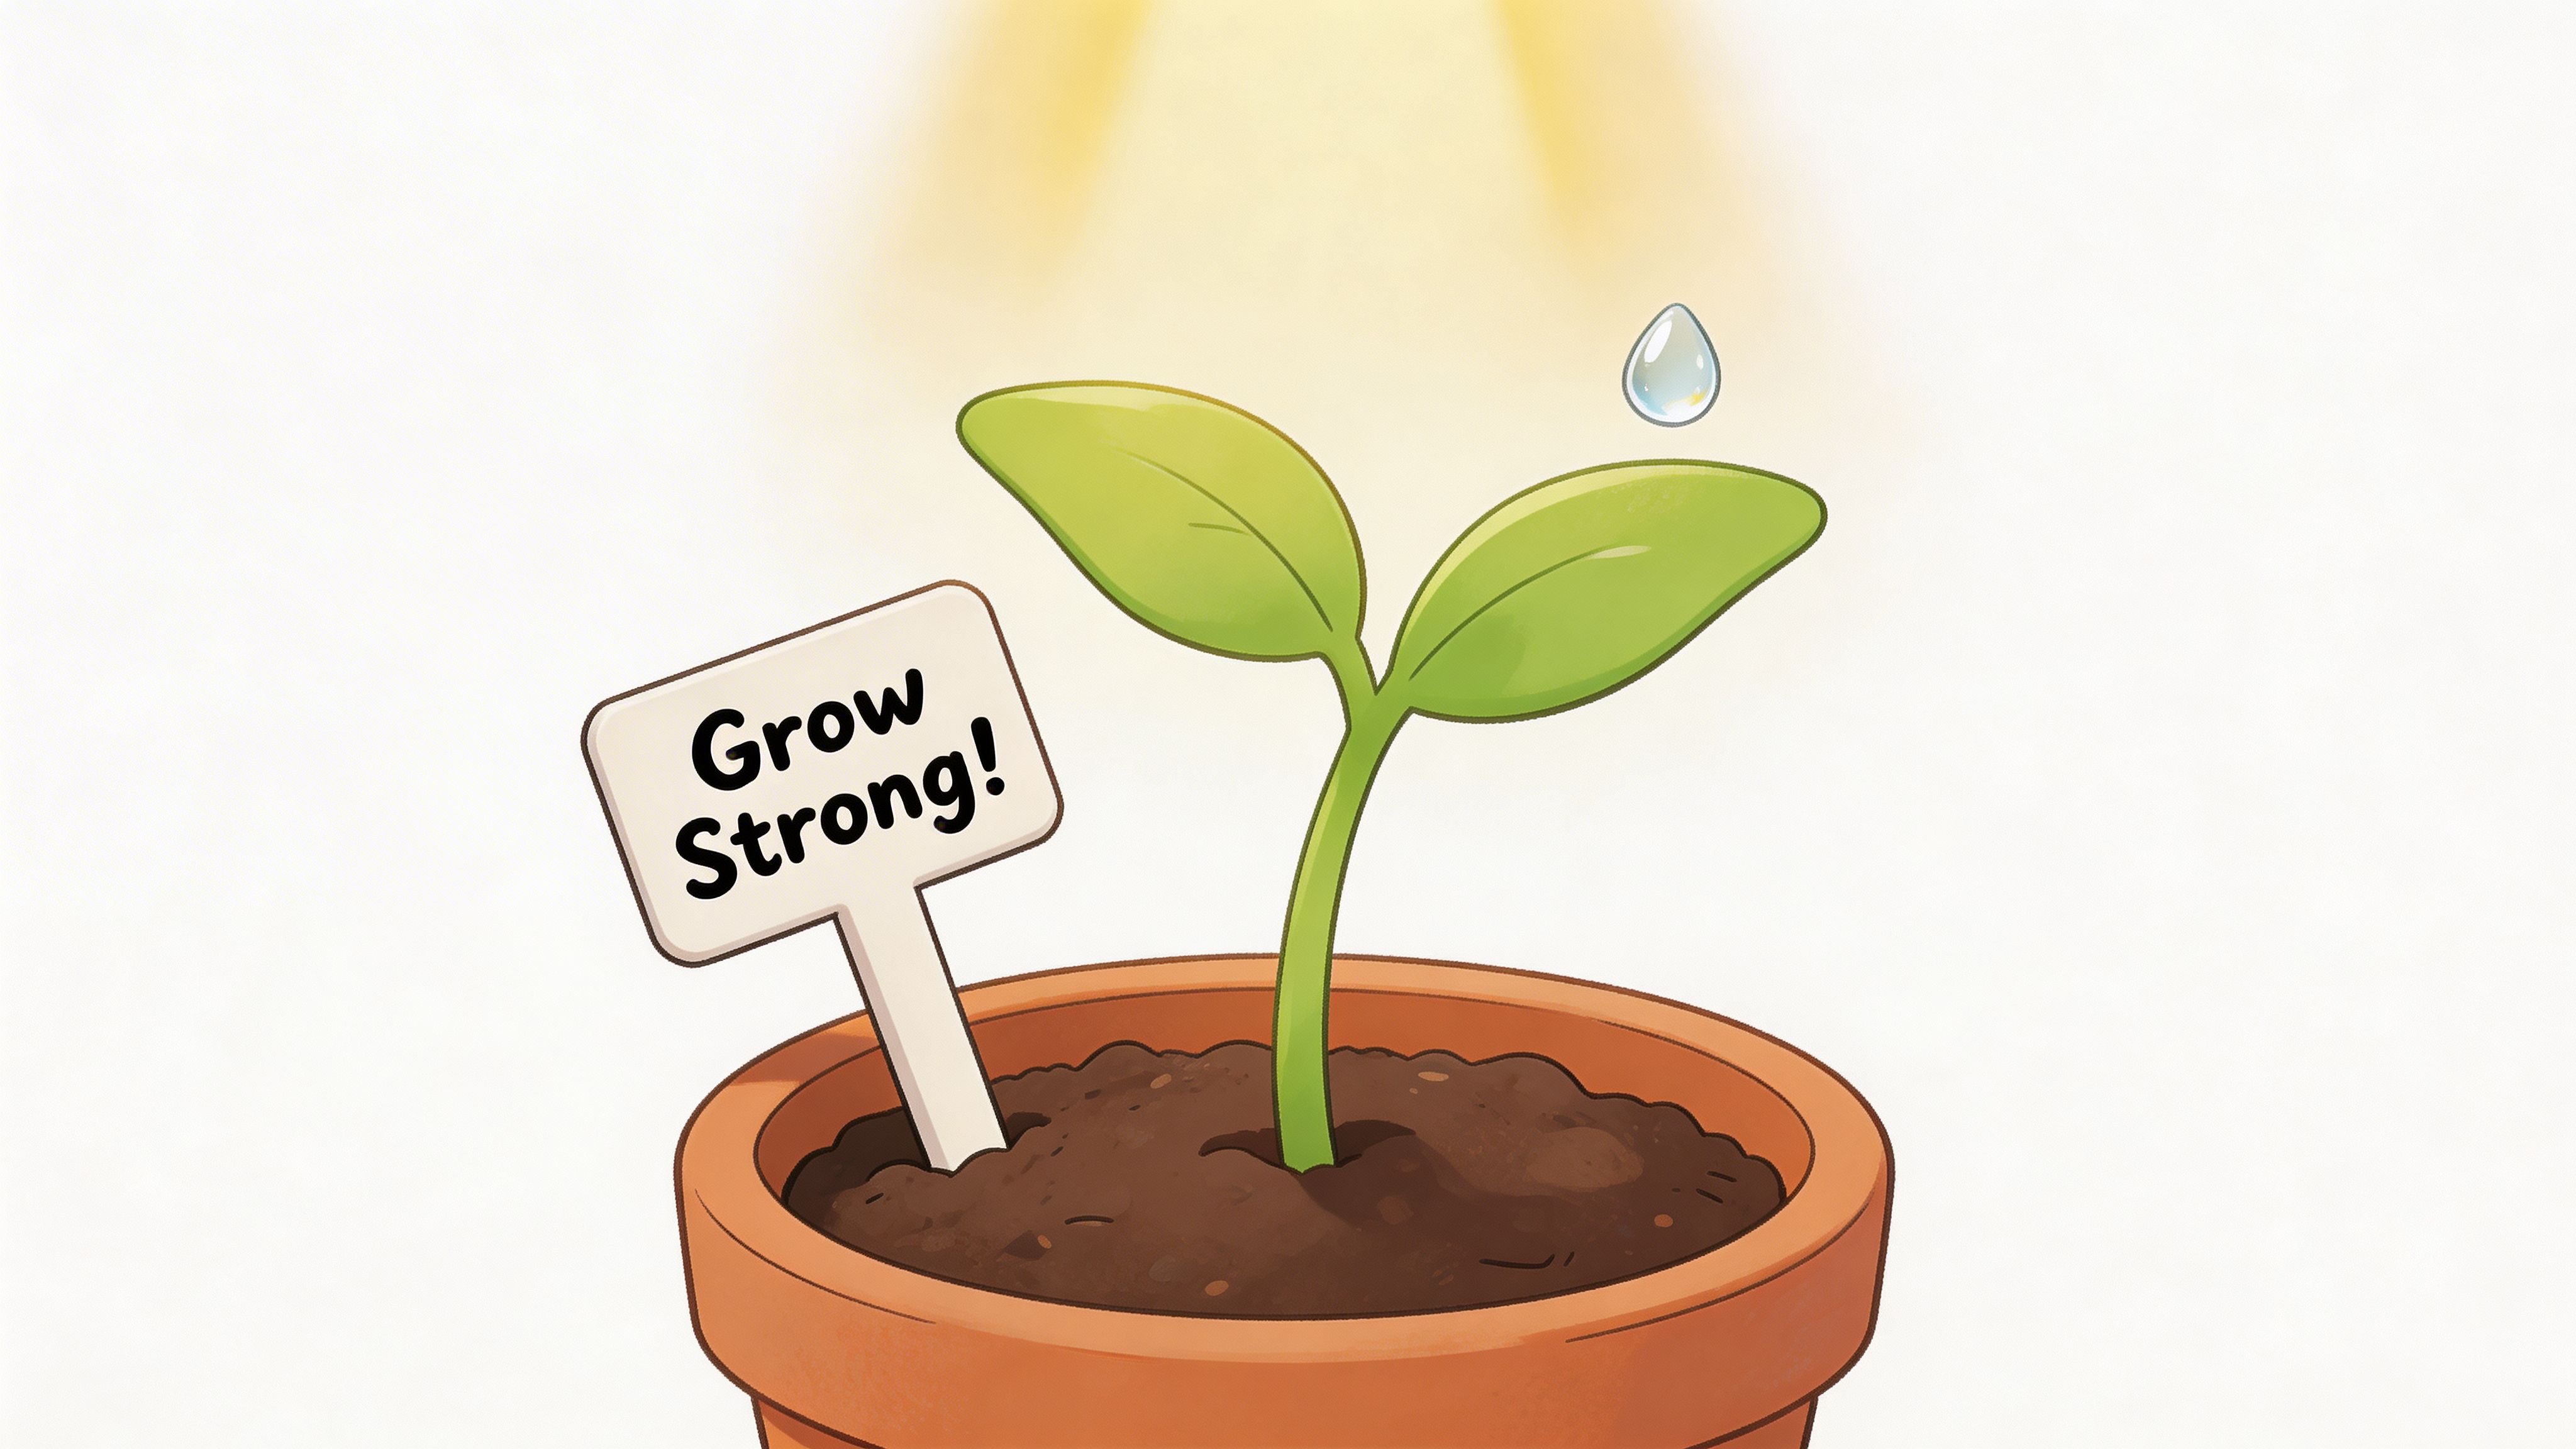
Water gently, then back off
A new seedling doesn’t need the whole pot soaked every day. It needs a lightly moist zone around the root.
Heavy watering is one of the fastest ways to stall growth. The stem gets weak, the medium stays soggy, and the plant never gets the oxygen it needs.
A better rhythm looks like this:
- Mist or lightly water around the seedling: Don’t blast the stem.
- Check the surface before watering again: Slight drying at the top is normal.
- Avoid turning the pot into mud: Roots need air.
Seedlings drown more often than they dry out indoors.
If you’re using a humidity cover at first, remove it once the seedling is up and established. Constant stale humidity can create more problems than it solves.
Keep light close and reasonable
Once the seedling breaks the surface, it needs light right away. A simple LED works well for this stage.
An 18/6 light cycle is a practical option for young plants indoors. You don’t need to hammer the seedling with extreme intensity. You just need enough light to keep it compact and upright.
If the stem starts getting long and thin, that usually means the light is too weak or too far away.
Signs your light setup needs adjustment
- Stretching upward fast: The seedling wants more light.
- Leaning hard to one side: Light placement is uneven.
- Tight, compact growth: You’re in a good range.
A stable environment matters just as much as the lamp itself. If your grow area runs dry, this guide on how to raise humidity in a grow tent can help you smooth out the early stage without overwatering.
Keep the room calm
Seedlings like consistency. Big swings in temperature and moisture tend to show up fast in the way they grow.
A gentle fan nearby can help keep air moving, but don’t point it directly at the plant like it owes you money. You’re aiming for slight movement in the air, not a stress test.
Here’s a helpful visual walkthrough for the early stage:
What healthy seedlings usually look like
You don’t need perfect symmetry. You’re looking for basic signs of steady growth.
A healthy seedling usually has:
- A short, upright stem
- Small first leaves opening normally
- A green, not waterlogged look
- New growth within a few days
Some harmless weirdness happens too. One shell can stick a little longer than expected. A cotyledon can look a bit uneven. Early growth is not always pretty.
Common early fixes
If the seedling is stretching
Move the light closer or improve the angle. Don’t let it keep reaching for days. The longer it stretches, the weaker it gets.
If the top layer looks bone dry but the pot feels heavy
Don’t panic-water. The root zone may still be wet below the surface.
If growth seems slow
Check the basics first. Temperature, moisture, and light solve most seedling problems more often than additives do.
What not to add yet
New growers love to reach for bottles too soon. At this stage, restraint helps.
Avoid adding a bunch of extras unless you have a clear reason:
- Strong nutrients: Seedlings are easy to overwhelm.
- Frequent transplanting: More stress, not more progress.
- Constant repositioning: Plants hate being fussed over every hour.
The strongest start usually comes from simple care repeated consistently.
Your First Month, Week by Week
| Week | What you'll usually see | What to do |
|---|---|---|
| Week 1 | Seedling breaks soil, cotyledons open, first true leaves begin | Keep the medium lightly moist and the light consistent |
| Week 2 | More leaf growth, a little height, clearer structure | Watch for stretch and keep watering controlled |
| Week 3 | Faster vegetative growth, stronger stem, more sets of leaves | If your medium calls for it, start very light feeding |
| Week 4 | A sturdier young plant, stronger branching, more obvious vigor | Check pot moisture, light distance, and overall posture |
What to Do When Things Go Wrong
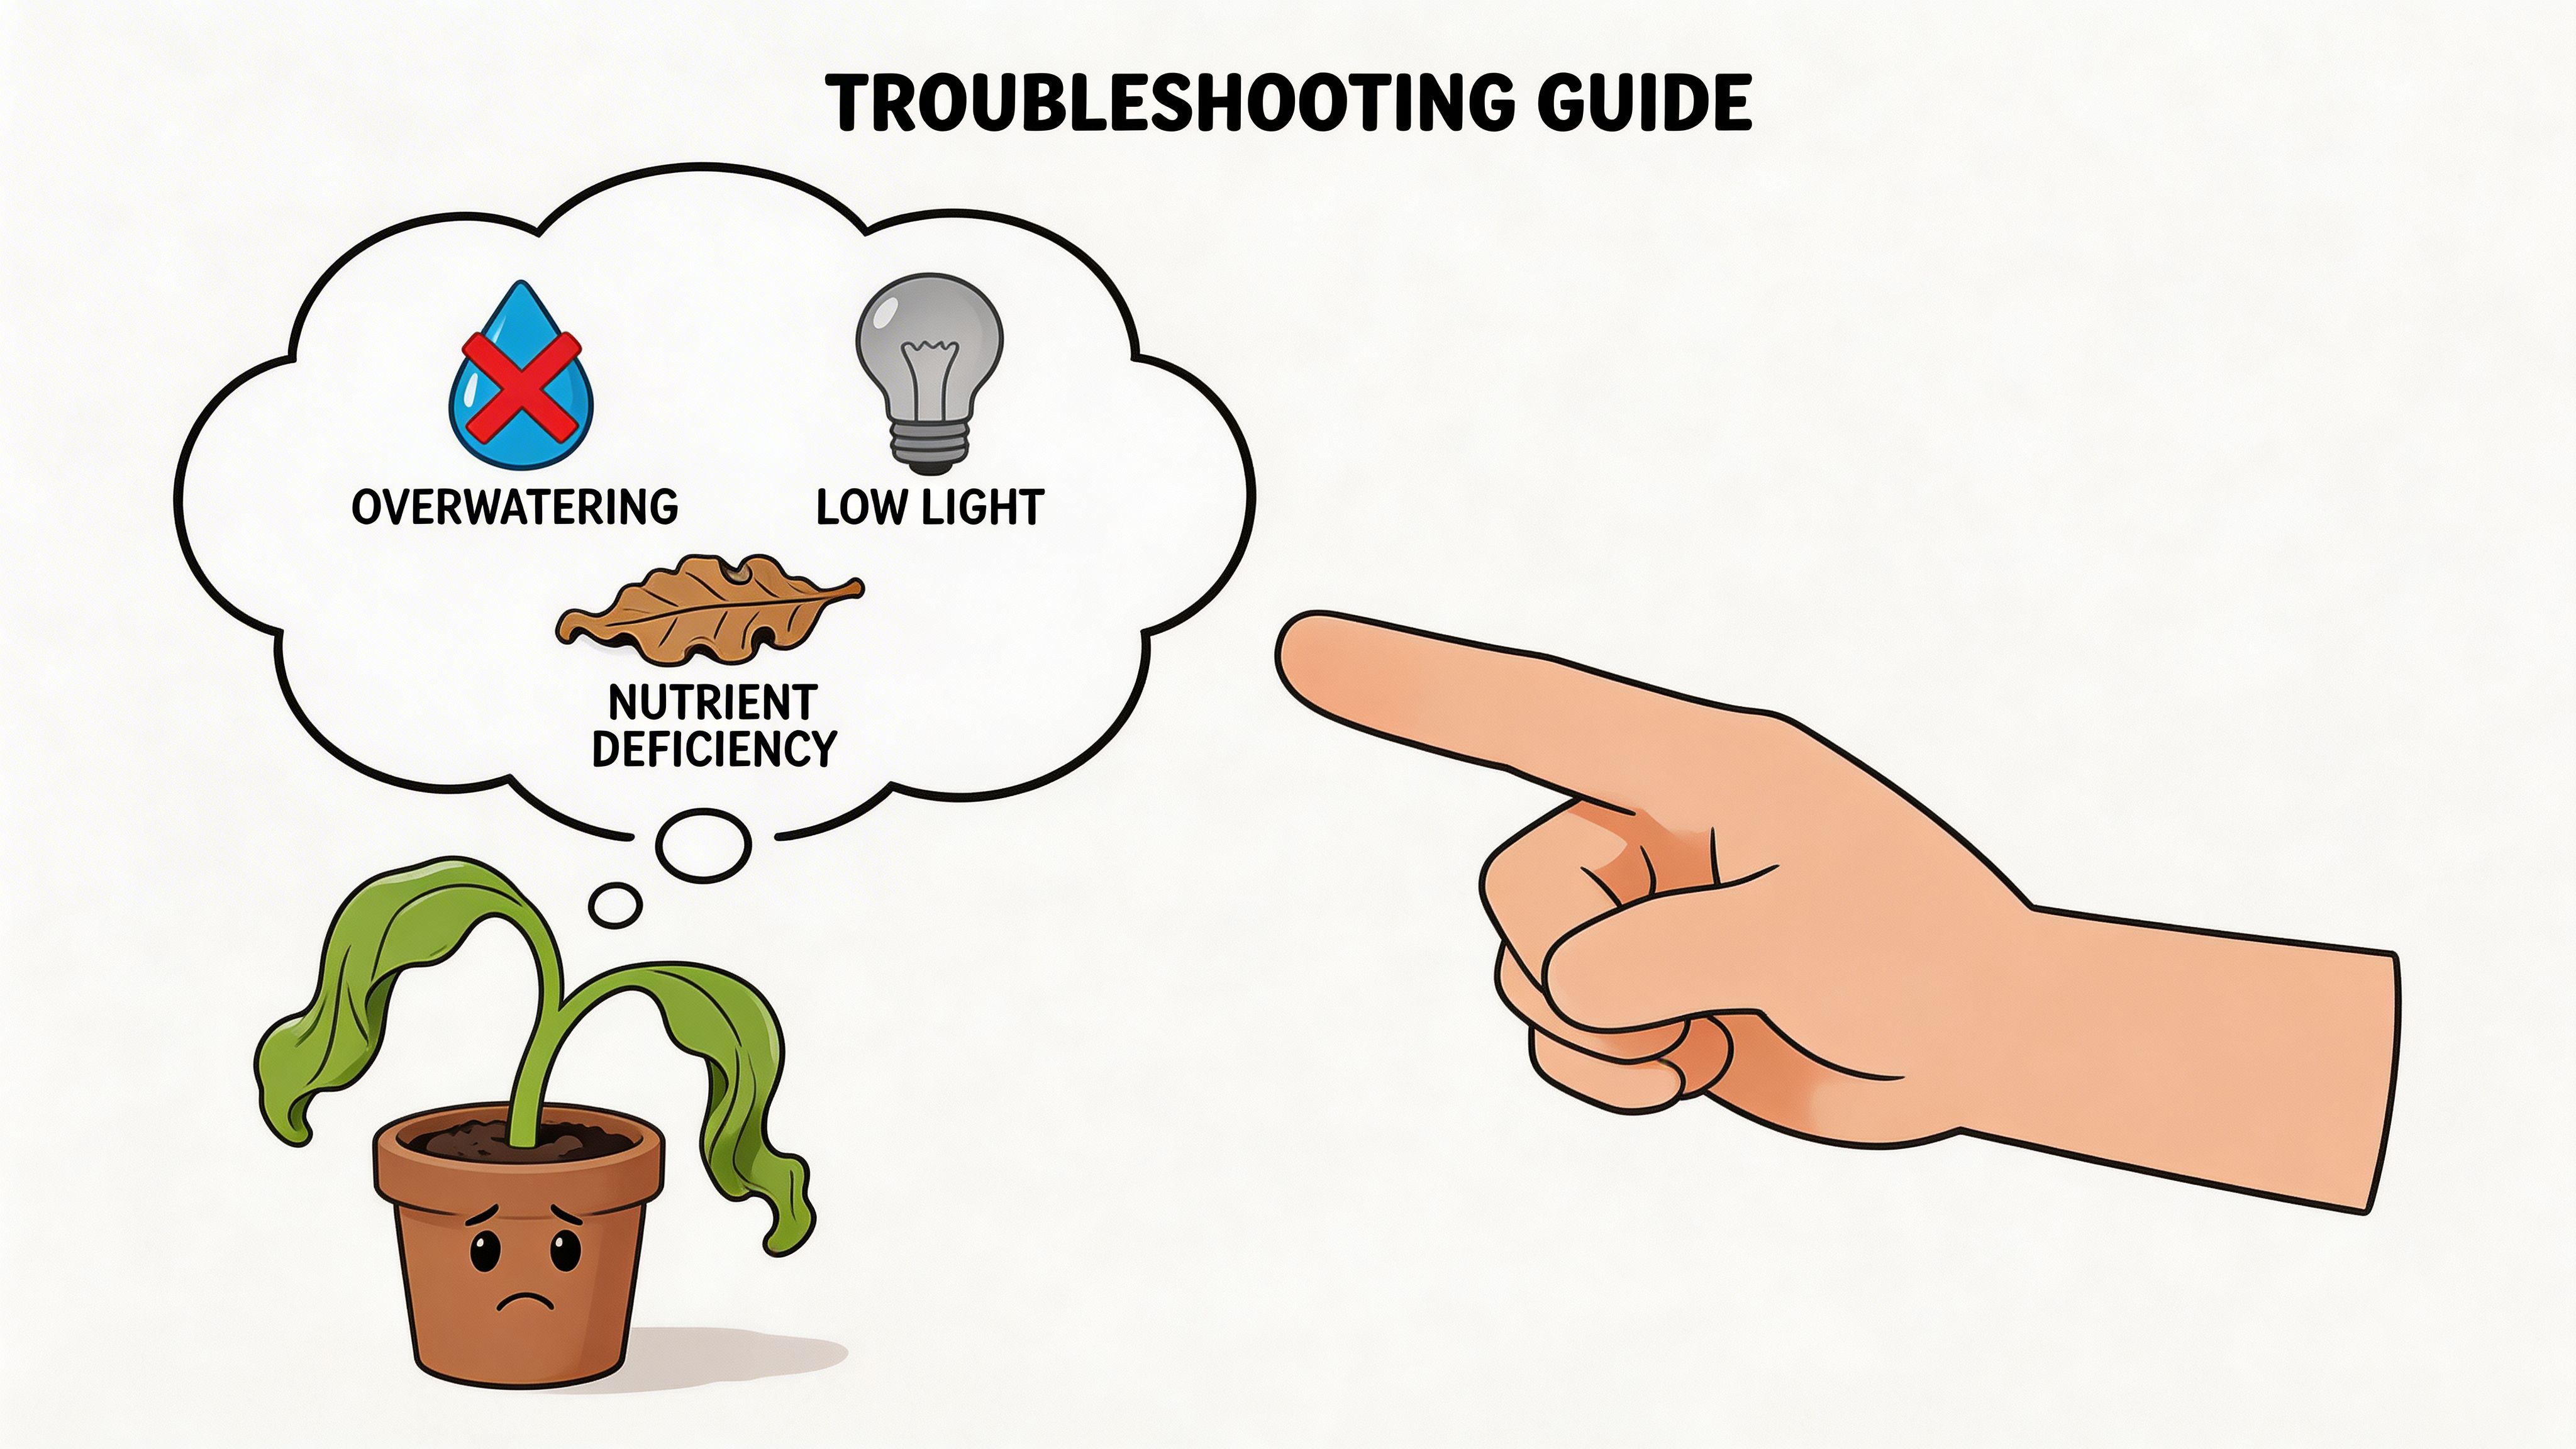
A problem in the first week doesn’t mean you’ve blown the grow. It usually means one input is off.
That’s worth remembering because beginners often jump straight to the worst conclusion. “Bad seeds.” “I’m terrible at this.” “This cultivar is impossible.” Sometimes genetics do matter, but most early issues are still fixable.
If the seed never sprouts
Start with the simplest possibilities:
- The medium stayed too wet
- The planting depth was too deep
- The temperature was too cool
- The seed was slow, not dead
Patience matters here. Digging around to check usually makes things worse.
There’s also a genetics angle that generic beginner guides often skip. Grower reports show viability for certain cultivars can drop 20 to 30 percent without specific approaches. Older or hard-shelled seeds often benefit from an overnight soak, while some modern hybrids with fragile taproots can do better with direct-to-soil planting, which shows an 85 to 90 percent success rate for those types by avoiding root damage**, according to this cultivar-sensitive germination overview.
So if one seed underperforms, that doesn’t automatically mean your process was wrong. Some cultivars respond better to a different start.
If the seedling stretched and flopped
This usually points to weak light, poor airflow, or soggy conditions around the stem.
Try this:
- Move the light closer
- Let the medium dry slightly between waterings
- Improve gentle air movement
- Support the stem lightly if needed while it recovers
If the base of the stem looks pinched and soft, that’s more serious. In that case, wet conditions are often the primary issue.
Most “mystery problems” in seedlings come back to water, light, or temperature. Check those before blaming the seed.
If the leaves look pale
A little weirdness in the first leaves is common. Pale growth can come from stress, overwatering, or environmental swings.
Before you add anything, ask:
- Is the medium staying wet too long
- Is the room getting chilly at night
- Did the seedling just emerge and is it still sorting itself out
The fix is usually steadier care, not more products.
If mold shows up during germination
That points to too much moisture and not enough airflow. Clean up the setup, replace the materials if needed, and reduce the chance of stagnant wet conditions next time.
A weak hydrogen peroxide approach is discussed in some germination circles for older seeds or mold prevention, but the bigger win is still environmental control. Clean tools, damp instead of soaked materials, and fewer unnecessary checks go a long way.
A calmer way to troubleshoot
Use this quick table when something looks off:
| What you see | Most likely issue | Easiest fix |
|---|---|---|
| No sprout after several days | Temp, depth, or slow seed | Wait longer, keep conditions steady |
| Long weak stem | Light too far away | Lower light distance |
| Droopy seedling in wet medium | Overwatering | Let medium breathe |
| Uneven or odd first leaves | Early stress | Stay consistent, don’t overreact |
A rough start isn’t a verdict. It’s feedback.
Your Journey from Seed to Self-Sufficiency
Indoor growing gets a lot easier once you stop treating it like a secret code. A seed needs the right medium, steady moisture, stable warmth, and a little patience. After that, your job is mostly about not getting in the way.
That’s the part new growers usually don’t hear enough. You don’t need to chase every trick online. You need one clean germination method, a decent seedling setup, and the discipline to keep things consistent.
The payoff goes beyond the harvest. You skip the dispensary line. You stop relying on whatever happens to be in stock. You get the satisfaction of growing your own supply and learning what kinds of cultivars fit your space, schedule, and taste.
Feminized and autoflower seeds make that path a lot smoother for beginners because they keep the process focused. Less clutter, fewer headaches, more time learning the parts that matter.
Once you’ve planted your first seeds indoors, you stop looking at the process like something other people do. It becomes your hobby, your routine, and eventually your own stash jar on the shelf.
Quick Questions and Answers
Should I start with autoflower or feminized seeds
It depends on your style.
Autoflower cultivars are a good fit if you want a quicker, simpler pace and don’t want to think much about changing the light schedule later. Feminized photoperiod cultivars are great if you want more control over plant size and timing indoors.
Neither is “better” across the board. The better choice is the one that fits your patience, space, and schedule.
How many seeds should I plant for my first grow
Start small. A couple of seeds is enough to learn a lot.
If you’re using the paper towel method, some growers like to germinate extra because seed viability can vary even with premium seeds. That gives you a backup without turning your first run into chaos.
Can I use regular potting soil or soil from outside
Outdoor dirt is a bad bet for indoor germination. It can be dense, dirty, and inconsistent.
A light, airy, sterile seed-starting mix gives you far better control. It holds enough moisture without suffocating the seed and makes early growth much easier to manage.
Should I soak seeds before planting
Sometimes, yes. Some older or hard-shelled cultivars can benefit from an overnight soak.
If you’re working with fresh seeds and want less handling, direct sowing into a prepared medium is often the simpler play.
How deep should I plant the seed
Keep it shallow. Around 1 cm deep is a good target for direct sowing. If you bury it too deep, the seedling has to work harder than it should just to reach the surface.
If you're ready to put this into practice, take a look at Botanist Seeds. Their catalog makes it easier to compare feminized and autoflower cultivars, match genetics to your setup, and pick seeds that fit the kind of home grow you want to run.












