





Autoflowering Light Schedule: A Grower’s Guide
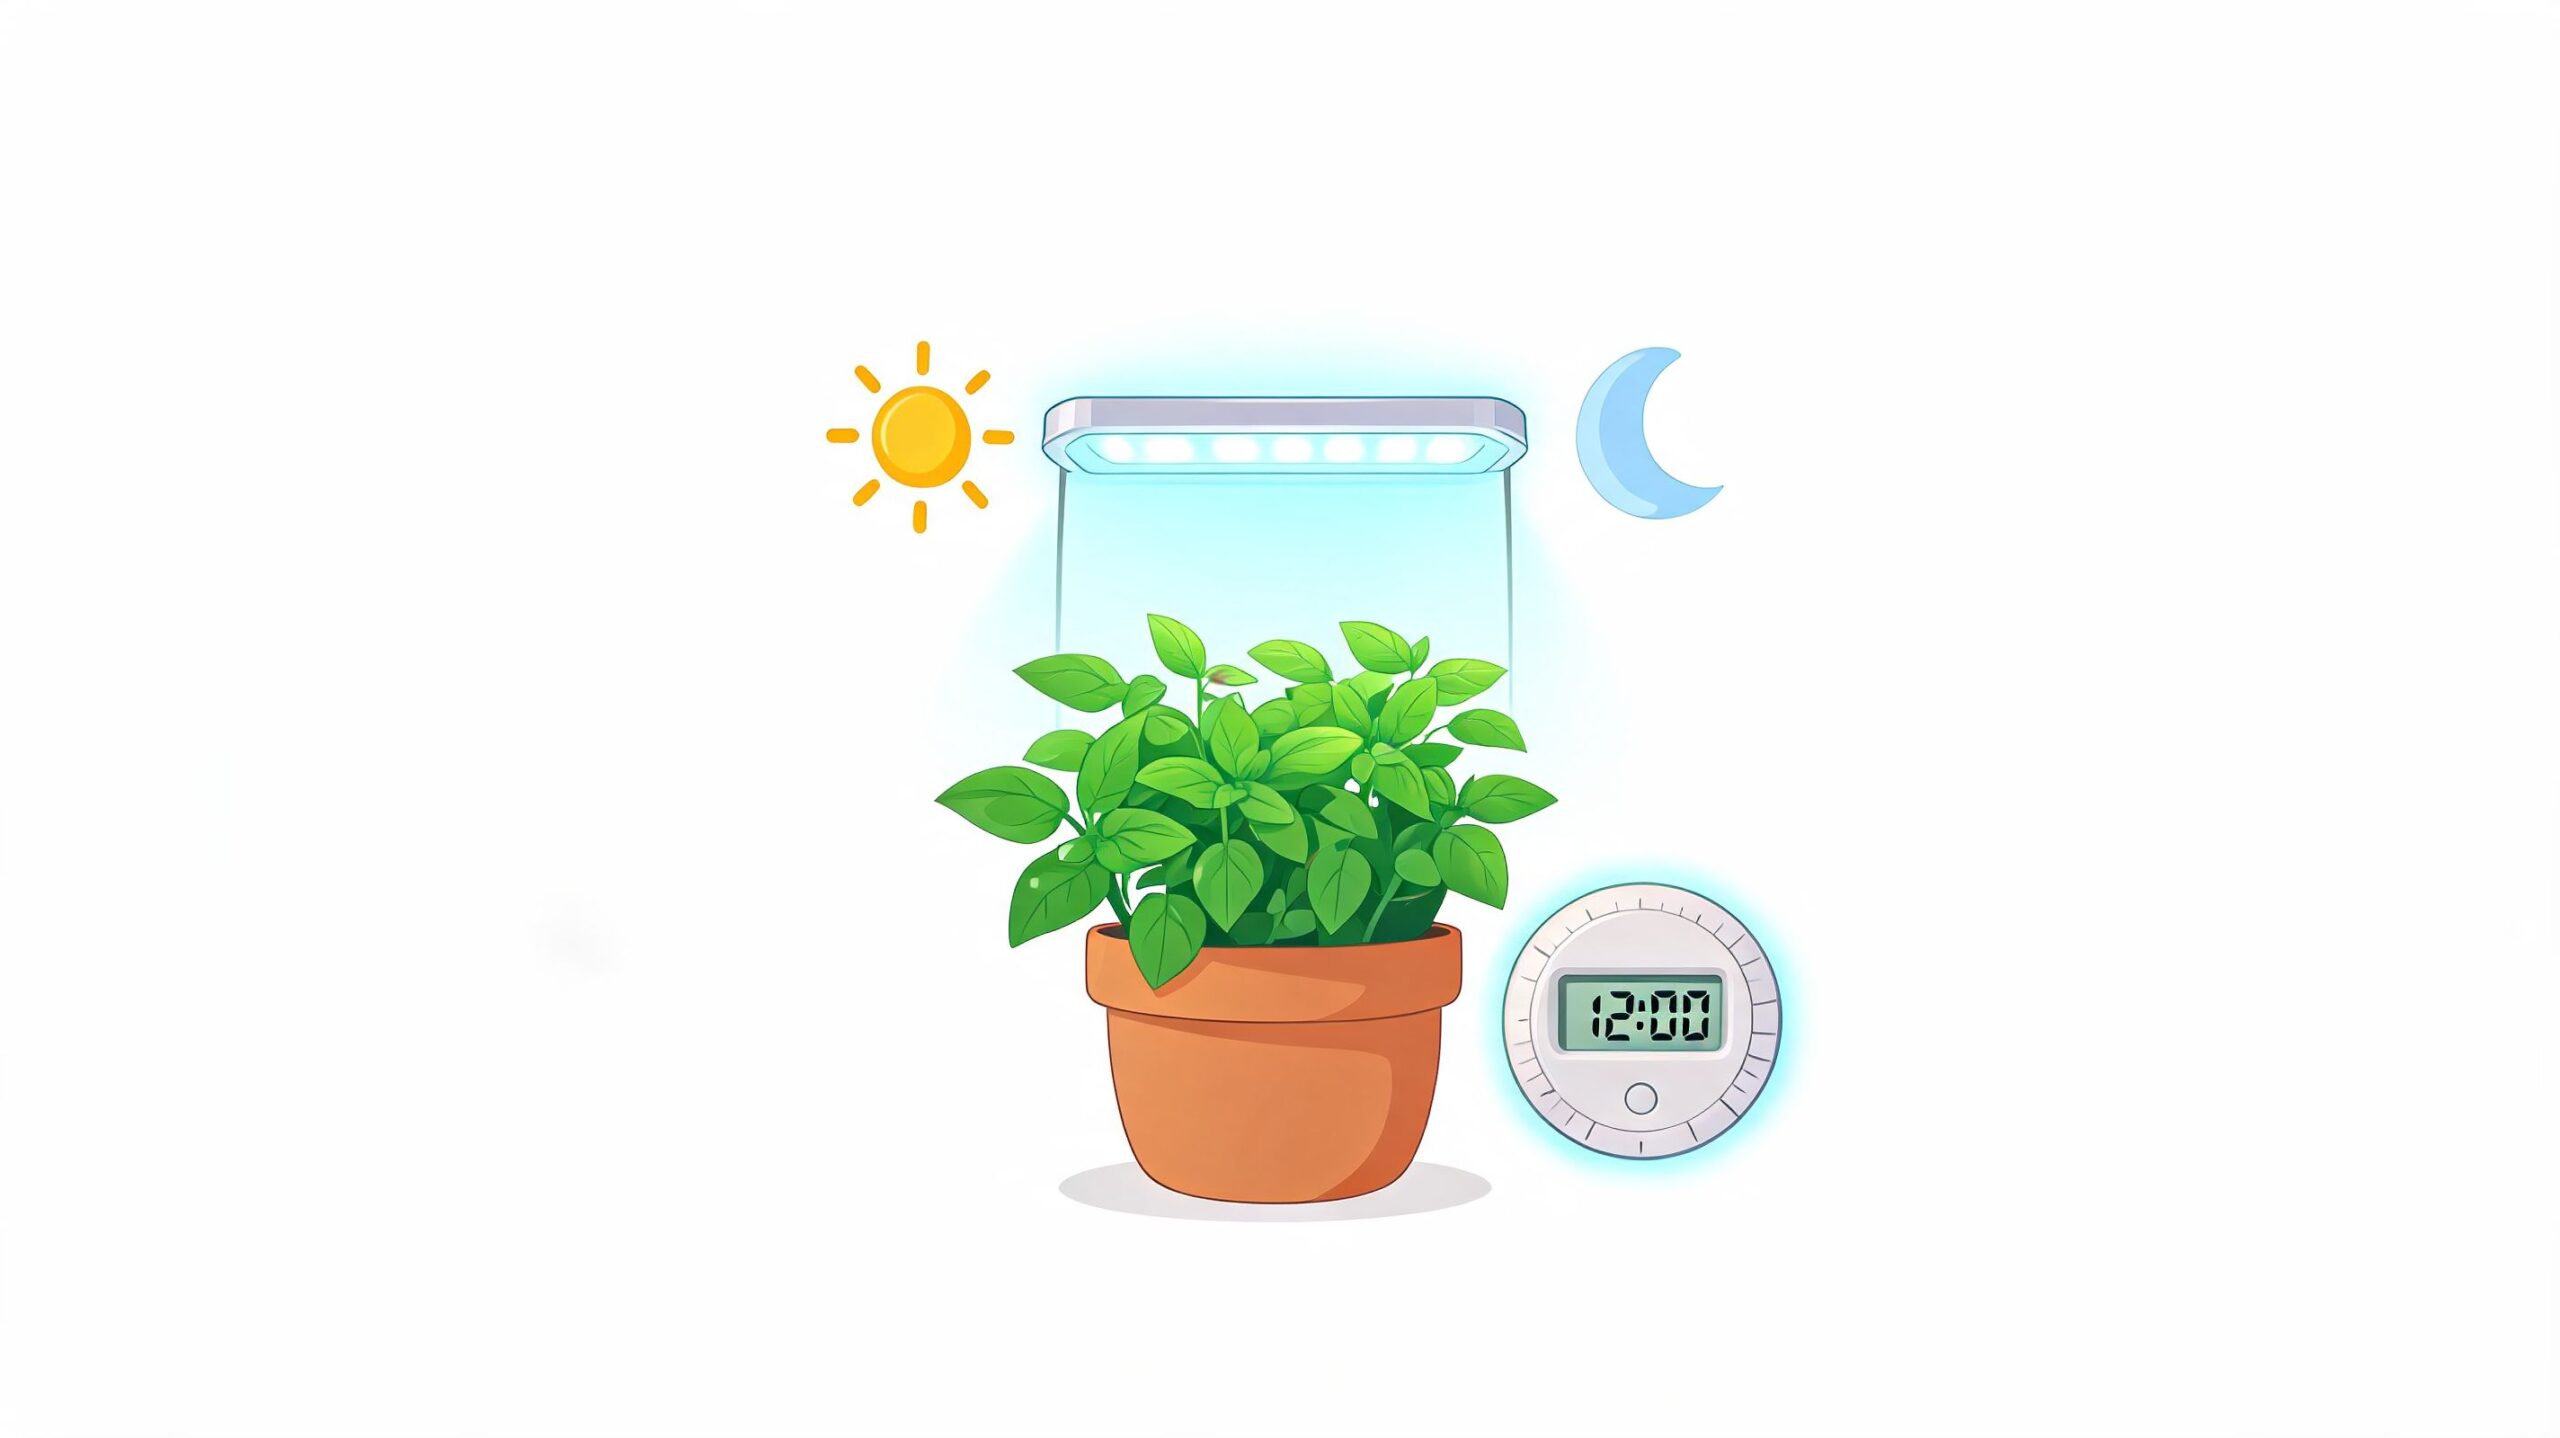
Most autoflower advice starts with, “More light equals more growth.” That’s only half true. More light hours can help, but the autoflowering light schedule that wins in a real home grow is the one your plants, your tent, and your power bill can all handle at the same time.
That’s why 18/6 stays the default recommendation for most growers. It gives autos plenty of time to photosynthesize, but it also gives the room a chance to cool off and gives the plant a dark window to recover. Once you stop treating light hours like a macho contest, your choices get a lot clearer.
Autoflowers already make life easier because they flower by age instead of waiting for a photoperiod flip. If you want the full breakdown on that difference, this quick guide to autoflowering vs photoperiod plants is worth a read. For now, the practical question is simple: which schedule gets you the best trade-off between growth, heat, and cost?
Comparing the Core Autoflower Light Schedules
The three schedules most growers debate are 18/6, 20/4, and 24/0. People often talk about them like one is “best” in every room, but that’s not how it works in practice. The annoying truth is that the industry still lacks solid side by side cost and yield data for these schedules. One source notes that growers regularly describe 18/6 as a stress reducing, efficient option, while 20/4 may push higher yields in some cultivars, but the hard numbers just aren’t there, and even comments about 24/0 finishing “about 5 days faster” come with the same question: is it worth the extra hydro? That gap is spelled out in this review of autoflower light schedule trade-offs.
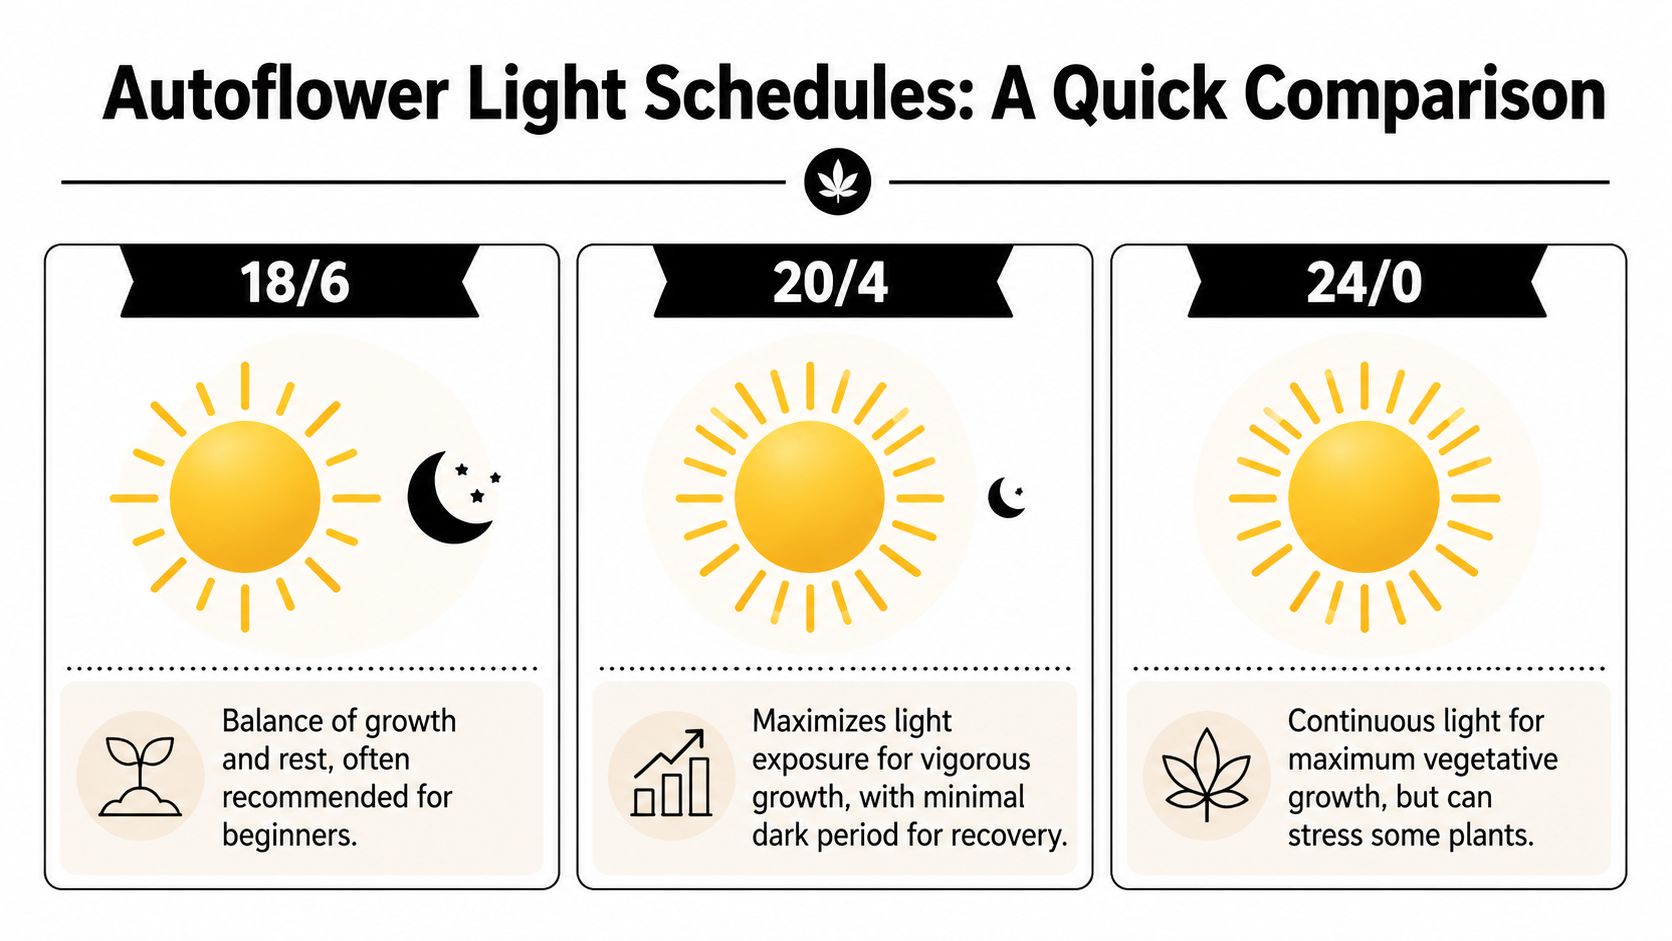
Autoflower light schedule comparison
| Schedule | Pros | Cons | Best For |
|---|---|---|---|
| 18/6 | Balanced growth, built in dark period, easier heat control, lower electricity use than longer schedules | May leave some extra growth on the table in a very dialed room | First runs, warm spaces, growers who want consistency |
| 20/4 | More daily light, good option for pushing vigorous cultivars, still gives a short rest window | More heat, more electricity use, less forgiving if the room already runs hot | Experienced hobbyists with stable environments |
| 24/0 | Constant light, simple schedule, can help in cold rooms where lights add warmth | Highest power draw, no dark recovery period, can stress some plants | Cold setups, experiments, niche situations |
What 18/6 gets right
18/6 is the grown-up choice. Not the flashy one, not the forum flex, just the one that tends to work across the widest range of rooms.
It gives autos a long light window, but the dark period matters more than some growers admit. Your room cools down. Your equipment gets a break. Your plants get a rhythm that’s easier to maintain from seedling to harvest.
If your grow space runs warm, 18/6 solves problems before they start. Put the dark period during the hottest part of the day and you’ve already reduced the pressure on your exhaust fan, driver temp, and canopy temperature.
Practical rule: If you’re still learning your light, your tent, or a new cultivar, start at 18/6 and earn your way into a more aggressive schedule later.
When 20/4 makes sense
20/4 is for growers who already know their room behaves well. If your LED is dimmable, your air exchange is solid, and your canopy stays happy, the extra light can be worth trying.
This schedule is popular for one reason: it gives the plant more daily energy without going fully into nonstop-light territory. For some cultivars, that’s a useful middle path. You’re pushing harder, but not recklessly.
That said, 20/4 exposes weak environmental control fast. If your tent creeps hot, if your VPD drifts, or if your light is already a little too close, those extra hours can turn a good setup into a stressful one.
Why 24/0 stays controversial
There’s always someone who swears by 24/0. Usually they’re growing in a cold basement, a garage in winter, or a room where the fixture doubles as a heater.
That’s the core reason for it. Not magic yields. Not secret pro status. Heat support.
Continuous light can absolutely grow autoflowers. But it also removes the easiest cooling window in your day, and some plants just look less happy under nonstop light. If your leaves start praying too hard, curling, or looking irritated near the top, the schedule may be more aggressive than the plant wants.
The budget choice is usually the smarter choice
For a home grower, the best autoflowering light schedule often comes down to this:
- Choose 18/6 if you want the best balance of plant comfort, lower running cost, and simpler climate control.
- Choose 20/4 if your environment is already steady and you want to test whether a specific cultivar responds well to more daily light.
- Choose 24/0 only if your room is cold enough that the extra heat solves a real problem.
Chasing max light hours before you’ve nailed temperature, airflow, and intensity is how growers spend more money to get a messier crop.
Dialing In Light Intensity for Each Grow Stage
Light hours matter, but intensity is where a lot of growers either save the run or mess it up. A seedling doesn’t want the same treatment as a flowering plant, and autos don’t give you much time to recover from early mistakes.
Under an 18/6 schedule, recommended intensity targets are 200 to 300 µmol/m²/s for seedlings, 300 to 500 µmol/m²/s for vegetative growth, and 500 to 800 µmol/m²/s during flowering, with the added benefit that 18/6 cuts energy costs by 25% compared to 24/0 according to this guide on PPFD targets for autoflowers under 18/6. If you want a broader plant development refresher, this overview of the vegetative stage of weed helps put the middle stretch into context.
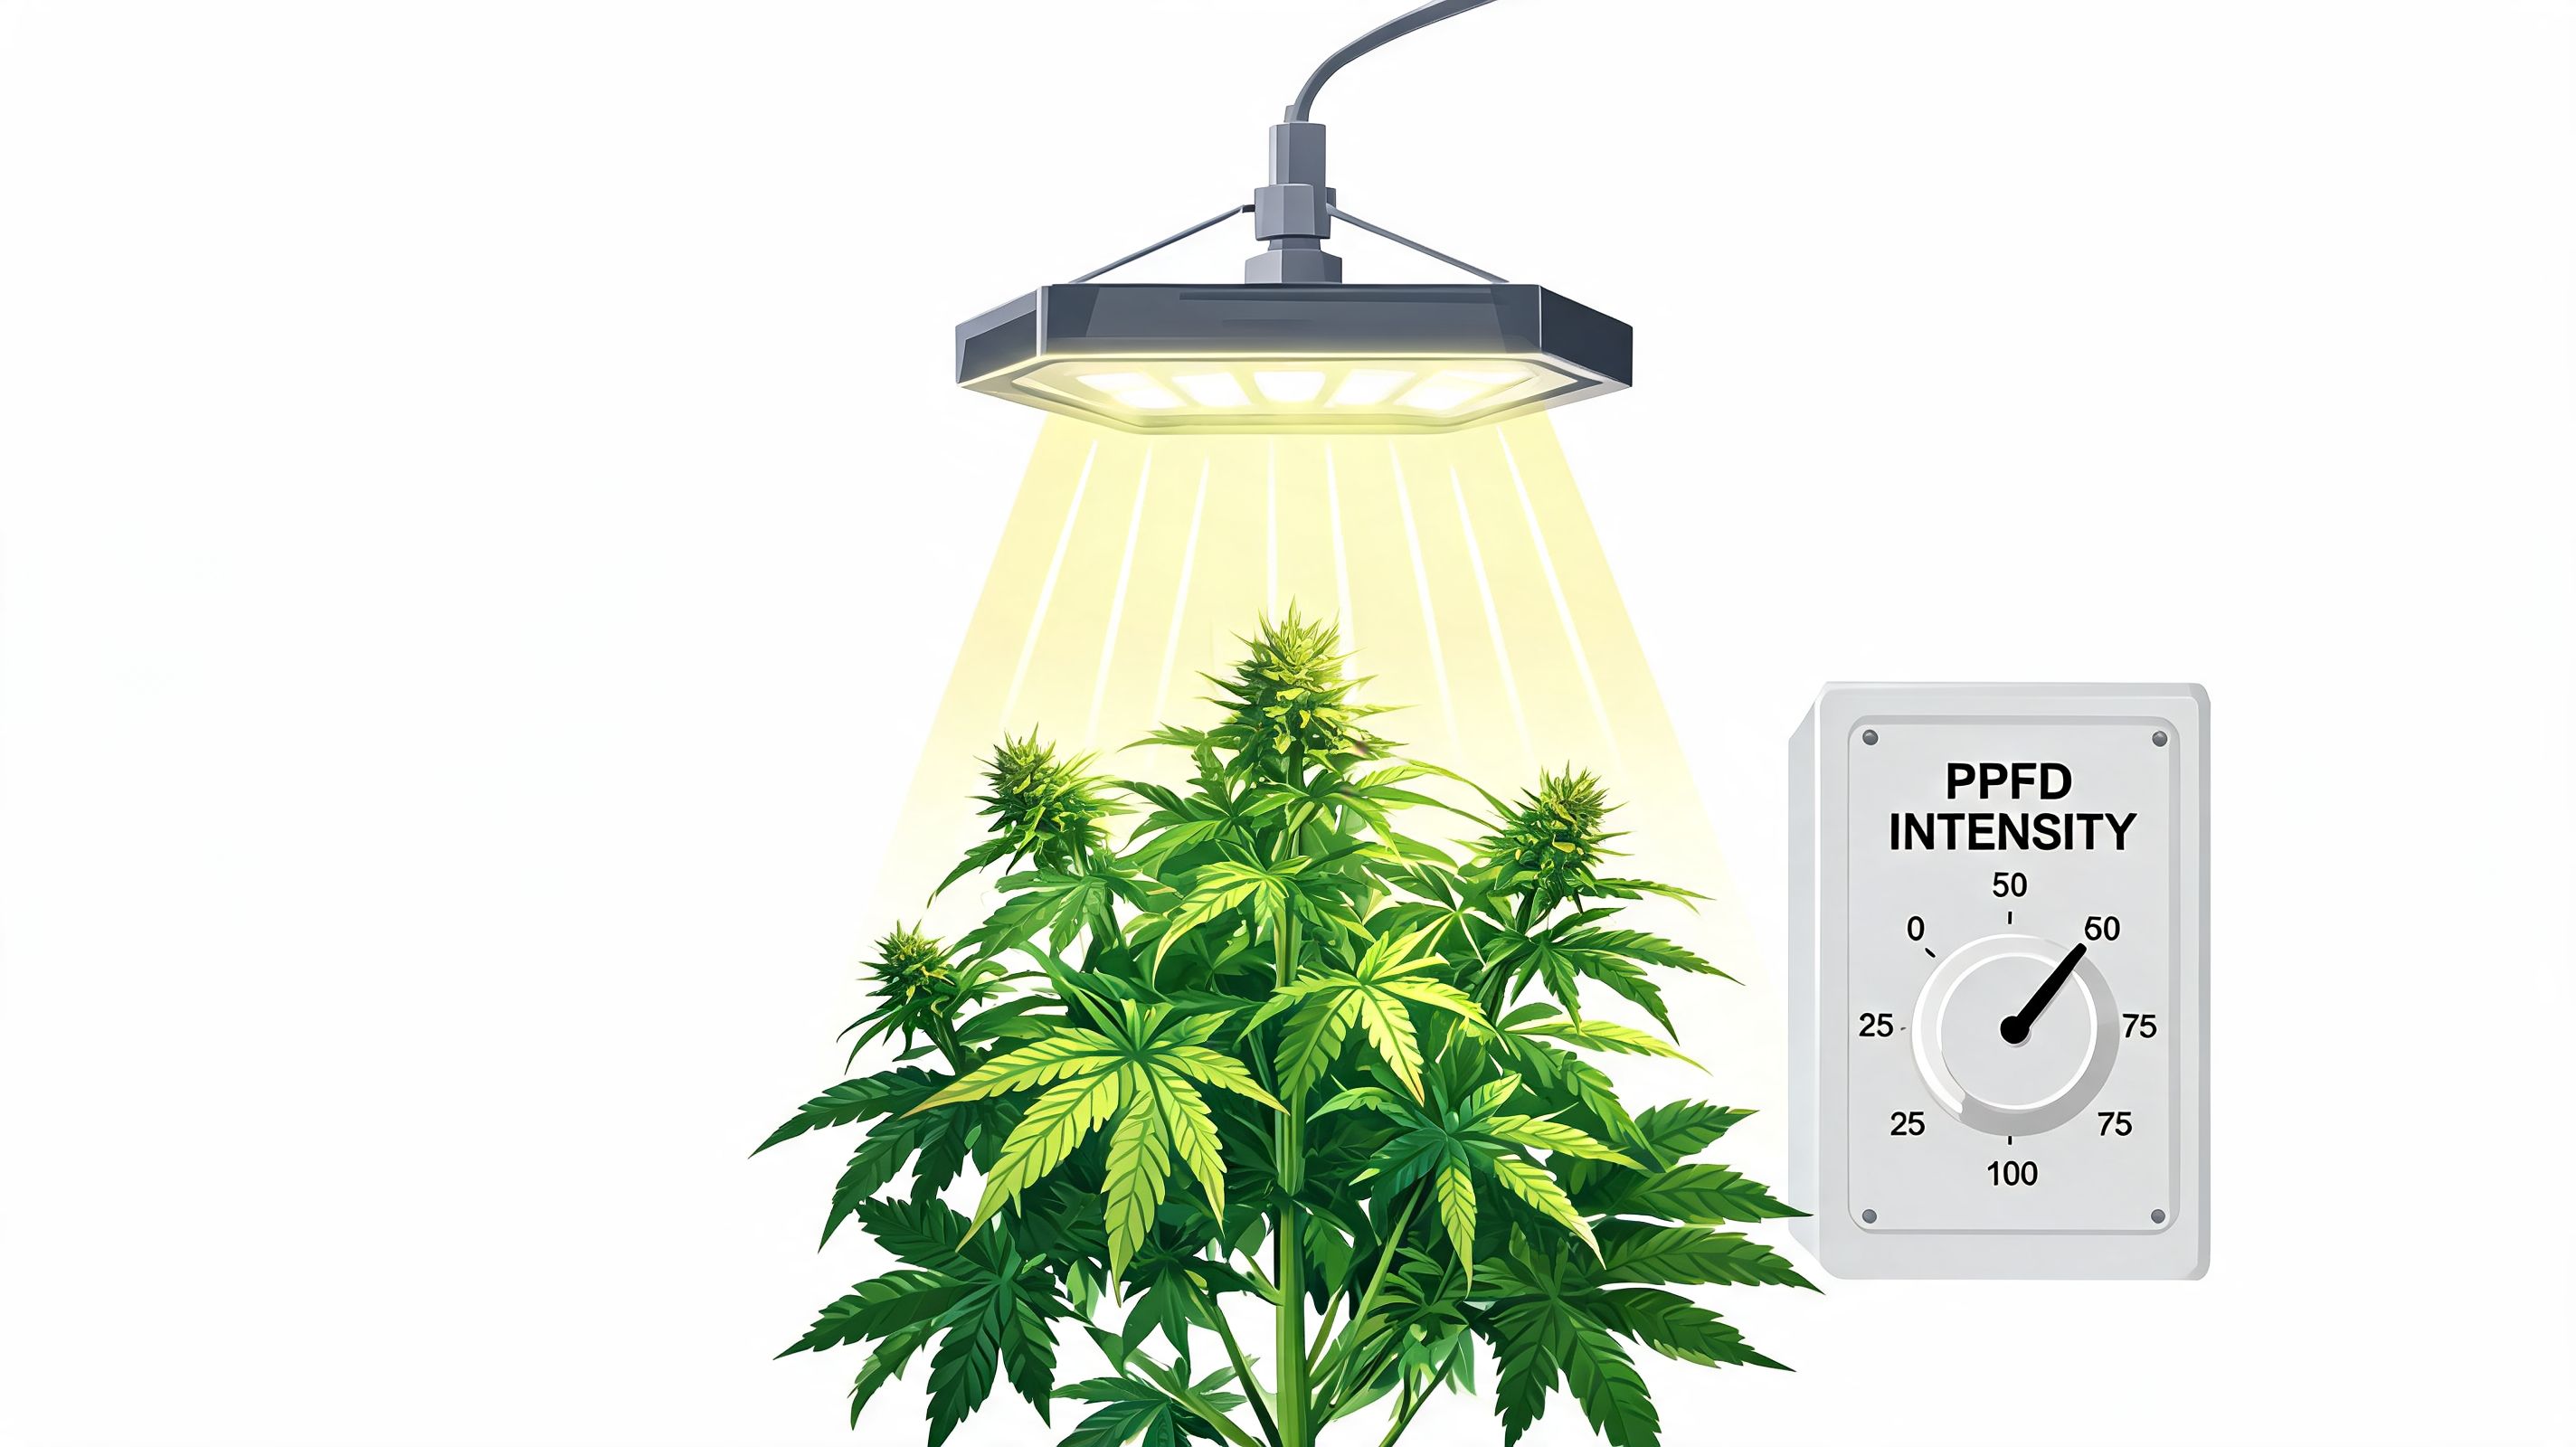
Seedlings need restraint
The fastest way to annoy an autoflower seedling is to blast it with mature plant intensity. Early on, the plant is building roots and trying to establish itself. It doesn’t need punishment.
Keep seedlings in that 200 to 300 µmol/m²/s range. If your fixture has a dimmer, use it. If it doesn’t, raise the light and resist the urge to “give them more because more is better.”
Watch for these signals:
- Stretching upward hard: Light is probably too weak or too far away.
- Leaf edges lifting or paling early: Light may be too intense.
- Short, steady, compact growth: You’re in a good spot.
Veg is about structure
The vegetative phase is where the plant builds its frame. For autos, this period is short, so the target is not just fast growth. It’s efficient growth with no stall.
Move into 300 to 500 µmol/m²/s as the plant starts growing faster and adding leaf mass. Many hobby growers see the payoff from a dimmable LED at this point. You can raise intensity without shocking the canopy.
A few practical habits help here:
- Adjust weekly: Autos stretch quickly. The right light height this week may be wrong next week.
- Check the whole canopy: The top may look fine while side branches sit in weak light.
- Use a simple meter or app as a guide: It won’t be lab grade, but it beats guessing.
Flower wants power, not abuse
By flowering, your autoflower can use much more light, and consequently, density and finish really improve when intensity is in range. The practical target under the 18/6 framework is 500 to 800 µmol/m²/s.
This doesn’t mean cram the fixture as close as possible. It means build up to a stronger canopy level while keeping leaves healthy and upright.
A good flowering canopy looks comfortable under strong light. It doesn’t look like it’s bracing for impact.
If tops bleach, taco, or feel dry and brittle, back off. On autos, a few rough days in flower can affect the finish more than people expect.
How to adjust without overthinking it
A lot of growers get stuck because PPFD sounds technical. In practice, you only need a repeatable routine.
- Set your light conservatively after transplant or emergence.
- Use the dimmer first, then hanging height second, if your fixture allows it.
- Read the plant every day for posture and color.
- Increase intensity in small moves, not giant jumps.
That’s the difference between dialing in and just fiddling with equipment.
How to Set Up Your Lighting System
A solid autoflowering light schedule is mostly about consistency. Plants can work with a lot of different setups. What they don’t handle well is random timing, sloppy intensity changes, and rooms that swing from comfortable to harsh every day.
The gear list doesn’t need to be fancy. You need a reliable light, a timer you trust, a way to estimate canopy intensity, and enough ventilation to keep the room from turning into an oven. If you’re building or upgrading your room, this practical guide to lighting for growing cannabis indoors covers the hardware side well.
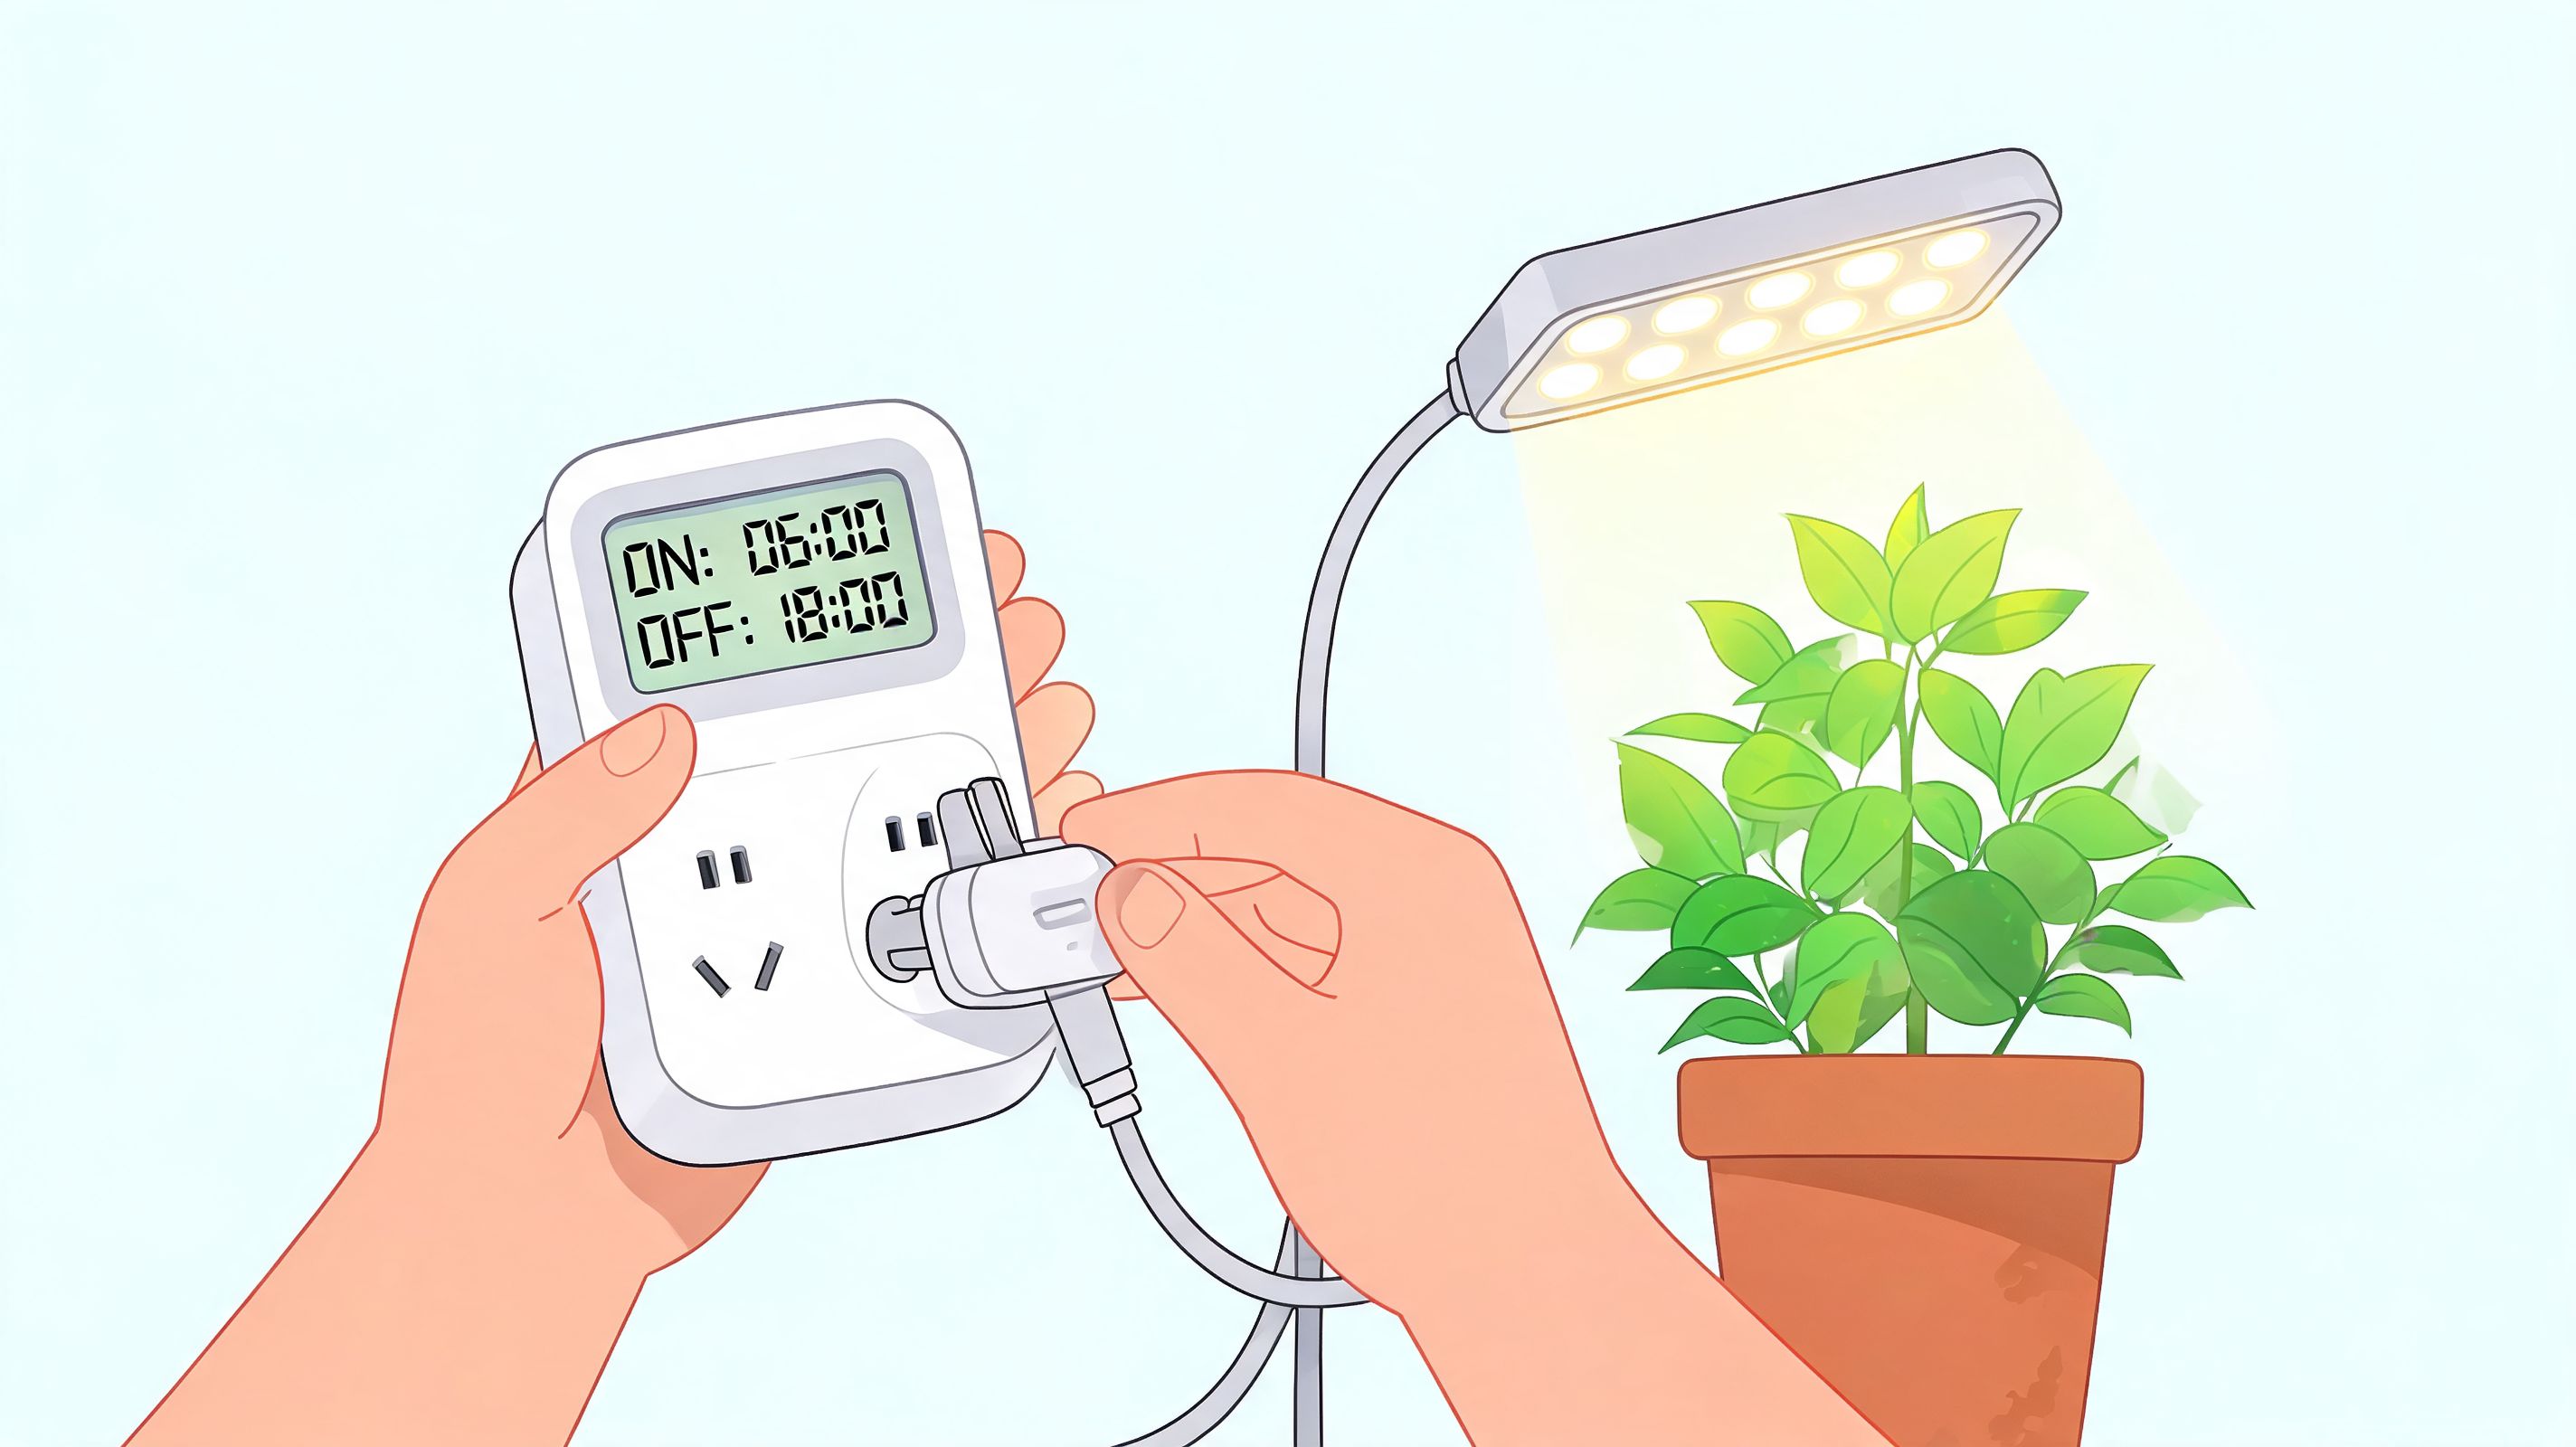
Start with the timer, not the light
A lot of beginners spend hours comparing diode brands and forget the cheap little box that keeps the whole grow on schedule. Your timer is the boss.
If you run 18/6, keep it exact. Same on time, same off time, every day. Digital timers are usually easier for fine control, but even a simple mechanical timer is better than trying to remember it yourself.
Use this checklist before the first full day:
- Confirm the current time: Sounds obvious, but plenty of growers skip it.
- Set one schedule and leave it alone: Frequent changes create confusion in the room and in your routine.
- Test the timer once before plants depend on it: Watch one full on and off cycle.
Match intensity to stage and fixture
One useful benchmark from grow guidance is that an optimized LED setup under 18/6 can reach 1.5 to 2 g/watt, with practical intensity steps of 100 to 200 µmol/m²/s for seedlings, 400 to 550 µmol/m²/s in veg, and 900 to 1000 µmol/m²/s in flower, according to this cultivation breakdown on autoflower LED setup and dark period effects. The same source also notes that skipping the dark period can reduce terpene profiles by 20 to 30% due to unmetabolized sugars.
That’s a useful reminder that setup is not just about getting the plant bigger. It’s about getting it to finish well.
A practical way to apply that:
- For seedlings: Keep the fixture gentle and don’t chase speed.
- In veg: Increase light once the plant is actively expanding and looks settled.
- In flower: Push intensity only if your environment can support it without heat stress.
Measure well enough, not perfectly
You don’t need a lab grade PAR meter to make better decisions than the average hobby grower. A phone app can give you a rough read. Manufacturer hanging charts can give you a starting point. Plant response fills in the rest.
What matters is that you stop guessing blindly.
Look for these patterns:
| Plant response | Likely issue | Usual fix |
|---|---|---|
| Tall, stretchy growth | Light too weak | Lower fixture or raise output |
| Top leaves paling | Light too intense | Raise fixture or dim down |
| Uneven canopy development | Poor spread | Reposition light or rotate plants |
If your meter says one thing and your plant says another, believe the plant first.
A quick visual walkthrough can help if you’re setting up your room for the first time:
Control heat like it’s part of the light system
Growers often treat lighting and climate as separate topics. They aren’t. Your lamp changes the room, and the room changes how useful that lamp is.
A few habits make life easier:
- Run dark hours during the hottest part of the day if your room tends to overheat.
- Keep air moving across the canopy so leaves can handle stronger light without baking.
- Check the driver and tent ceiling area because heat often builds there before the canopy tells you.
If the room gets too hot, backing off the schedule is sometimes smarter than buying your way out of the problem. A clean 18/6 with stable conditions beats a sloppy 24/0 every day.
Outdoor Growing and Natural Light Strategy
Outdoors, your autoflowering light schedule becomes less about a timer and more about timing the season well. The plant will still flower by age, but your results depend on how much strong, direct sunlight you can give it during that short life.

Pick the brightest part of your season
With outdoor autos, the smartest move is usually to plant so the plant’s main growth phase lands in the longest, brightest stretch of local weather. You’re trying to stack the deck with naturally strong days instead of asking a small plant to survive gloomy weeks.
That means looking at your yard, balcony, or greenhouse realistically. “Gets some sun” is not enough. A plant tucked near a fence, under a tree edge, or beside a wall that blocks part of the afternoon sun will perform like it’s under a weak indoor fixture.
Full sun means more than a sunny morning
A lot of outdoor growers overrate their spot. It looks bright while they drink coffee outside, but by early afternoon the building next door steals half the day.
Use a simple check:
- Morning: Does the plant get direct sun or just ambient brightness?
- Midday: Is the spot still getting strong top-down light?
- Late afternoon: Does it keep receiving direct sun when the sun shifts?
If the answer breaks down in the middle of the day, move the container if you can. Outdoor autoflowers reward mobility.
Work with the weather, don’t argue with it
Outdoor growing is all compromise. You save on equipment and power, but you lose control. So the game becomes protecting the plant from bad extremes while maximizing the good hours.
A few practical moves help:
- Use containers if possible: You can shift plants during heat spikes or changing shade lines.
- Give airflow priority: A cramped corner with stale air will hold moisture and stress the plant.
- Use light supplemental support only if you have a reason: Most home growers are better off improving placement than trying to jury rig extra outdoor lighting.
Outdoors, your best “light upgrade” is usually a better location, not more gear.
If a heatwave hits, the issue usually isn’t the sun itself. It’s the combination of intense sun, hot containers, and dry wind. Protect the root zone, keep irrigation steady, and avoid making big changes just because one ugly afternoon scared you.
Answering Your Top Autoflower Lighting Questions
Can you switch light schedules mid-grow?
Yes, but don’t make it a habit. Autoflowers are flexible enough that moving from one schedule to another usually won’t ruin the run. The safer reason to switch is correcting a problem, like too much heat or clear signs of light stress.
A common example is starting more aggressively, then backing down once the room proves it can’t stay comfortable. That’s a smart adjustment. Bouncing back and forth every few days is not.
Is 12/12 a good autoflowering light schedule?
No, not if your goal is getting the most from an autoflower. Autos will still flower under 12/12 because they don’t depend on that trigger, but you’re giving up a lot of available daily light.
The only time it really makes sense is when an autoflower shares space with flowering photoperiod plants and you’re accepting the trade-off.
Do all autoflower cultivars want the same amount of light?
No. Some cultivars handle stronger light and a more aggressive schedule without complaint. Others are touchier and look better with a more moderate approach.
That’s why growers who keep notes improve faster than growers who chase forum opinions. If one cultivar stays compact, healthy, and hungry under a longer day, great. If another starts showing stress fast, back off and let that plant tell you the limit.
Should beginners use 20/4 to get better yields?
Usually not at first. A beginner gets more value from consistency than from squeezing for extra output. If your timer, airflow, hanging height, and watering routine are still getting sorted out, 18/6 gives you more room for error.
Once you’ve had a clean run, then test 20/4 with one cultivar and compare notes.
Is 24/0 ever worth it?
Sometimes, in a cold room. If your light is also helping keep the environment warm, 24/0 can solve a real problem. In a normal tent or warm room, it often creates more stress and expense than benefit.
That’s the difference between using a schedule for a reason and using it because someone online said more light is always better.
What’s the simplest way to choose a cultivar for your setup?
Match the cultivar to the room you have, not the fantasy setup in your head. If your tent runs warm, don’t start with the most demanding option and force the environment. If your ceiling height is limited, pick cultivars that stay manageable.
Using a comparison tool makes this easier because you can sort for the traits that matter in a home grow, like overall size, speed, and whether a cultivar tends to be beginner-friendly.
What’s the one lighting mistake that causes the most trouble?
Trying to fix every problem by adding more light. Stretching, weak growth, poor flower development, and ugly leaves are not always caused by too few photons. Sometimes the issue is heat, bad spacing, a poor watering routine, or weak airflow.
More intensity on top of an unstable room just makes the plant complain louder.
If you want to make the autoflowering light schedule part easier from day one, start with dependable genetics and a cultivar that fits your actual setup. Botanist Seeds makes that process simpler with a clean comparison tool, beginner-friendly options, and a catalog built for growers who want solid results without wasting a cycle on bad guesses.












