





Spider Mite on Cannabis Plants: A Complete Fix-It Guide

You flip a fan leaf and see a tiny pale speck. Then another. Then those faint pinprick marks start showing up across a leaf that looked perfect a few days ago. That’s usually the moment your stomach drops, because every home grower knows this can go sideways fast.
A spider mite on cannabis plants is one of those problems that punishes hesitation. It’s not just about leaf damage, either. If the infestation gets ahead of you, it can wreck the smell, the flavor, and the clean satisfaction of trimming down buds you’re proud to keep. Good flower should smell like the cultivar you grew, not like stress, residue, or a last-minute rescue attempt.
The upside is that spider mites are beatable. You just need to respond in the right order. First, confirm what you’re looking at. Then contain it. Then pick a treatment strategy that fits your stage of growth and protects the quality of the final harvest.
That White Speck Was Not Dust Spider Mite Warning Signs
The first sign usually doesn’t look dramatic. A few white-yellowish stipples show up near the veins, and it’s easy to brush them off as splash marks, light stress, or the kind of random leaf weirdness every plant throws now and then.
That’s why spider mites get away with so much. They start small, stay out of sight on the undersides of leaves, and build pressure before most growers realize what they’re dealing with.
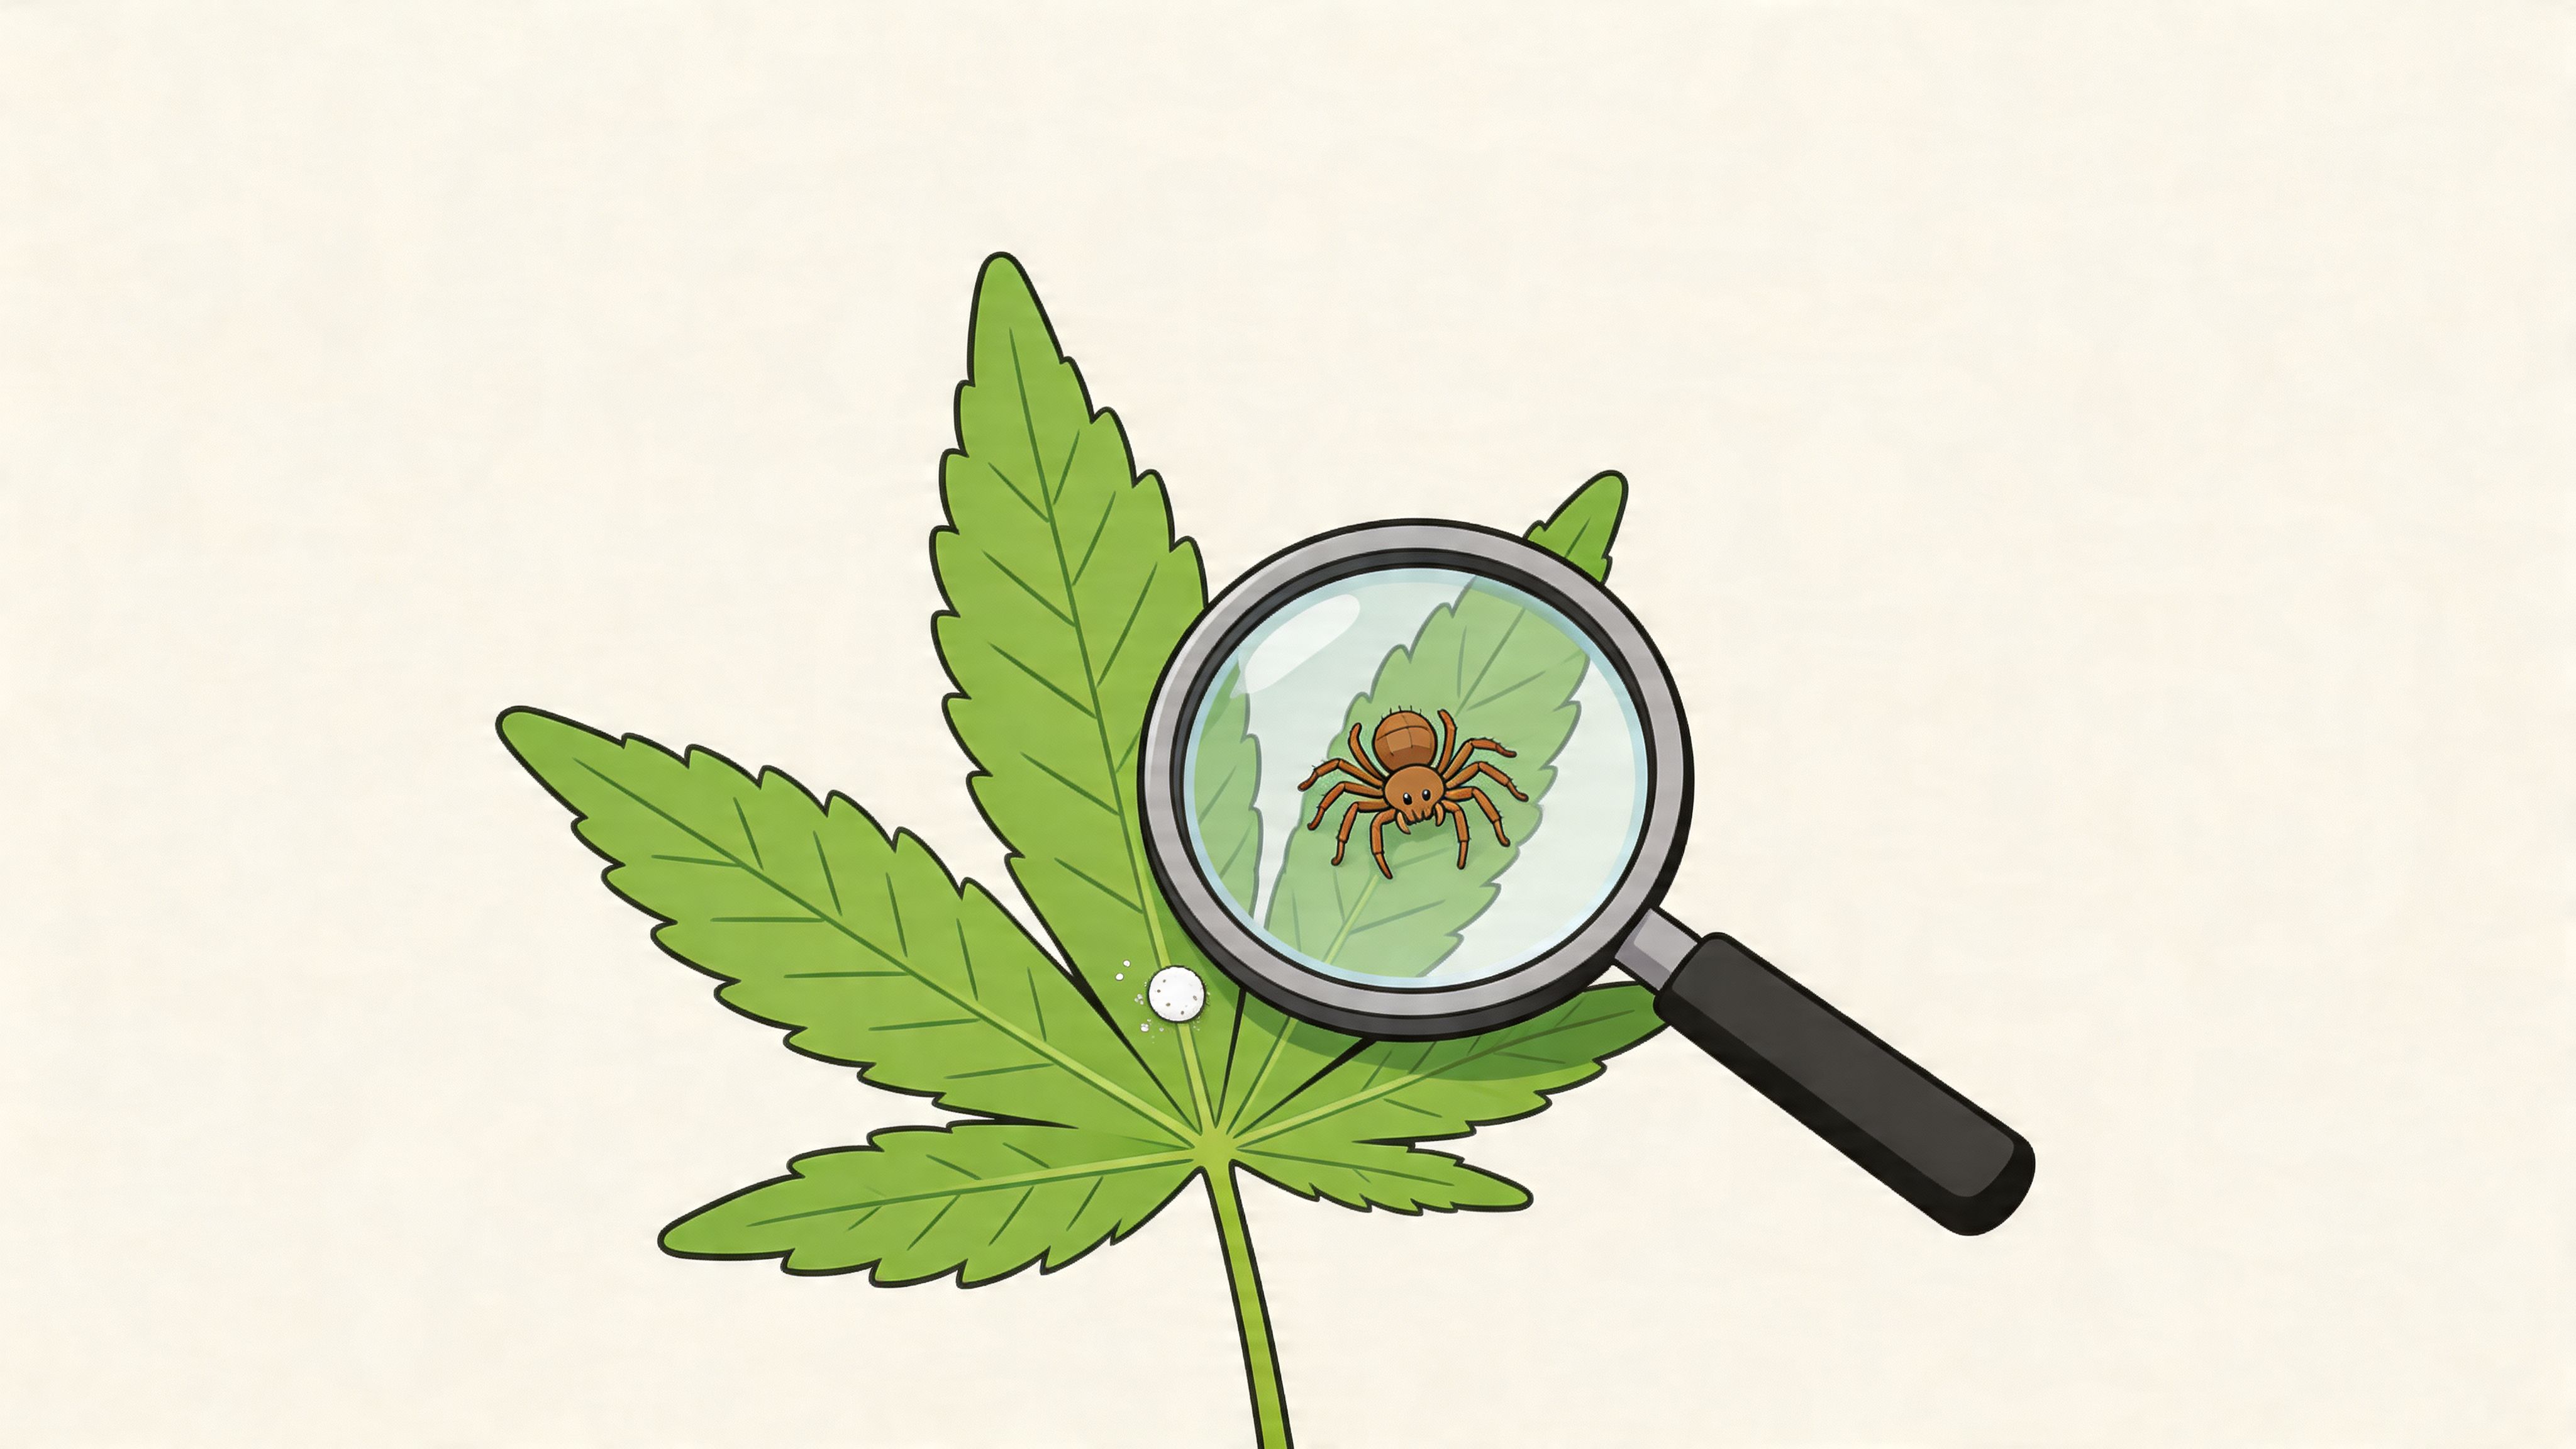
What they look like in real life
On cannabis, the classic early symptom is stippling, tiny pale dots where mites have pierced leaf tissue and fed on sap. As feeding continues, leaves lose color, look tired, and can start yellowing in patches. If you’ve ever chased mystery discoloration before, it’s worth comparing pest symptoms against other causes of yellow leaves on cannabis plants, because mites and nutrient issues can look similar at first glance.
Spider mites also leave clues that deficiencies don’t:
- Underside activity: Check the bottom of fan leaves first, especially lower and inner canopy leaves.
- Fine webbing: Early webbing can look like a stray fiber until light catches it.
- Moving dots: With magnification, mites look like tiny crawling specks, often clustered near veins.
- Dirty-looking patches: Eggs, cast skins, and mite debris collect where colonies settle in.
A cheap loupe or handheld microscope makes this much easier. If you inspect without magnification, you’ll often spot the damage before you spot the pest.
A single female red spider mite can lay between 3 and 5 eggs per day, and the life cycle from egg to reproductive adult can take just 7 to 9 days in warm, dry conditions, which lets populations double or triple weekly if unchecked, with severe infestations capable of causing 100% crop loss according to this cannabis spider mite reference.
The signs that mean it’s already moving
The shift from “annoying” to “serious” happens quickly. Once you see webbing between leaf stems or around developing flower sites, you’re no longer dealing with a few hitchhikers. You’ve got an active colony.
Look for these patterns:
- Top leaves look dull: Not dead, just flat and drained.
- Lower leaves show heavier stippling: Mites often get established there first.
- Webbing shows up after lights-on inspection: Side lighting reveals it best.
- Plants lose vigor: They stop looking happy even when watering and feeding are on point.
Why this matters for harvest quality
Mites don’t just weaken plants. They turn your grow into cleanup mode. The more they feed, the more the plant shifts from building a fragrant, resin-rich finish to surviving stress. By the time buds are webbed, quality is already taking a hit.
Practical rule: If you can see webbing without trying, treat it like an emergency, not a minor pest issue.
Your First Response Wiping Out the First Wave
You walk in, spot fresh webbing, and now every minute counts. The goal in the first round is simple: stop mites from spreading, knock their numbers down hard, and avoid doing anything that makes the final flower harsher, dirtier, or harder to enjoy.
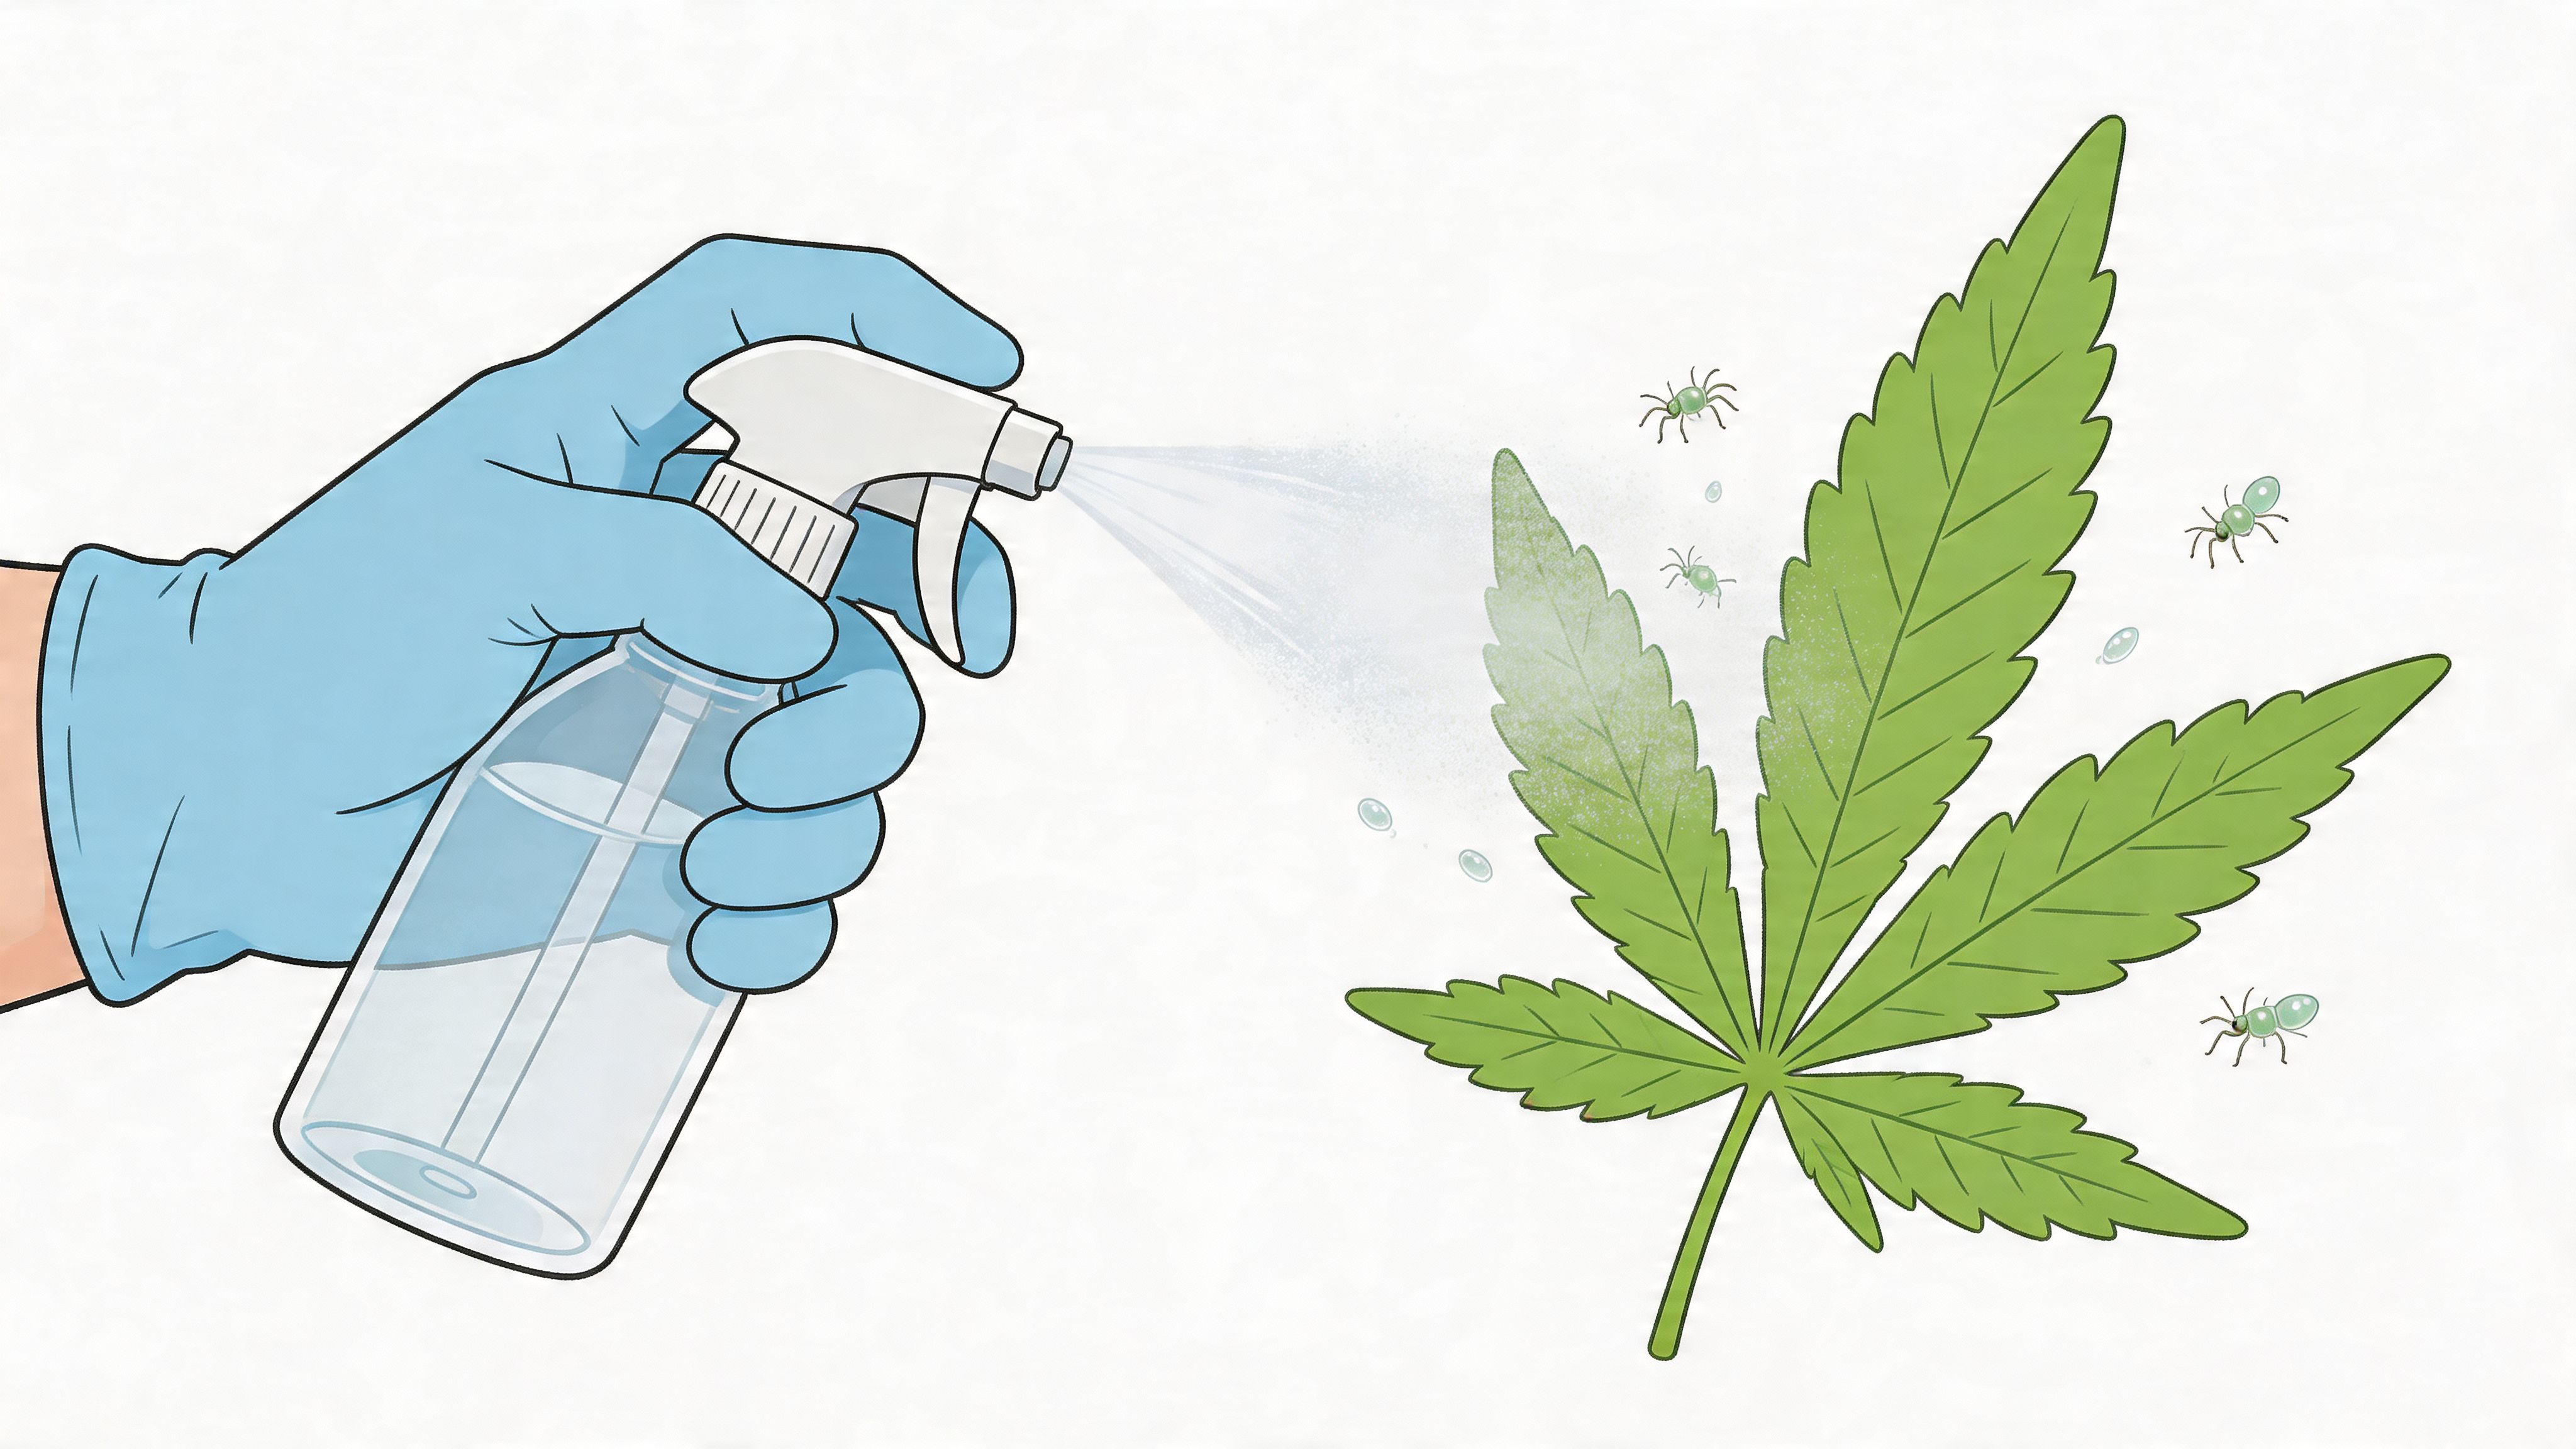
A sloppy panic response usually causes two problems. It spreads mites across the room, and it pushes growers into spraying things they later wish they had kept off their buds. If you care about aroma and flavor, your first move should be controlled cleanup, not random spraying.
Triage moves that help immediately
Start by slowing the situation down.
- Shut off oscillating fans: Air movement helps mites travel and makes cleanup harder.
- Create isolation fast: Move the suspect plant if possible. If not, give it space and treat that area like quarantine.
- Remove the worst material first: Clip heavily webbed leaves and badly damaged growth straight into a sealed bag.
- Sanitize as you go: Clean scissors, gloves, stakes, and nearby surfaces with 70% alcohol before touching healthy plants.
- Handle healthy plants first: Leave the suspect plant for last so you are not carrying mites back across the canopy.
This first pass is about pressure reduction. Every leaf you remove and every mite you wash off makes the next treatment more likely to work.
How to wash leaves without beating up the plant
A plain water wash is one of the safest opening moves, especially if you are trying to protect flower quality. It will not solve the whole problem on its own, but it can remove a surprising amount of live activity if you do it carefully.
Use a pump sprayer or a gentle mister with tepid water. Spray from below so you reach the leaf undersides, then work into stems and branch joints where mites tend to hide. Support larger leaves with your free hand so you do not snap petioles or crease tissue while spraying.
A good wash looks like this:
- Start underneath the leaf: That is where mites gather and feed.
- Spray upward, not just across the top: Top-down coverage misses the main target.
- Hit stems and crotches between branches: Disturbed mites often retreat there.
- Let runoff drain away cleanly: Do not leave dirty standing water in trays or on the floor.
Use enough water to rinse the plant, not enough to batter it. Especially in flower, the trade-off matters. Stronger blasting can remove more mites, but it can also bruise tissue and leave buds wetter than you want.
What to cut and what to keep
Do not strip the plant bare unless it is already a lost cause. A plant still needs healthy leaf area to recover, finish strong, and build decent flavor.
Cut leaves or small shoots that are clearly serving as mite shelters:
- Heavily webbed
- Badly stippled across most of the surface
- Necrotic or collapsing
- Touching nearby plants and giving mites a bridge
Keep leaves with light damage if they still have structure and can be washed. On a salvageable plant, those leaves still help power the finish.
If buds are already wrapped in webbing, pause and evaluate the situation objectively. At that stage, the question is not only whether you can suppress the mites. It is whether the harvest is still worth saving from a quality and cleanliness standpoint.
A quick visual walkthrough helps if you want to see common field cleanup habits before choosing your longer-term approach:
What not to do in the panic phase
The biggest mistakes happen after the first sighting.
- Do not soak late flowers in oily sprays: Residue can stay with the crop and flatten aroma.
- Do not leave infested trimmings in the room: Bag them and get them out.
- Do not trust a single cleanup pass: Eggs can survive the first round and hatch later.
- Do not assume unaffected plants are clean: Inspect the whole room, especially leaf undersides near the original hotspot.
Clean triage buys you options. It gives predators, contact treatments, and follow-up scouting a real chance to work, while keeping your harvest closer to something you will want to smoke.
Choosing Your Battle Safe Ways to Fight Spider Mites
Once the first wave is knocked back, you’ve got two practical paths for a spider mite on cannabis plants. You can bring in predators, or you can lean on safe contact products and careful application. Both can work. The right choice depends on plant stage, infestation pressure, and how much you care about keeping the final flower as clean and expressive as possible.
For most home growers, the main decision isn’t “what kills mites fastest.” It’s “what solves this without making the harvest worse.”
Biological control works best when quality matters
Predatory mites are the cleanest answer when you want strong control without coating your plants in anything that lingers. They’re not magic, but they are how serious growers handle infestations when flowers matter.
The two names worth knowing are Phytoseiulus persimilis and Neoseiulus californicus.
- Phytoseiulus persimilis: Best when you already have active spider mites and want an aggressive specialist.
- Neoseiulus californicus: Better tolerance for low humidity and high temperatures, which makes it useful in drier rooms and as a preventative presence.
In greenhouse cannabis trials, biological control with beneficials such as Neoseiulus californicus achieved more than 97% reduction in spider mite populations within 9 weeks. Untreated plants averaged more than 75 mites per plant, while treated plants declined to near zero, according to this greenhouse predator trial summary.
That’s the kind of result that gets attention for one simple reason. Predators don’t just knock the population down. They keep working after release if the environment supports them.
What using predators is actually like
This isn’t a “dump and forget” move. Good predator use still requires timing and discipline.
A practical home-grow approach usually looks like this:
- Release after washdown and pruning: Predators perform better when they aren’t dropped into a jungle of webbing.
- Target lower and inner canopy first: That’s where mites often gain their footing.
- Avoid recent harsh sprays: Residue can wipe out the helpers you just paid for.
- Give them a stable environment: Big swings in dryness and heat can reduce establishment.
The trade-off is patience. Predators need time to hunt, reproduce, and spread through the canopy. If you’re the kind of grower who wants visible results overnight, sprays feel more satisfying. But if you care about preserving aroma and flavor, predators are usually the better long game.
Field note: Predators are strongest when you release them early enough that they can establish before flower sites are packed and hard to inspect.
Safe sprays have a place, but timing is everything
Sprays can absolutely help, especially in veg and early flower. They’re useful for reducing pressure while you decide whether to add biological control or continue with a manual management routine.
The issue isn’t whether sprays can contact mites. The issue is what they leave behind, how thoroughly they hit the underside of leaves, and whether they make the final product less enjoyable.
The safer mindset is simple:
- Use insecticidal soaps and carefully chosen horticultural products as tools, not habits.
- Apply with discipline, mainly when plant structure still allows good coverage.
- Back off as flowers stack and your priorities shift from eradication to harvest quality.
What often goes wrong is the grower sprays too late, too often, or too heavily. Buds hold smell. They also hold mistakes.
Why oily solutions make home growers nervous
Anything oily deserves extra caution, especially once flowering gets serious. Even if a product is marketed as natural, natural doesn’t mean neutral for the final smoke or vapor experience.
Oil-based treatments can leave a coating, and that coating can interfere with the clean aromatic profile you spent months building. For a home grower chasing loud terps and a smooth finish, that’s a bad trade.
If you use a spray route, keep these habits tight:
- Spray in low light conditions: Wet leaves under strong light can stress the plant.
- Hit undersides, not just tops: Spider mites don’t hang out where it’s convenient.
- Avoid late flower applications on buds: If it lands on the part you plan to keep, think twice.
- Rotate methods: Repeating one tactic over and over can leave you stuck when results stall.
Spider Mite Treatment Comparison
| Method | Best For | Pros | Cons |
|---|---|---|---|
| Predatory mites such as P. persimilis | Active infestations where flower quality matters | Clean approach, strong long-term suppression, no residue concern on buds when used properly | Slower than contact knockdown, sensitive to prior spray residue |
| Predatory mites such as N. californicus | Prevention and drier, warmer rooms | Handles harsher room conditions better, useful for ongoing suppression | May feel less dramatic in the first few days |
| Insecticidal soap | Veg and early flower with light to moderate pressure | Simple, direct contact tool, useful after manual cleanup | Coverage must be thorough, repeat work is common |
| Horticultural oil | Early-stage intervention before heavy flowering | Can reduce visible populations fast when applied correctly | Poor fit for preserving final aroma and flavor if used too late |
| Manual wash plus pruning | Immediate triage in any stage | Fast, cheap, lowers population before other methods | Labor-heavy, rarely enough on its own |
My practical decision tree
If the plant is in veg, you’ve got room to be assertive. Manual cleanup plus a safe contact approach can work well, especially if you’re willing to repeat inspections and keep the room clean.
If the plant is in early flower, use a lighter touch. Reduce numbers physically, then choose a path that won’t leave your buds wearing the memory of every treatment.
If the plant is in mid to late flower, this usually becomes a quality-first decision. Heavy sprays often create a new problem while solving the old one. Here, predatory mites and careful removal make the most sense.
What tends to work and what usually disappoints
The methods that work share one trait. They respect the biology of the pest and the stage of the plant.
What usually works:
- Early scouting
- Fast containment
- Predators released into a cleaned-up canopy
- Sprays used before flowers get dense
- Consistent follow-up
What usually disappoints:
- One-and-done spraying
- Late oil applications
- Ignoring leaf undersides
- Treating the sick plant but not the room
- Restarting fans too soon and spreading the problem
The best home-grow choice is often the one that feels a little less dramatic in the moment but gives you cleaner jars later.
Keeping Them Gone How to Prevent Spider Mites for Good
Getting rid of mites once is good. Setting up a room where they struggle to get started is better. Prevention always feels less exciting than treatment, but it saves more harvests and causes way less stress.
Spider mites like a certain kind of room. If the space is warm, dry, dusty, crowded, and a little sloppy, they settle in fast. If the room is clean, checked often, and kept reasonably stable, they have a much harder time building momentum.
Build a room mites hate
You don’t need a lab. You need habits.
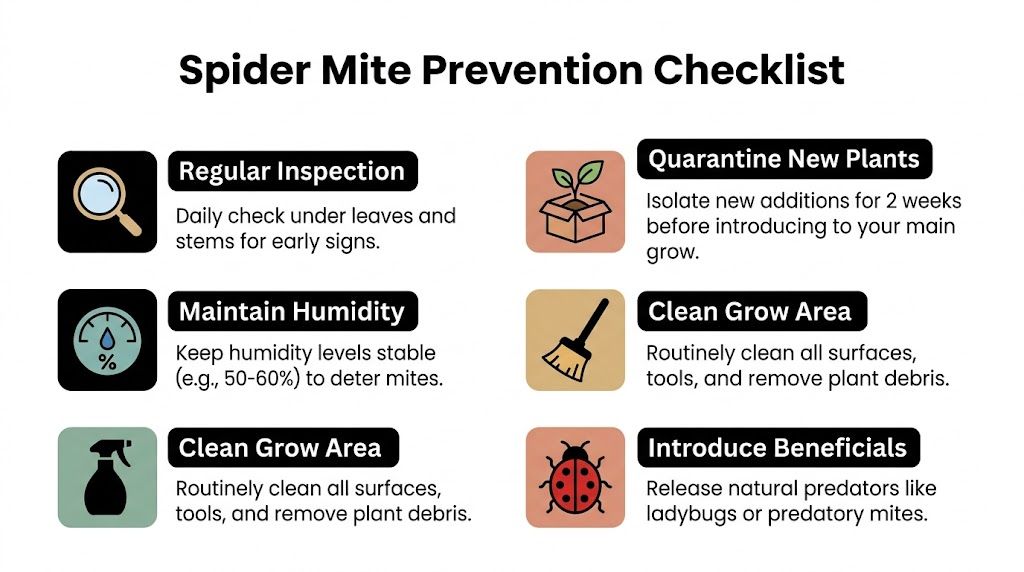
Three things matter most:
- Sanitation: Dead leaves, dirty trays, and sticky corners give pests places to linger.
- Air movement: Good circulation helps keep leaves from becoming stagnant shelter.
- Humidity awareness: Mites love dry conditions, so if your tent keeps dipping too low, it’s worth learning how to raise humidity in a grow tent without making the room sloppy.
A clean room also helps you spot trouble sooner. That matters because prevention is mostly about noticing the first weird leaf before it turns into webbing.
A weekly routine beats emergency mode
The growers who stay ahead of pests usually do boring things consistently. That’s the secret.
A simple weekly routine works well:
- Scout one day every week: Pick a day and stick to it. Check undersides of leaves, especially lower canopy leaves and any plant that looks slightly off.
- Wipe surfaces and tools: Don’t let yesterday’s mess become tomorrow’s infestation.
- Remove debris right away: Fallen leaves should not spend the weekend in the tent.
- Check plant spacing: Crowded canopies are harder to inspect and easier for mites to bridge across.
- Inspect incoming clones or houseplants: New arrivals are one of the easiest ways to bring problems inside.
Healthy prevention is mostly rhythm. The room stays clean, the plants get checked, and pests lose the chance to build quietly.
Keep your environment from helping the pest
Mites thrive when the plant is already under pressure. A stressed plant is easier to exploit, and a neglected room is easier to spread through.
Watch for these self-inflicted problems:
- Dry air for long stretches
- Hot zones near lights or wall corners
- Weak lower-canopy airflow
- Plants packed leaf-to-leaf
- Reusing dirty gear without cleaning
If you want one prevention mindset that pays off every cycle, it’s this: treat your grow space like a closed system. Anything that comes in can bring pests. Anything left dirty can shelter pests. Anything ignored can become a pest problem later.
Do Spider Mites Live in Soil?
A peer-reviewed field study found spider mites in soil at concentrations that were “mainly very low” and found no clear evidence of economic relevance from soil-colonizing spider mites, which undercuts the whole idea that soil acts like a meaningful reservoir for reinfestation on crops. The same work also found no useful hotspot relationship between soil and plant infestations, which you can read in the PLOS ONE study on spider mites in soil and plants.
Controlled lab work makes the point even sharper. Spider mite eggs placed directly onto moist peat-based potting mix had a 0% hatch rate, compared with more than 92% hatch on nearby bean leaf discs under the same conditions, as summarized in this review of spider mite eggs in soil. That's about as clear as it gets. Soil isn't where they complete development.
What growers are usually seeing instead
If something is active on the soil surface and the leaves look clean, you're probably not looking at spider mites at all. The same source on misidentification says symptom-free leaves plus “soil activity” usually points growers toward other pests instead.
Common suspects include:
- Fungus gnats: Annoying fliers with larvae in wet media. If that sounds more familiar, this guide on how to kill fungus gnats in soil is the better match.
- Springtails: Tiny jumpy scavengers that love moisture and organic matter.
- General soil microfauna: Not everything crawling in a pot is the villain.
If your leaves don't show feeding damage, don't force a spider mite diagnosis just because you saw movement in the top layer.
That diagnosis-first mindset saves products, saves time, and saves your root zone from being blasted with treatments it didn't need.
Make prevention part of cultivar planning
This gets overlooked. Different cultivars fill space differently. Some stay open and easy to inspect. Others stack tight, bush out hard, and create dense interiors that are tougher to scout.
If you’re running a small home setup, choose plants you can manage. A packed tent full of overgrown foliage gives spider mites too many hiding places. A cleaner structure makes inspections easier and treatment less painful if you ever need it.
When Mites Fight Back Troubleshooting Tough Cases
Sometimes you do the obvious things right and still keep spotting fresh stippling. That usually means one of two things. Either the mites were never fully removed from the room, or your treatment plan keeps knocking them back without breaking the cycle.
That’s when growers get tempted to go nuclear with stronger sprays. In late flower especially, that impulse causes a lot of regret.
Why infestations keep coming back
Persistent cases usually come from missed details, not bad luck.
Common reasons include:
- Eggs survived the first cleanup
- Leaf undersides never got full coverage
- Tools or trays carried mites back in
- The room stayed too dry and comfortable for them
- A previous spray disrupted your plan without finishing the job
There’s also the simple issue of hidden pockets. Spider mites don’t need the whole canopy. They need one ignored corner.

When the plant is in flower and options get narrow
Flower changes the whole conversation. In veg, a rough-looking treatment plan can still leave time for recovery. In flower, especially later on, every intervention touches final quality.
That’s why “just spray harder” is often the wrong answer. If buds are forming densely, residues and trapped contamination become part of the harvest problem, not just the pest problem.
A better troubleshooting move is usually to:
- Strip out the worst affected leaf material
- Keep scouting daily
- Use non-residue-focused control methods where possible
- Accept that one badly compromised plant may not be worth saving at any cost
That last part is hard, but it’s honest. Saving biomass isn’t the same as saving quality.
Is infested bud actually worth keeping
This is the question growers avoid. If a plant has had a serious spider mite issue, especially with visible webbing around flower sites, you need to think past “can I finish it” and ask “would I even want this in a jar.”
A 2023 public health advisory highlighted a real infestation at a commercial cannabis facility and noted that there are no approved lab tests to detect spider mite webs, frass, eggs, or remnants in final products. The same advisory context also notes that direct health effects from consuming contaminated material remain unstudied, while exposure to spider mites has been linked to increased risks of asthma and rhinitis, as covered in this public health discussion of spider mite contamination.
That should make any home grower pause.
Even if you set health concerns aside, heavily infested buds are a quality mess:
- Harsh burn
- Dirty taste
- Off smell
- Bug remnants in your finished flower
- Zero pride in the final product
If your room has also dealt with other pests, a broader cleanup plan matters too. Similar sanitation habits used against fungus gnats in soil often help tighten the whole grow environment and reduce repeat pest pressure.
If a bud looks compromised, smells wrong, or feels dirty because of webbing and debris, don’t force yourself to keep it just because you spent time on it.
Smarter troubleshooting beats harsher chemistry
The stubborn cases usually improve when growers simplify, not escalate. Clean harder. Scout closer. Rotate tactics. Stop doing things that hurt predators or coat flowers.
That’s not as dramatic as a mystery bottle with a bold label, but it’s usually the difference between preserving some quality and ruining it on the way out.
From Pest Panic to Harvest Pride
You open the tent for a routine check, catch a few white flecks on a fan leaf, and feel your stomach drop. I’ve seen that moment turn good growers into frantic ones. The growers who save the most quality do the opposite. They slow down, confirm what they’re seeing, and make decisions based on plant stage and harvest goals.
That last part matters more than people admit. A spider mite on cannabis plants is never just a bug problem. It threatens the part you care about at the end. Aroma, flavor, clean smoke, and the feeling that the jars on your shelf were worth the work.
A solid recovery plan protects those traits as much as possible. As noted earlier, early action and the right mix of cleanup, removal, and flower-safe controls can still save a meaningful part of the crop. Waiting usually costs more than cutting a few leaves, tossing a few damaged tops, or accepting a slightly smaller harvest to keep the rest clean.
That trade-off is the key lesson here.
Sometimes the win is a full turnaround. Sometimes the win is harvesting fewer buds that still smell like the cultivar should, instead of keeping every cola and ending up with flower that burns harsh, tastes dirty, or carries webbing and debris. Home growers do not need a perfect rescue story. They need an honest one.
Tough infestations happen to careful growers too. Intake plants slip through. Hot, dry rooms speed mite pressure. Busy weeks delay scouting. The fix is not panic or stronger chemistry by default. The fix is disciplined follow-through, clean technique, and the willingness to discard material that no longer meets your standard.
That is how pest panic turns into harvest pride.
If you’re planning your next run, Botanist Seeds makes it easy to compare feminized and autoflower cultivars for your setup, your space, and the kind of harvest you want to bring home. Use the comparison tool to find cultivars that fit your environment, keep your canopy manageable, and help you build a cleaner, more confident grow from day one.












