





Pruning Cannabis Plants: A Guide to Bigger Yields
You're probably staring at a plant that looked tidy a week ago and now feels like it's trying to outgrow the tent. Big fan leaves are stacking over each other, lower shoots are reaching for scraps of light, and you're wondering whether to leave it alone or grab the snips.
Pruning cannabis plants transitions from “extra grower stuff” to one of the most useful habits you can build. Done well, pruning helps you shape the canopy, clean up weak growth, and push the plant to spend its energy where it matters. Done badly, it slows growth and creates stress at the worst possible time.
The trick is not just knowing the techniques. It's knowing when to cut, how much to remove, and when to back off, especially if you're growing different cultivars or running autoflower seeds instead of photoperiods.
Why Pruning Boosts Your Harvest
A bushy plant looks healthy, but that doesn't always mean it's productive. A lot of that growth is just competition. Big leaves shade bud sites, lower branches stay weak, and the plant spreads its resources across too many places at once.
Pruning fixes that by simplifying the plant. You remove the parts that aren't going to do much, then let light and airflow reach the growth that has real potential. In indoor grows, pruning cannabis plants through techniques like topping and lollipopping can increase yields by 20 to 50 percent by improving light penetration and resource allocation, according to a seed bank’s pruning guide.
What pruning actually changes
Think of the plant like a small business with a bad budget. If it's funding every weak branch and shaded bud site, the top canopy gets less attention than it should. Pruning tightens that budget.
The main benefits are practical:
- Better light access: Lower and inner growth gets a chance to develop instead of staying airy and underlit.
- Cleaner airflow: A less crowded canopy dries faster after watering and breathes better under lights.
- Stronger focus: The plant puts more energy into the sites most likely to finish dense and worthwhile.
- Easier plant management: It's simpler to water, inspect, train, and support a plant that isn't packed with clutter.
Practical rule: If a branch will never reach useful light, it's usually a passenger, not a producer.
What pruning is not
Pruning is not random leaf stripping. It's not hacking half the plant apart because you saw a dramatic before-and-after photo online. Fan leaves still matter. Healthy growth still matters. The goal is to improve the plant's structure, not punish it.
A lot of new growers make the same mistake. They think more cuts automatically mean more bud. Usually the opposite happens. A plant under constant stress spends time recovering instead of growing.
Here's the mindset that works:
- Remove weak growth first
- Open the canopy second
- Shape the plant only as much as its growth stage allows
That's why timing matters as much as technique. A photoperiod plant in veg can recover from a decent pruning session. A plant already focused on flowering has far less room to bounce back.
Your Pruning Toolkit and Setup
You don't need a fancy kit. You need clean cuts and a clean process.
The two essentials are simple: sharp pruning shears and isopropyl alcohol. Fine-tip bonsai scissors are great for detail work around tight nodes, while spring-loaded pruning snips are easier when stems start getting thicker.
Keep the cuts clean
Dull blades crush tissue. Crushed tissue heals slower and gives problems a place to start. Sharp blades make quick, neat cuts that the plant can close up faster.
Before you touch the plant, wipe the blades down with alcohol. If you move from one plant to another, wipe them again. It's the same logic as using a clean knife in the kitchen. You're avoiding contamination, not being dramatic.
Clean blades are one of those boring habits that save grows.
A simple setup that works
Keep your pruning station basic:
- Sharp shears: Use something precise enough to cut close without tearing.
- Isopropyl alcohol: For sterilizing blades before each session.
- A catch tray or bag: Makes cleanup easy, especially in a tent.
- Good light: You want to see the base of branches and shaded interior growth clearly.
If you're reaching into a crowded plant with bad lighting and sticky blades, you're guessing. Guessing is how people remove the wrong branch.
Master the Main Pruning Methods
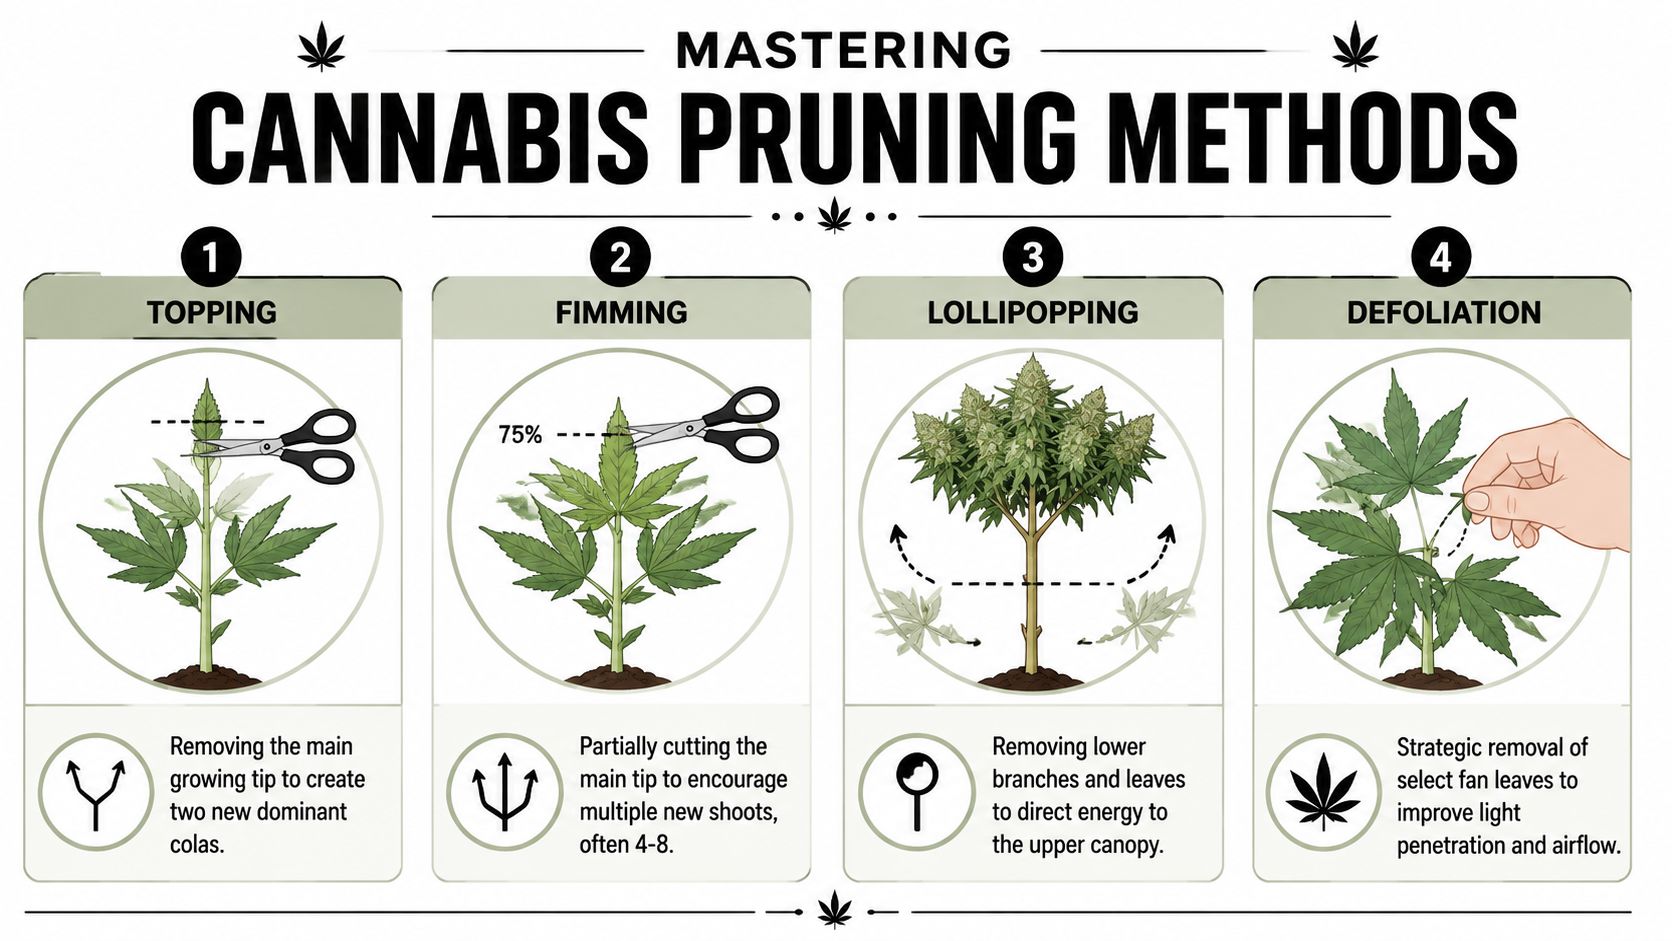
Each pruning method does a different job. Some change the plant's overall shape. Others clean up the junk underneath. If you use the right move at the right time, the plant responds well. If you stack everything at once, it can get messy fast.
Topping
Topping is the classic one. You remove the main growing tip so the plant stops pushing one dominant top and starts building a broader canopy.
The cut matters. When topping, make a precise horizontal cut above the 3rd or 4th node. Expert growers report this can yield 20 to 50 percent more colas and 15 to 30 percent higher overall bud mass in responsive cultivars, as noted by The Triminator's topping guidance.
What topping does well:
- Breaks apical dominance: The plant stops acting like a Christmas tree.
- Creates a flatter canopy: Better if you're trying to use your light evenly.
- Pairs well with net training: If you're building a screen setup, topping makes that easier. At this point, a SCROG setup starts making a lot more sense.
What doesn't work is topping a weak or immature plant. If the stem is still thin and the root zone hasn't really taken off, you're asking for a stall.
Fimming
Fimming is topping's messier cousin. Instead of removing the entire tip cleanly, you remove part of the new growth. When it works, the plant can throw out several new shoots instead of just two.
The appeal is obvious. More tops, bushier structure, more places for strong flowers to form. The downside is consistency. Topping is easier to repeat cleanly. Fimming can be excellent, but it's also easier to do badly.
Use fimming if:
- You want a wider, more branched plant
- The cultivar handles stress well
- You've already got a feel for reading fresh growth tips
Skip it if you're still learning hand control or growing something that doesn't recover quickly.
If you want predictable structure, topping usually wins. If you want experimentation and don't mind some variation, fimming can be fun.
Lollipopping
Lollipopping is all about the lower third of the plant. You remove weak lower branches and small interior growth that won't get enough light to produce quality flowers.
This is one of the most useful techniques for indoor growers because lower fluff is usually a waste of plant energy. It steals resources, complicates airflow, and turns trim day into a chore.
A good lollipopping session usually means:
- The bottom of the plant is noticeably cleaner
- The middle opens up for better airflow
- The top canopy becomes the clear priority
This works especially well before flowering on photoperiod cultivars. The plant goes into bloom with a cleaner structure and fewer dead-end sites.
Defoliation
Defoliation is the selective removal of fan leaves. Not all of them. Just the ones causing a real problem.
This technique gets abused all the time. Some growers strip plants so hard they leave them looking like they lost a fight. That's not strategy. That's stress.
Good defoliation means you remove leaves that:
- Block several promising bud sites
- Sit deep in crowded interior zones
- Restrict airflow through the center of the canopy
Bad defoliation means removing healthy leaves just because the plant looks “too leafy.” If a fan leaf is helping drive growth and not causing a problem, leave it alone.
Your Plant's Pruning Schedule by Growth Stage
The easiest way to stay out of trouble is to prune on a rough calendar. Not an obsessive day-by-day spreadsheet, just a simple timeline based on what the plant is doing right now.
Pruning should ideally happen during vegetative growth, and significant pruning should stop a few days before the flowering photoperiod shift, according to a seed bank’s pruning timing guidance. That one idea prevents a lot of avoidable mistakes.
Late seedling and early veg
At this stage, the plant is still building its engine. Roots are expanding, stems are strengthening, and the structure is just starting to show. You're not trying to sculpt much yet.
What to do:
- Observe structure: Look at node spacing, branch vigor, and how the cultivar wants to grow.
- Remove obvious problem leaves: Only if they're damaged or causing clutter.
- Consider topping or fimming later in this window: Only once the plant is established and growing with confidence.
If you want a clearer sense of what a healthy plant should look like here, this guide to the vegetative stage of weed gives a solid baseline.
Here's a visual walkthrough before going further:
Mid to late veg
This is the working window. The plant is strong enough to recover, and you still have time to shape the canopy before flower.
A typical rhythm looks like this:
| Growth moment | Best pruning focus | What to avoid |
|---|---|---|
| Mid veg | Topping, light cleanup, selective defoliation | Heavy stripping all at once |
| Late veg | Lollipopping, canopy shaping, removing weak inner growth | Major cuts on a thirsty or stressed plant |
This is when pruning cannabis plants pays off. You can see what will make the canopy and what won't.
Don't prune on autopilot. Prune what the plant shows you, not what a generic chart tells you.
The week before flower and early bloom
For photoperiod cultivars, the week before the flip is the last real chance for meaningful cleanup. If lower branches are clearly weak, remove them now. If the middle is packed, thin it now.
Once flowering starts, restraint matters more than ambition. In early bloom, keep it selective. A few large leaves blocking key sites is one thing. A full reset is another.
A simple stage-based approach works:
- Before the flip: Do your final structural cleanup
- Stretch phase: Only light, targeted leaf removal if needed
- Late flower: Hands off, except for dead or clearly damaged material
Late flower is not the time to chase a prettier plant. It's the time to let it finish.
Adjusting Your Pruning for Autoflower Cultivars
Autoflowers don't care about your schedule. They run on their own clock, which is exactly why people get into trouble with them.
A photoperiod plant gives you options. If you stress it a bit in veg, you can usually extend veg and let it recover. Autos don't offer that luxury. They keep moving. If you slow them down early, you often stay behind for the rest of the run.
Why less works better with autos
A lot of growers overplay the “same rules apply” idea. They don't.
Some guides note that Sativa-dominant plants tolerate more pruning, while Indica-dominant plants require more caution, with 1 to 2 light prunings being sufficient to avoid stunting growth, as discussed in Sunny Seeds' note on common fimming mistakes. That matters with autos because many stay compact and don't have much recovery time.
For most autoflower cultivars, the safer move is:
- Use very light defoliation
- Remove only leaves causing a clear blockage
- Avoid aggressive lollipopping
- Be cautious with topping and fimming
If you want to shape autos, low-stress training usually makes more sense than heavy cutting. Bending and spreading the canopy gives you structure without forcing the plant to recover from a major wound. If that's your route, this guide to low-stress training for autoflower is worth a read.
A simple rule for autos and photoperiods
Photoperiod cultivars reward planning. Autoflowers reward restraint.
That doesn't mean autos should never be touched. It means every cut needs a reason. If a leaf is blocking light to several strong sites, fine. If you're cutting because the plant looks crowded and you're bored, leave it alone.
With autos, every unnecessary cut costs time the plant can't get back.
Avoiding and Fixing Common Pruning Mistakes
Most pruning mistakes come from enthusiasm, not neglect. Growers see a dense plant, start snipping, and only realize they went too far when the plant stops pushing new growth.
The mistakes that show up the most
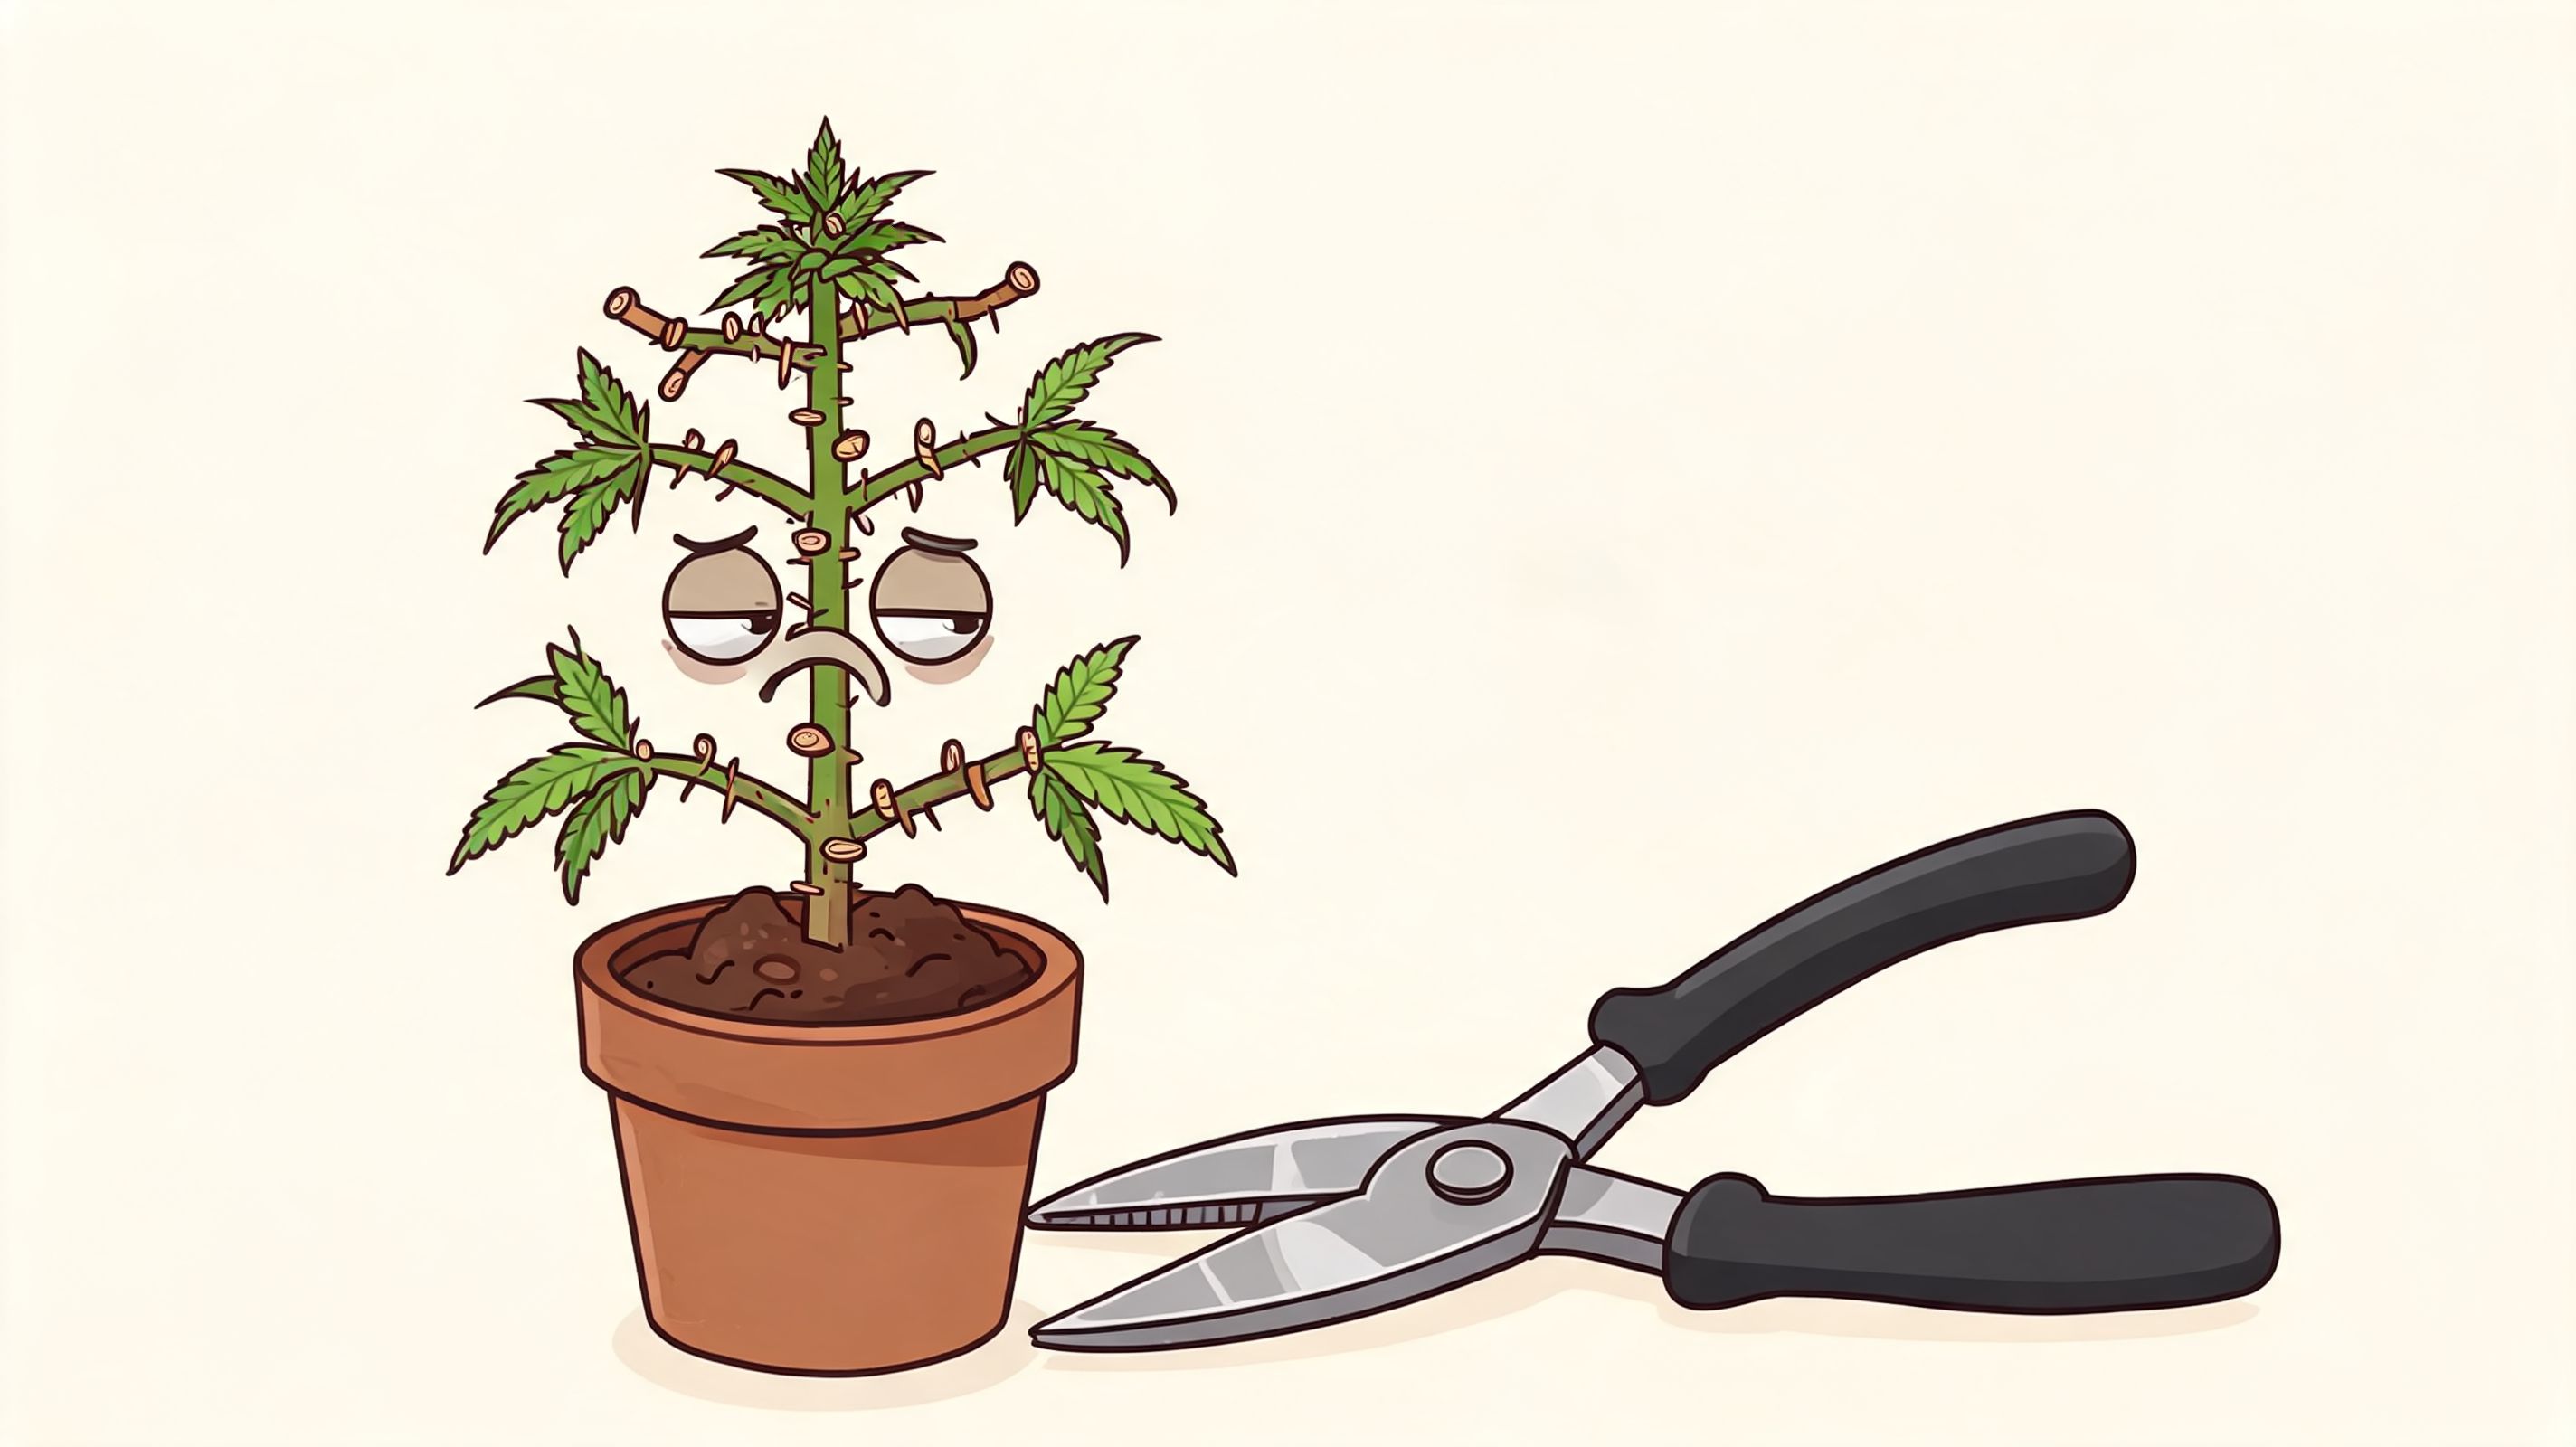
- Over-pruning: The plant looks stripped, growth slows, and recovery drags. Fix it by leaving it alone, keeping conditions stable, and resisting the urge to “correct” it with more cuts.
- Pruning too late: Big removals after the transition window create avoidable stress. Once the plant is focused on flower, keep your hands off unless something is clearly dead or in the way.
- Removing healthy fan leaves with no purpose: If the leaf isn't blocking a useful site or choking airflow, it may still be doing its job.
- Using dirty or dull tools: Torn stems and messy wounds are completely avoidable.
A better approach is to make one pass, step back, and look again. If the canopy is more open and the weak lower growth is gone, you probably did enough.
The best growers aren't the ones who cut the most. They're the ones who know when to stop.
If you want to match your pruning style to the right cultivar from the start, Botanist Seeds makes that easier. Use their comparison tools to sort through feminized and autoflower options for your space, your timeline, and the kind of plant structure you want to manage at home.












