





Paper Towel Germination: A Simple Guide for Growers
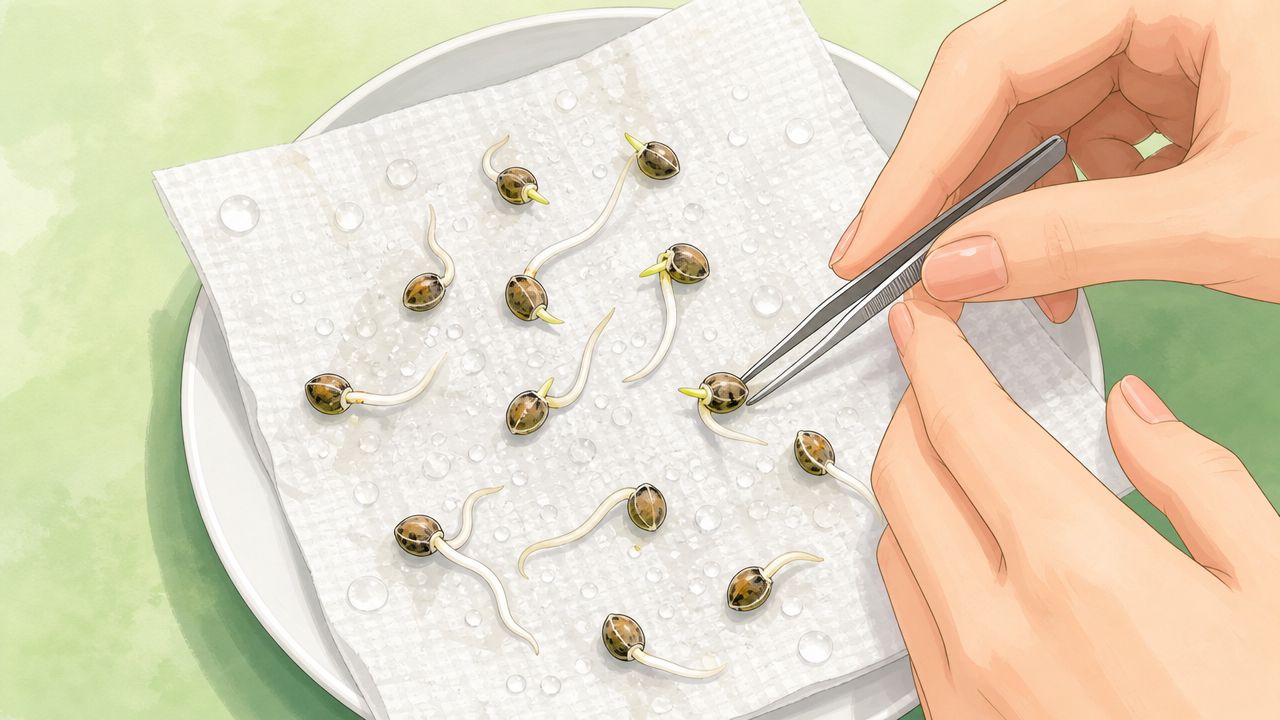
You've got fresh seeds on the table, a grow plan in your head, and that little mix of excitement and nerves that comes with the first move. That feeling is normal. Good seeds aren't something you want to waste by guessing.
Paper towel germination is the method a lot of home growers come back to because it gives you visibility and control right away. Instead of burying a seed and wondering what's happening, you can watch the process, keep the environment steady, and move each seedling at the right time. For feminized and autoflower cultivars, that early control matters. You want a clean start, not a mystery.
Why the Paper Towel Method Is a Grower's Best Friend
The biggest reason growers like paper towel germination is simple. You can see what's going on. If a seed cracks and throws a healthy taproot, you know it's moving. If nothing happens, you know early, before you've spent days babying a pot of soil that may stay empty.
That matters more than people think. The paper towel method isn't just a home-grow hack. It's based on the same basic idea used in seed viability screening. The University of Alaska Fairbanks Extension describes the wet towel test as a “reliable estimate” of seed viability when an official lab test isn't available, and it explains that a grower can use a sample to estimate germination rate before planting, like 7 out of 10 seeds sprouting for about 70% viability or 82 out of 100 for about 82% viability in a larger sample, as shown in the University of Alaska Fairbanks seed viability guide.
For a home cannabis grower, that translates into practical value fast.
- You protect your better seeds: Premium feminized and autoflower cultivars deserve more than a blind drop into soil.
- You catch weak performers early: If a seed struggles under controlled conditions, the issue usually isn't your container mix.
- You avoid uneven starts: When you transplant only after a seed has clearly sprouted, your run starts more consistently.
Practical rule: Germination is the first quality check in your grow. Treat it that way.
There's also a mental side to it. Watching that shell split and seeing the first taproot is one of the most satisfying moments in the whole cycle. It's small, but it tells you the process is real and underway.
Why growers choose it over direct planting
Direct planting can work well. A lot of growers do it. But paper towel germination gives you a cleaner read on what each seed is doing, and that's especially useful when you're working with limited tent space or you want every plant to earn its spot.
Here's the trade-off in plain terms:
| Method | Best part | Main drawback |
|---|---|---|
| Paper towel germination | Easy to monitor each seed | You have to transplant carefully |
| Direct planting | Less handling | You can't see progress below the surface |
If you're the kind of grower who likes knowing why something worked, not just hoping it did, paper towel germination is hard to beat.
What You Need to Get Started
Before you touch a seed, get your setup together. That keeps you from fumbling around with wet hands and fragile shells halfway through.
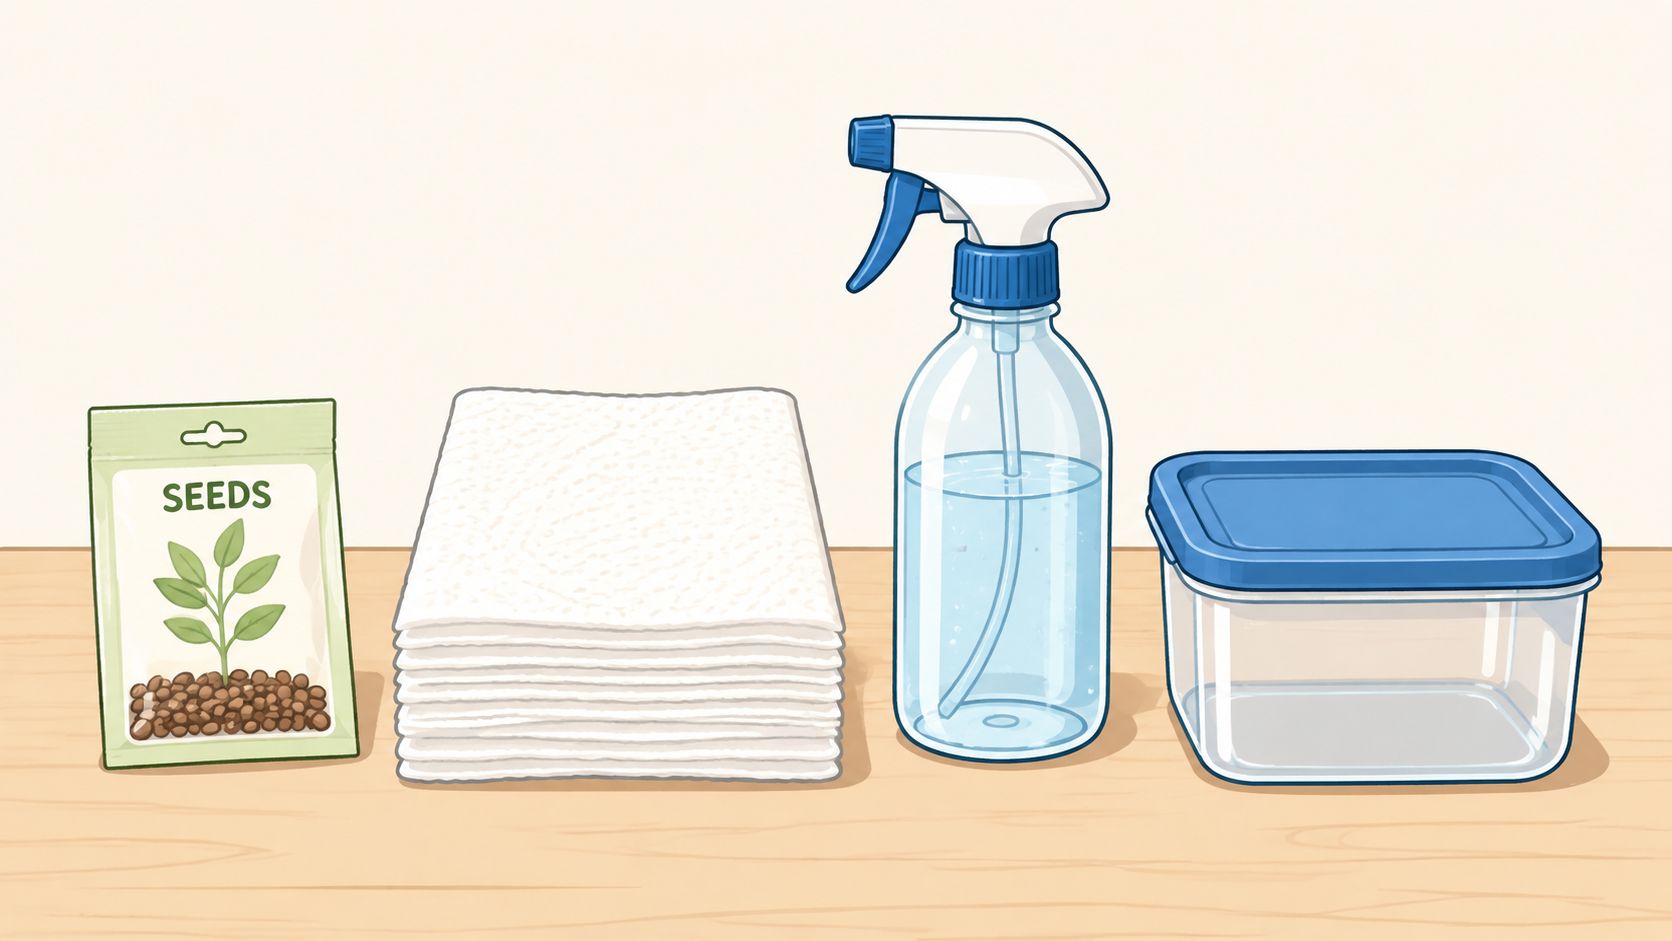
Your basic setup
- Plain white paper towels: Use towels without dyes, fragrance, or printed patterns. Thicker towels are easier to work with because they stay together when wet and don't shred around the taproot.
- A sealable bag or a clear food container: This holds moisture around the towel so it doesn't dry too fast. A bag is easy. A container is sturdier and less likely to get crushed.
- Clean water: Purified or distilled water is a solid choice because it keeps the process simple and predictable.
- Tweezers: Use them for moving seeds once they've cracked. Fingers are clumsy compared to tweezers, and skin oils don't help.
- A plate or tray: This gives you a clean surface under the towel if you're not using a rigid container.
- Labels or a marker: If you're starting more than one cultivar, label everything right away. Seeds look similar. Your memory gets worse the second you start multitasking.
A few items that make life easier
Not required, but useful:
- Spray bottle: Better than pouring water directly onto the towel. You get even moisture without flooding.
- Extra paper towels: Handy if one gets too soggy or starts looking suspect.
- A dark cabinet or drawer: A low-drama place to stash the setup where it won't get direct sun or random temperature swings.
Clean gear beats fancy gear. A simple setup that stays stable works better than a complicated one you keep adjusting.
The goal here isn't to build a lab bench. It's to remove little mistakes before they happen.
The Step-by-Step Germination Process
Start with a simple setup and keep your hands clean. Most failed paper towel germination runs come from overhandling, overwatering, or checking too aggressively.
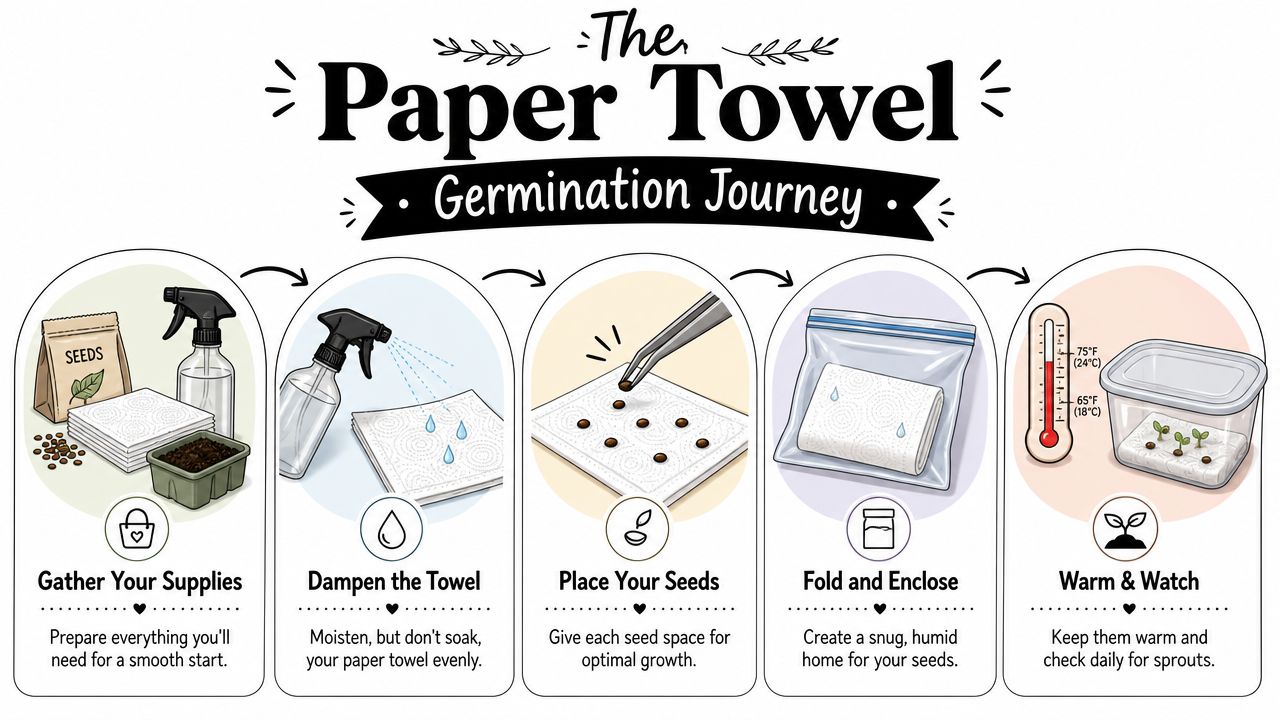
Right at the start, it helps to see the whole flow in one glance.
Begin with the presoak
For cannabis seeds, practitioner guidance commonly uses a 12 to 24 hour presoak, then moves the seeds to moist towels in a dark, warm space. That same guidance suggests checking after about 36 hours, then returning slower seeds for another 12 to 24 hours if needed. A cannabis-focused instruction set also reports a claimed minimum 80% germination success rate for the cup-of-water plus paper-towel method, according to this paper towel germination workflow from a seed bank.
Soak the seeds in clean water for that opening window, then remove them gently. The point of the soak is to fully wet the shell and kickstart the process, not to leave them floating forever.
Build the moisture pocket
Wet a paper towel until it's thoroughly damp but not dripping. That's the sweet spot. If you pick it up and water runs out, it's too wet. If parts feel dry or crisp, it's too dry.
Lay the seeds on one half of the towel with a little space between them, then fold the other half over. That spacing matters because roots need room, and crowded seeds are easier to damage when it's time to move them.
Put the folded towel inside your bag or container and seal it loosely enough that you still have some air space. You want moisture retention, not a swamp.
Too much water is one of the fastest ways to stall a seed. Wet is good. Soggy is not.
Give it warmth and leave it alone
Place the container somewhere warm and dark. A cupboard, a shelf above a warm appliance, or another steady indoor spot works well. Don't put it in direct sun. You're trying to create a calm little pocket, not cook the seed.
Growers frequently make a mistake. They open the bag every few hours, unfold the towel, poke at the seed, then wonder why progress slows down. Check it, don't babysit it.
If you want a deeper look at timing, this guide on how long weed seeds take to germinate is worth a read.
Here's a video walkthrough if you like seeing the process in motion before doing it yourself.
What to look for
When you check after roughly that early window, you're looking for a shell that has split and a small white taproot emerging. That's your green light.
A healthy early sprout usually looks like this:
- Shell cracked open: The seam opens enough to reveal the root tip.
- Taproot is white or pale: That's what you want to see.
- No slime or sour smell: Clean moisture has little to no odor.
If nothing has happened yet, don't panic. Put the seed back, keep the towel moist, and give it more time. The method works best when you stay patient and avoid turning one careful process into ten little interruptions.
Keeping Your Seeds Warm and Happy
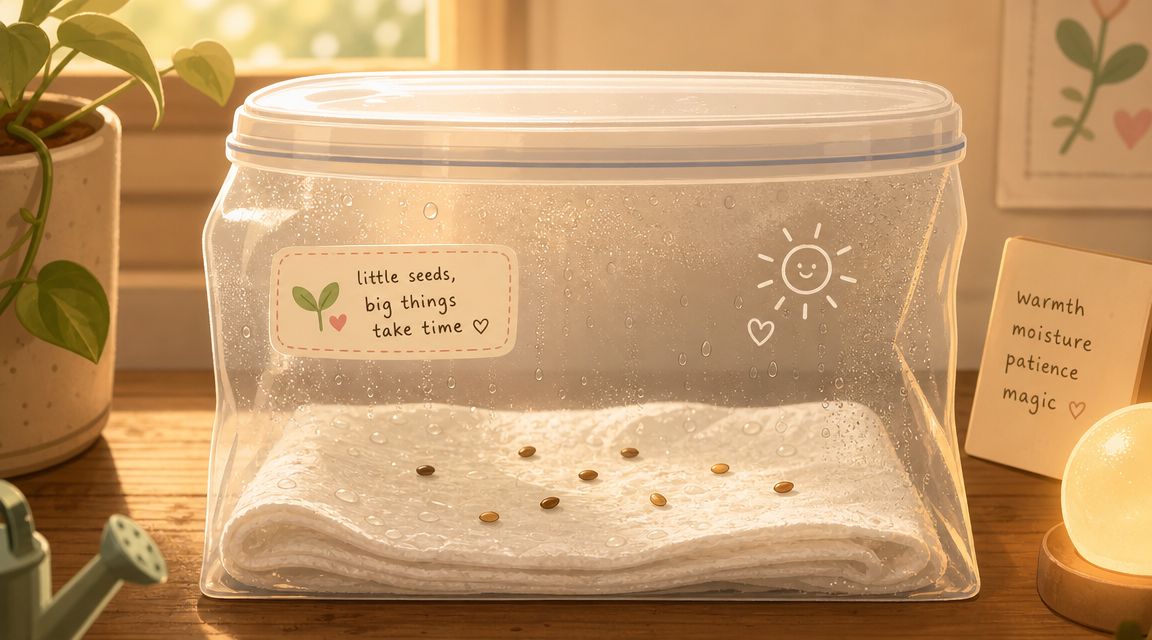
A seed doesn't need much to get moving, but it does need the basics to stay consistent. With paper towel germination, the whole game is managing a tiny environment well. Warmth, darkness, and moisture do the heavy lifting.
Temperature matters more than people think
For many seeds, consumer-facing guides identify 65 to 75°F as a favorable range, with 70°F (21°C) commonly cited as suitable for many species. Those same guides note that many seeds germinate in about a week, though slower ones can take longer, and they stress stable conditions away from direct sunlight in order to keep germination synchronized, as noted in this seed germination test guide from Homestead and Chill.
That's why a steady room temperature setup usually works better than chasing extra heat. If you keep moving the container from one spot to another, or letting it sit where the afternoon sun hits it, you create swings the seed doesn't need.
A few good locations:
- Inside a cupboard: Dark, protected, and stable.
- On a shelf in a warm room: Fine if the temperature stays even.
- Near gentle household warmth: Good, as long as it's not hot to the touch.
Moisture and oxygen need balance
A lot of advice stops at “keep it moist,” but that's only half the story. Seeds also need access to air. If the towel is drenched and packed flat with no space, you increase the odds of stale conditions and contamination.
University-style guidance around the wet towel test leans on the same common-sense rules growers learn by experience. Keep the towel damp, avoid runoff, leave some air space, and keep it out of direct sun. That's what makes the method repeatable instead of random.
A seed likes humidity. It doesn't like sitting in a puddle.
If you tend to overwater early in a grow, this is a good place to correct that habit. A lightly sealed bag or container should hold enough moisture that you only need small adjustments, not full re-wetting every time you check.
If you're thinking ahead to the next stage, this breakdown of humidity domes for seedlings helps connect germination conditions to early seedling care.
Darkness keeps the setup stable
Darkness isn't about mystery. It's mostly about control. A dark spot protects the setup from direct light and heat spikes, and it helps keep the towel from drying unevenly. Light itself isn't the point right now. Stability is.
If you remember one thing from this section, make it this: warm and steady beats hot and fussy every time.
Transplanting Your New Seedling
Once the taproot is out, the clock changes. You're no longer waiting for germination. Now you're trying to move a fragile seedling without slowing it down.
That part deserves patience.
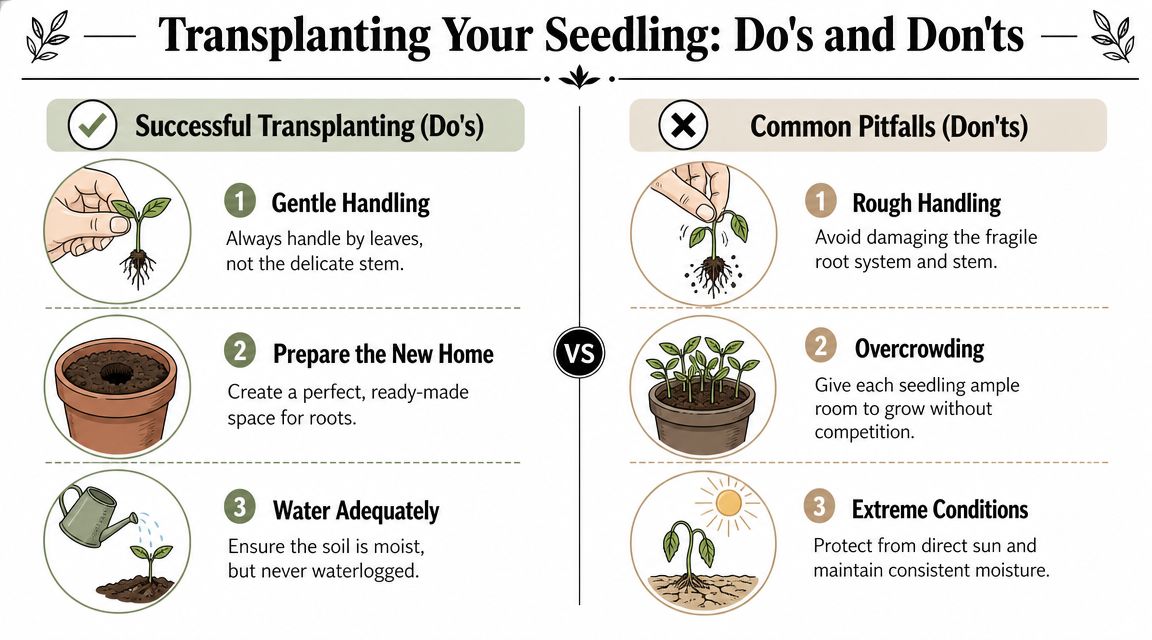
Handle it like it can break, because it can
Use tweezers if you have them. If the seedling is easy to lift, move it by the shell area and avoid touching the taproot. The root is the part doing the important early work, and it doesn't need fingerprints or rough contact.
Get the new home ready before you pick up the seed. That could be a starter plug or a small container of light, moist medium. Make a small hole first so you're not fumbling with the seedling in one hand while digging with the other.
Place the root downward
Set the seed into the hole with the taproot pointing down. Then lightly cover it. Don't pack the medium down hard, and don't bury it deeper than necessary. The seedling still needs an easy path upward.
A simple transplant checklist helps:
- Prepare the spot first: Medium should already be moist, not muddy.
- Move quickly but gently: Less exposure, less drying, less stress.
- Keep the root pointed down: That gives the seedling the most natural start.
- Cover lightly: Enough contact to support it, not enough pressure to smother it.
If the paper towel grabs the root a bit, don't yank. Moisten the area and ease it free slowly.
For autoflower cultivars in particular, a smooth start matters because they don't like unnecessary stress early on. Many growers prefer to move them directly into the container they plan to finish in, just to keep handling to a minimum.
If you want a more detailed walkthrough for the next move, this guide on planting weed seeds indoors covers the setup after germination.
Common Problems and Quick Fixes
A seed sitting in a warm, damp towel can make even patient growers start second-guessing themselves. That's usually when small problems turn into bigger ones. The best fixes are simple and boring: keep conditions steady, make one change at a time, and avoid handling the seed unless there's a clear reason.
My seed hasn't sprouted yet
If the towel is still damp and the setup stayed warm, wait a bit longer. Good seeds do not all crack on the same schedule, especially with home-grown conditions that are close to ideal but not lab-perfect.
The paper towel setup helps because it shows what the seed is doing early, before you waste a spot in your medium. As noted earlier, that makes it useful for checking whether a seed is active or likely a dud. For home cannabis growers using feminized and autoflower seeds, that matters. There's no point babying one stubborn seed for days if the rest of the pack is ready to move.
The towel dried out
Drying out is one of the fastest ways to stall germination. Re-wet the towel until it is evenly damp again, then close the container and put it back in a warm spot.
Do not soak it to compensate. Oversaturating after a dry spell cuts oxygen around the seed, and that can slow things down just as much as the dry towel did in the first place.
I see fuzzy stuff
Check closely before you panic. A new taproot is clean, bright, and firm. Mold usually looks more like spreading fuzz on the towel or shell, often with a musty smell or a slick, slimy feel.
If it looks contaminated, start fresh right away. Use a clean towel, a clean container, and fresh water. That preventive reset is usually better than trying to save a dirty setup, especially if you're working with valuable genetics.
The root is stuck to the paper towel
This one is common, especially if you waited a little too long to transplant. Add a few drops of water where the root is attached and give it a minute to loosen. Then lift it gently.
Never pull hard. A damaged taproot can stop a healthy start cold.
Keep these habits in mind:
- Keep the towel damp, not dripping
- Open the container only when you need to check progress
- Replace anything that smells off or looks contaminated
- Transplant soon after the taproot shows, before it grows into the towel
Paper towel germination does not guarantee every cannabis seed will sprout. What it does give you is an early read on what is worth your time, your space, and your attention. That's its primary value.
Grow responsibly and always follow your local laws before germinating cannabis seeds.
If you're looking for feminized and autoflower cultivars that fit your space, schedule, and growing style, check out Botanist Seeds. Their comparison tool makes it easier to sort through options and pick a cultivar that matches the kind of home grow you want to run.












