





Seed and Soil: Your Guide to an Epic Home Harvest
You're probably here because buying flower got old. The taxes add up, the trip takes longer than it should, and half the fun is gone by the time you get home. A home grow fixes a lot of that. You keep your own stash moving, skip the line, and get that very specific satisfaction of saying, “Yeah, I grew this.”
The good news is that a strong harvest usually doesn't come from doing a hundred advanced things right. It starts with two choices that matter more than the rest. Pick a cultivar that fits your space and your patience, then give it a soil mix that makes early growth easy. That's the whole seed and soil conversation in plain English.
Your Home Grow Starts with Good Seed and Soil
A lot of beginner problems start before the plant even opens up its first real leaves. People blame nutrients, lights, or bad luck later on, but the trouble often started with a weak match between the seed and the setup, or with a soil mix that stayed too wet, dried too fast, or fought the roots from day one.
That's why I keep this simple. If your tent is small, your schedule is busy, or you just want a clean path to a personal harvest, don't overcomplicate it. Good seed and good soil solve a lot of headaches before they show up.
Why this still matters
Choosing seed isn't some niche hobby move. It connects you to a growing practice that goes back more than 10,000 years, and seed distribution became so important in the United States that after the USDA was established in 1862, it devoted at least one-third of its budget to collecting and distributing seeds and sent out over 1 billion packages of seed by the turn of the century, as summarized by the Center for Food Safety's history of seeds.
That history matters because seed has always been more than a tiny starting point. It's the blueprint. Soil is the home that lets that blueprint express itself without stress.
Good growers aren't always the most technical. They're usually the ones who make fewer bad early decisions.
If you're still narrowing down what to grow, spend a few minutes browsing premium seed market options. Not to chase hype, but to match your grow style to the right cultivar from the start.
The practical mindset
For a home grower, seed and soil really means this:
- Choose for your setup: A cultivar should fit your ceiling height, your light, and how often you can check on it.
- Choose for your habits: If you like control, go one route. If you want speed and simplicity, go another.
- Choose soil for forgiveness: Roots like air, moisture, and stability. Bad soil usually steals one of those.
Get those basics right, and the whole grow feels less like a science project and more like a steady routine you can enjoy.
Choosing Your Cultivar Feminized or Autoflower
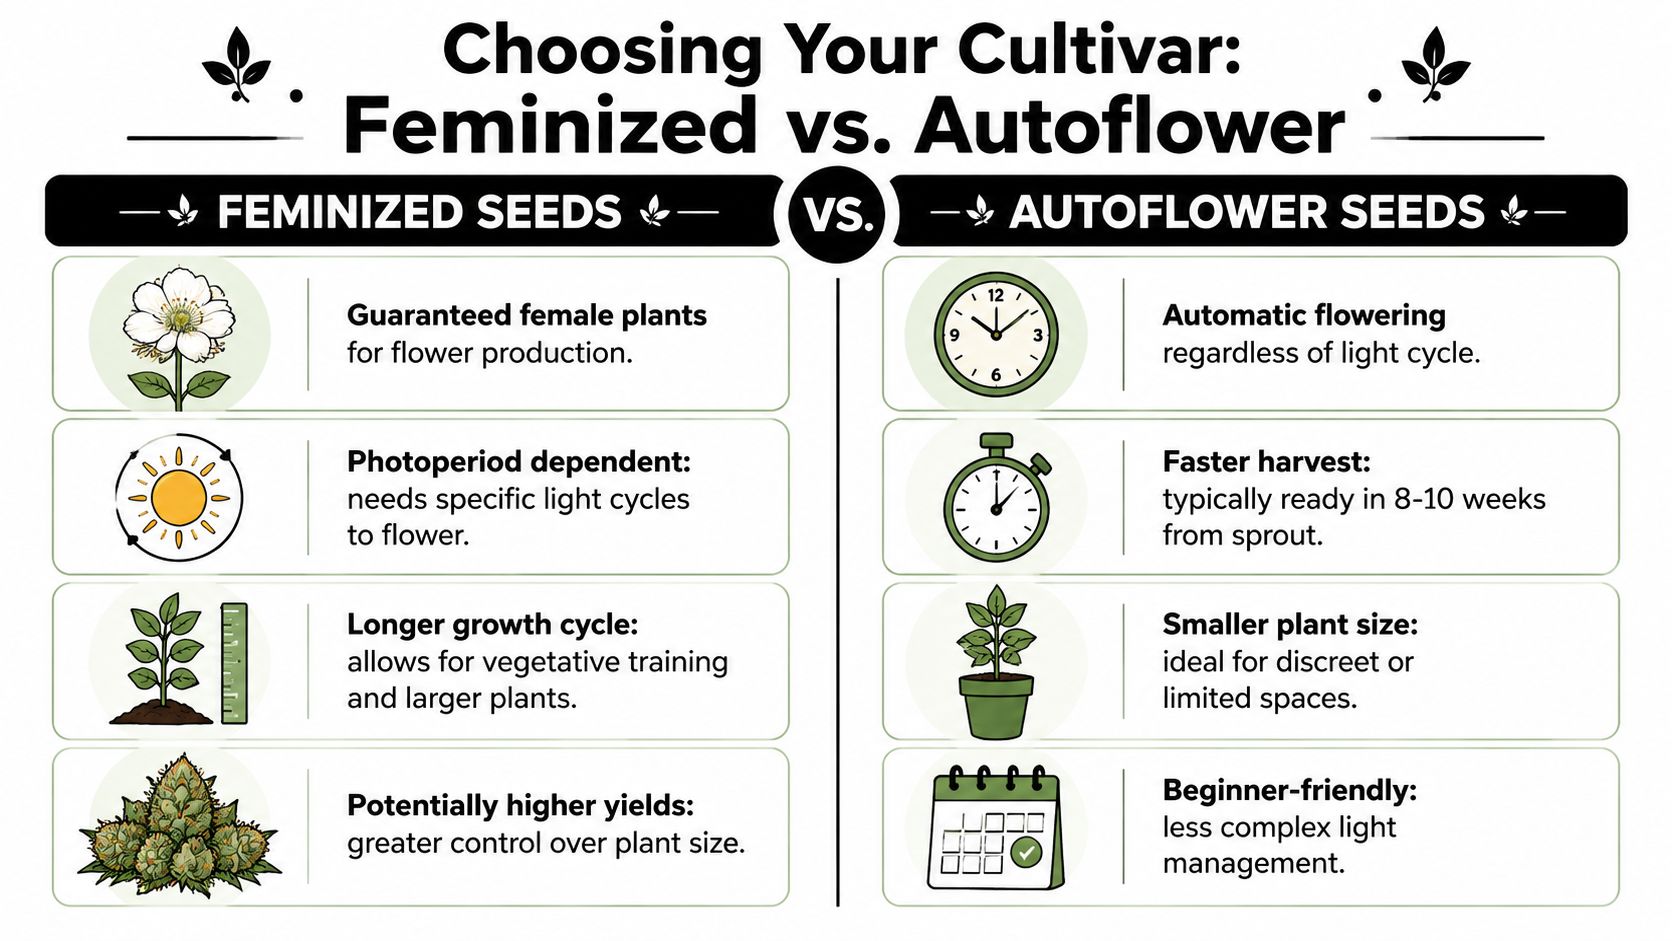
This is the first real fork in the road. For most home growers, the easiest path is sticking with feminized cultivars or autoflower cultivars. Both can work well. The better choice depends on whether you want more control or less fuss.
Feminized cultivars
Feminized cultivars make sense when you want to shape the plant and use your space more deliberately. They respond well if you like training branches, managing canopy height, and deciding when the plant moves into flower based on light schedule.
Here's where feminized cultivars fit best:
- You want control over size: You can let the plant veg longer and build a larger frame before flowering.
- You like training: Topping, low stress training, and canopy shaping are easier to plan when the schedule is in your hands.
- You have a dedicated indoor setup: If you can manage light cycles consistently, feminized plants give you more room to steer the outcome.
- You're thinking about yield from limited plant count: A bigger, well-trained plant can make better use of each pot and each square foot.
Autoflower cultivars
Autoflowers are about simplicity. They flower on their own without needing a specific light cycle, and they're often the easiest way to get from sprout to harvest without overthinking every stage.
The classic reasons growers pick autoflowers are straightforward:
- Fast turnaround: Many are ready in 8 to 10 weeks from sprout, which is part of why they're popular with first-timers.
- Small footprint: They usually stay compact, which helps in closets, small tents, balconies, or discreet corners.
- Less light-cycle management: You don't need to time a flip to flower.
- Good for people who just want to get moving: If waiting forever kills your motivation, autos keep the pace up.
Practical rule: If you enjoy tinkering, shaping, and dialing things in, go feminized. If you want a cleaner, lower-maintenance run, go autoflower.
A quick side by side view
| Grow style | Better fit |
|---|---|
| You want more control over training and plant size | Feminized |
| You want the simplest route to harvest | Autoflower |
| You have a small, discreet setup | Autoflower |
| You want to maximize canopy control indoors | Feminized |
| You get impatient and want faster results | Autoflower |
There isn't a “serious grower” option and a “beginner” option here. There's just the right match for your setup. If your main goal is a smooth first harvest, choose the cultivar type that lines up with how you live, not how you think a grower is supposed to operate.
From Seed to Sprout Simple Germination Techniques
Germination feels high stakes because it's the first move, but it's one of the easiest parts if you keep it clean and don't fuss with it too much. Seeds need moisture, warmth, and a little patience. That's it.
The paper towel method that keeps things simple
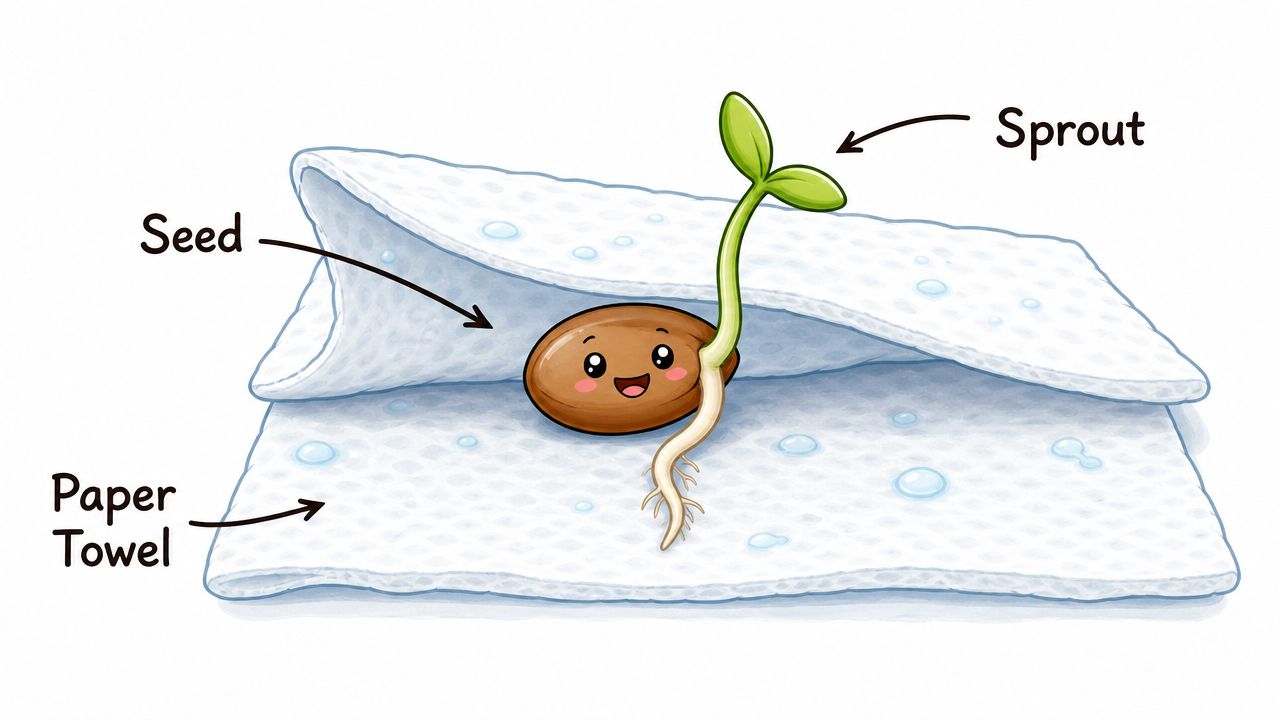
I like the paper towel method for beginners because it gives you a clear visual. You can see when the seed cracks and when the taproot shows up. You're not guessing what's happening under soil.
Use this basic process:
- Dampen two paper towels: They should be moist, not dripping.
- Place the seed between them: Give it a little space so it isn't pressed hard or crushed.
- Set the towels on a plate or in a container: Something simple works fine.
- Keep it warm and dark: A cupboard or another stable spot is enough.
- Check once a day: You're looking for moisture and the first sign of a taproot.
The part people mess up
Most failed germination attempts come from doing too much. People soak the towel, let it go cold, or keep opening it every few hours like they're waiting for a text back.
Moisture is more critical than generally acknowledged. In controlled research, low soil moisture reduced seed germination and seedling emergence by more than 50%, which is a strong reminder that water can make or break the start, as shown in this germination and soil moisture study.
Don't let the paper towel dry out. Don't leave the seed swimming in water either. Damp is the sweet spot.
If you want a full indoor walkthrough with containers, timing, and early handling, this guide on how to plant weed seeds indoors is a helpful next step.
When to move it into the medium
Once you see the taproot, move the seed carefully into your starter plug or light seedling mix. Root down, shallow placement, gentle cover. Don't bury it deep and don't pack the surface hard.
This video gives a useful visual if you like seeing the process before trying it yourself:
A calm start usually beats a clever one. Warmth, moisture, and restraint will get you further than any fancy trick.
Building Your Foundation The Perfect Soil Mix
Once the seed is ready, the next job is giving the roots a place they want to live. In this crucial step, many growers either make life easy or accidentally build a swamp. Good soil should hold moisture without staying soggy, drain well, and leave enough air around the roots.
For most home growers, there are two smart options. Buy a quality pre-mixed growing medium, or mix a simple one yourself and keep the formula clean.
Option one, buy a solid mix
There's no shame in buying a ready-made bag and getting on with your life. In fact, for a first run, it's often the smartest move. A balanced mix saves time and removes a bunch of guesswork.
Professional soil work quickly becomes very technical. Researchers studying soil seed banks often use tightly defined sampling methods, including a 5 cm diameter × 5 cm depth core, and methods can change what gets counted, which is why standardization matters in this review of soil seed bank sampling methods. At home, you don't need that level of analysis. You can avoid a lot of problems by starting with a clean, balanced medium from day one.
Option two, keep the DIY mix basic
If you like mixing your own, keep it boring in the best way. You don't need a dozen ingredients to grow healthy plants.
Here's a simple recipe that works well as a starting point:
| Ingredient | Proportion | What It Does |
|---|---|---|
| Coco coir | Largest portion | Holds moisture while staying light |
| Perlite | Smaller portion | Creates air pockets and improves drainage |
| Compost | Smaller portion | Adds organic matter and a gentle nutrient base |
Coco coir is easy to work with because it doesn't feel heavy and muddy the way poor soil can. Perlite acts like tiny air gaps through the pot, which helps roots breathe. Compost brings life and body to the mix, but too much can make things richer and heavier than a young plant needs.
If you want a deeper look at handling coco as a medium, growing with coco coir is worth reading before you fill your pots.
Good soil is one of the easiest ways to prevent watering issues, weak root growth, and nutrient stress before they start.
What works and what usually doesn't
A few simple rules go a long way:
- Use light, airy structure: If the mix compacts like wet sand, roots will struggle.
- Go easy on heavy compost loads: Rich isn't always better, especially for seedlings.
- Fill pots loosely: Don't mash the medium down.
- Start clean: Random dirt from the yard can bring pests, weeds, or inconsistent texture.
What doesn't work well is trying to fix bad structure later. If the mix holds too much water, you'll end up chasing droop, yellowing, and slow growth with your watering can. That's a frustrating loop. It's easier to build the root zone right once than to rescue it every week after that.
Keeping Your Plants Happy Nutrients pH and Transplanting
Once your plant is up and growing, the job changes. You're no longer trying to wake the seed. You're trying to keep the plant moving without stress. At this stage, growers get better fast, because the plant starts giving feedback every day if you pay attention.
The three basics are simple. Water with intention, keep pH in a usable range, and transplant before the roots get cramped.
Think of pH like balance, not chemistry class
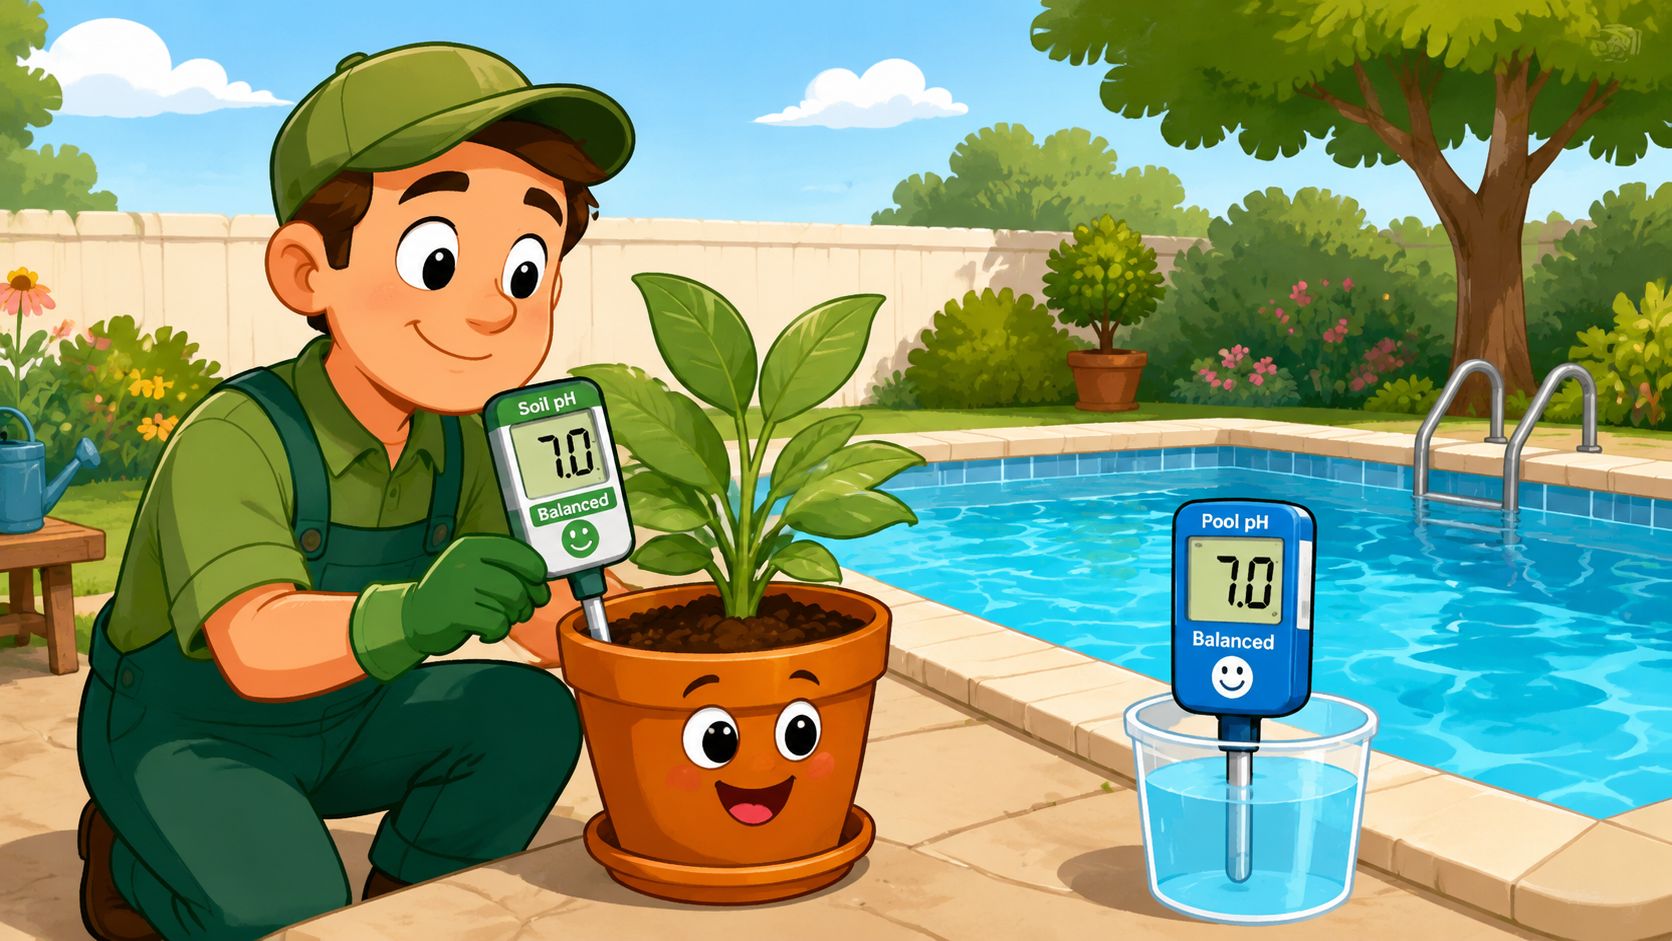
A lot of people hear pH and shut down. Don't. The principle resembles keeping a pool balanced. If things drift too far one way or the other, the system stops working the way it should.
Your plant can sit in a pot full of nutrients and still struggle if the root zone isn't in a workable range. The leaves will often tell you first. Pale new growth, odd spotting, or a plant that seems stalled can mean the feed is there but the roots aren't accessing it well.
Feed the stage the plant is actually in
Small plants don't need a heavy hand. Seedlings and young plants usually want a gentler start than people expect. If the plant is healthy, leaves are reaching, and new growth looks steady, don't rush to pour more in.
I like to read nutrient needs in plain terms:
- Early growth: The plant wants a comfortable root zone and steady, not aggressive, feeding.
- Vegetative push: Bigger leaves and faster structure building usually mean it can handle more support.
- Flowering: Priorities shift, and the plant starts using energy differently.
What works is matching the feed to the stage. What doesn't work is reacting to every tiny leaf change by adding another bottle to the mix.
A plant that looks “hungry” isn't always underfed. Sometimes it's overwatered, rootbound, or dealing with pH drift.
Combine what you see with what you do
Beginner growers improve fast. Don't just stare at the leaves and guess. Make one adjustment at a time and watch the response.
That general idea lines up with soil research too. In a Frontiers study, combining cultivation and extraction recovered more of the soil seed bank than either method alone, which is a useful reminder that a fuller picture often comes from using complementary approaches, as shown in this study on paired seed-bank recovery methods. In the grow room, that means combine observation with action. Look closely, then adjust watering, feeding, or environment based on what the plant is telling you.
A simple troubleshooting rhythm helps:
- Notice the pattern: Is the issue on old leaves, new leaves, or the whole plant?
- Check the recent change: Did you feed more, water more, or move the light?
- Adjust one variable: Don't change nutrients, pH, and watering all at once.
- Wait and read the plant again: New growth tells the complete story.
Transplant before the plant starts fighting the pot
Transplant timing is easier than people make it. You don't need to guess by calendar. Look at the plant and the container.
Common signs it's time:
- Roots are circling the starter pot: If you slide the root ball out and see roots wrapping the edges, don't wait much longer.
- The pot dries unusually fast: A root-filled container can go from fine to bone dry in a short window.
- Top growth is outpacing the container: Big leaves on a tiny pot usually means the roots want more room.
- Water runs through too quickly: Dense root mass can leave less medium to hold moisture.
When you transplant, keep it gentle. Water the old pot first so the root ball holds together. Move it into the new container without crushing or tearing up the roots. Then water enough to settle the medium around it.
Keep the routine boring
A lot of success in home growing comes from resisting dramatic fixes. A steady routine beats heroic rescue attempts almost every time.
Use a few basic tools, keep notes if that helps, and trust repeated observation more than panic. If you want to compare cultivar options for a setup you're already dialing in, Botanist Seeds offers a catalog and comparison flow that helps growers sort by traits and growing preferences without turning the process into a guessing game.
Common Fixes and Enjoying Your First Harvest
Every first grow hits a few bumps. That's normal. Most beginner mistakes are easy to fix once you know what you're looking at, and none of them mean you're bad at this.
The usual issues
A few problems show up again and again:
- Overwatering: Leaves droop, the pot stays heavy, and growth slows. The fix is simple. Let the medium dry more between waterings and stop treating every droop like thirst.
- Light too close: Tops can look stressed, pale, or overly tight. Raise the fixture a bit and watch new growth instead of obsessing over damaged leaves.
- Doing too much at once: Extra nutrients, extra watering, extra trimming. Pick one correction and give the plant time to respond.
Most rough-looking plants don't need more products. They need a calmer grower.
The payoff is bigger than the jar
The first harvest feels good for obvious reasons. You saved yourself more dispensary runs. You kept more money in your pocket by avoiding all those extra store costs and taxes. You also get something people don't talk about enough, which is the pride of knowing your supply came out of your own tent, closet, room, or backyard corner.
And the quality side is real too. When you grow at home, you choose the cultivar, the dry pace, the cure routine, and the vibe you want. Maybe that's a loud, citrusy cultivar for a bright afternoon feel. Maybe it's something gassy and dense with a slower, heavier evening character. Either way, it's yours.
If you keep seed and soil at the center of the process, you're already making the decisions that matter most. The rest is practice, small corrections, and building confidence one run at a time.
If you're ready to start your own grow, take a look at Botanist Seeds. You can compare feminized and autoflower cultivars, match options to your space and timeline, and pick a cultivar that makes your first home harvest feel a lot more achievable.












