





Neem Oil for Weed Plants: Your Complete How-To Guide
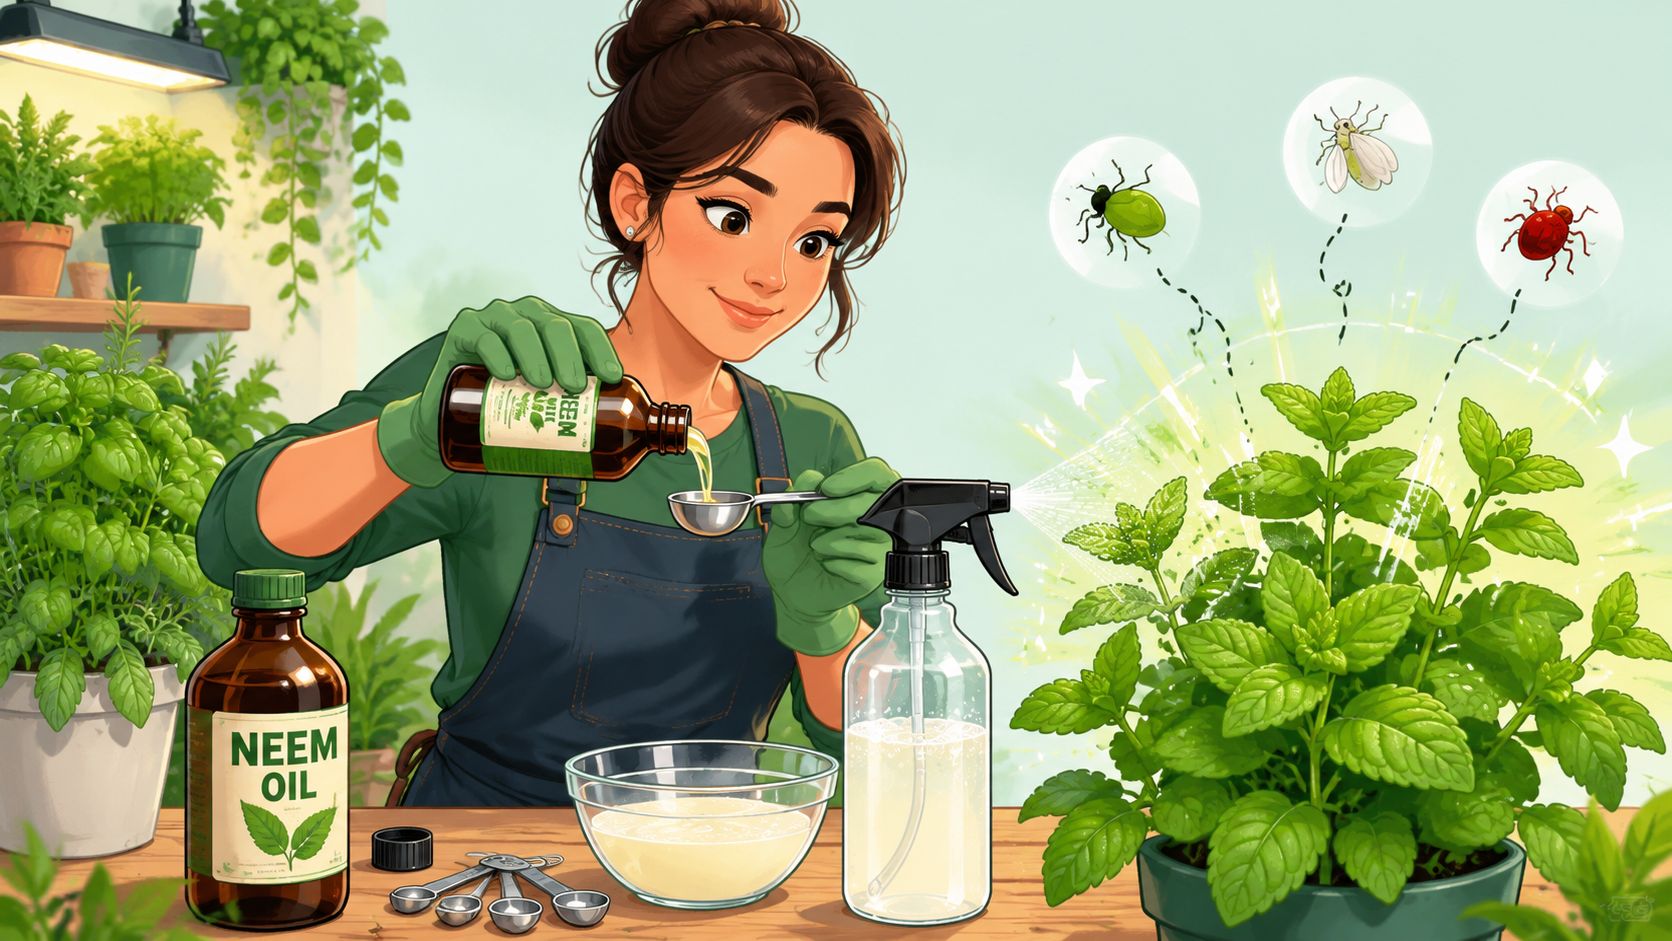
You flip a leaf over and there they are. Tiny pests, a few speckles, maybe the start of webbing, maybe just enough damage to make your stomach drop. Every home grower hits that moment sooner or later, especially if you're running a full tent, a crowded closet grow, or a patio setup where bugs always seem to find your favorite cultivar first.
Neem oil often enters the discussion. Not as some magic cure-all, and not as something you spray blindly on everything, but as one of the most useful tools for keeping a weed plant healthy during the vegetative stage. Used correctly, it can save you a lot of frustration. Used carelessly, it can burn leaves, miss the actual problem, or create a much bigger mistake once buds start building.
Why Neem Oil Is a Home Grower's Go-To
Neem oil stuck around for a reason. It wasn't invented for cannabis growers chasing a clean home harvest. The National Pesticide Information Center notes that neem has been used for hundreds of years to control pests, and that azadirachtin reduces insect feeding and interferes with hormone systems that affect growth and egg-laying. That matters because it tells you neem oil isn't a random folk remedy. It's a long-standing agricultural tool.
For a home grower, the appeal is simple. You want something that fits an IPM mindset, not a panic-button approach. Neem oil can sit inside a routine where you're checking leaves, cleaning your space, watching airflow, and dealing with pests before they become a full infestation.
Why growers keep reaching for it
Neem works best when you think of it as pressure management, not instant revenge. If you expect one spray to wipe out every problem overnight, you'll probably be disappointed. If you use it early and consistently in veg, it becomes a reliable part of the system.
A few reasons it stays popular:
- It has a long track record: You're not experimenting with something unproven.
- It fits organic-style home growing: A lot of hobby growers want an option that feels less harsh than synthetic sprays.
- It covers multiple problems: Neem is recognized as a biological fungicide, insecticide, and miticide in the same NPIC reference above.
Neem oil makes the most sense when the plant still has time to recover, grow fresh foliage, and stay out ahead of pest pressure.
Where it fits in real life
Most growers don't start reading about neem oil because they're curious. They start because they found damage. Spider mites are one of the usual culprits, and if that's what you're dealing with, this guide on spider mites on cannabis plants is worth checking alongside your spray plan.
The biggest strength of neem oil for weed plants is that it gives you a middle ground. You're not doing nothing, and you're not jumping straight to heavy-handed chemistry. For feminized and autoflower cultivars in a home setup, that middle ground is often exactly what you need.
Getting Your Neem Oil Mix Right Every Time
A lot of neem failures start in the spray bottle, not on the plant. If the mix separates, one leaf gets weak spray, another gets a heavy oil hit, and that is how growers end up with patchy results or stressed foliage.
One cannabis grower benchmark is about 1 part neem oil to 25 parts lukewarm water, with common label rates often around 0.1% to 0.2% in solution, according to published grower guidance. That same source also says neem oil is effective against approximately 600 plant-harming species.
The simple recipe that works
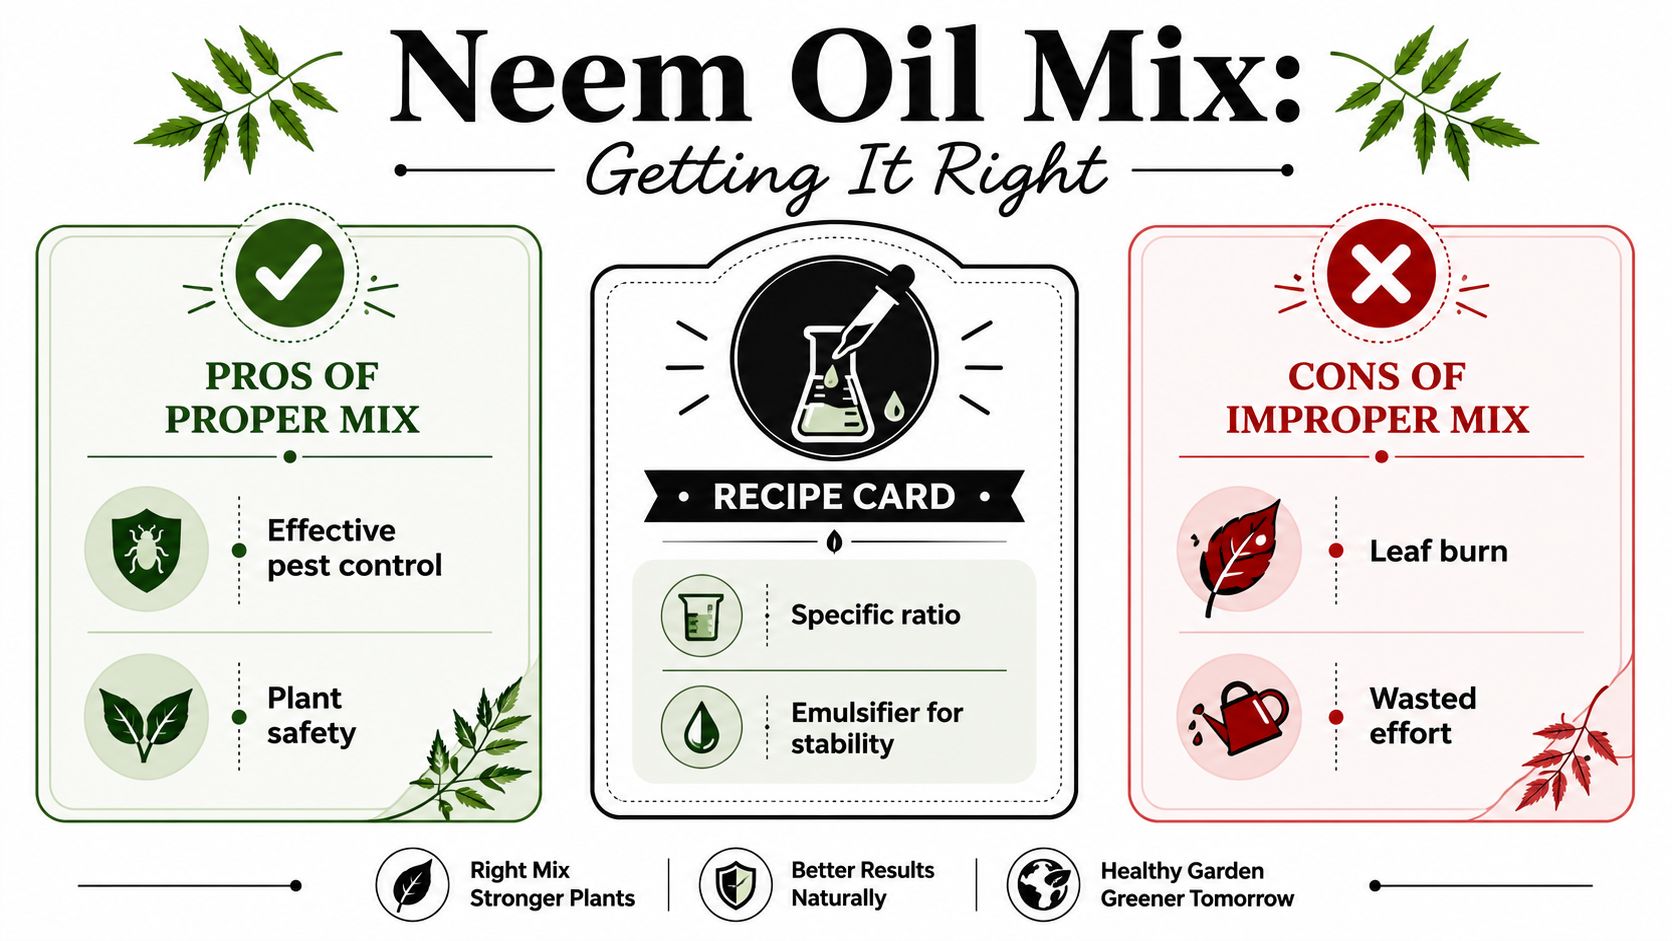
For a repeatable foliar spray, use 1 to 2 tbsp (15 to 30 mL) neem oil per gallon of warm water, plus 1 tsp (5 mL) of mild liquid soap or a horticultural surfactant. Mix until the liquid turns evenly milky and you no longer see oil droplets. That baseline comes from Hydrobuilder's neem oil use guide.
That milky look matters. It tells you the oil is dispersed well enough to spray evenly.
Why the soap matters
Neem and water separate fast on their own. The soap is the part that keeps the mix together long enough to do the job.
Use warm water, not hot and not cold. A mild soap or proper surfactant helps the neem suspend evenly instead of floating on top. Keep agitating the sprayer while you work, especially if you are treating more than a plant or two. Even a good mix can start separating if it sits.
What usually goes wrong
These are the mistakes I see most often in home grows:
- Too much neem oil: Higher concentration raises the chance of leaf stress without giving you better control.
- Cold water: The oil resists mixing and stays uneven.
- Harsh dish soap: Degreasing soaps can be rough on cannabis foliage.
- Skipping agitation: The mix may start fine, then separate halfway through spraying.
- Saving leftovers: Mixed neem breaks down quickly, so fresh batches are the safer call.
One more rule matters once buds start stacking. Keep your mixing precise because flowering plants give you less room for sloppy applications, residue, and recovery time. In late flower, the better move is usually to stop using neem entirely and switch to options that will not leave oily material on developing buds.
The Right Way to Spray Your Plants
You mixed the batch right, but the mites are still there. That usually comes down to coverage. Neem only works on the surfaces it reaches, and cannabis pests like the spots growers miss first: leaf undersides, tight nodes, stem joints, and the top layer of the pot.
What proper coverage looks like
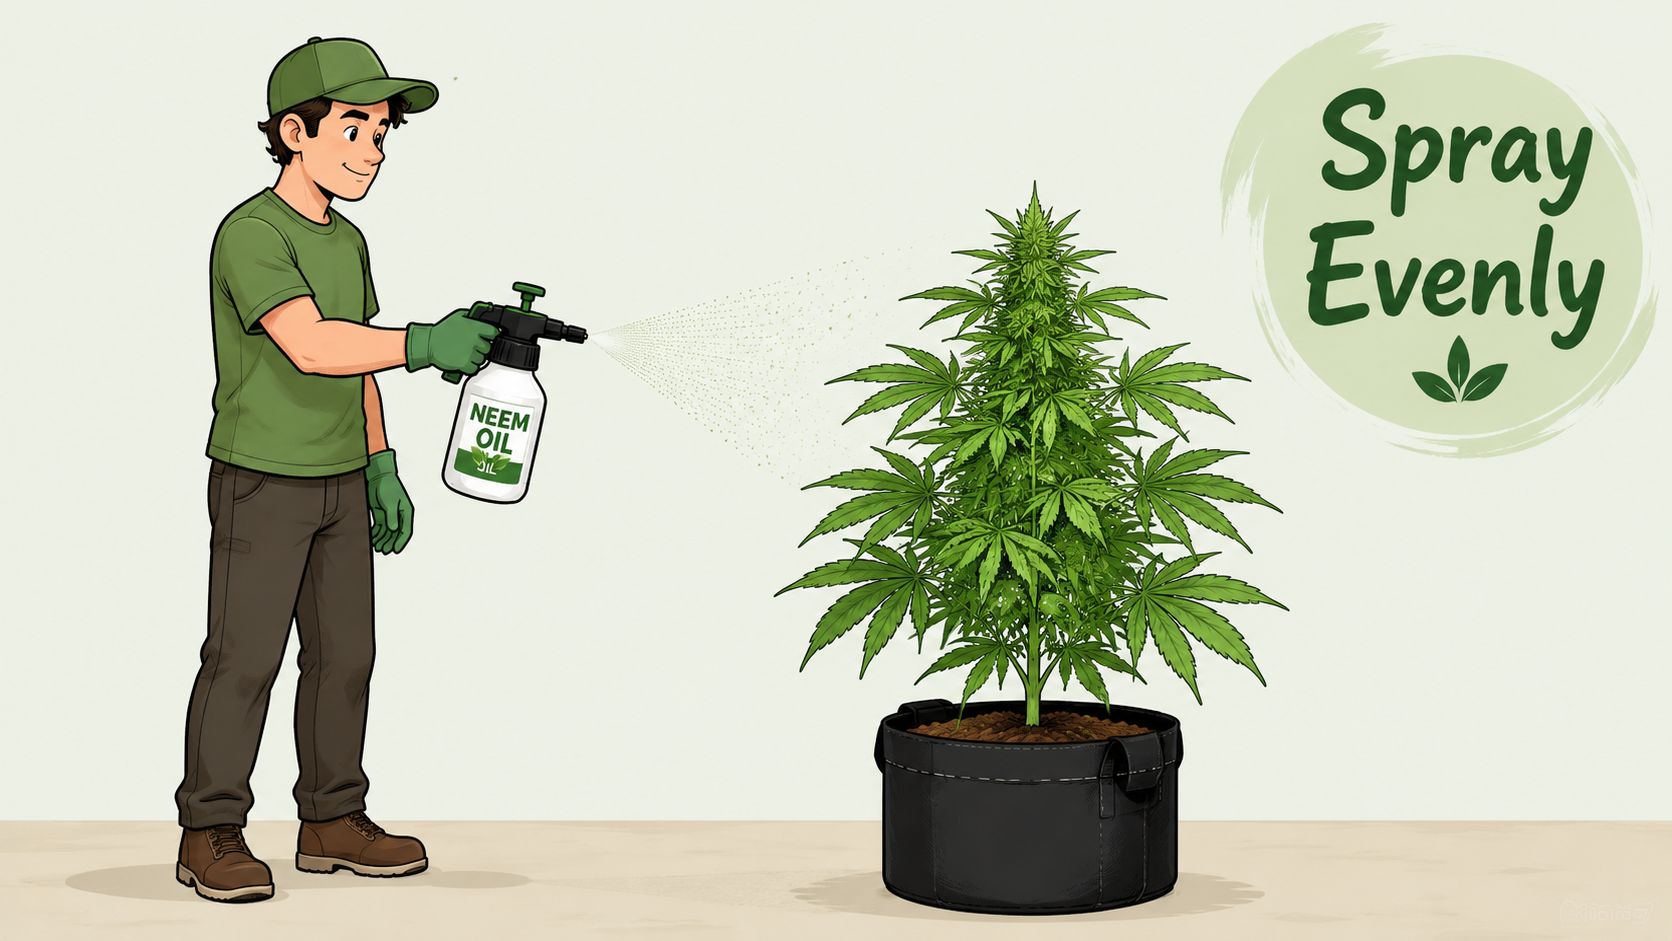
A good spray job leaves the plant evenly coated with a fine mist. No dry patches under the leaves. No heavy runoff dripping off the tips. Get the upper leaf surface, the undersides, the stems, and the node crevices where pests and eggs tend to sit. If you are dealing with insects that involve the soil surface in their life cycle, lightly treat the top inch of the medium too.
That last step helps most with pests coming out of the pot, especially if you are also working through a fungus gnat problem in your soil.
Use this checklist when you spray:
- Start underneath the leaves: Spider mites, aphids, and whiteflies often hide there.
- Work inward, not just across the canopy: Nodes and stem junctions need spray too.
- Mist the soil surface lightly when needed: Do it for soil-linked pests, not as an automatic extra.
- Stop at even coverage: Wet is fine. Dripping is wasteful and raises the chance of leaf stress.
Timing keeps plants safer
Spray during the coolest part of the cycle. Indoors, that usually means just before lights-out. Outdoors, dusk is the better window. Oil on leaves under strong light can mark foliage fast, and the risk goes up if the room is already warm.
Keep the sprayer moving and shake it every few passes. Neem separates as you work, even in a decent mix.
Fresh mix works best. If a batch has been sitting around since yesterday, dump it and make a new one. Saving a few ounces is not worth spotting your leaves or getting uneven control because the oil has started to break down.
What growers get wrong
The common mistakes are practical ones:
- They spray the top canopy and skip the hidden surfaces.
- They soak the plant instead of applying a controlled mist.
- They spray under hot lamps or in direct sun.
- They keep old mixed neem and use it later.
- They hit buds the same way they hit fan leaves.
That last mistake matters most once flowering gets underway. In veg, a slightly messy foliar job is usually recoverable. In flower, residue on developing buds is a quality problem, not just a technique problem.
Your Neem Oil Schedule and IPM Strategy
Neem does its best work as part of a routine. If you only pull it out after a visible infestation has spread across multiple leaves, you've already given the pests a head start.
A widely used preventive schedule is every 7 to 10 days, timed for cooler periods such as dusk or just before lights-out, according to published grower guidance. That same guidance flags the most common mistakes: overconcentration, spraying under hot lights, and missing leaf undersides and node crevices.
Prevention and response are not the same job
A smart grower treats preventive spraying and active infestation control differently.
| Situation | Neem approach | Goal |
|---|---|---|
| Healthy veg plants | Spray every 7 to 10 days | Make the plant less inviting to pests |
| Active pest pressure | Tighten observation and apply more deliberately | Slow the pest cycle and regain control |
| Flowering plants | Stop foliar neem by the proper cutoff | Protect final bud quality |
The point isn't to keep spraying forever. The point is to use neem where it helps, then switch strategies when the plant stage changes.
What a real IPM routine looks like
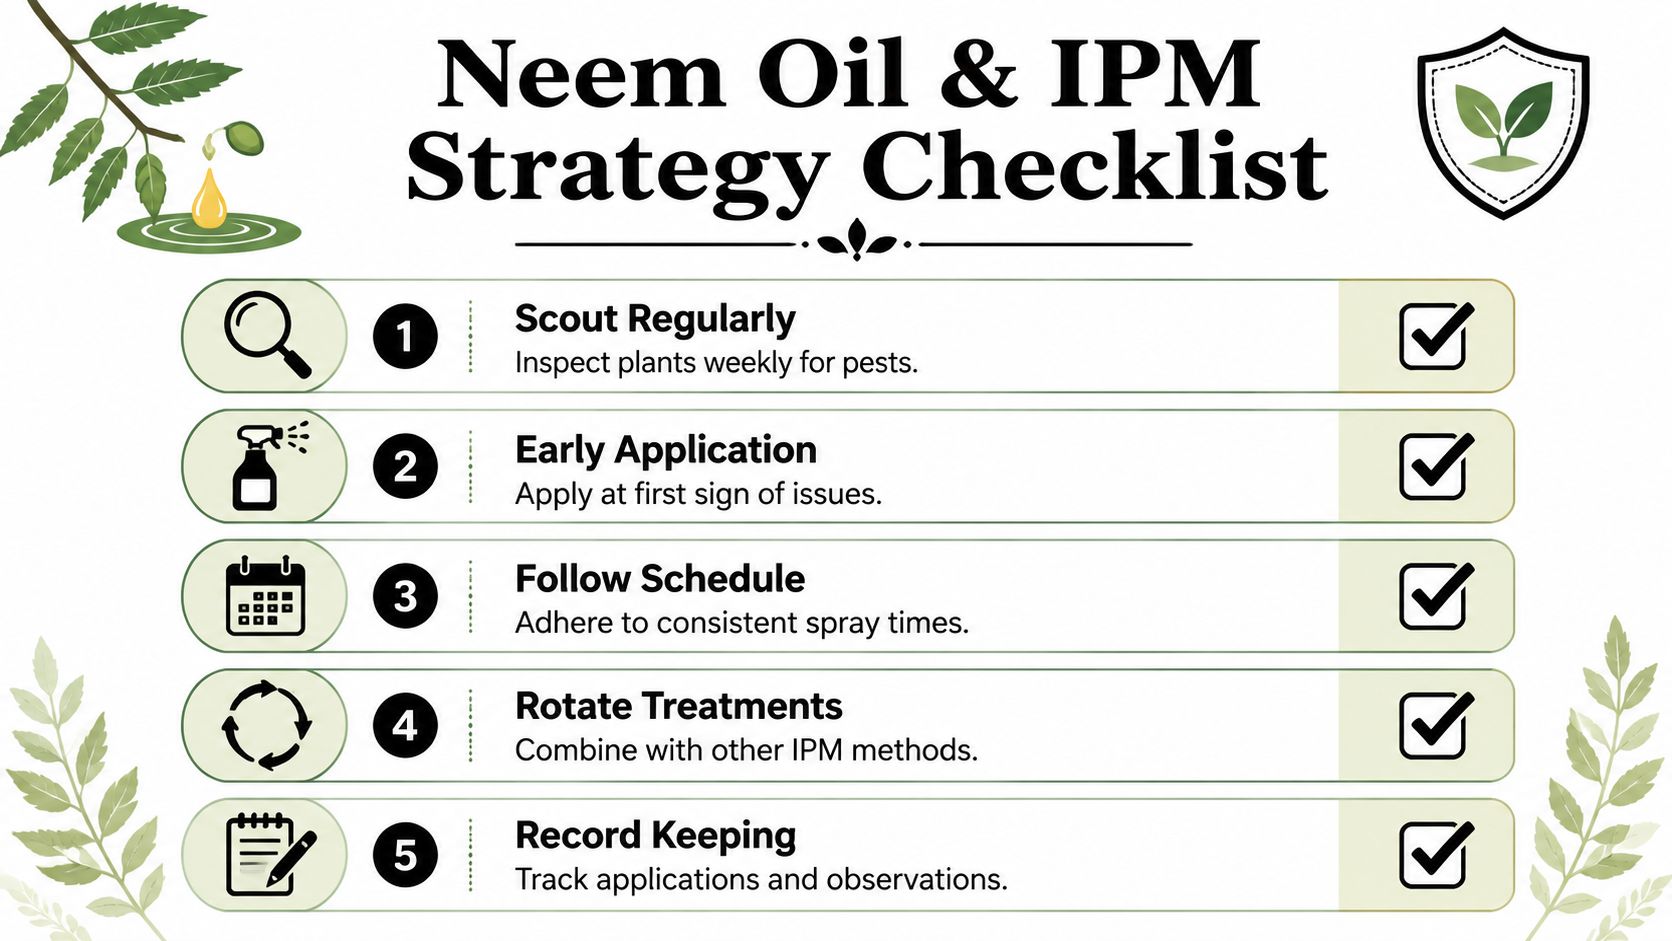
Neem oil works better when it isn't your only move. A basic home-grow IPM plan can include:
- Regular scouting: Check leaf undersides, nodes, and new growth on a schedule.
- Environmental cleanup: Remove dead plant matter and keep the grow area tidy.
- Targeted response: Treat the first signs of trouble early, not after the canopy is loaded with pests.
- Rotation with other methods: Sticky traps, physical removal, or biological controls all have a place.
If fungus gnats are part of the issue, pair your foliar plan with a soil strategy. This guide on how to kill fungus gnats in soil is a useful complement because neem alone doesn't solve every root-zone problem.
Practical rule: If you keep finding pests in the same spots after spraying, the issue is usually coverage, timing, or a missing IPM piece, not just the product itself.
The trap to avoid
A lot of growers overcorrect. They see pests, then spray too strong and too often. That usually adds plant stress without fixing the root issue. Neem works best when the schedule is steady, the mix is controlled, and the rest of your grow habits support it.
Using Neem Oil During Flowering The Hard Rules
A common pitfall causes much good advice to falter: People hear neem is organic, then assume it's safe all the way to harvest if they "use just a little." That's the mistake.
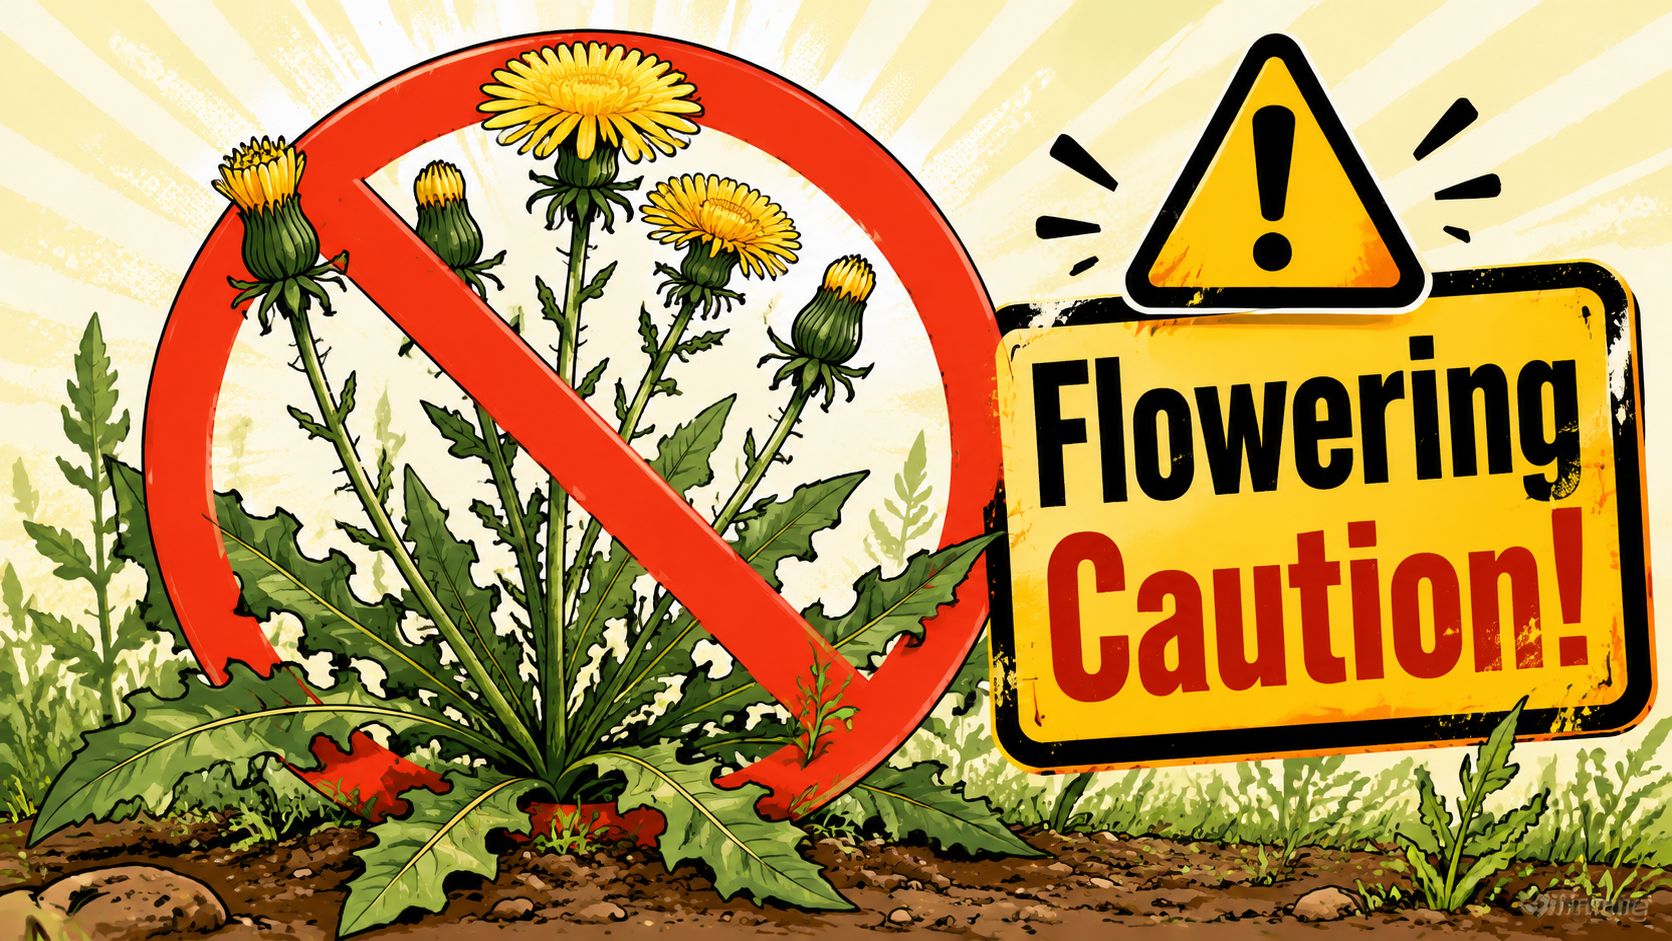
The main problem during flowering isn't whether neem can still affect pests. It can. The problem is what it can do to your finished buds. One cannabis cultivation guide points out that most content is unclear on flower-stage safety, but the real risk is residue that can ruin the taste and smell of the final buds. The same guidance says the best practice is to stop foliar sprays entirely by week 2 to 3 of flowering and switch to alternatives like biocontrols, physical removal, or targeted non-oily sprays.
The cutoff rule
Keep this simple:
- Vegetative stage: Neem can be part of the routine.
- Early flower: You are at the edge of the safe window.
- By week 2 to 3 of flowering: Stop foliar neem sprays entirely.
That rule matters even more when your cultivar is stacking flowers fast or producing dense bud sites early. Once trichomes and bud structure start developing, residue becomes a quality issue, not just a pest-control issue.
Why late flower neem is a bad trade
The trade-off stops making sense in bloom. Even if you suppress some pest pressure, you can create a harvest that doesn't smell or taste the way it should. For home growers, that's brutal. You put in months of work, then flatten the final aroma with an oily residue problem that never should've happened.
It's also one of those mistakes you usually can't undo in a satisfying way. That's why the best flowering-stage neem advice is a stop rule, not a softer "maybe."
If buds are forming, think first about harvest quality. Pest control still matters, but not every tool belongs in that stage.
What to use instead in late flower
When pests show up after the neem window closes, the answer is to change tactics:
- Beneficial insects: A good fit when you want pressure on pests without coating flowers.
- Physical removal: Remove badly affected leaves, wipe isolated problem areas carefully, and stay selective.
- Targeted non-oily sprays: If you use a late-stage product, keep it specific and avoid anything that leaves heavy residue on flowers.
The practical mindset here is risk reduction. You're trying to protect the harvest, not win some purity contest about using one product for the whole run.
If you're close to finish, timing gets even more important. This guide on when to harvest cannabis helps frame those late-stage decisions, because a plant nearing harvest should be handled very differently from one still in veg.
The hard truth most growers learn once
Neem oil for weed plants is great right up until it isn't. Flowering is that line. Respect it, and neem stays useful. Ignore it, and it can become the thing that compromises your best buds.
Growing with Confidence and Better Cultivars
Neem oil works best when you follow a few hard rules and stop trying to make it do every job in every stage. Mix it correctly. Use a proper emulsifier. Spray during cooler periods. Cover the leaf undersides, stems, and hidden crevices. Keep the routine steady instead of going overboard.
Most of the trouble people have with neem comes from impatience. They mix it poorly, spray under harsh light, miss pest hiding spots, or keep using it too deep into flower. The good news is that these are fixable mistakes. Once you know the boundaries, neem becomes a practical tool instead of a gamble.
The short version worth remembering
- Use neem in veg, not as a flower-stage crutch
- Mix until the solution looks uniformly milky
- Spray thoroughly, especially under leaves
- Apply in low-light conditions
- Stop foliar use by week 2 to 3 of flowering
- Switch to non-oily alternatives when buds are developing
Good pest control starts before the spray bottle
The easiest pest problem to manage is the one that never gets momentum. Strong plant vigor, a clean space, and cultivars that suit your setup all make a difference. Some home growers fight the same issues every round because they keep choosing plants that don't match their environment, container size, airflow, or local conditions.
That doesn't mean neem oil isn't worth keeping on hand. It absolutely is. It just works better when the rest of the grow is dialed in.
If you grow your own, you're already doing the part that matters most. You're paying attention, learning the plant, and getting better each run. That's how you build a stash you're proud of, without dispensary lines and without wondering what happened along the way.
If you're planning your next run, start with cultivars that match your space and growing style. Botanist Seeds makes that easier with a comparison tool that helps you sort through feminized and autoflower options so you can pick stronger-fit genetics for your setup, your goals, and a smoother grow from day one.












