





Your Indoor Seed Starting Setup for a Perfect Harvest
You're probably here because the math at the dispensary started to get annoying. You spot a cultivar you like, see the price, watch taxes stack on top, and suddenly the idea of growing your own starts sounding less like a fantasy and more like common sense.
That moment is usually the shift. Not from casual interest to expert grower, but from “maybe someday” to “I can set this up at home.” And the good news is you can. A solid indoor seed starting setup doesn't need to look like a lab, and it doesn't need to drain your wallet before your first sprout even shows up.
Modern autoflower and feminized seeds make the whole process a lot more approachable. You're not building some complicated breeding project. You're just creating a clean, stable little environment where a seed can crack, root, and become a strong young plant. Once you see that first sprout stand up under the light, the whole thing starts to click.
Why Starting From Seed Is a Game Changer
A lot of people first think about growing after one too many dispensary runs. You wait in line, pay retail, pay taxes, then get home and realize you could've put that same money into a light, a tray, and a few quality seeds. That's usually the turning point.
Starting from seed changes the relationship you have with the plant. You're not just buying the end result. You're shaping the full run from day one, from the first tiny root to the finished flower. With feminized and autoflower cultivars, that process feels far less intimidating than people expect, especially if your goal is a reliable home grow instead of a complicated project.
There's also a different kind of satisfaction in it. You pick the cultivar. You control the environment. You learn how that plant likes to grow, how quickly it reaches for light, how compact or stretchy it tends to be, and what kind of aroma starts showing up early.
Practical rule: Seed starting feels technical until you do it once. After that, it feels like a routine.
The first sprout is the hook for most growers. One day it's just a seed in a cup or starter plug. Then you check in and there's a little green stem pushing up like it's got somewhere to be. That's the point where a lot of people stop seeing cultivation as a mystery and start seeing it as a skill.
Why it's worth doing at home:
- More control: You know exactly how the plant was started, watered, and handled.
- Better cultivar access: You can grow the flavor, structure, and vibe you want, not just what happens to be available that week.
- Less dependency on retail: Fewer dispensary trips, fewer lines, and less frustration around pricing.
- Real pride in the process: There's something different about enjoying flower that started in your own setup.
If you've been putting this off because it seemed too technical, seed starting is the best place to begin. It's simple, hands-on, and forgiving enough that you can learn fast without needing a packed grow room.
Planning Your Space and Gathering Your Gear
Most beginner mistakes happen before the seed ever touches water. Not because people are careless, but because they buy random gear without thinking through the flow of the space. A good indoor seed starting setup is less about having fancy equipment and more about keeping a few basics stable.
Pick a space you can check every day
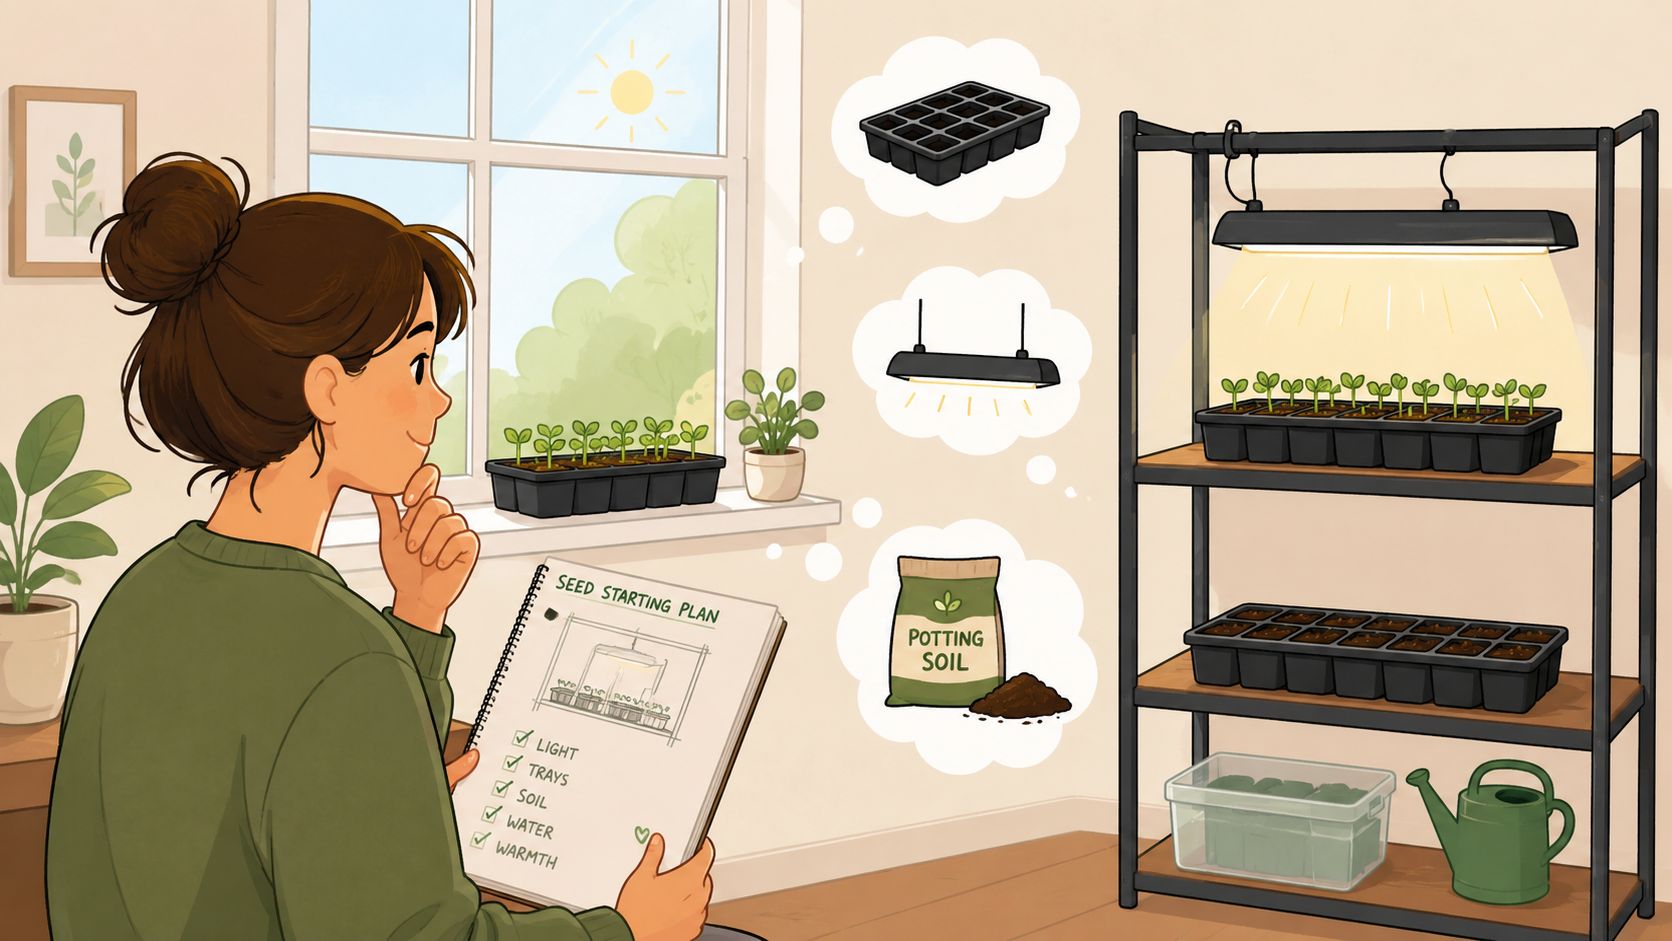
Seedlings don't need a huge footprint. A closet shelf, utility room corner, basement table, or small tent can all work. The main thing is access. If the setup is annoying to reach, you're less likely to catch small problems early.
A workable spot should have:
- Easy outlet access: Lights, timers, and possibly a heat mat all need power.
- Stable room conditions: Avoid drafty windows, freezing garages, or spots that swing hot and cold all day.
- A surface that can get messy: Water spills happen. Soil spills happen. Plan for it.
- Enough headroom: Seedlings stay small at first, but your light still needs room to hang above them.
If you want a more contained option, a compact tent setup keeps things cleaner and easier to manage. A lot of home growers start with a simple grow tent kit for small indoor spaces because it cuts down on guesswork and gives you one defined environment to work with.
Start with the non-negotiables
You can absolutely overbuy at this stage. Don't. For seed starting, a few tools matter a lot more than the rest.
Core gear for a simple setup:
- Grow light: A basic LED grow light or even a bright LED shop light can work well for seedlings.
- Timer: This keeps your light schedule consistent without you having to think about it.
- Seed starting containers: Solo cups, nursery pots, cell trays, or root trainers all do the job.
- Tray or catch pan: You need something underneath to hold runoff and keep the area clean.
- Growing medium: Light seed-starting mix, coco-based mix, or a gentle potting soil.
- Spray bottle or small watering can: Useful for careful early watering.
- Labels: You think you'll remember which cultivar is which. You won't.
Lighting matters more than people think
Weak light creates weak seedlings. That's where you get the classic tall, skinny sprout that looks like it's trying to escape the pot. For this stage, you don't need the most intense fixture on the market, but you do need steady, close, usable light.
What works well:
- LED shop lights: Budget-friendly and often enough for germination and early seedling growth.
- Full-spectrum LED grow lights: Better if you want one fixture that can keep serving you as plants get larger.
- Adjustable hanging: This matters almost as much as the light itself. You need to raise or lower it as the seedling grows.
What usually doesn't work well:
- A random sunny window: It sounds easy, but seedlings often stretch badly there.
- Leaving the light too high: This is one of the fastest ways to get floppy starts.
- Overcomplicating spectrum talk: For seedlings, brightness and distance matter more than hobby-forum debates.
Keep the light close enough that the seedling stays compact, but not so close that it looks stressed or dried out.
Containers and medium make the process easier or harder
Seedlings don't need giant pots. In fact, oversized containers make watering harder because too much wet medium stays around the roots. Small starter cells or cups with drainage holes are easier to manage.
Here's a quick comparison:
| Option | Best for | Watch out for |
|---|---|---|
| Starter cells | Clean, organized starts | Dry out faster |
| Solo cups with holes | Cheap and simple | Easy to overwater if too large for the seedling |
| Root trainers | Better early root structure | Cost more up front |
| Small nursery pots | Reusable and sturdy | Take up more space |
For medium, keep it simple.
- Seed-starting mix: Usually the easiest choice. Light texture helps young roots move easily.
- Coco coir blends: Great if you like control, but they usually ask for more attention with watering and feeding.
- Heavy potting soil: Often too dense for tiny seedlings, especially if it stays soggy.
Small upgrades that are actually worth it
This is the part people skip, then regret later. A few cheap support items make the whole setup feel smoother.
Helpful extras:
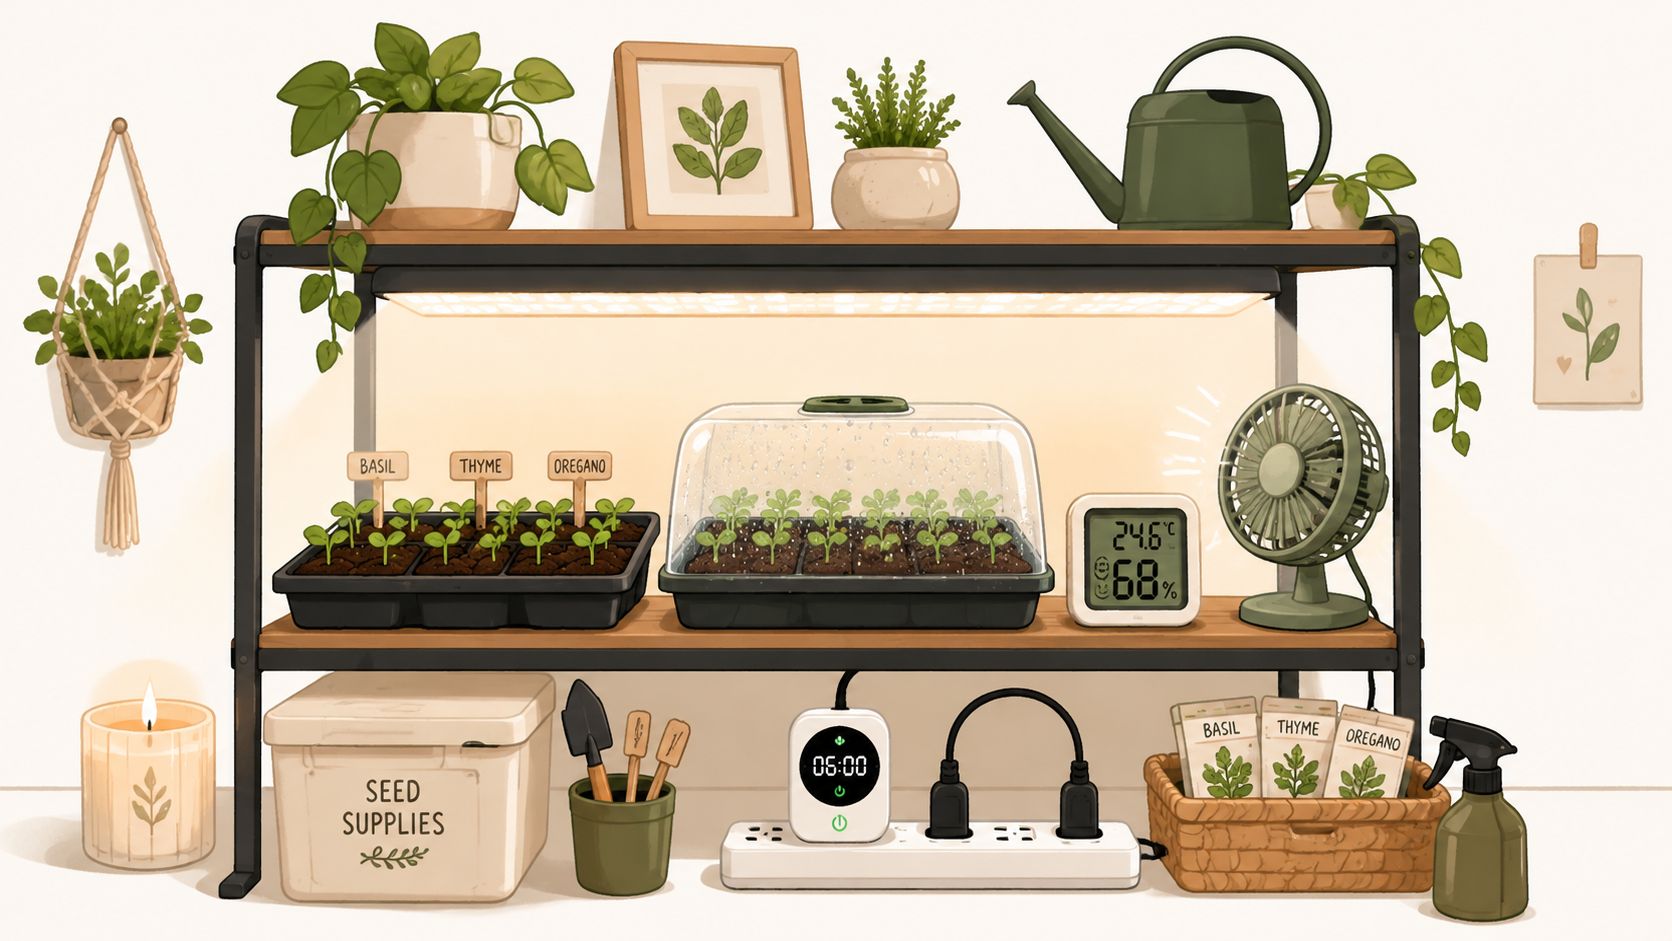
- Power strip with timer: Cleaner than plugging everything in separately.
- Humidity dome: Useful during germination, but don't leave seedlings sealed up too long once they emerge.
- Heat mat: Handy if your room runs cool and germination feels sluggish.
- Small fan: Gentle airflow helps keep stems stronger and surface moisture from hanging around too long.
A good indoor seed starting setup should feel boring in the best way. You turn the light on with a timer, check moisture, keep the area clean, and let the seedling do its thing. That's the sweet spot.
Choosing Your Germination Method
It's common for growers to start second-guessing themselves. They read five different opinions, watch ten videos, and come away thinking there must be one perfect method. There isn't. There's just the method that matches your setup, your patience level, and how much handling you're comfortable with.
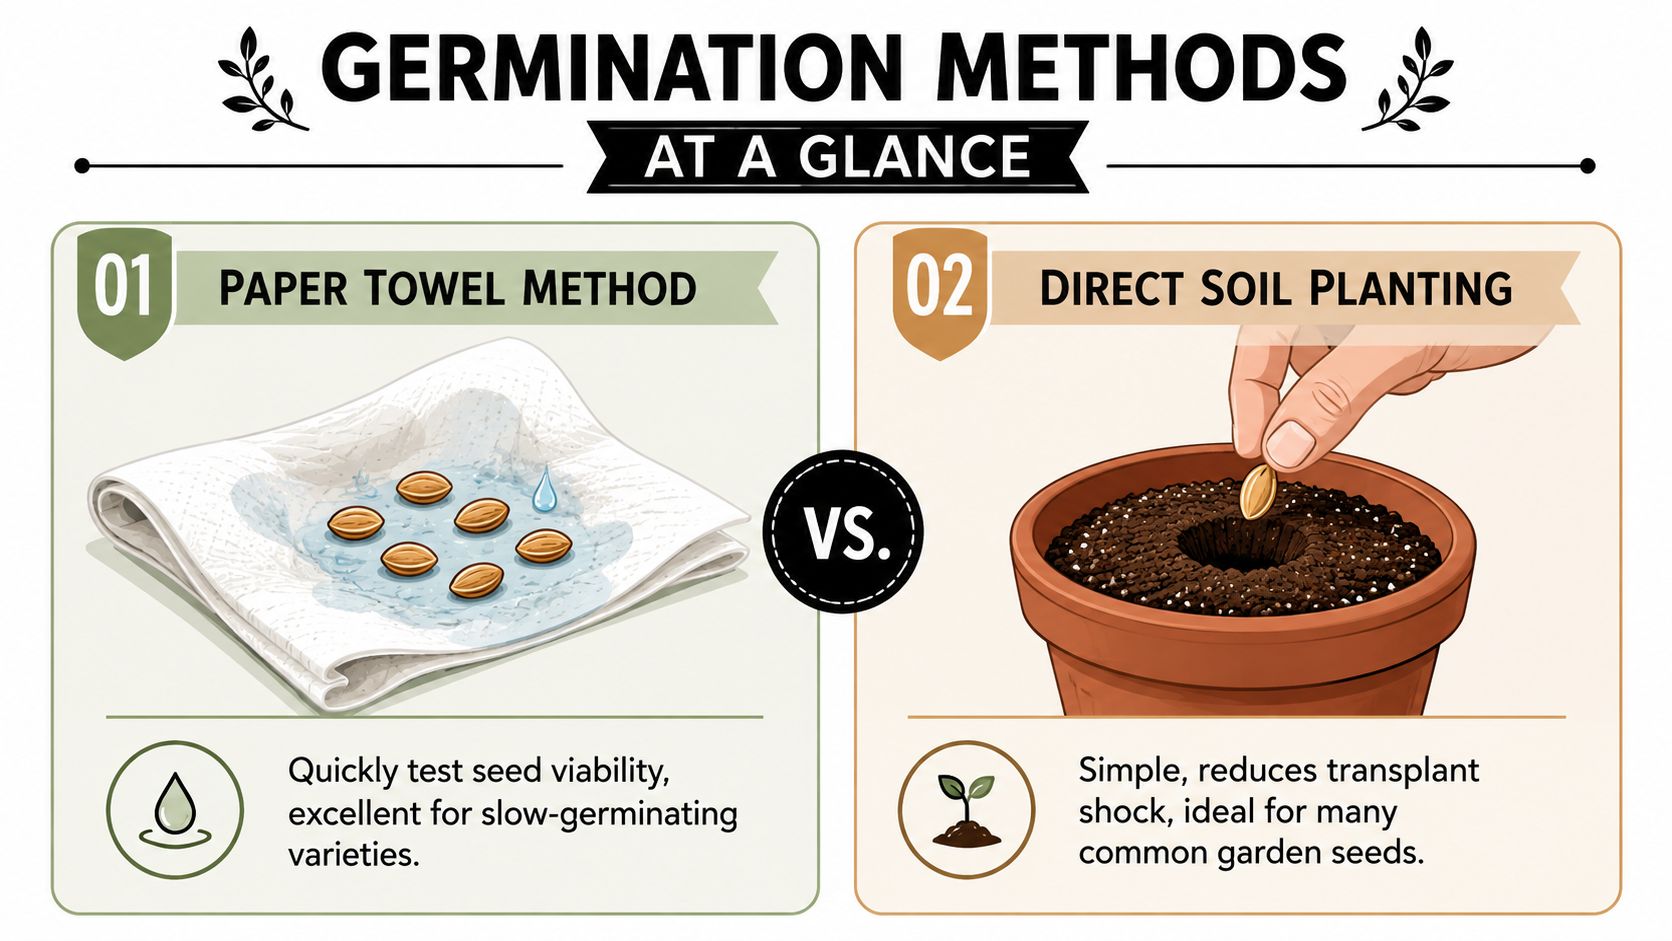
If you want a step-by-step visual for the planting side, this guide on how to plant weed seeds indoors pairs well with the decision points below.
Paper towel method
This is popular for a reason. You get visual confirmation that the seed has cracked and started a taproot before you move it into your medium.
Pros:
- Easy to monitor: You can see when the seed opens.
- Good for peace of mind: Helpful if you hate waiting without feedback.
- Useful for slower starters: You know whether progress is happening.
Cons:
- Extra handling: That tiny taproot is delicate.
- Easy to overdo moisture: Too wet and things can get funky fast.
- One more transfer step: More chances to fumble the landing.**
This method works well for growers who like to watch the process closely and don't mind a careful transplant.
Direct-to-soil method
This is the most natural-feeling approach. You place the seed in its medium, keep conditions steady, and let it emerge where it will continue growing.
Why people like it: There's less handling, less fuss, and no need to move a fragile taproot from one environment to another.
Where people mess it up: They either plant too deep, water too aggressively, or keep poking around to check if anything is happening.
A simple way to approach it:
- Best fit: Growers who want the least amount of interference.
- Big advantage: Reduced transplant stress at the earliest stage.
- Main challenge: You need patience because you can't see progress underground.
If you tend to overhelp, direct sowing can save you from yourself.
Water soak method
This one is usually used as a quick first step, not always as the whole process. The seed goes into water for a short period, then gets moved into soil or paper towel once it's ready.
Pros and trade-offs side by side:
| Method point | What's good about it | What to watch |
|---|---|---|
| Fast hydration | Helps the shell absorb moisture quickly | Leaving seeds too long can backfire |
| Simple setup | Just a clean glass and water | Still requires a second step |
| Useful opener | Can kickstart stubborn seeds | Not ideal if you want a one-step process |
For many home growers, water soak is best used as a bridge. It's less of a complete system and more of a way to get things moving.
So which one should you choose
Pick based on personality, not internet arguments.
- Choose paper towel if you want visible proof before planting.
- Choose direct-to-soil if you want the cleanest, lowest-handling route.
- Choose water soak if you like a quick hydration step before using another method.
The biggest difference isn't usually the method itself. It's whether you keep the environment steady and resist the urge to mess with the seed every few hours. Good germination is often just moisture, warmth, and patience.
Nurturing Your Seedlings in the First Weeks
The first days after sprouting are where a healthy run starts to separate from a frustrating one. Seedlings look simple, but they react fast to bad habits. Too much water, weak light, stale air, or a soggy medium can push them off course before they've even built a decent root system.
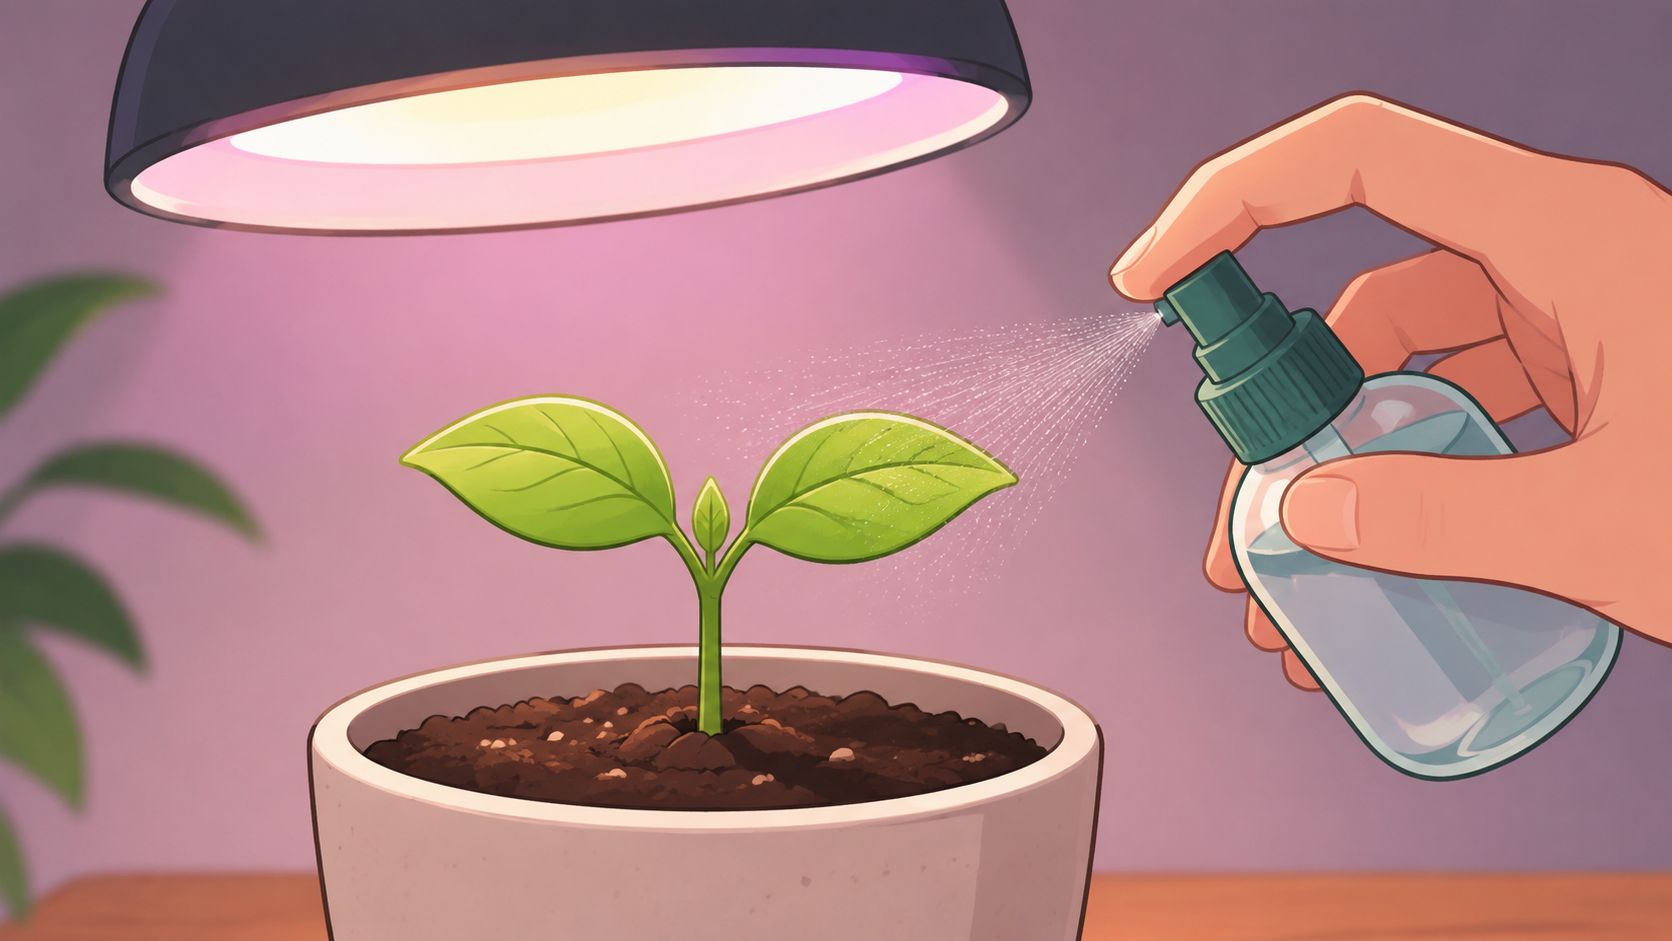
A lot of beginners focus on doing more. The better move is doing less, but doing it consistently. Seedlings want a calm, steady environment. If you're constantly changing things, they show it.
Keep the light close and the growth compact
The first sign of trouble is often stretching. The seedling comes up, then starts shooting upward with a thin stem and tiny leaf set. That usually means the light is too far away or too weak for the plant to stay tight and sturdy.
What to look for:
- Healthy seedling: Short stem, steady upright posture, leaves opening normally.
- Leggy seedling: Thin, elongated stem, leaning or reaching hard.
- Light stress: Leaves looking unhappy, dried, or overly tense under the fixture.
Use your eyes more than any chart. If the plant is stretching, bring the light closer. If it looks stressed, back it off a bit. You're aiming for compact, relaxed growth.
Water less than your instincts tell you
Overwatering is probably the most common beginner mistake in an indoor seed starting setup. New growers see a tiny plant and think it needs constant soaking. It doesn't. Seedlings need moisture near the root zone, not a swamp.
A better approach:
- Moisten the medium before planting: This creates an even starting point.
- Water lightly around the seedling: Don't flood the whole container every time.
- Let the top surface move toward lightly dry: Not bone dry, just not constantly wet.
- Watch the container weight: A heavy cup usually means there's still plenty of moisture inside.
Most seedling problems that look like hunger are actually wet roots and low oxygen.
If you're using a humidity dome during early emergence, remove or vent it once seedlings are up and moving. If you want a deeper look at whether a dome fits your setup, this guide on humidity domes for seedlings helps sort out when they help and when they just trap too much moisture.
Give them air and a stable room
Seedlings like fresh air. They don't like being blasted by a fan, but they do benefit from a gentle breeze nearby. Light airflow helps discourage stagnant moisture and encourages stronger stems.
A comfortable seedling area usually has:
- Gentle air movement: Think slight leaf movement, not constant shaking.
- Moderate warmth: Not a chilly basement corner if you can avoid it.
- Balanced humidity: Enough that they don't dry out instantly, but not so much that everything stays damp all day.
This walkthrough is useful if you want to see the early stage care in action.
Don't rush feeding
For the first stretch of life, many seedlings don't need much added nutrition, especially if they're in a decent starter mix. The mistake is dumping feed in too early because the grower wants to help.
A simple guideline:
- In a gentle seed-starting mix: Wait until the seedling is clearly established before even thinking about light feeding.
- In coco-based media: You may need to pay closer attention sooner because inert media behaves differently.
- If the plant looks healthy: Keep your hands off the bottle.
The first weeks are mostly about root development, steady light, and smart watering. If you get those right, the plant builds momentum fast. Once a seedling looks settled, upright, and actively growing, the rest of the run gets much easier.
Fixing Common Seed Starting Problems
Even clean setups throw a few curveballs. The good news is most seedling issues look dramatic long before they're fatal. If you catch them early, the fix is usually pretty simple.
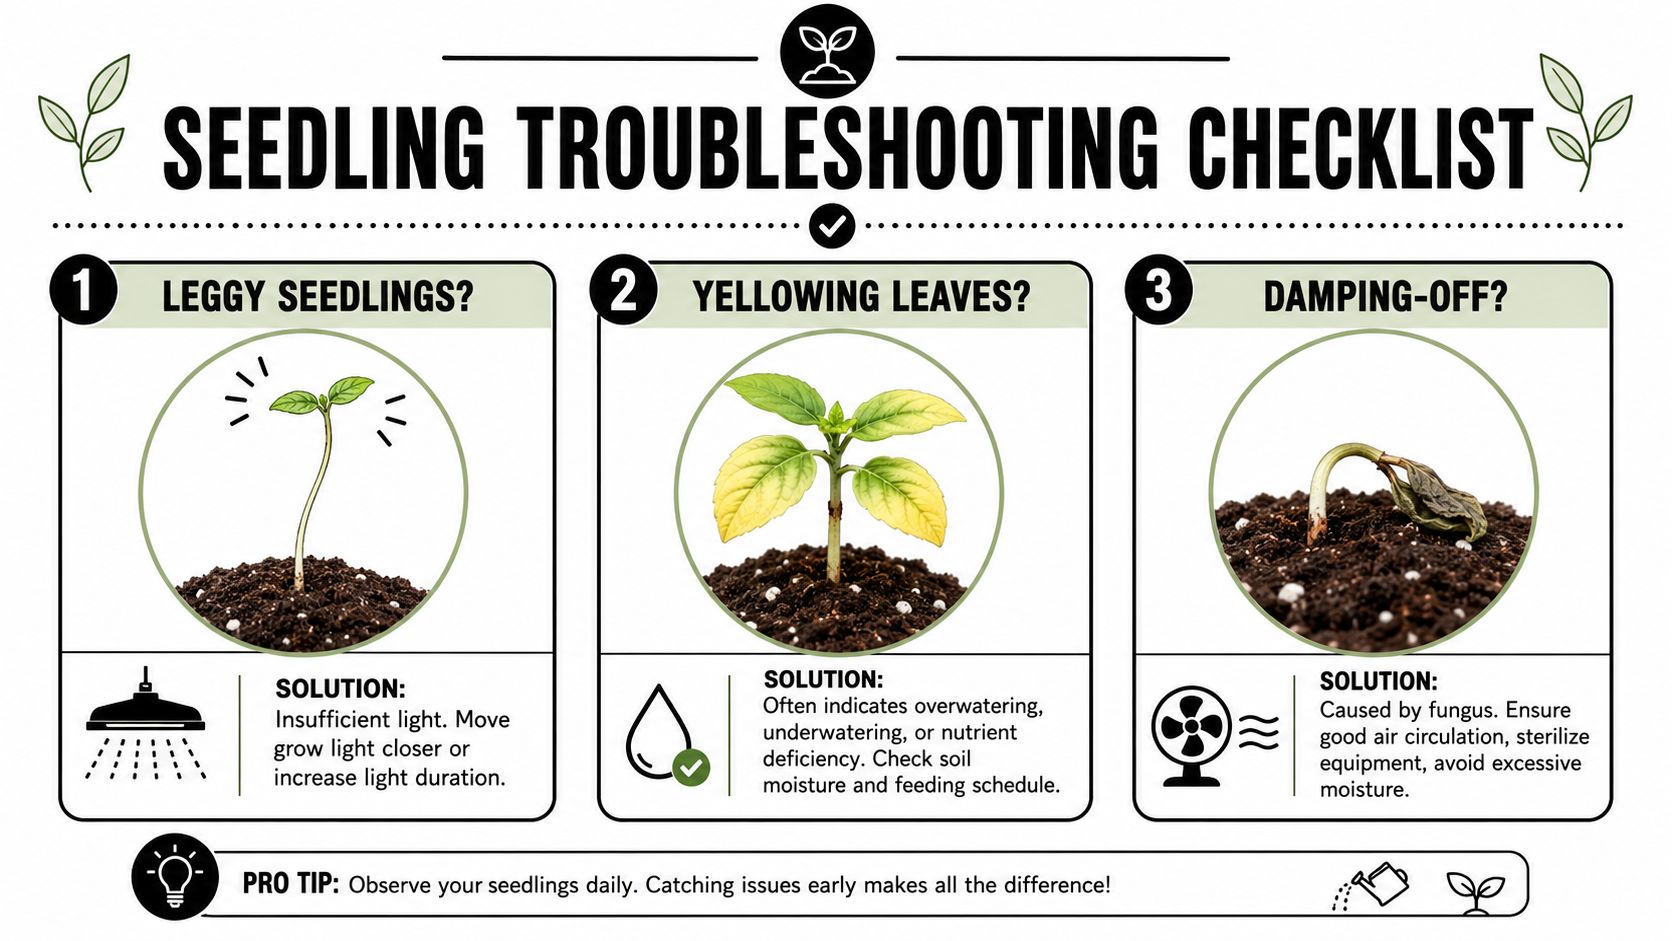
Why is my seedling tall and floppy
That's usually stretching. The seedling is reaching because the light isn't close enough or strong enough.
Fix it like this:
- Move the light closer: Do it gradually and watch the response.
- Support the stem if needed: A little extra medium around the base can help.
- Improve airflow: A gentle fan can encourage stronger stem growth.
If the new growth starts coming in tighter, you corrected the problem.
Why are the leaves turning pale or yellow
Yellowing in the seedling stage can come from a few different causes, but the first one I'd suspect is watering, not feeding. Roots sitting in soggy medium stop functioning well, and the plant starts sending ugly signals above the surface.
Check these first:
- Too wet: Soil feels heavy, leaves droop, growth slows.
- Too dry: Medium pulls away from the container edge, seedling looks limp.
- Too early for nutrients: Overfeeding can make a small plant look worse, not better.
Pale leaves don't automatically mean the plant is hungry. They often mean the roots are stressed.
Why did the seedling fall over at the base
If the stem narrows at the soil line and the seedling collapses, that can be damping off. It's one of the uglier early problems, and it usually shows up when moisture stays high and airflow stays low.
What helps prevent it:
- Use clean containers: Don't start in dirty old gear.
- Avoid saturated media: Wet all the time is risky.
- Add gentle airflow: Stale, humid air invites problems.
- Skip crowding: Packed trays hold more trapped moisture around stems.
Once a seedling has clearly damped off, it usually won't recover. Focus on correcting the environment for the rest.
Why is the seed shell stuck on the leaves
That's the classic helmet head problem. The seedling emerges, but the shell doesn't release cleanly. It can look alarming, but it's often fixable with patience.
Try this:
- Raise humidity slightly for a short time: A little moisture can soften the shell.
- Use a drop of water on the shell: Let it sit briefly before touching it.
- Don't force it immediately: Tugging too early can damage the seedling.
If you do remove it manually, be gentle and work slowly.
Why does the seedling look stalled
Sometimes nothing looks obviously wrong. It just isn't doing much. In that situation, resist the urge to throw five solutions at once.
Run through a short checklist:
- Is the light close enough
- Is the medium too wet
- Is the room too cool
- Did you start feeding before the seedling was ready
- Did you transplant or handle it too much
Most stalled seedlings recover when the environment gets simpler. Better light, lighter watering, and a little patience solve a lot more than people think.
Your Next Step Finding the Perfect Cultivar
Once your setup is dialed in, seed starting stops feeling intimidating and starts feeling routine. You've got a space, a light, a container, a medium, and a process that makes sense. That's the foundation most new growers need.
From here, the fun part is choosing what to grow. Different autoflower and feminized cultivars bring different growth habits into the room. Some stay compact and tidy. Some push harder and need more headroom. Some start throwing loud aromas early, while others stay more subtle until later.
That's why the best pick isn't just about hype. It's about fit.
Think about your real setup and your real preferences:
- Limited vertical space: Look for cultivars known for a more manageable structure.
- Fast, simple home runs: Autoflower cultivars are often the easiest place to start.
- More control over timing and training: Feminized cultivars can be a great match if you want a little more hands-on control.
- Flavor-first growing: Focus on aromatic profiles and the overall vibe you want from the final flower.
A simple indoor seed starting setup gives you options. It puts you in control of the experience from the start instead of settling for whatever's on a shelf. And once you've handled germination and early seedling care, choosing the right cultivar becomes a lot easier because you know what your space can support.
If you're ready to match your setup with the right genetics, check out Botanist Seeds. Their comparison tool makes it easy to sort autoflower and feminized cultivars by growth style, experience level, and the kind of grow you want to run at home.












