How to Preserve Weed Seeds: A Grower’s Guide
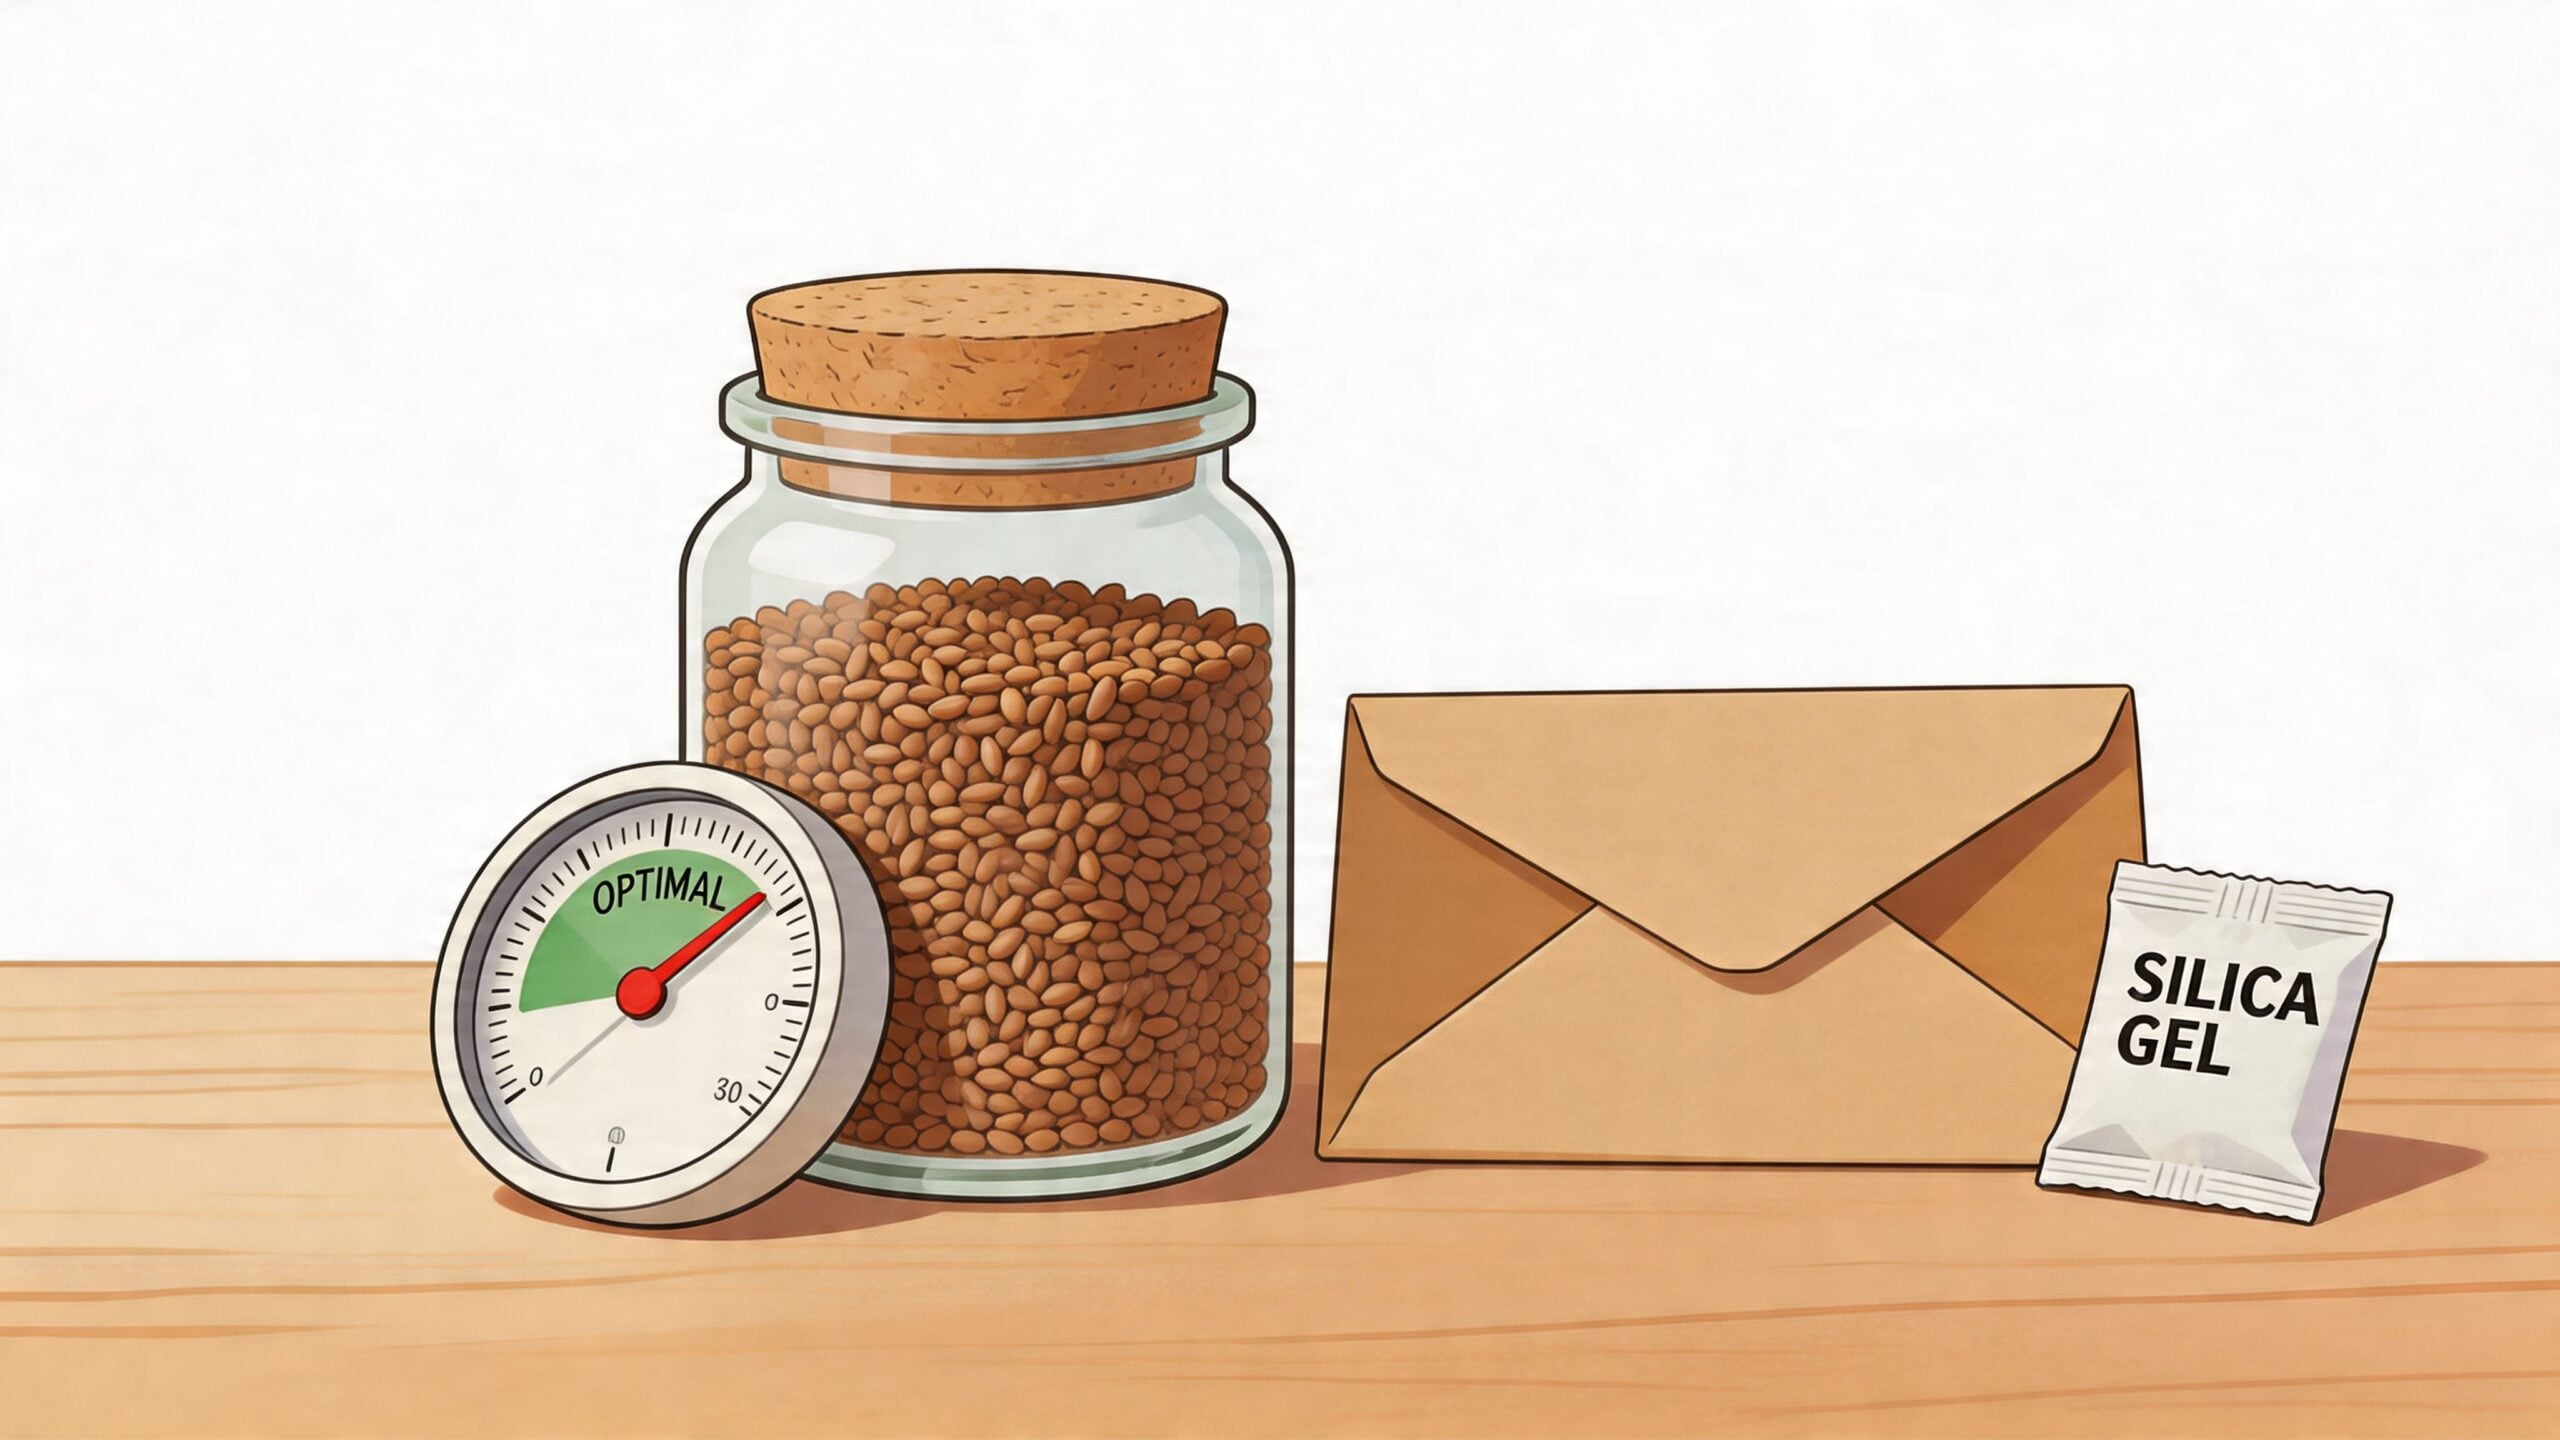
You buy a pack of premium seeds, tuck a few away for later, and tell yourself you’ll remember where they are. A month turns into a season. Then you find them in a warm drawer, in a flimsy bag, next to a lamp and a pile of grow gear, and suddenly that “later” plan looks shaky.
That’s why learning how to preserve weed seeds matters more than most home growers think. Good storage isn’t some fussy collector habit. It’s basic protection for genetics you already paid for and cultivars you may want to run again when your setup, timing, or mood lines up.
A lot of us don’t pop every seed right away. Maybe you’re saving a loud terp-heavy autoflower for summer, holding onto a compact feminized cultivar for a tight indoor run, or keeping a few favorites back so you’re not stuck shopping again when the next grow calls. If you store them well, you keep your options. If you store them poorly, you roll the dice every time you reach into that stash.
Why Properly Storing Your Seeds Matters
Seeds look tough. They’re small, dry, and easy to underestimate. But inside that shell is a living embryo with a limited reserve of energy, and every bad storage habit chips away at it.
That matters because failed seeds waste more than the seed itself. They waste your time, your medium, your planning, and your momentum. Nothing kills the vibe of a new run faster than weak germination from seeds that were perfectly fine when you bought them.
What you’re really protecting
When you store seeds properly, you’re protecting a few things at once:
- Your money: Premium genetics aren’t something you want to replace because of sloppy storage.
- Your schedule: If you’re timing a run around work, travel, or weather, dead seeds can throw the whole thing off.
- Your cultivar library: A good stash lets you choose the right plant for the right setup, not just whatever you happen to have left.
- Your future grows: Some cultivars are worth revisiting because of their aroma, structure, speed, or just the way they fit your style.
A serious hobbyist usually ends up with a small library whether they planned on it or not. A couple of feminized seeds from one order, a few autoflowers from another, one cultivar you loved too much to use all at once. That collection deserves better than a random closet shelf.
Practical rule: Seed storage is part of growing, not something separate from it.
The upside is that good preservation isn’t complicated. You don’t need a commercial seed vault. You need a stable plan, a decent container, and the discipline to keep seeds cool, dark, and dry.
Understanding the Enemies of Seed Viability
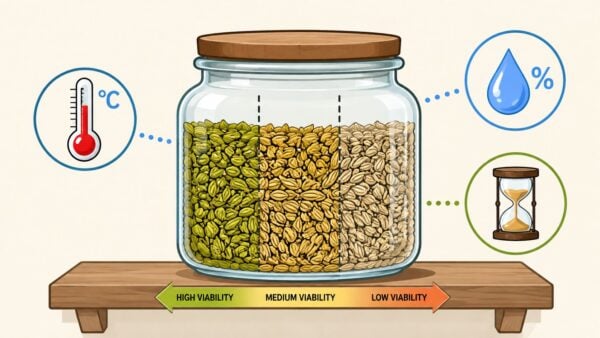
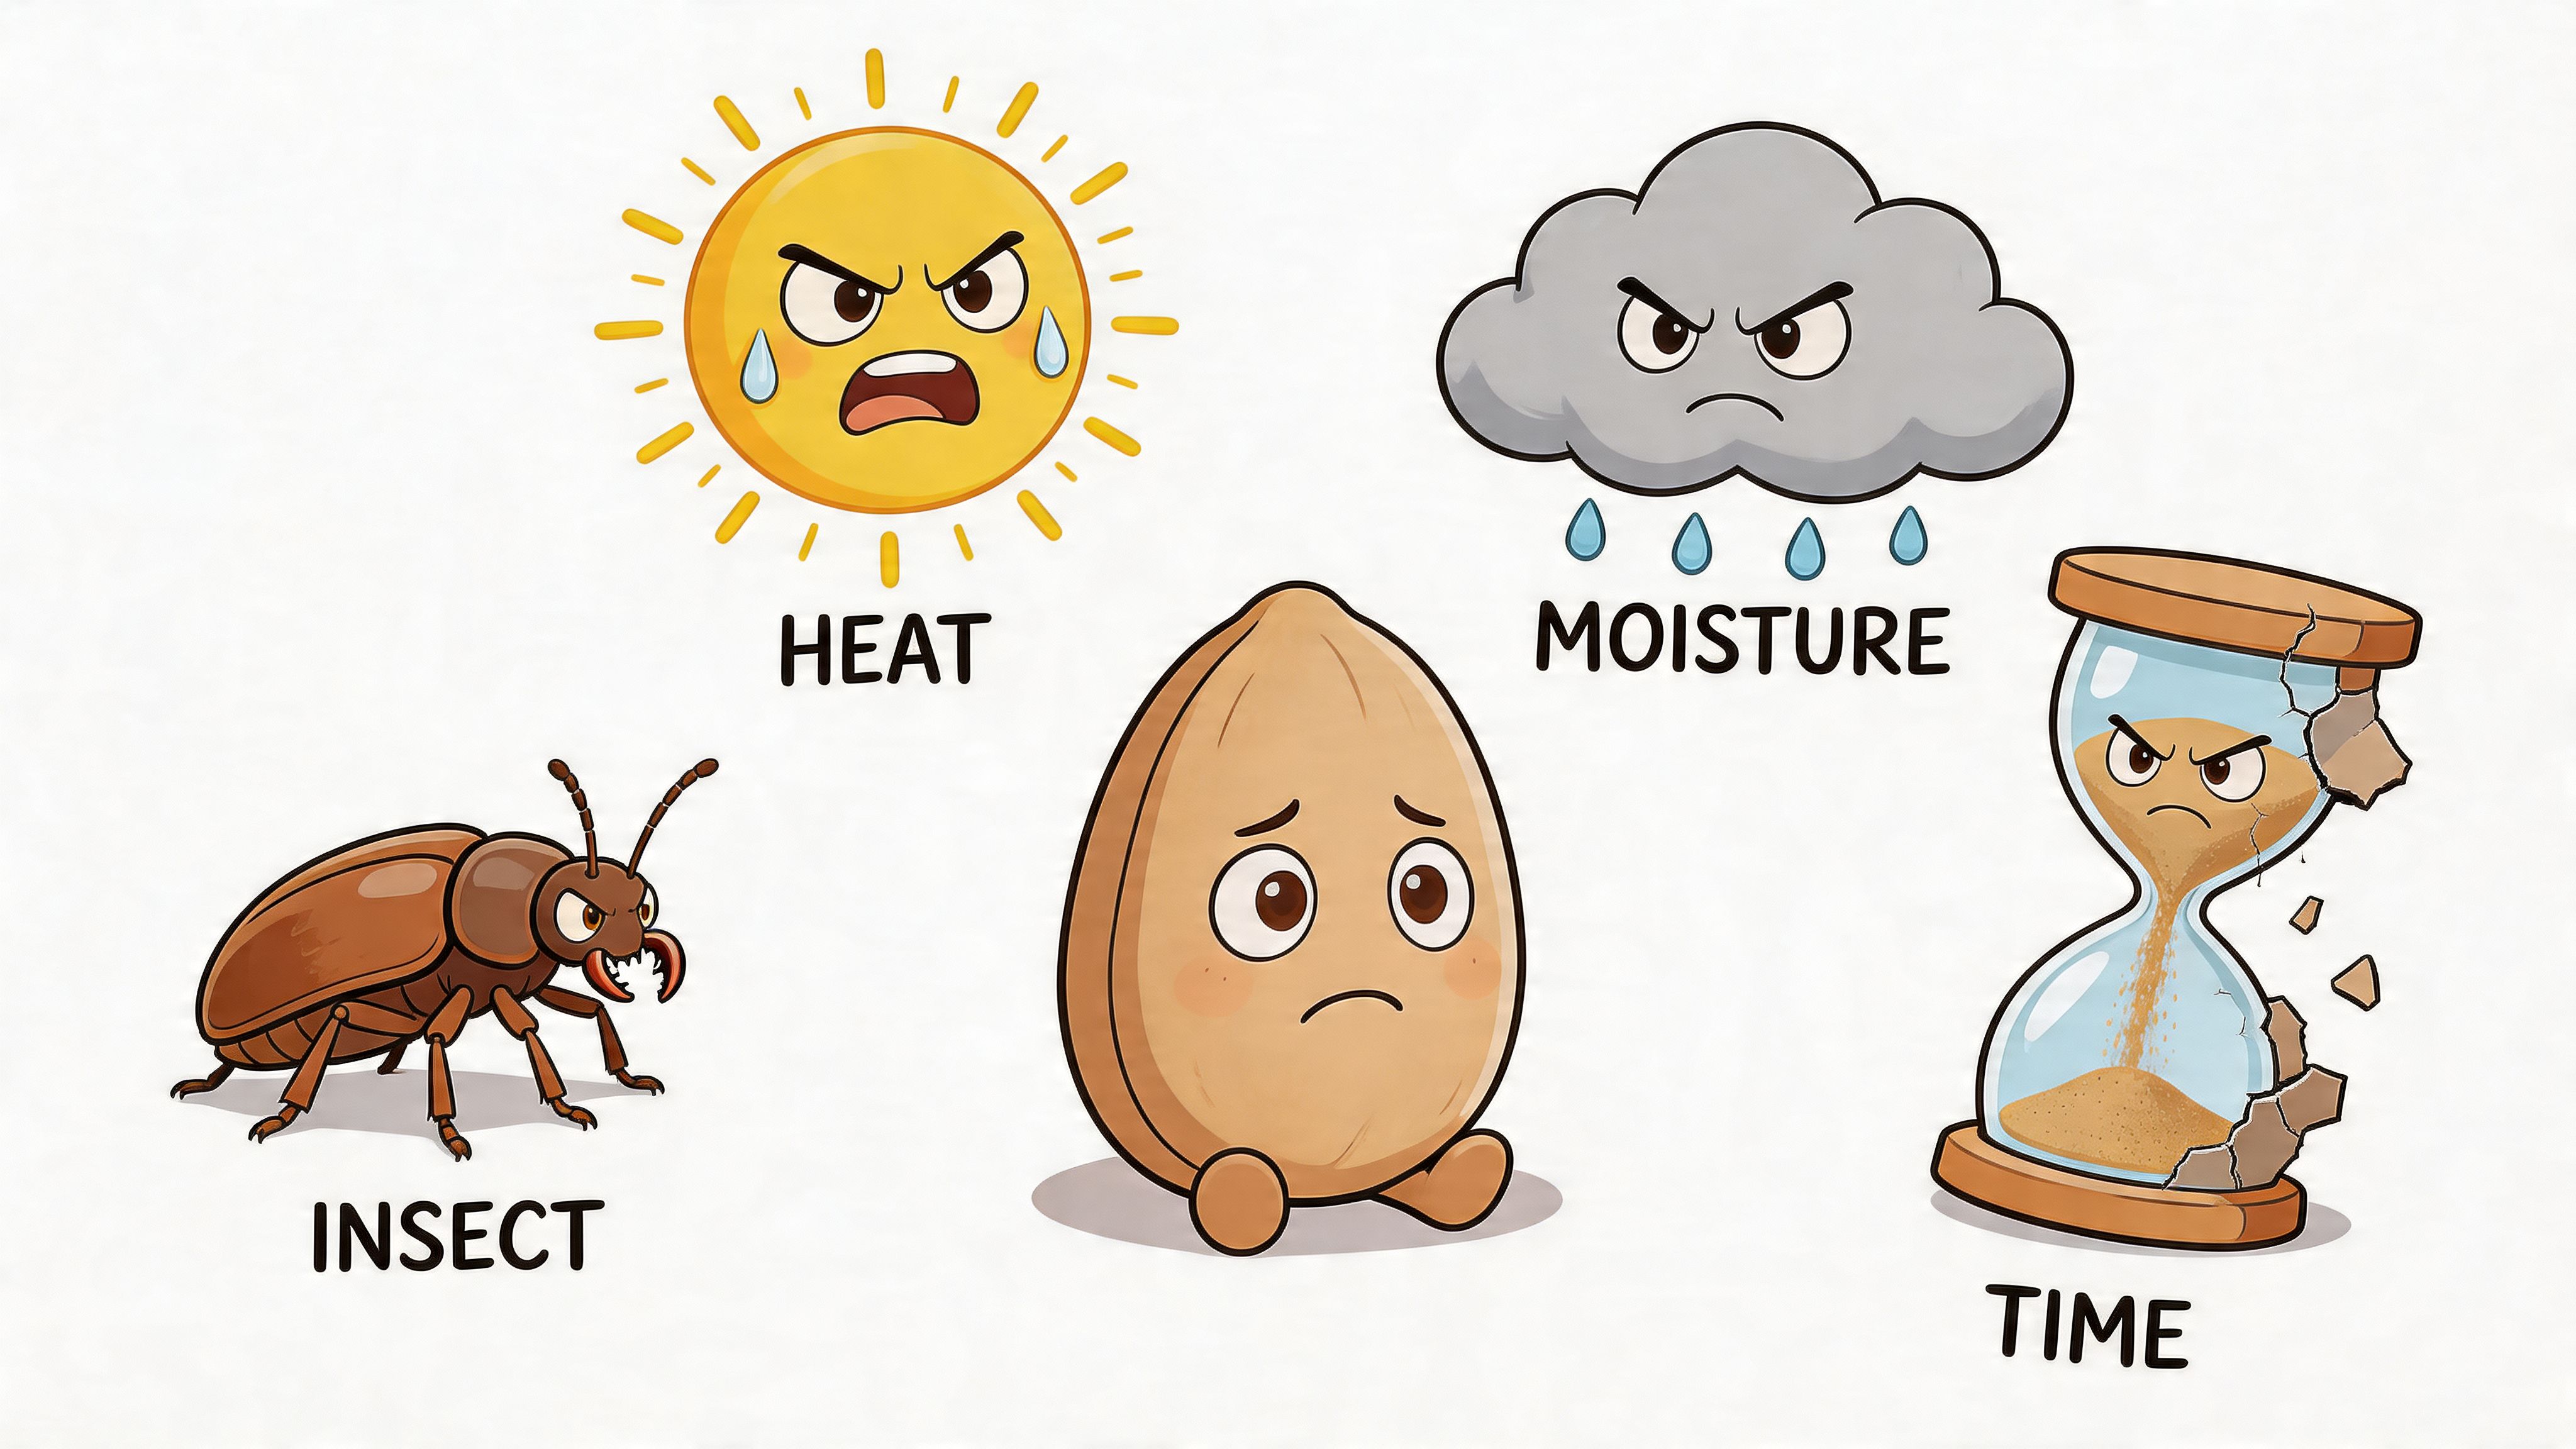
If you want seeds to last, think less about fancy gear and more about what’s working against them every day. Four things ruin stored seeds faster than anything else: light, heat, moisture, and oxygen.
They don’t always kill a seed all at once. Usually they do it slowly. That’s what catches growers out.
Light wakes a seed up when you want it asleep
Light tells a seed that conditions might be changing. Even if it doesn’t trigger germination by itself, it pushes the seed in the wrong direction. Long term exposure also degrades the genetics more quickly than often understood.
That’s why a clear bag on a shelf is a bad call. A seed should spend storage time in complete darkness, or as close as you can get to it. Opaque packaging helps, and a second dark container helps even more.
Heat burns through stored energy
Heat is the quiet killer. A seed stored too warm keeps chewing through its own reserves. You can’t see it happening, but the seed is aging faster.
The easiest rule to remember is this: degrees Fahrenheit plus relative humidity should equal or stay below 100, according to this long term seed storage guide from Mr. Nice. The same guide gives a simple example. A seed stored at 40°F with 35% RH will last substantially longer than one kept at 50°F with 50% RH, because warmer conditions push metabolic activity higher.
That’s the backbone of smart storage. “Cool and dry” sounds nice, but this rule gives you a benchmark you can use.
Keep the room cool if you’re storing short term. Keep the fridge stable if you’re storing long term. Random temperature swings are where a lot of problems start.
Moisture is useful only when you actually want germination
Moisture is where people get sloppy. Seeds need moisture to sprout, but during storage it’s the enemy. Too much humidity invites mold, contamination, and premature biological activity. Too little can also be rough on longevity over time, which is why balance matters more than blind drying.
The same long term storage guidance above puts the temperature plus RH rule front and center for a reason. It forces you to think about both conditions together, not just one. If you already manage your grow room climate, you know humidity isn’t a side issue. If you need a refresher on moisture control in active growing spaces, this guide on how to raise humidity in a grow tent helps explain how humidity behaves in a real setup.
Oxygen keeps slow aging moving
Oxygen doesn’t get talked about as much as heat and moisture, but it matters. The more air exchange around a seed, the less “paused” that storage environment is. That’s one reason airtight containers outperform loose packaging.
You don’t need to obsess over building a lab-grade anaerobic chamber at home. You do want to reduce exposure. A well sealed mason jar, medicine bottle, film canister, or vacuum bag with a desiccant goes a long way.
The middle ground that actually works
Most home growers don’t need a complicated seed banking system. They need to avoid obvious mistakes:
- Don’t leave seeds in direct room light
- Don’t store them in warm spots like near electronics or sunny windows
- Don’t trust a loose plastic bag
- Don’t ignore humidity
If you remember one thing, remember this. Seeds last when the environment stays boring. Stable, dark, dry, and cool beats clever every time.
Getting Your Seeds Ready for Dormancy
A lot of expensive seeds get ruined on the kitchen counter.
The mistake is usually the same. A grower finishes a run, finds a few keeper seeds, then drops them into a baggie or spare jar without checking their condition first. If you paid real money for premium genetics, or made seeds from a plant you plan to use again, that casual step is where losses start.
Good storage begins before the container ever gets sealed. The job here is to put clean, mature, dry seeds into a setup that will not trap moisture, debris, or confusion.
Start with a clean inspection
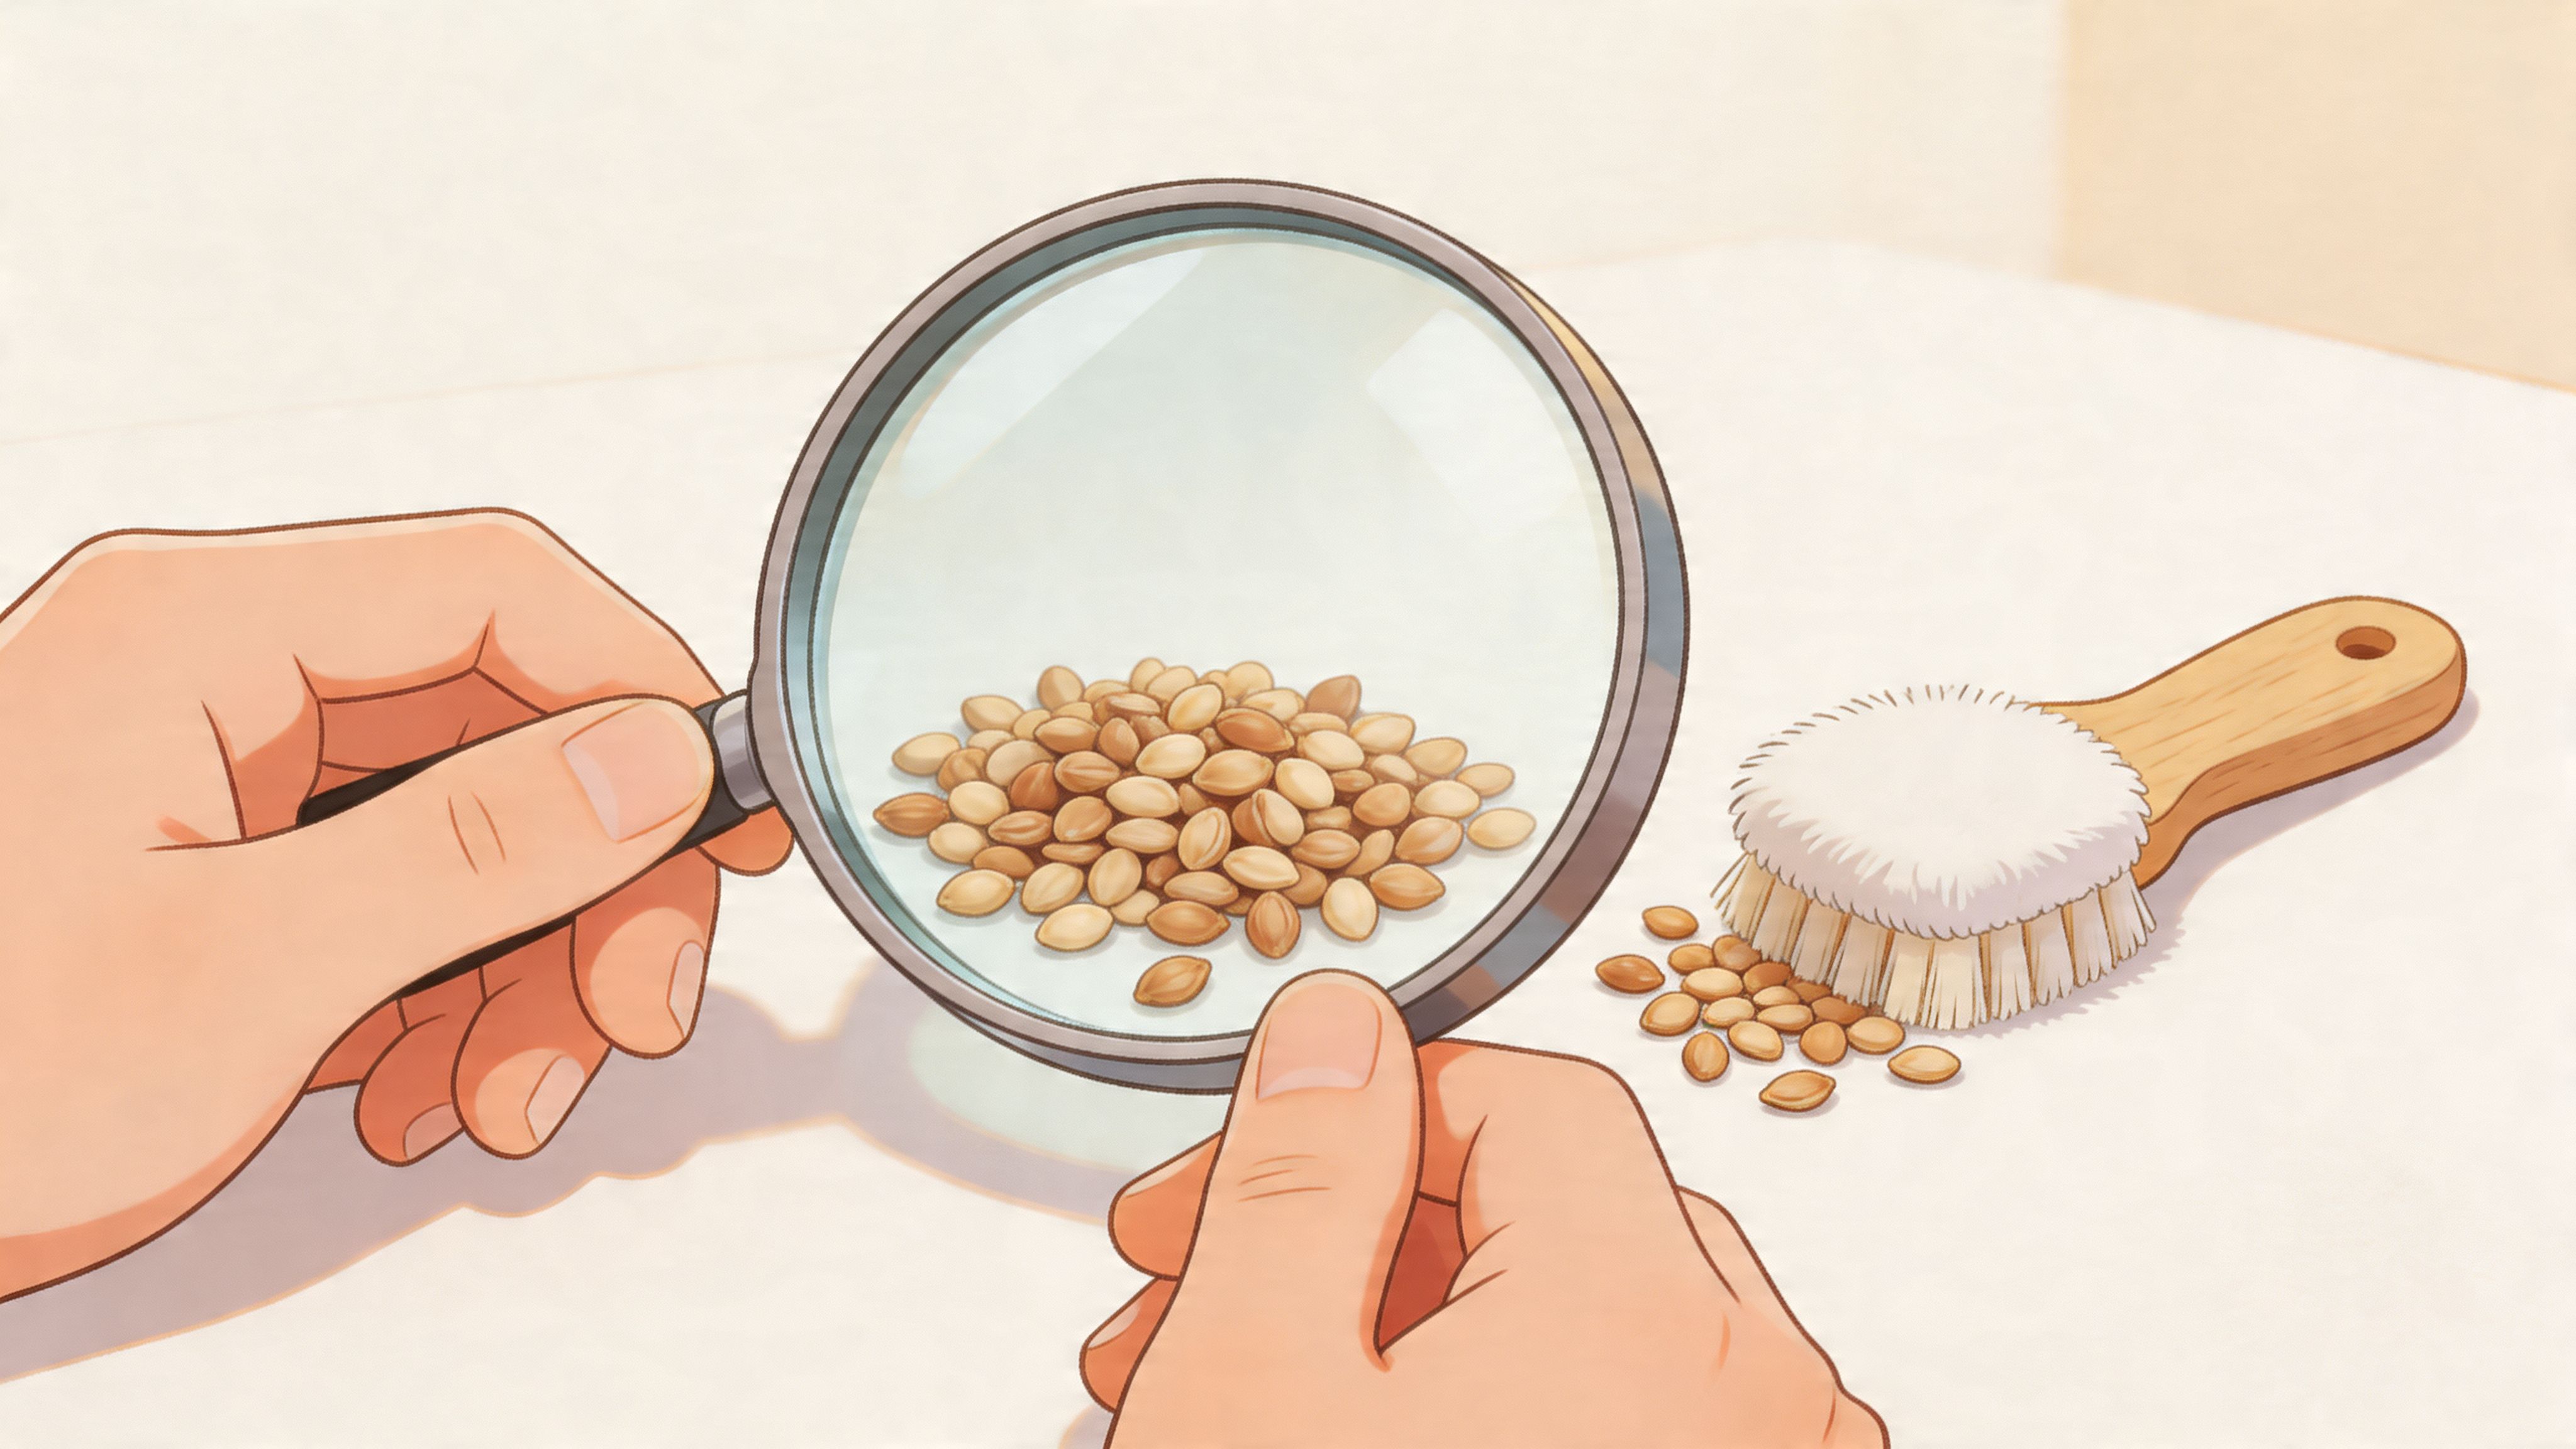
Give every batch a quick once-over before you store it. Breeder packs are usually cleaner than home-collected seeds, but I still check both. It takes two minutes and can save a whole pack.
Look for bits of dried calyx, leaf, stem, or any dusty plant material stuck to the seed coat. That junk holds moisture and raises the odds of mold or contamination during storage. A clean plate, decent light, dry hands, and a pair of tweezers are usually all you need. A soft brush helps if you are sorting your own seeds after harvest.
While you are at it, cull the obvious weak ones. Pale, soft, cracked, or misshapen seeds are not the ones I bother saving for the long haul.
Dry means stable, not freshly harvested
Fresh seeds often look ready before they are. That catches a lot of home growers, especially if the seeds came off a branch only recently and feel hard enough to pass a casual check.
For home storage, patience beats gadgets. Spread the seeds on a clean card, plate, or tray in a dark room with normal airflow. Keep them out of sun, away from heat vents, and leave them alone long enough to finish drying naturally. Do not try to speed it up with a heater or hair dryer. Too much heat can do damage you will not notice until germination day.
The goal is simple. Seeds should feel fully hardened and dry, with no softness or tackiness at all.
Use desiccant like insurance
For serious hobby growers, silica gel is the easy middle ground. It is cleaner and more predictable than improvised options, and it costs very little compared with the value of a good pack of seeds.
A few habits help:
- Use a small packet or small amount only: You are buffering moisture, not packing the container with filler.
- Keep it off the seeds if you can: A paper fold, tiny pouch, or divider keeps things tidy.
- Swap it out if it has taken on moisture: Indicator packs make this easy.
Rice can help in a pinch, but it is a backup, not my first choice.
If the genetics matter, use proper silica and call it done.
Here’s a quick visual walkthrough before the seeds go away for a while:
Container prep matters too
The container has one job. Hold a steady environment.
As noted earlier, seed storage works better when the package is sealed and protected from light. For a home grower, that does not mean lab gear. It means picking a container that closes tightly, then giving it one more layer of protection if your storage spot is not naturally dark.
A setup that works well at home looks like this:
- Primary container: Small mason jar, medicine bottle, coin tube, or vacuum-sealed pouch
- Secondary protection: Opaque tin, dark box, or another closed case
- Labeling: Strain or cultivar name, date packed, and one useful note like breeder, generation, or harvest year
Label now. Six months from now, every mystery seed starts looking a lot less interesting.
A short prep checklist
Before seeds go into storage, check these boxes:
- Remove debris and damaged seeds
- Let freshly harvested seeds finish drying
- Add a small desiccant packet
- Seal everything in a container that closes tight
- Block light with a second container if needed
- Label the batch clearly
Cold storage helps good prep last longer. It does not fix sloppy prep.
Choosing the Right Storage Method for Your Timeline
You buy a pack of premium seeds, run two now, and tuck the rest away for later. Six months passes fast. Two years passes faster. If you store everything the same way, you either waste effort on seeds you will plant soon or take dumb risks with genetics you paid good money to keep.
The method should match the timeline. For a serious hobby grower, the sweet spot is simple room storage for the next run, refrigeration for the seeds you want to protect for years, and freezing only if you know exactly why you are doing it.
Short term storage for the next run
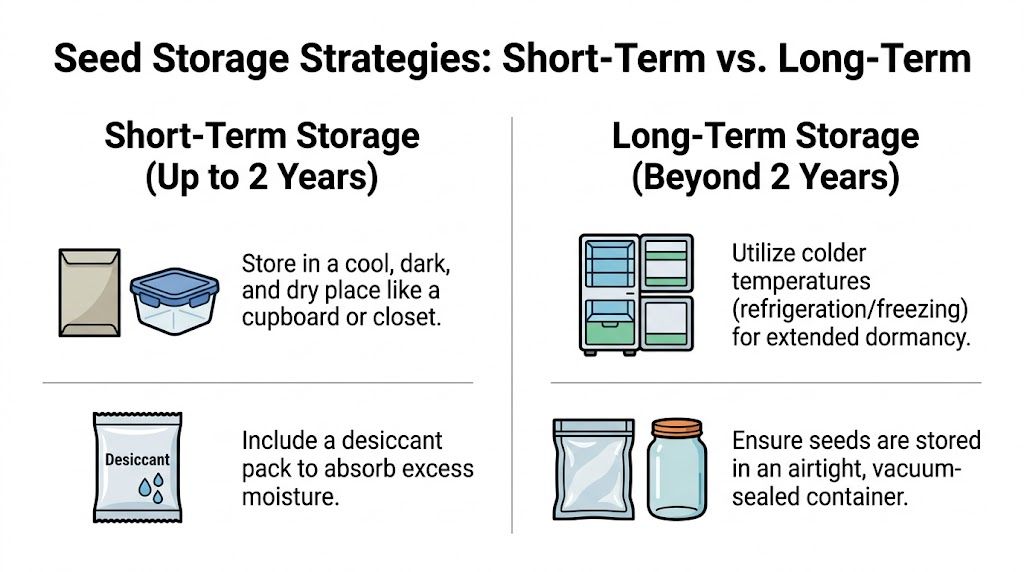
Seeds you expect to pop in the near future do fine in a cool, dark, dry spot, as long as that spot stays stable. A closet shelf or cabinet usually beats any place near an exterior wall, sunny window, or heater. Convenience does not matter if the temperature swings every day.
Keep the setup simple:
- Use the breeder pack if it is solid: If it feels flimsy, move the seeds to a better sealed container.
- Add a desiccant pack: It helps buffer small humidity changes.
- Store them somewhere dark: A closet shelf beats a kitchen counter every time.
- Label the pack clearly: If you cannot identify it later, it turns into a guess.
This works best when you already know the next run. If you are holding a few feminized seeds for the tent after harvest, or saving autos for outdoor season, there is no need to turn your fridge into a mini seed vault.
Long term storage for serious keepers
For anything beyond the next grow or two, refrigeration is the practical middle ground. It gives home growers cold, steady conditions without the extra handling risk that comes with freezing.
Long-term storage data from this cannabis seed preservation reference shows that refrigerated cannabis seeds stored in airtight containers at 39 to 46°F (4 to 8°C), with low humidity and complete darkness, can maintain at least 70% viability after 15 to 20 years. For home growers who care about preserving premium genetics, that is the balance that makes sense. You get strong longevity without needing commercial seed bank procedures.
What to use for refrigerated storage
You do not need lab gear. You do need a container that seals well and does not let moisture drift in and out.
Good options include:
- Small mason jars: Durable, easy to label, easy to stack
- Medicine bottles: Fine if the seal is tight and the bottle is clean
- Vacuum-sealed bags: Great for compact storage, especially with desiccant inside
- Opaque secondary box or tin: Useful for blocking fridge light and keeping batches organized
I like glass for long holds because it is easy to trust. If the lid is good, the jar is dry, and the seeds are labeled, it is hard to screw up. Vacuum sealing is excellent too, especially if you are storing several breeder packs and want to save space.
Where in the fridge to keep them
Pick the cold spot with the least temperature swing. In most home fridges, that means deeper inside the unit, not the door. The door gets warm every time somebody opens it for milk or a beer.
A crisper drawer can work well if it stays steady and does not get jostled all the time. Put the seeds toward the back, keep them sealed, and leave them alone. Checking them over and over creates more problems than it solves.
Treat stored seeds like a reserve bottle you are saving for the right night. Set it up right, then quit messing with it.
Seed Storage Methods at a Glance
| Feature | Short-Term Storage (Drawer) | Long-Term Storage (Refrigerator) |
|---|---|---|
| Best for | Seeds you expect to use on an upcoming grow | Seeds you want to preserve for years |
| Location | Cool, dark, dry drawer, cupboard, or closet | Stable zone inside the refrigerator |
| Container | Original pack inside a sealed jar or bottle | Airtight jar or vacuum-sealed pouch |
| Light protection | Important | Critical |
| Humidity control | Use a desiccant | Use a desiccant and keep conditions stable |
| Main risk | Warm rooms and seasonal humidity swings | Condensation from poor handling and temperature fluctuation |
| Who it suits | Growers with a clear next run plan | Collectors and hobbyists building a cultivar library |
What about freezing
Freezing has a place, but it is easy to overrate it. Yes, it can extend storage further. It also adds more room for mistakes in a normal home setup. Frozen seeds can become brittle, and rough handling after storage can damage them.
That is why refrigeration is the better call for most serious hobby growers. It protects a personal seed library well without adding a bunch of avoidable risk.
A practical decision guide
Use this if you are on the fence:
- You know you will plant them soon: Store them in a cool, dark, dry place with a sealed container and desiccant.
- You are saving backup genetics for later runs: Refrigerate them.
- You are building a small collection of favorite cultivars: Refrigerate from the start.
- You want the longest life possible and understand the trade-offs: Consider freezing, but only with careful handling and a clear reason.
- You are not sure when you will use them: Read a realistic weed seed germination timeline before planning your next run, then decide whether these belong in the drawer or the fridge.
Label like you will forget everything
You will not remember every pack as well as you think. After enough harvests, jars, and breeder packs, details blur together fast.
A useful label includes:
- Cultivar name
- Seed type, such as feminized or autoflower
- Date packed
- Any note that matters later, like breeder, line, or intended run
That small habit saves money. It also saves you from digging through a pile of mystery beans when you are ready to plant.
Waking Up Your Seeds and Checking for Life
Good storage can still be undone at the finish line. A lot of seeds survive just fine in the fridge, then get hit with condensation or rough handling the second they come out.
The safest move is patience. Let the seed wake up gradually.
Let them reach room temperature first
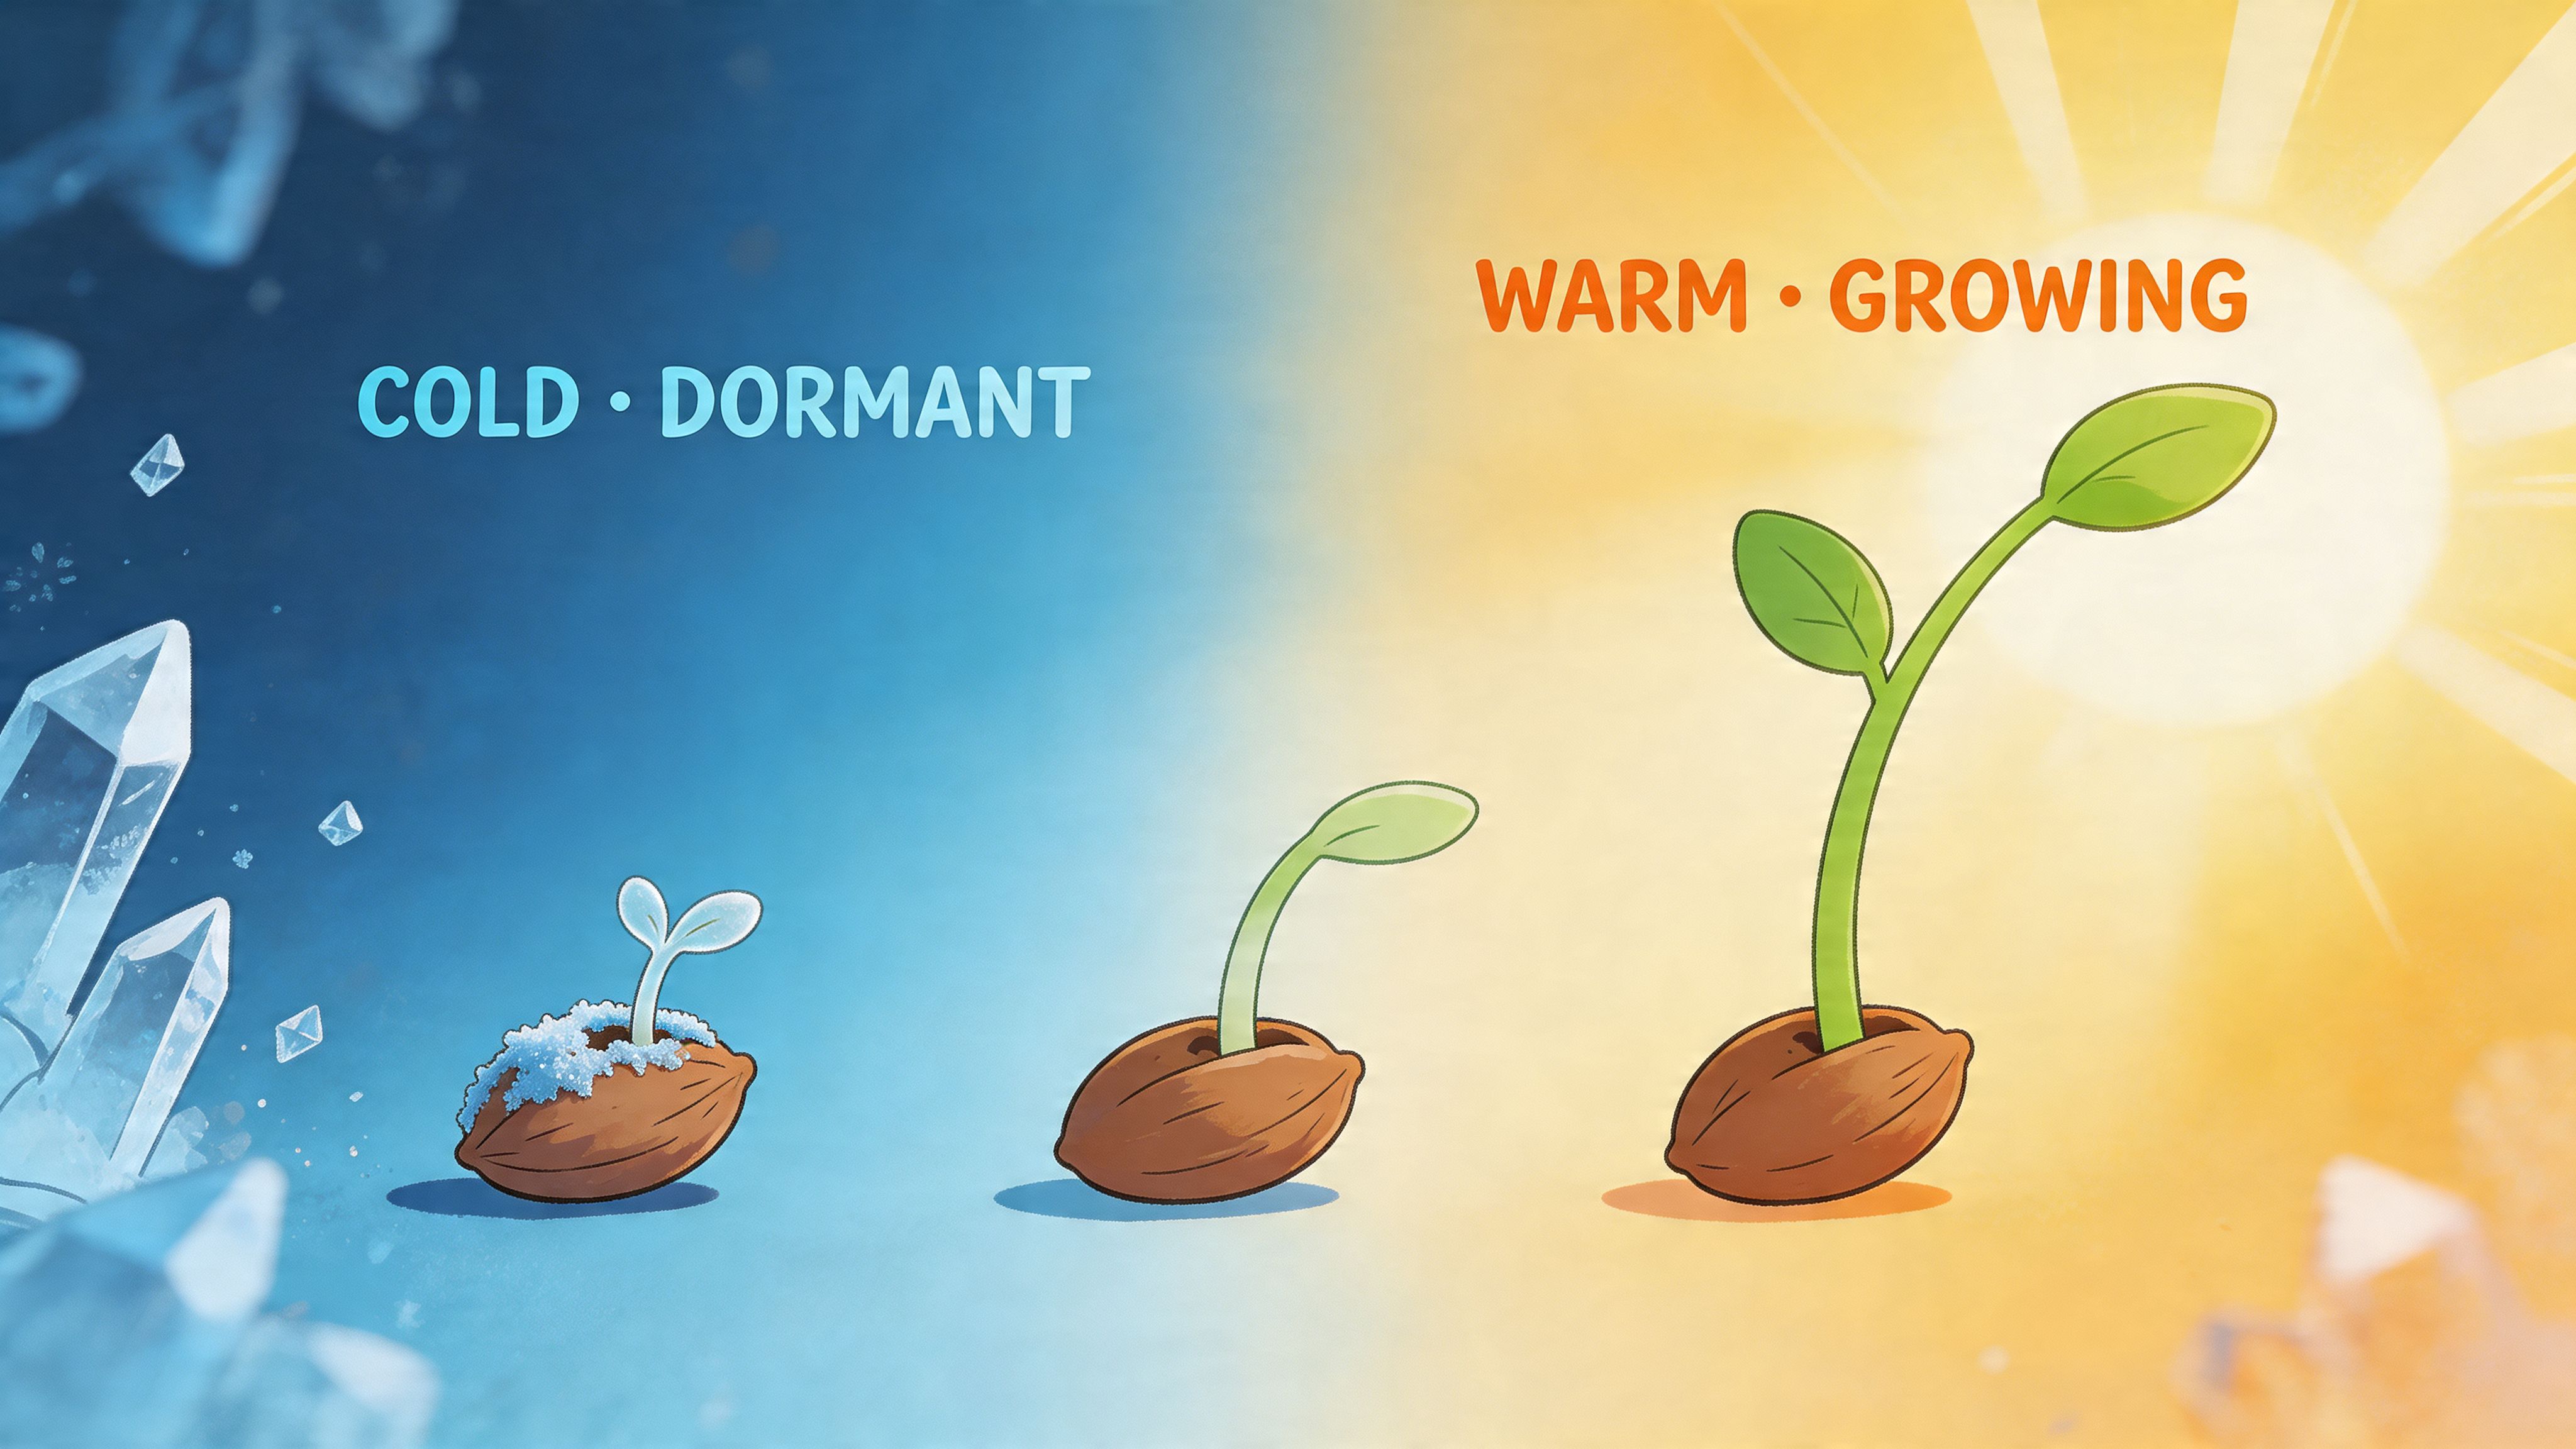
Seeds pulled from cold storage should sit and warm up slowly on a dry surface for several hours before you try to germinate them. That gradual return to room temperature helps avoid condensation and mimics a more natural transition out of dormancy.
This is one of those steps that feels skippable until it costs you a seed. Don’t rush it.
Basic checks before you germinate
Once the seeds are back at room temperature, inspect them again. You’re not looking for perfection. You’re looking for obvious problems like cracked shells from rough storage, moisture damage, or contamination.
Then choose a germination method you trust and keep conditions stable. If you want a simple timing overview, this guide on how long to germinate weed seeds is a useful reference for what a normal window looks like.
Older seeds need a gentler, smarter approach
Aged seeds can be stubborn even when you stored them well. The shell can harden, moisture uptake can slow down, and the first step toward sprouting takes more effort.
For older seeds, a few practical recovery methods can help:
- Room-temperature pre-soak: A soak in room-temperature carbonated water in darkness can help wake the seed up.
- Additives for difficult seeds: Fulvic acid, gibberellic acid, or hydrogen peroxide can be used in a pre-germination soak.
- Scarification: Gently abrading the seed coat with fine sandpaper can help moisture penetrate older shells.
These aren’t everyday moves for fresh seeds. They’re rescue tools for seeds with some age on them.
Older seeds usually fail from hesitation, not drama. They don’t always rot. They just struggle to get started.
A sensible revival routine
If I were reviving older stored seeds, I’d keep the process calm and minimal:
- Bring seeds to room temperature slowly
- Inspect them on a dry surface
- Scarify only if the shell seems especially hard
- Soak briefly in an appropriate solution in darkness
- Move into your preferred germination setup without overhandling
The biggest mistake with old seeds is fussing with them every few hours. Once they’re set, leave them alone and let them work.
How to judge whether a seed still has life
There’s no magic home test that tells you everything without germinating the seed. What you can do is read the situation objectively.
Promising signs include:
- A shell that still looks intact and properly formed
- No sign of mold or obvious moisture damage
- A seed that was stored cleanly and consistently
Questionable signs include visible cracking from mishandling, signs of contamination, or a seed that spent years in lousy conditions. That doesn’t always mean it’s dead. It means your expectations should be realistic.
Avoiding Common Pitfalls in Seed Preservation
Most seed storage mistakes aren’t dramatic. They’re small, lazy choices that add up. A weak container here, a bad fridge spot there, a little moisture you thought wouldn’t matter.
A few don’ts will save you a lot of frustration.
The mistakes that wreck good seeds
Don’t use a loose plastic bag as your main storage setup: It doesn’t protect against air exchange, light, or humidity well enough.
Do this instead: Use an airtight jar, sealed medicine bottle, or vacuum-sealed pouch.Don’t store seeds in the refrigerator door: That spot gets temperature swings every time the door opens.
Do this instead: Place them deeper in the fridge where conditions stay steadier.Don’t put seeds away with plant debris still attached: Tiny bits of leaf or stem can bring contamination into storage.
Do this instead: Inspect and clean seeds before they ever hit the container.Don’t skip the desiccant: Dry storage without humidity control is just wishful thinking.
Do this instead: Add silica gel, or use rice only as a backup when that’s all you’ve got.Don’t pull cold seeds out and germinate them immediately: That’s a good way to invite condensation trouble.
Do this instead: Let them warm up slowly on a dry surface first.
The overkill problem
There’s also a common mistake on the other side. People chase the most extreme method because it sounds more serious. Freezing is the classic example. It can make sense in some cases, but for the average home grower it often adds risk without adding much practical value.
If your goal is to preserve favorite cultivars for future runs, refrigeration is usually the better call. It’s simpler, safer, and easier to repeat correctly.
The best storage system is the one you’ll do properly every single time.
A quick gut check
If your current setup is warm, bright, humid, or unsealed, fix that first. You do not need a complicated protocol. You need fewer weak points.
Your Genetic Library Your Rules
The whole game comes down to three words: cool, dark, and dry.
That’s the heart of how to preserve weed seeds without turning it into a lab project. Keep the environment stable. Clean the seeds before storage. Use a real container. Add a desiccant. Choose the method that fits your timeline, then leave the seeds alone until you’re ready to use them.
There’s a real satisfaction in building a personal library of cultivars that matches the way you like to grow. Maybe you keep a fast autoflower around for a low-fuss run. Maybe you hold onto a feminized cultivar because the aroma, structure, or overall vibe was too good not to revisit. Either way, proper preservation gives you freedom. You get to grow what you want, when you want, instead of scrambling for replacements because a drawer full of seeds slowly went bad.
That’s one of the underrated pleasures of home growing. You skip the lines, avoid the markup, and build your own stash with intention. Stored properly, seeds aren’t clutter. They’re future harvests.
If you’re still deciding what belongs in that library, comparing seed types is a good place to start. This breakdown of autoflower vs feminized seeds can help you match the right cultivars to your space, schedule, and growing style.
If you’re ready to build a seed collection worth preserving, take a look at Botanist Seeds. The catalog and comparison tools make it easier to sort through cultivars, choose what fits your setup, and stock your next run with confidence.