How to Make a Bong: A Simple DIY Guide for Growers
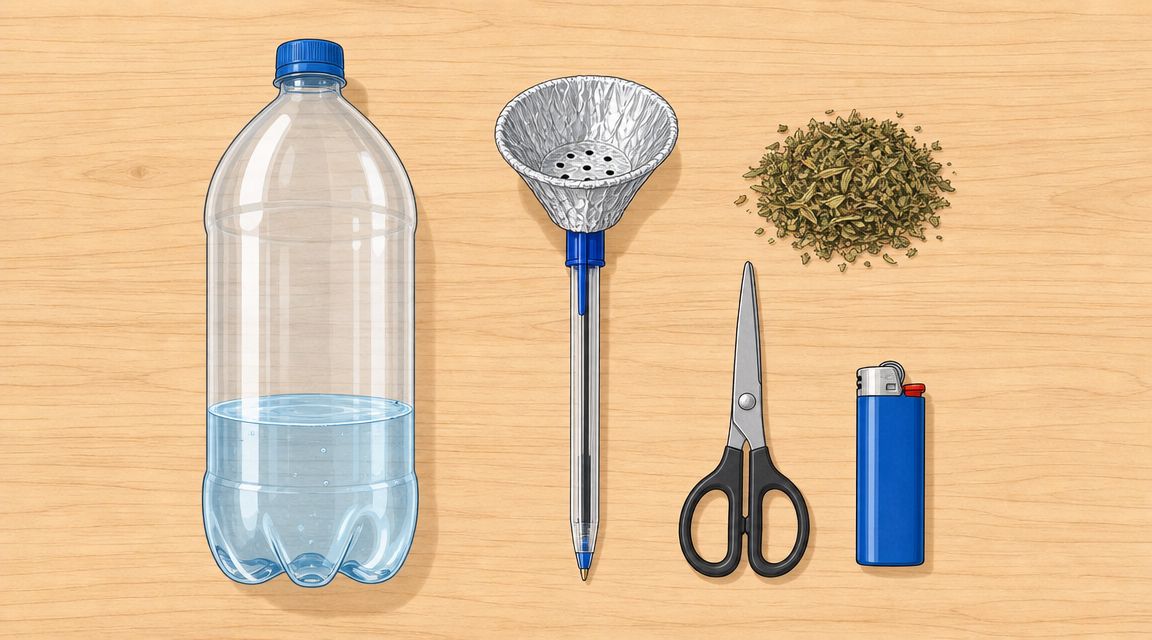
You've got jars from your own harvest on the table, the room smells like the cultivars you spent weeks growing, and now the obvious thought shows up: it would be nice to have a simple piece ready tonight without making a store run. That's exactly where a DIY bong makes sense.
A homemade setup isn't just a backup plan. It fits the same self-sufficient mindset that gets people into growing in the first place. You already put in the work to choose cultivars that match your space, your schedule, and the kind of session you like. Building your own gear is the same kind of move. It's practical, fast, and weirdly satisfying when it works well.
Those asking how to make a bong aren't typically looking for something fancy. They want something functional, made from common household stuff, with decent airflow and as few sketchy choices as possible. That last part matters. A lot of DIY guides show you how to assemble something, but they skip over whether the materials make sense or why one build pulls smoothly while another feels harsh and clogged.
Why Build Your Own Bong
A homemade bong gives you control over the whole experience. You're not grabbing whatever is available. You're choosing the size, the shape, the draw, and how temporary or reusable you want it to be. For home growers, that has its own appeal. The same person who likes dialing in dry-back, lighting, and harvest timing usually likes dialing in a session setup too.
Water pipes also aren't some obscure side path. One survey reported that 22.4% of people aged 18 to 25 had used a water pipe in the past year, which shows this format has been part of mainstream cannabis use for a long time, not just a random internet craft trend, according to water pipe usage figures collected here.
Why growers like DIY pieces
Some reasons are obvious, some are less obvious:
- You can build one fast: Most beginner designs use household items and simple hand tools.
- You can match it to the moment: A quick bottle build works for convenience, while a fruit build feels more fun and fresh.
- You learn what affects performance: Once you've built one yourself, airflow problems make a lot more sense.
- You stay in that homegrown mindset: Growing your own cultivars already cuts out a lot of outside dependency.
Practical rule: If you grew it yourself, it makes sense to know how to build a simple way to enjoy it yourself too.
There's also a pride factor. A working DIY bong feels like a small shop project. Nothing complicated, just useful. And when it's built right, it can do a solid job of letting the aroma and character of your cultivars come through without feeling like a rushed emergency setup.
Gathering Your Simple Bong-Building Kit
A good DIY bong starts before the first cut. The parts you choose decide how it will draw, how it will taste, and whether it feels like a usable piece or a throwaway hack. For a simple bottle build, the goal is straightforward: use clean materials, keep hot surfaces away from plastic, and avoid parts that shed residue or weird flavors once heated.
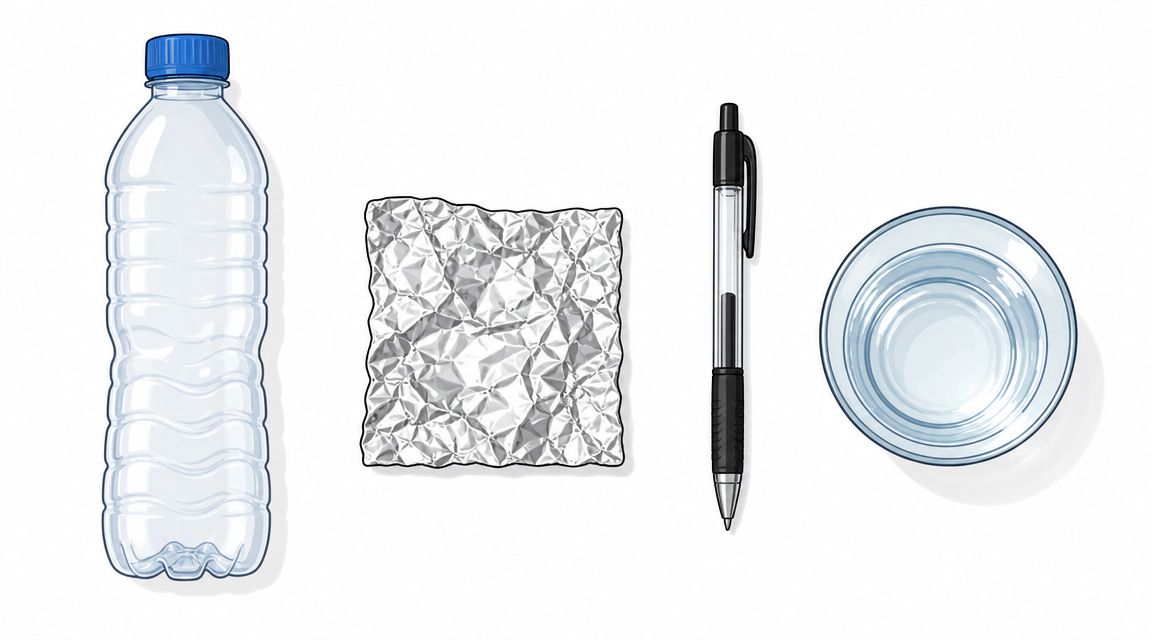
What to gather
- A clean plastic bottle: A medium or large bottle gives you enough room for water and a workable downstem angle. Smooth-sided bottles are easier to seal than heavily ridged ones.
- Water: You only need enough to cover the downstem tip once it is installed. Too much water makes the pull harsh and splashy.
- A tube for the downstem: A pen barrel can work for a quick build if it is clean and used only as the air path. Keep direct flame away from it.
- A separate bowl piece: The safest move is a small metal or glass part that can handle heat. Avoid making the bowl out of anything coated, painted, or likely to scorch.
- Scissors or a craft knife: Use these for clean openings instead of jagged tears that leak air.
- A pin, needle, or thumbtack: Useful if you are shaping a temporary bowl insert with small airflow holes.
- A screwdriver or another pointed tool: Good for starting the downstem hole in the bottle wall.
- Your ground cultivar: A medium grind usually gives the best balance between airflow and even burn.
A quick prep check
Wash the bottle well, then smell it. If it still carries soda, juice, or flavored drink residue, keep rinsing or pick a different bottle. Bad starting material shows up fast in the taste.
Check every part that will sit near heat. That is where many DIY guides get sloppy. Plastic is already the compromise in a bottle build, so the bowl and any heat-contact point should be the part you treat most carefully. A clean glass or plain metal bowl piece is a better choice than improvised foil if you have one available.
If you are loading flower from your own harvest, start with dry, properly finished buds. This guide on what trichomes on weed tell you about maturity and quality is a useful refresher before you pack the bowl.
Clean parts and smart material choices make a bigger difference than fancy design. A simple build with good airflow and safe heat contact will outperform a clever build made from sketchy parts.
Building the Classic Water Bottle Bong
You have a clean bottle, a usable stem, and a bowl piece that can handle heat. Now the build comes down to two things: a tight seal and the right water level. Get those right, and even a simple bottle setup can pull better than a rushed build with fancier parts.
Start by deciding where the downstem should enter the bottle. Put the hole on the upper side wall, above the waterline, so the stem can angle down into the chamber. A basic bottle setup uses that angled stem to pull smoke through water before it reaches the mouthpiece, as shown in this bottle-bong assembly guide.
A visual helps before you start cutting.
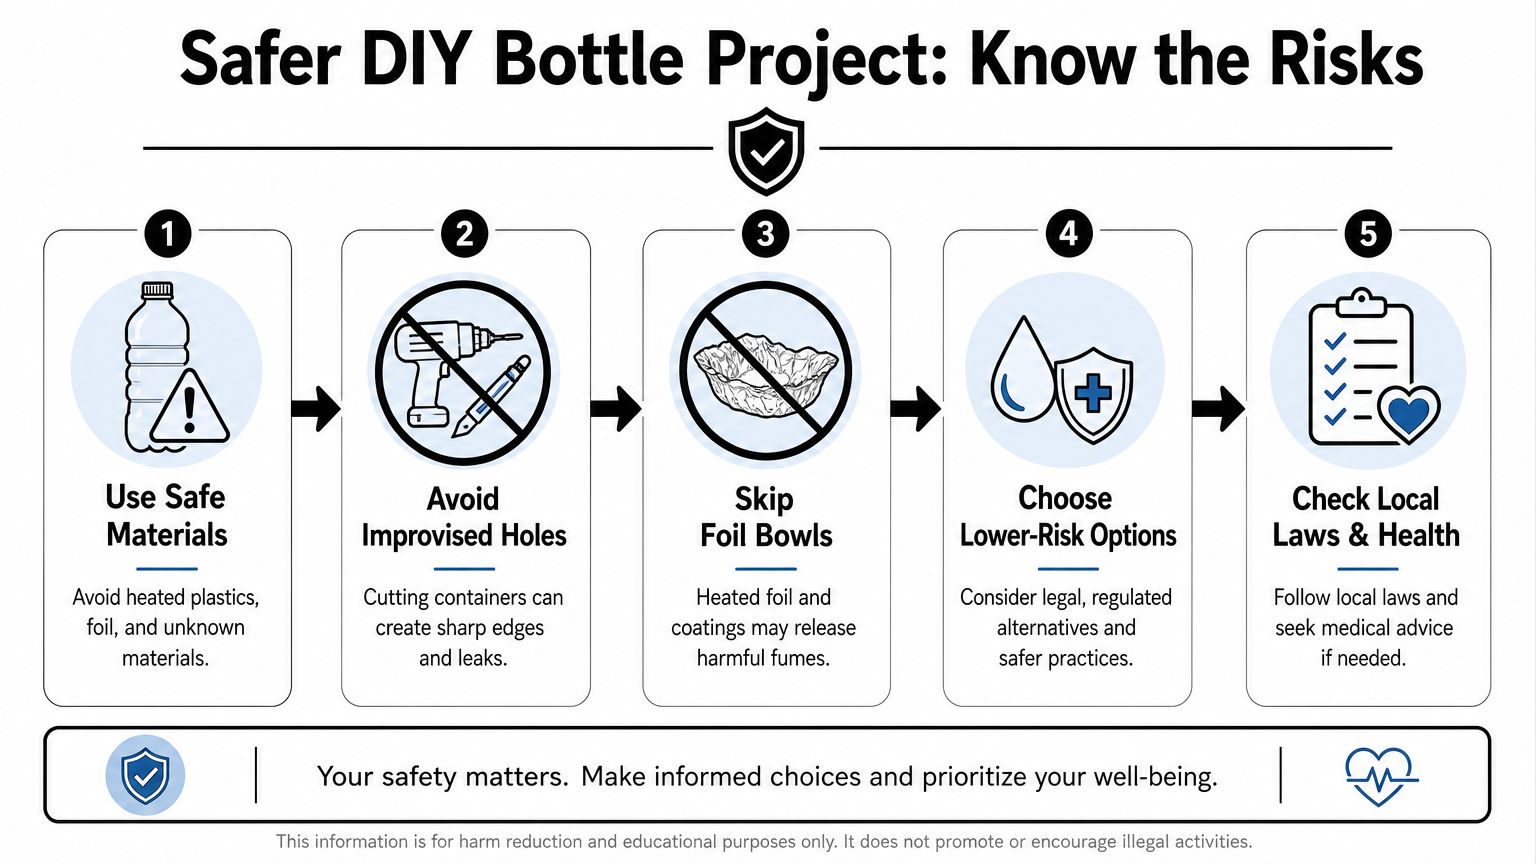
Get the bottle shape working for you
Smooth-sided bottles are easier to work with than heavily ridged ones. You can place the stem more accurately, and the seal is usually easier to tighten. Set the hole low enough for the stem tip to sit under the water, but high enough that the bowl stays upright and easy to light.
Cut the opening smaller than you think you need. You can always widen it a little. A loose hole usually ruins the piece faster than a slightly snug one, because tiny leaks make the draw weak and force you to pull harder than necessary.
Most bottle bongs fail at the seal, not the concept.
Build the bowl and downstem carefully
If you have a small glass or plain metal bowl piece, use that. It is the better option for heat safety and flavor. If you are making a temporary bowl from foil because that is all you have, keep it brief and treat it as a stopgap, not a permanent solution. The point is to keep direct flame and hot material away from questionable surfaces.
Wrap or fit the bowl firmly onto the top of the downstem. The bowl should hold flower securely without collapsing into the stem. Small, evenly spaced holes at the bottom help maintain airflow and keep bits of plant material from dropping through too fast.
Here's the build sequence that works well in practice:
- Insert the downstem at a slight angle: The inner tip should sit under the water without touching the base of the bottle.
- Seat the bowl firmly: A shifting bowl burns unevenly and can break the seal.
- Keep the airflow holes small: That gives you better control over the draw and helps the bowl burn more evenly.
- Test the piece empty first: Pull air through it before packing anything. If you hear hissing around the stem, adjust the fit.
A short demo can make the assembly easier to picture.
Add water and test before packing
Add enough water to cover the end of the downstem, then test the pull. Too much water makes the hit harsh and splashy. Too little water gives you weak filtration and poor bubbling. The sweet spot is simple: the stem tip stays submerged, and the chamber still draws without resistance.
Do one dry inhale before you load flower. That quick test tells you more than guessing ever will.
| Check | What you want | What a problem feels like |
|---|---|---|
| Seal | Tight pull | Whistling or leaking air |
| Stem depth | Bubbles through water | No bubbling or weak bubbling |
| Bowl airflow | Easy but controlled draw | Totally clogged or too open |
If the draw still feels rough after a few adjustments, the issue may be the build itself, not your pack. At that point, some growers switch to a cannabis vape for cleaner, more controlled inhalation instead of forcing a shaky homemade piece to work.
Once the bottle bubbles cleanly and the pull feels controlled, pack a small bowl and use it gently. Homemade gear works best when you respect its limits.
Creative Alternatives to the Plastic Bottle
Sometimes the best DIY option isn't plastic at all. If you want a more natural build, fruit and simple household containers can give you a cleaner feel and a more memorable session. They're also a good reminder that homemade doesn't have to mean ugly.
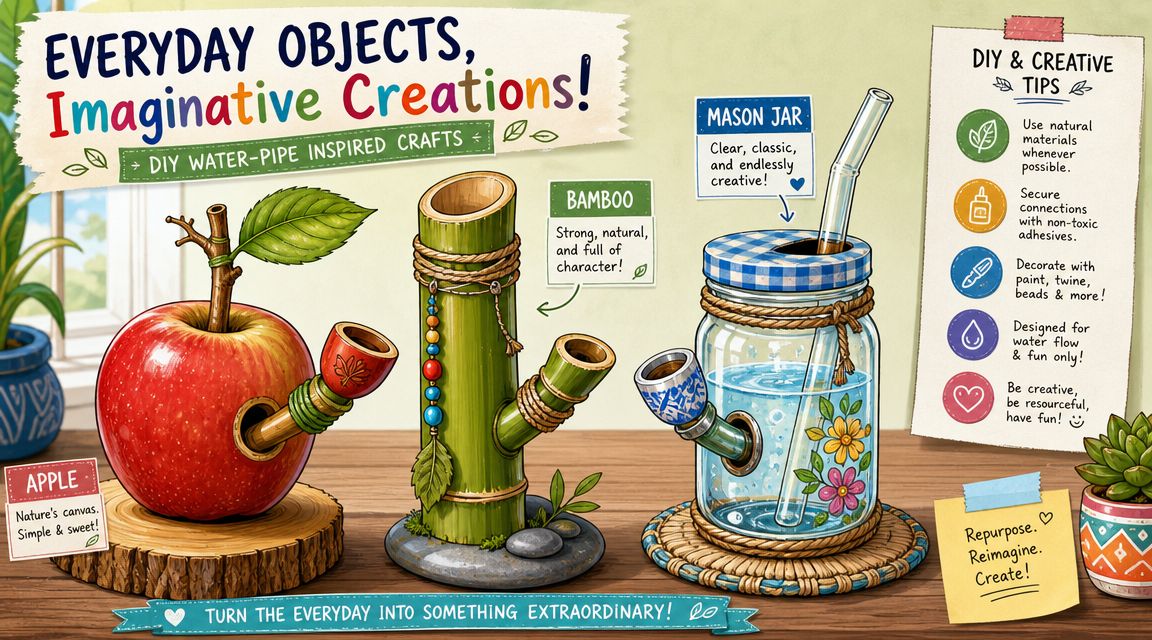
The apple route
An apple works well when you want something quick, disposable, and free of plastic heat concerns near the bowl. You carve a bowl at the top, a mouthpiece on the side, and an airflow tunnel connecting them. It isn't a water pipe, but it scratches the same DIY itch and has a more natural vibe.
The trick is clean channels. If the path is too narrow, the draw feels tight. If you gouge out too much, the apple gets mushy and collapses.
For flower prep, one of the most useful rules from DIY guides is to keep the bowl holes small and evenly distributed, and pair that with a medium-coarse grind so the chamber doesn't clog or flood, as explained in this guide on DIY bong airflow.
Other low-tech ideas
A few alternatives come up often:
- Small pumpkin: Fun for a seasonal build, better for sharing than for long-term use.
- Mason jar setup: Better structure than a bottle if you have a workable lid and a safe stem.
- Bamboo or similar natural body: More of a hobby project than a quick fix.
If you're deciding between smoking formats in general, not just improvised pieces, it also helps to compare methods side by side. This breakdown of cannabis vape options and how they differ from other setups gives useful context for what kind of experience you want.
Natural materials can be great for one session. They usually aren't the best answer if you want a repeatable, everyday piece.
What works and what usually doesn't
Fruit builds are best when you treat them as temporary. Fresh produce can taste nice with bright, terpene-rich cultivars, but it won't give you the consistency of a proper glass piece. Mason jar builds can be more stable, but only if the stem and bowl are fitted safely and cleanly.
The nice part is creative freedom. The less nice part is variation. A bottle build tends to be predictable. A fruit build depends more on your cuts, the produce itself, and whether the airflow path stays open.
A Quick Word on Safe Materials
Most DIY bong guides commonly fall short in this regard. They'll show a build that technically works, but they won't tell you which parts are risky, which parts should never touch direct heat, and where improvised materials start becoming a bad idea.
That matters because the bowl is the hottest point in the whole setup. Any material near that zone needs extra scrutiny.
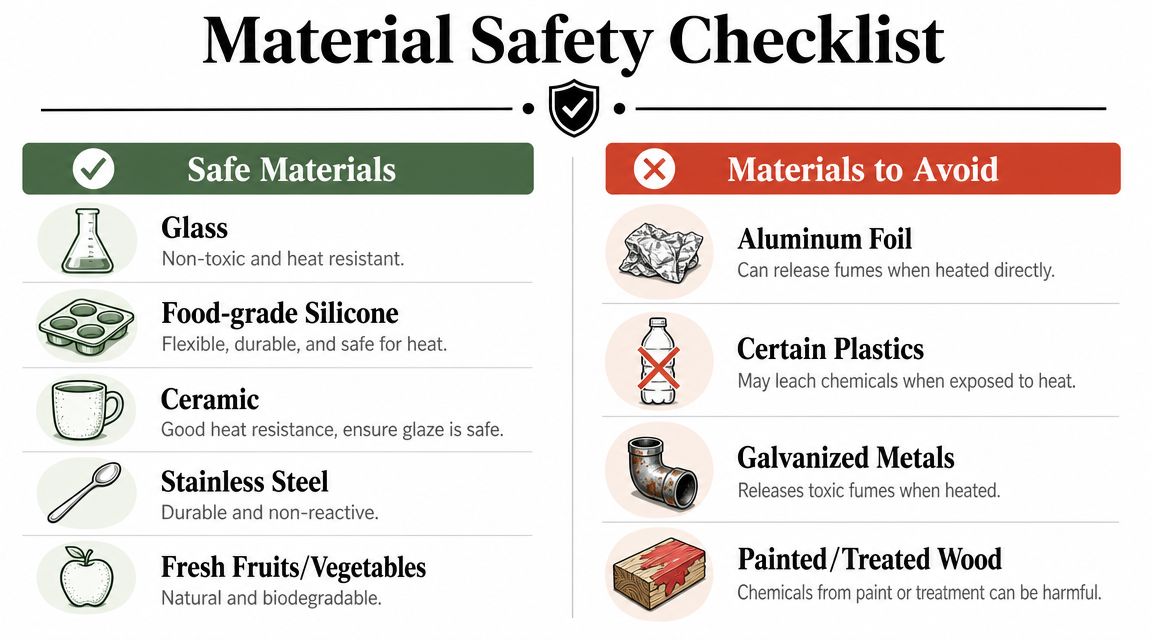
Materials worth preferring
If you have options, choose materials that stay stable around heat and don't add weird flavors.
- Glass: Best if you can repurpose a proper bowl or stem.
- Ceramic: Useful if it's plain and heat-stable.
- Stainless steel: Better than random mystery metal.
- Fresh fruit or vegetables: Fine for temporary builds where the plant material sits in a carved bowl.
Materials that deserve caution
A lot of common DIY parts are only acceptable in limited roles, or not really worth the risk at all.
Many guides suggest using pens or cans without much warning. One example called out in DIY safety advice is that a pen used as a downstem can melt without a thick foil bowl to insulate it from the heat, which can create harmful fumes, according to this review of homemade bong material risks.
That leads to a simple rule set:
| Material | Better use | Bad use |
|---|---|---|
| Plastic bottle | Water chamber body | Direct bowl or heat contact |
| Pen tube | Air path only, kept away from heat | Bowl area |
| Aluminum can | Best avoided | Heated smoking surface |
| Foil | Temporary bowl in a pinch | Permanent solution |
Don't judge a DIY bong by whether it lights. Judge it by whether the hot parts and airflow parts make sense together.
The safest mindset for DIY
Treat improvised builds as short-term solutions, not heirloom gear. Keep direct heat away from plastics. Avoid painted, coated, or mystery materials. If a part smells strange when warmed, softens easily, flakes, or looks like it has a finish on it, leave it out.
That approach won't make a homemade bong perfect. It will make it smarter.
Keeping Your DIY Bong Clean and Working Well
A homemade piece can stop performing fast if you let old water, ash, and sticky buildup sit in it. The first thing to go is flavor. The second is airflow. If you're trying to enjoy the distinct aroma of a cultivar you grew yourself, dirty gear will flatten that quickly.
Keep the routine simple
For a temporary bottle build, the easiest move is also the best one: don't try to stretch it forever. Empty it after use, rinse it, and rebuild if it starts tasting stale or feeling rough.
For reusable parts, a basic clean usually looks like this:
- Dump old water right away: Letting it sit just makes the piece smell worse.
- Rinse with warm water: This clears loose debris before it hardens.
- Use alcohol and salt on reusable hard parts: Shake, rinse, and dry thoroughly.
- Clean the bowl opening and stem path: Those are the first places to clog.
Fix weak pulls and harsh hits
The most common beginner frustration isn't building the bong. It's getting a disappointing hit from one that looks fine. Practical guidance for bong use notes that these problems usually come back to water level, bowl pack density, and airflow, and many guides suggest filling the chamber about one inch above the downstem and using a medium-coarse grind to avoid overpacking, as described in this bong performance guide.
If your DIY piece isn't working well, check these first:
- Weak draw: Look for leaks around the downstem or bowl connection.
- Harsh pull: Reduce overpacking and make sure the water level isn't too low.
- Frequent clogging: Loosen the grind slightly and keep bowl holes open.
- Wet flower: Lower the water if it's splashing into the stem.
A good homemade bong feels boring in the best way. It seals well, bubbles evenly, and doesn't fight you.
If you're smoking your own harvest, make cleanliness part of the same quality-control mindset you already use in the grow room. And before any session, it's worth making sure your stash is clean too. This guide to spotting mold on weed before it ruins your flower is a smart check if anything in your jars looks off.
If you're growing at home and want cultivars that fit your space, schedule, and style, Botanist Seeds is a solid place to start. Use the comparison tools to sort through feminized and autoflower options, narrow down what works for your setup, and make your next harvest feel a lot more dialed in from seed to session.