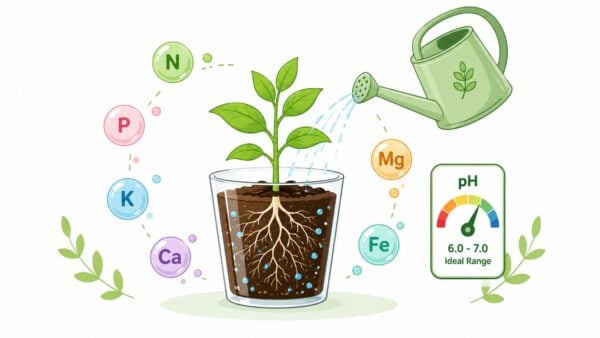
Damping Off Prevention: Keep Your Seedlings Alive
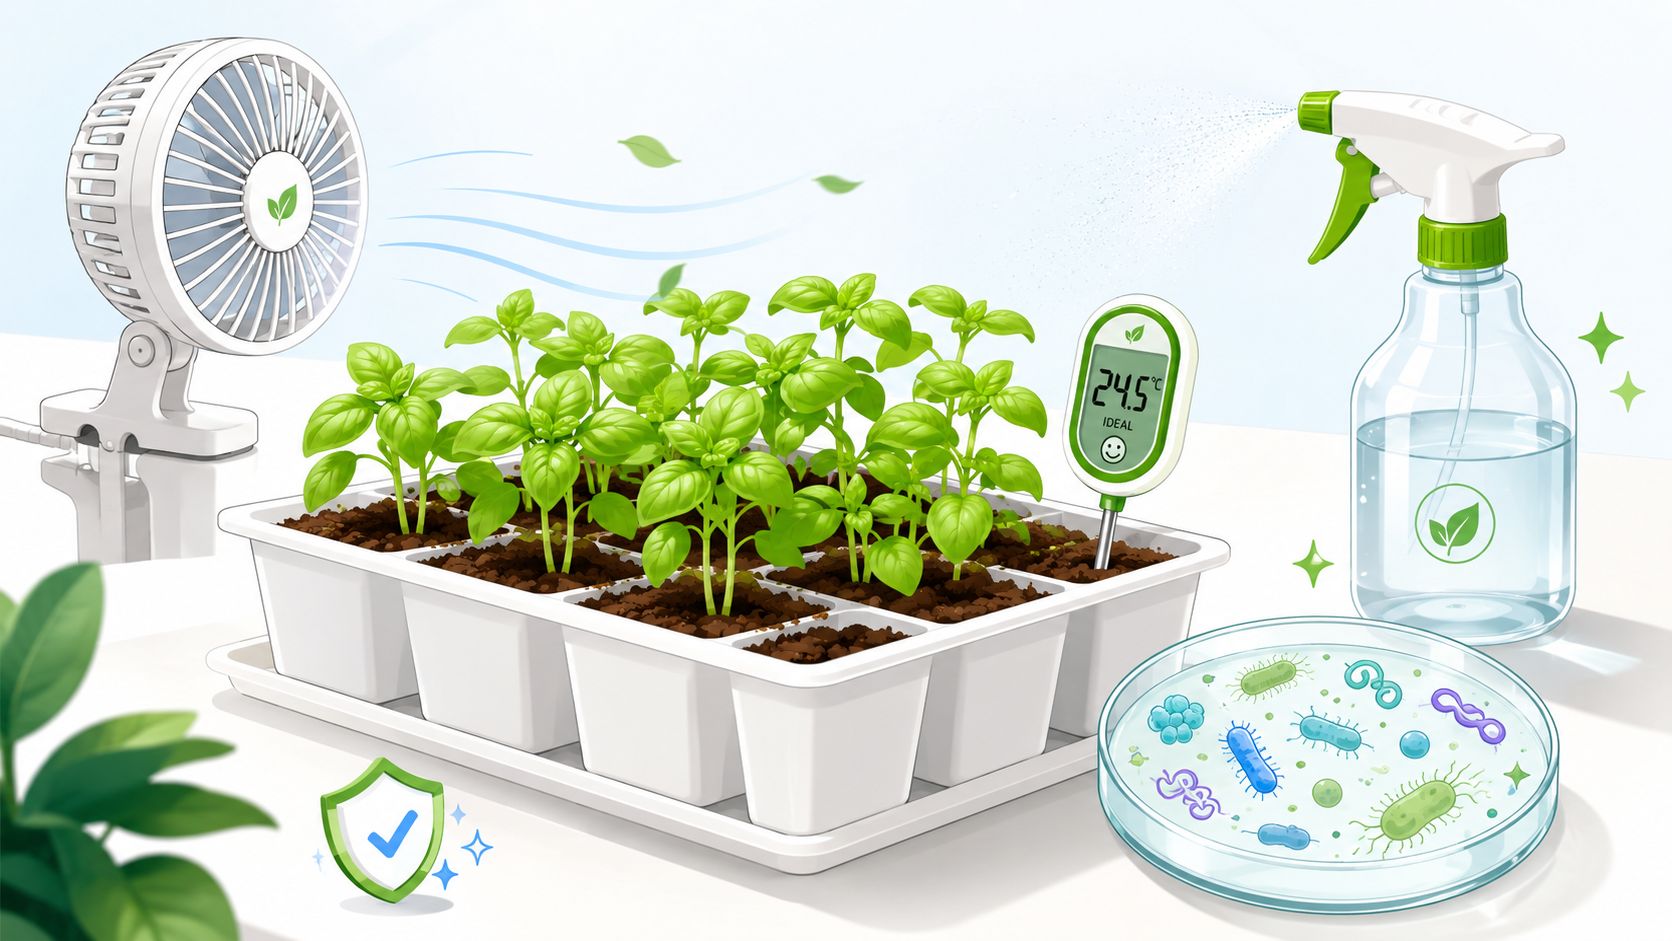
You check the tray before coffee, and one seedling that looked fine last night is suddenly flat on the mix. The stem is pinched right at the soil line, like somebody cinched it with invisible thread. A few more look weak. At that point, most home growers blame the seeds, the light, or themselves.
Usually, it's damping off.
This is one of those problems that feels random until you've seen it enough times. Then it stops looking mysterious and starts looking predictable. The good news is that damping off prevention doesn't require a lab setup or a cart full of expensive products. It takes a clean start, smart moisture control, steady airflow, and a little restraint when you're tempted to over-help your seedlings.
That Gut-Wrenching Seedling Collapse
Last night the tray looked great. By morning, one seedling is lying flat with a pinched, wet-looking stem right at the soil line, and another is starting to lean. That kind of crash feels dramatic because it is. Seedlings can go from healthy to finished in hours.
That's damping off.
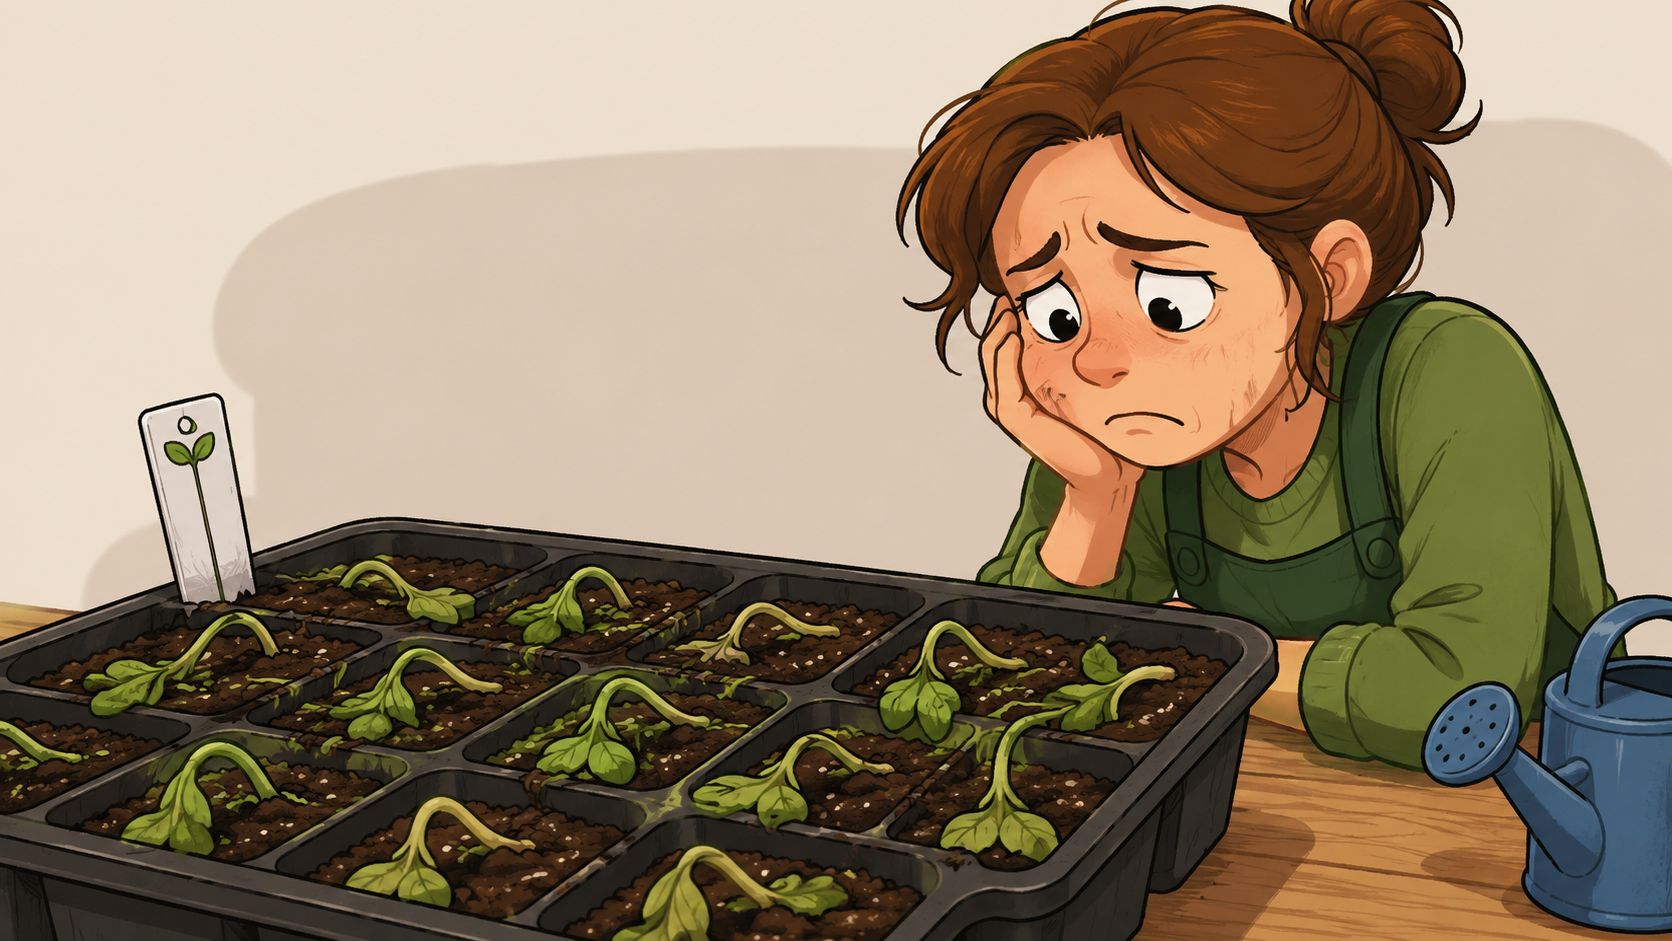
The part that throws home growers is how unfair it seems. Germination was fine. Cotyledons opened. Everything looked on track. Then the stem narrows at the base, turns soft or dark, and the top growth folds over like the plant got cut with a wire.
What you're seeing is usually a group of soilborne pathogens getting the upper hand while the seedling is still weak. The usual names are Pythium, Rhizoctonia, Fusarium, and Phytophthora. You do not need to memorize them. You need to recognize the pattern they like: wet mix, stale air, crowded cells, and a seedling that never gets a chance to dry slightly between waterings.
That last part matters. A lot of people try to prevent problems by treating the whole setup like a sterile science project. For a home grower, that approach gets expensive fast and often backfires into overwatering, overhandling, and too much fuss. The smarter approach is simpler. Start reasonably clean, avoid swampy conditions, and build an environment where the seedling grows faster than the pathogens can attack.
What you're actually seeing
Damping off can hit before the sprout even breaks the surface, or after it comes up and looks fine for a day or two. Post-emergence damping off is the version most growers notice because it feels so sudden. The stem fails at the soil line and the seedling drops.
Watch for the quieter warning signs first. Slight paling. Stalled growth. A thin, weak-looking stem base. Seedlings that stay upright during the day but look tired by morning. If you're still learning the seedling stage for cannabis plants, that early window is where good saves happen. Once a seedling has fully collapsed, the main job is protecting the rest of the tray.
Why this one stings
Early losses feel worse because they usually come from good intentions. Too much water because you did not want them to dry out. A humidity dome left on because the sprouts looked small. Old trays reused one more time because they seemed fine. I've made every one of those calls, and they all come from trying to help.
The trade-off is simple. Seedlings need moisture, but constantly wet media gives pathogens an easy win. They like humidity, but trapped, stagnant air slows stem toughening. You are not trying to remove every microbe from the room. You are trying to avoid handing the bad ones perfect conditions.
Once you see damping off as an environment problem, it gets less mysterious and a lot more manageable.
Your Pre-Game Setup for Success
You know the moment. Seeds are on the counter, trays are filled, and you want to get them started before dinner. That is exactly when sloppy setup costs you. Damping off prevention starts before sowing day feels exciting.
A good home setup does not need to be sterile. It needs to be clean, simple, and easy to repeat. The goal is to lower pathogen pressure without turning seed starting into a chemistry project. Home growers do better with habits they will keep.
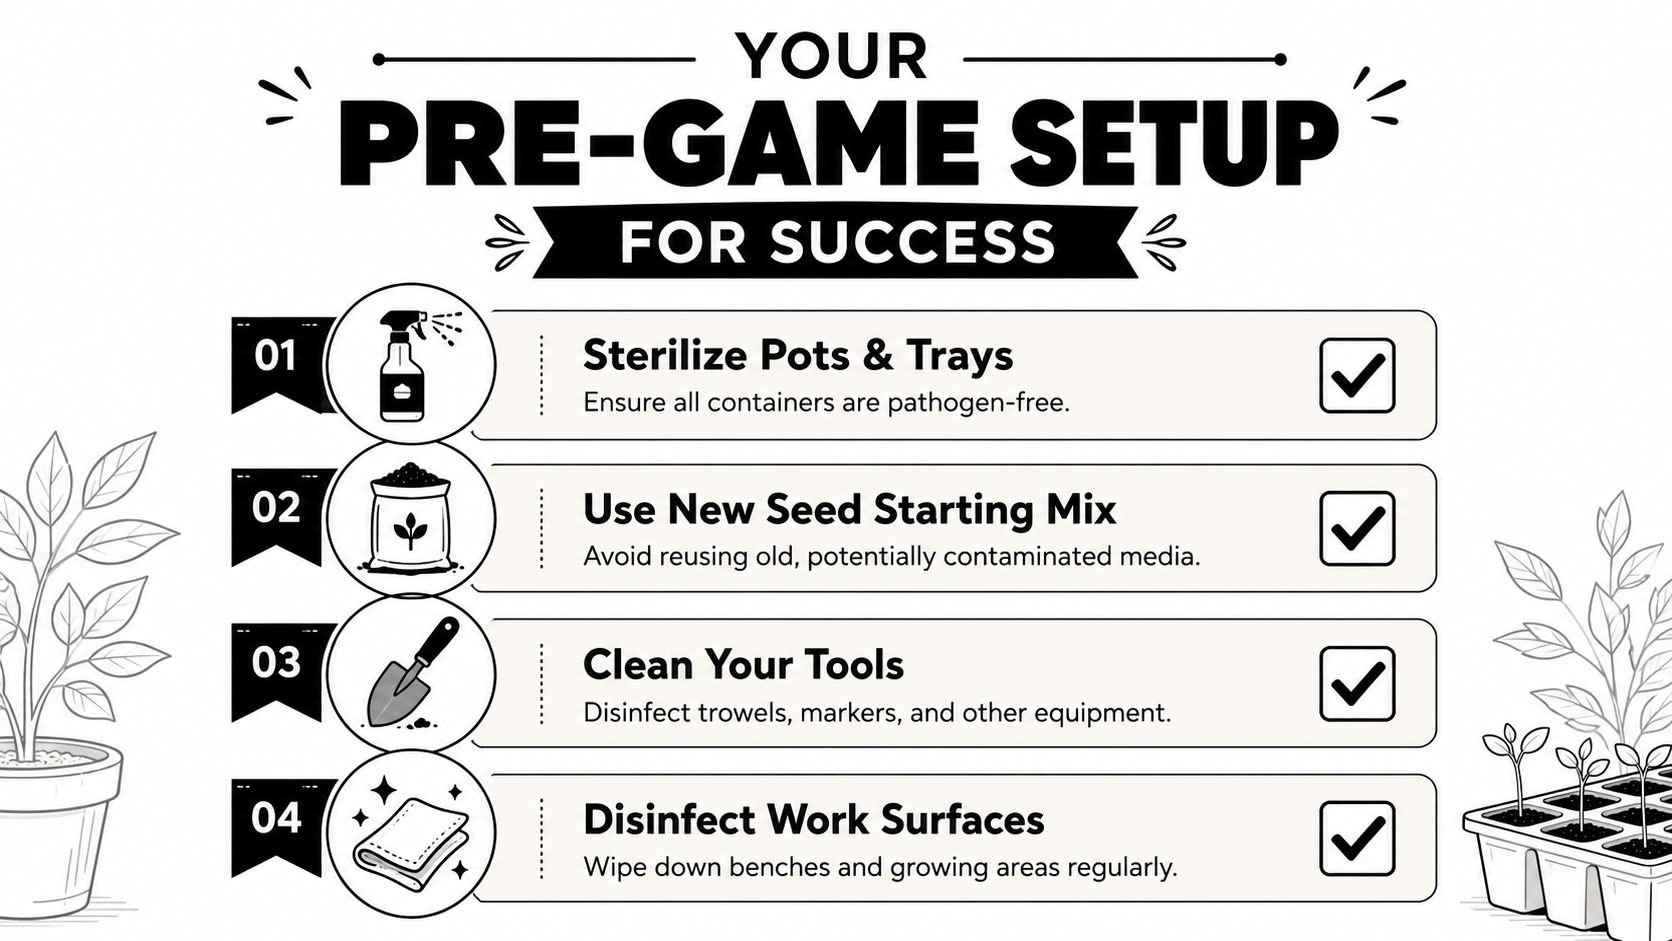
Clean the gear properly
Old trays, pots, and tools can carry the last round straight into the next one. If you reuse gear, clean it thoroughly first.
To effectively kill off lingering pathogens, sterilize all your used pots, trays, and tools by soaking them in a solution of one part disinfecting bleach to nine parts water for a full 30 minutes before rinsing and using, according to Harris Seeds on caring for seedlings and preventing damping off.
The bleach mix only works well if the surface is already clean. Dried roots, stuck-on mix, and fertilizer crust protect the very stuff you are trying to remove.
My rule is simple:
- Scrub first: Get rid of soil, algae, and old roots.
- Mix bleach correctly: One part bleach to nine parts water.
- Soak long enough: 30 minutes.
- Rinse and dry: Clean containers are the goal, not bleach residue.
There is a trade-off with old plastic. Reusing it saves money. Tossing suspect pots saves seedlings. If a tray has a history of disease and never comes fully clean, I stop trying to rescue a two-dollar container and replace it.
Start with fresh media, not leftovers
Fresh seed-starting mix is one of the cheapest ways to avoid trouble. Old mix often dries unevenly, stays soggy in weird pockets, and carries bits of roots and organic debris that microbes feed on.
Use a light, pasteurized seed-starting mix with good drainage. Skip garden soil. Skip the half-open bag that sat damp in the garage all winter. Those shortcuts create the kind of tray that looks fine on top and turns sour underneath.
This is the lazy but smart approach. Buy fresh mix, fill clean containers, and remove one major variable before the seeds even go in.
Keep the workspace boring
A messy bench spreads problems fast. Dust, spilled potting mix, runoff, and dirty tools all move microbes around your setup with almost no effort.
Do one quick reset before you sow:
- Wipe the bench or table
- Clean dibbers, labels, scissors, and trowels
- Keep compost, mulch, and old soil away from the seed-starting area
- Set out trays, tags, spray bottle, and heat mat before opening seed packs
That last point matters more than it sounds. Mid-process scrambling leads to bad choices. You overwater because the bottle is not ready. You set trays on a dirty surface. You forget labels and start moving cells around. A simple indoor weed seed planting setup keeps the whole job calmer and cleaner.
Build a clean start, then leave room for life
Good prevention is about pressure, not perfection. Reduce the obvious contamination risks. Use clean gear. Use fresh media. Keep the work area tidy.
Then stop.
You do not need to sterilize your whole grow room or treat every microbe like an enemy. Seedlings do best in an environment that dries at the right pace, gets enough air, and supports the helpful biology you want later. Clean habits give you that head start without spending a fortune or making the process miserable.
Sowing Seeds Without Sowing Problems
You sow a tray at night, give it one generous watering so you can stop worrying, and come back two days later to a surface that still looks dark and heavy. That is how a lot of damping off starts at home. The trouble usually begins before the seed even sprouts.
Good sowing is simple and a little boring. Keep each seed in its own space, keep the mix lightly moist instead of soaked, and set the tray up so seedlings can move fast once they crack.
Give each seed its own lane
Crowding causes problems early. The surface stays humid longer, stems end up too close together, and one bad patch can spread across a tray fast.
For home growers, the lazy but smart move is one seed per cell whenever possible. It makes watering easier, thinning unnecessary, and trouble easier to spot before it turns into a tray-wide mess. If you insist on community pots or open flats, sow thinly and be honest about how much room you have after germination.
| Sowing choice | What usually happens |
|---|---|
| Thin, spaced sowing | Better surface drying, easier watering, less stem contact |
| Dense sowing | Crowding, slower drying, higher humidity around stems |
Cannabis growers get burned here a lot because seed packs are expensive, so every cell starts to feel like wasted space. I get it. Still, cramming extra seeds into one tray usually costs more in losses than it saves in cells.
Warm media helps seedlings outrun trouble
Seeds sitting in cool, wet mix take their time. Pathogens do not.
A cheap heat mat is often enough to tip the balance back in your favor, especially in basements, garages, and spare rooms where tray temperatures drop at night. The goal is steady root-zone warmth, not cooking the tray. If you already track temp and humidity, a VPD chart for weed seedlings and young plants helps you keep germination conditions in a range that supports growth instead of stale, soggy air.
Warm, lightly moist media gets seedlings up and rooted faster. That shortens the window where the stem is soft and easy to infect.
Pre-moisten the mix, then stop fussing
This part trips people up. Dry seed-starting mix resists water at first, so growers overcorrect and turn the tray into muck.
Pre-moisten the medium before filling cells. Aim for the texture of a wrung-out sponge. It should hold together when squeezed but should not drip. Once the cells are filled, sow the seed, cover it lightly, and avoid the urge to drown the tray "just to be safe."
A planting routine that works well looks like this:
- Fill cells loosely: Let roots move. Do not pack the mix hard.
- Moisten before sowing: Even moisture beats dry pockets and panic watering later.
- Place one seed per spot: Keep spacing simple.
- Cover lightly: Small seeds do not need a heavy blanket of mix.
- Set trays somewhere warm: Keep conditions steady from day one.
- Water with restraint: Add enough moisture to settle things in, then leave the tray alone until it needs more.
Tap water is usually the better default for seed trays than stored rainwater or open buckets of water, which can carry organic debris. This is one of those plain habits that saves trouble without adding cost.
Skip the rich mix and the hero moves
Heavy garden soil, compost-heavy blends, and extra fertilizer at sowing all make life harder for seedlings. The mix stays wet too long, air space drops, and tender roots end up in a medium that is too active for this stage.
Seedlings do better in a plain, fresh starter mix that drains well and holds enough moisture without collapsing. You are not trying to build the final pot on day one. You are trying to get a clean, steady start.
If the setup feels almost too simple, you are probably doing it right.
Mastering Water and Airflow for Young Plants
You come back to the tray in the morning and one seedling is pinched at the base, folded over, done. The mix still looks wet. The dome is fogged up. The room feels still. That combination causes more losses than bad seed ever will.
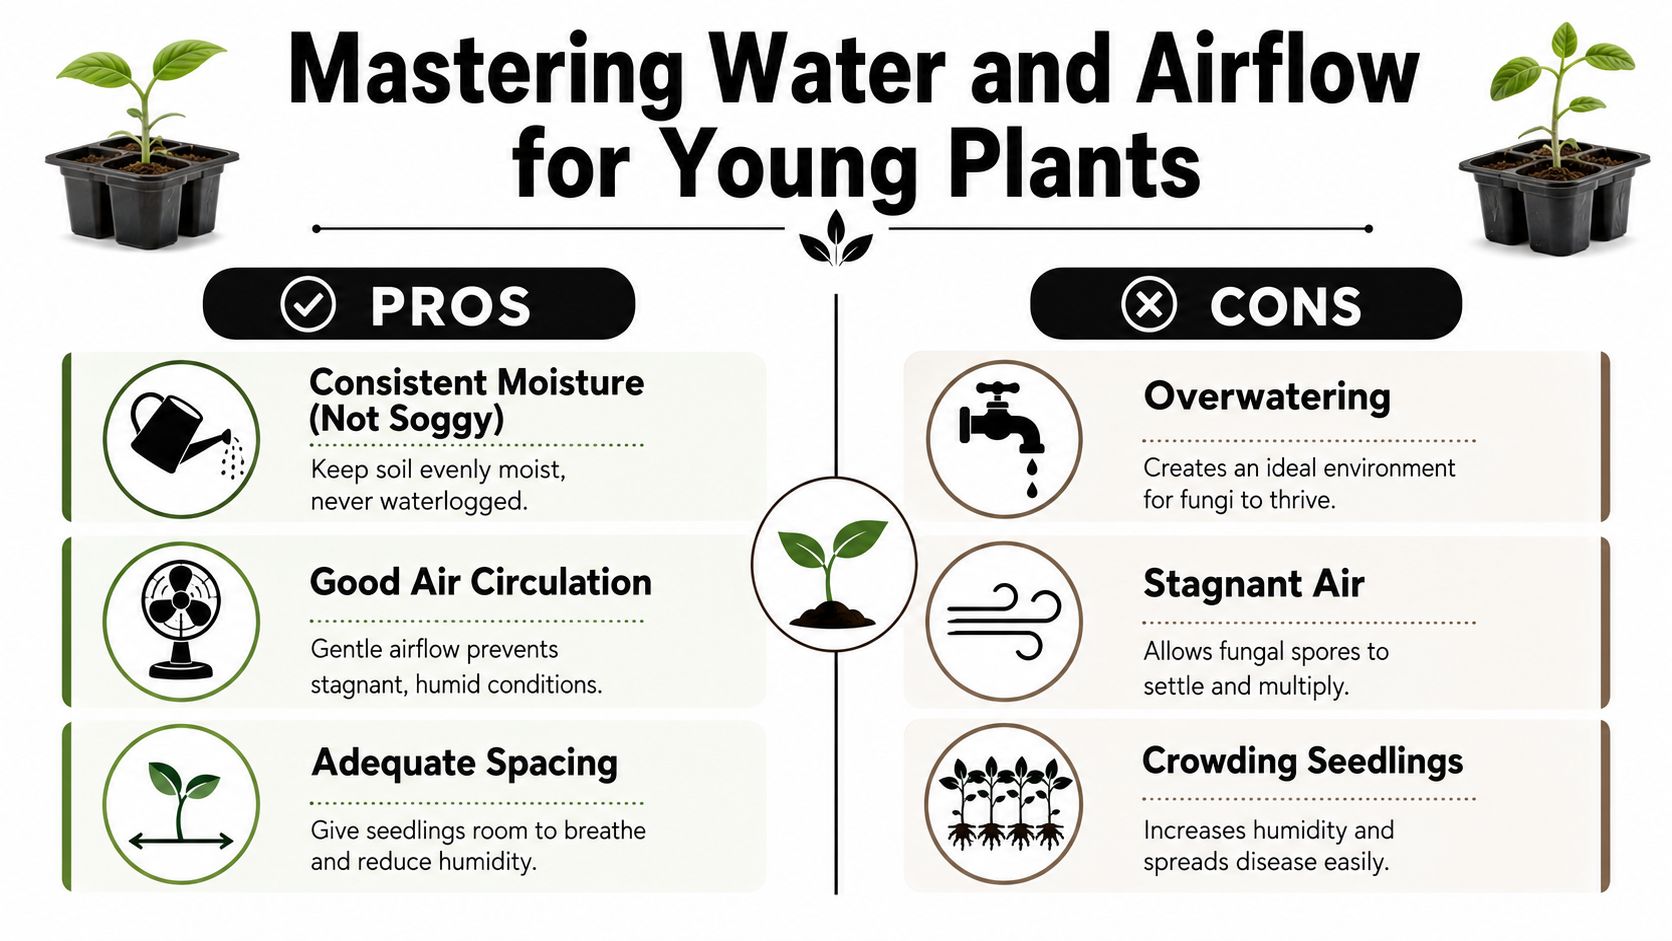
Water and airflow work together. If the mix stays wet for too long and the air sits still around the stem, you give damping off exactly the conditions it likes. The goal is simpler than people make it sound. Keep moisture down where roots can use it, and let the surface dry enough that stems are not sitting in a damp little swamp.
Water for roots, not for nerves
A lot of new growers kill seedlings with kindness. They see a pale, dry-looking surface and reach for the sprayer, even though the root zone is still wet underneath.
The easy fix is to stop watering by appearance alone. Lift the tray. Press the surface with a fingertip. Check a cell near the middle, not just the edge that dries first. Heavy trays usually need time, not more water.
Bottom watering helps because it wets the lower root zone without keeping the stem area constantly soaked. It is still possible to overdo it, so do not let trays sit in water longer than needed. Let the mix pull up what it needs, then dump the excess.
A simple rule set works well:
- Keep the mix evenly moist, not saturated
- Let the top layer lose that constant shine
- Water fully, then wait
- Use tray weight as your reality check
That last one saves a lot of seedlings. Dry trays feel surprisingly light once you learn the difference.
Airflow fixes what humidity domes create
Humidity domes are useful for germination. They become a problem fast after sprouting if you leave them on too long.
Seedlings need air moving across the tray surface. Gentle movement dries condensation, reduces stale humid pockets, and helps stems firm up. A small clip fan does the job in most home setups. Set it so the seedlings quiver a little. If they are bent over or the mix is drying in hours, back it off.
One experienced grower at Garden Myths' damping off prevention article described airflow at soil level as the change that finally stopped repeated losses. That lines up with what I have seen. The fan is cheap, boring, and effective.
Here is the practical version:
| Tool | What it helps control | Why it matters |
|---|---|---|
| Bottom watering | Surface wetness | Keeps the stem zone from staying soggy |
| Small oscillating or clip fan | Stale humid air | Dries the tray surface and discourages fungal growth |
| Better spacing | Crowded microclimates | Lets air move between seedlings instead of trapping moisture |
If you want a clearer target for humidity instead of guessing by feel, this cannabis VPD chart for weed seedlings and veg plants gives a useful reference point. For home growers, though, the basic habit matters more than chasing perfect numbers. Gentle airflow all day and a room that does not stay muggy will carry you a long way.
The lazy-but-smart routine
You do not need a sterile lab. You need a setup that forgives small mistakes.
Check trays once or twice a day, not every hour. Water based on weight and root-zone moisture, not anxiety. Pull domes off early once seedlings are up. Leave enough space between trays and pots for air to move. Keep the fan running if the room tends to sit still, especially at night.
The best seedling area feels almost uneventful. No swampy smell. No glossy, cold surface that stays wet forever. No stems sulking in stale air. Just a tray that dries at a steady pace and seedlings that stay upright long enough to become hard to kill.
Boosting Your Defenses with Biological Allies
Once your sanitation and environment are solid, there's room for one more smart layer of protection. Beneficial microbes then earn their place.
A lot of home growers hear “disease prevention” and assume the answer must be harsher cleaning or stronger products. Sometimes the better move is the opposite. Build a root zone that already has good tenants living in it, so the bad ones have less room to move in.

Think of Trichoderma as hired security
Studies have demonstrated that systematically applying beneficial fungi like Trichoderma as a soil drench can reduce the incidence of damping off in seedlings by as much as 75% by creating a protective biological barrier, according to the Frontiers in Microbiology review on damping off management.
That number gets attention, but the logic matters more than the headline. Trichoderma colonizes the root zone and competes where pathogens want to establish themselves. Instead of trying to keep the medium empty forever, you occupy it with something useful.
This is the lazy-but-smart angle in a nutshell. You aren't scrubbing the world into submission. You're setting up a neighborhood where the troublemakers have a harder time taking over.
Where biologicals fit best
Biologicals work best as support, not as an excuse to ignore the basics. If your trays are soaked, your room is still, and your tools are dirty, a beneficial drench won't save sloppy habits.
Use them when the foundation is already decent:
- After clean setup: Add biology to a reasonably clean starting system.
- With fresh media: Give beneficials a fair shot in a stable environment.
- Alongside good watering habits: Don't drown the root zone you're trying to protect.
- For valuable seed runs: Premium cultivars are a good place to stack the odds.
Good microbes aren't magic. They're backup for a grower who already fixed the obvious problems.
A quick visual helps if you're new to the idea of root-zone protection:
Don't confuse clean with lifeless
Growers typically split into two camps. One camp tries to sterilize everything forever. The other accepts a clean start, then builds a more resilient little ecosystem.
There's a good argument for the second approach. Garden Myths describes a grower who lost approximately 1,000 plants, then reported zero damping-off cases after switching to compost-based, weak-nutrient media with bottom watering and occasional surface misting, while also improving airflow. That example is useful because it shows the trade-off clearly. Sterile is not always safer if the growing environment itself is off.
For a home grower, the practical takeaway is simple. Clean your gear, use fresh mix, and then consider adding beneficial biology instead of trying to maintain a dead zone around every root.
Troubleshooting and Cannabis Specific Tips
If you spot one seedling with that pinched, collapsing stem, move fast and stay unsentimental. Remove the affected seedling and the surrounding mix right away. Don't leave it in the tray because you feel bad for it. Your job at that point is protecting the rest.
Then check the setup, not just the victim. Ask the useful questions. Is the tray staying too wet? Is air moving at soil level? Did you crowd the cells? Did you leave a dome on too long? Damping off usually shows you where the system got sloppy.
What to do right away
A calm response beats a dramatic one.
- Pull the infected seedling: Remove it with nearby media.
- Stop automatic watering: Check moisture before adding anything else.
- Increase air movement: Keep gentle airflow on the tray surface.
- Look for pattern, not panic: If multiple cells are affected, restarting may be smarter than trying to rescue the whole batch.
If just one or two seedlings fail and the rest look firm, you can often correct conditions and carry on. If the tray is turning into a domino effect, cut your losses and reset with clean gear and fresh media.
Feeding young cannabis seedlings
New cannabis growers often want to feed too early, especially when they're excited about a vigorous cultivar. That usually backfires.
To avoid increasing damping off risk, you should not apply any fertilizer until the seedling has developed several sets of true leaves. Even then, start with a 1/4-strength soluble fertilizer to prevent high salt levels from damaging vulnerable roots, according to University of Minnesota Extension guidance on preventing seedling damping.
That advice is gold because it solves two common problems at once. It reduces salt stress, and it keeps you from turning a simple seedling tray into an overmanaged feeding project. Early on, cannabis cultivars want stability more than intensity.
Pick cultivars that make life easier
Genetics won't fix a soggy tray, but they do affect how forgiving the grow feels. Vigorous feminized and autoflower cultivars tend to make the early stage less stressful because you're working toward a cleaner, more predictable canopy without extra distractions. That matters for home growers who want a straightforward path from sprout to harvest.
Choose cultivars that fit your space, your lighting, and your patience level. Fast, compact plants for tight setups. Bigger structured plants for growers who can give them room. Seedling success starts with environment, but the whole run gets easier when the cultivar matches the setup.
If you want a smoother start on your next run, Botanist Seeds makes it easy to compare feminized and autoflower cultivars for your space, your experience level, and the kind of grow you want to manage. Use the comparison tool, pick genetics that fit your setup, and give those seedlings the kind of start that turns into jars you're proud of.