Autoflower Germination Guide: Pro Tips for 2026 Success
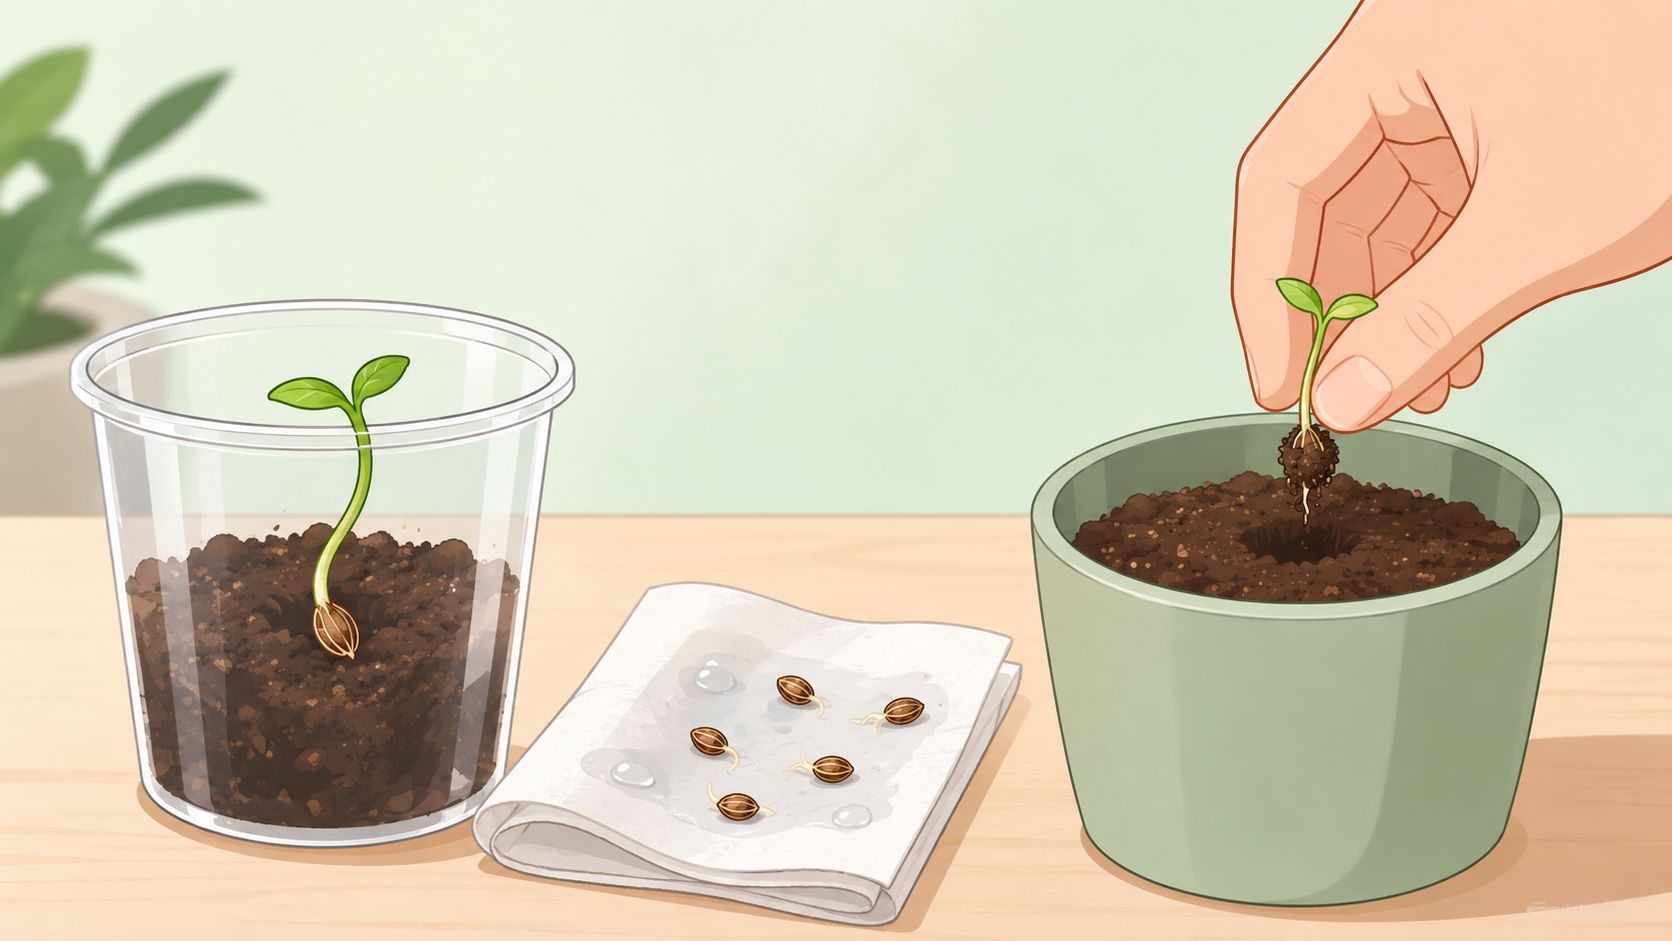
You've got seeds on the table, a pot ready, and that mix of excitement and low-key panic that hits every first grow. That's normal. Germination feels simple until a seed stalls, a paper towel gets funky, or a taproot stretches longer than it should because nobody gave you the small details that matter.
Most autoflower germination guides stop at the obvious stuff. Keep it warm, keep it moist, wait for the seed to pop. That's fine as far as it goes, but autoflower cultivars don't give you much room to recover from a slow start. Their vegetative window is short, so the early moves matter more than people think. If you want the cleanest path from dry seed to healthy seedling, the win comes from getting a few boring details right.
This autoflower germination guide keeps it practical. No fluff, no mystery, just the methods that work, the trade-offs between them, and the small mistakes that trip up first-time growers.
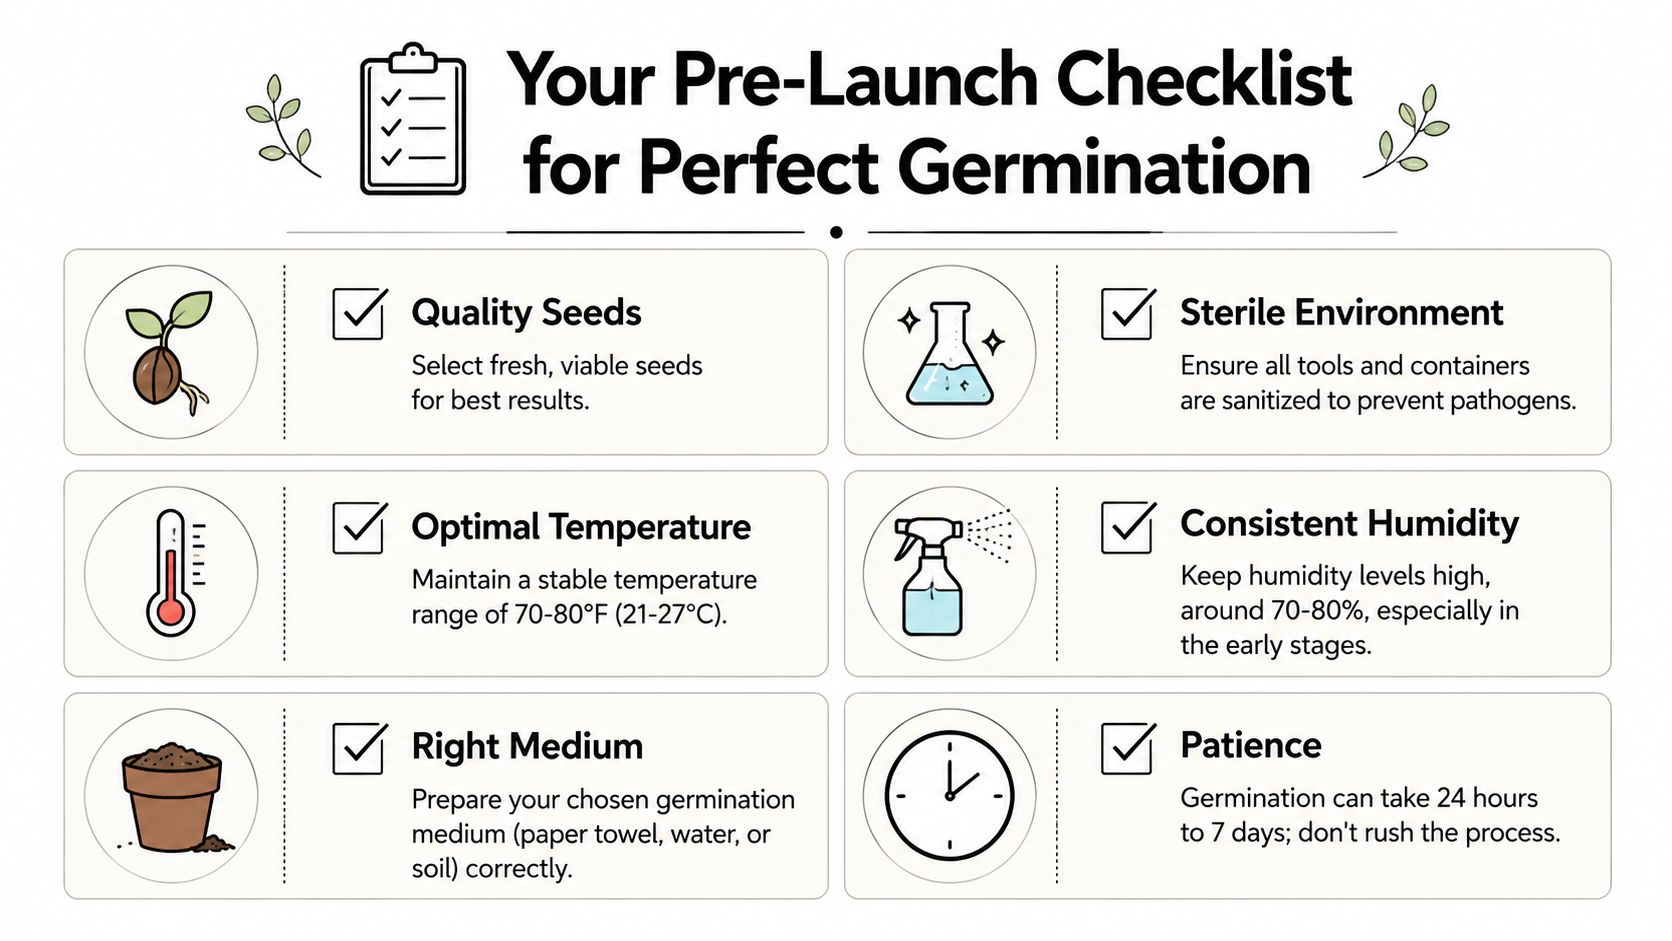
Your Pre-Launch Checklist for Perfect Germination
You only get one clean start with an autoflower. If the seed sits too cold, the medium stays soggy, or you fumble the taproot because you were still hunting for tweezers, that lost time shows up later in a smaller plant.
The fix is simple. Set everything up before the seed ever gets wet.
Build a stable start zone
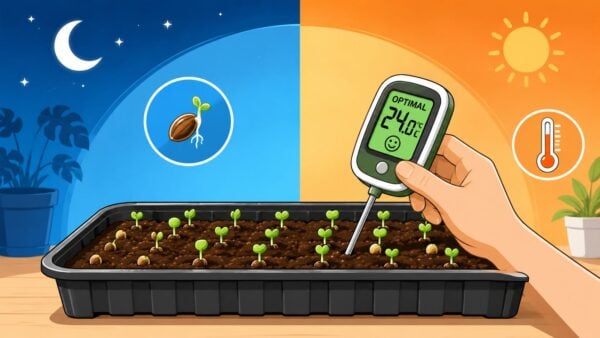
Autoflower seeds want steady conditions, not heroics. A warm shelf, tent corner, or cabinet works fine if it stays consistent and doesn't dry out every few hours. Big swings slow things down more than growers expect.
Aim for a mild, spring-like setup. Warm, lightly humid, and out of direct airflow. A vent or fan pointed nearby can dry paper towels and plugs fast, while cold surfaces can stall a seed that looked ready to go.
Direct soil can be slower for one boring reason. The seed has to hydrate and push through a medium that may be a little too dense, a little too cool, or a little too wet. Nothing is wrong with the method, but the process is hidden, and small mistakes take longer to spot.
Practical rule: Moist is good. Wet is trouble.
Get your gear ready before you start
Keep the kit basic, but have it all within reach:
- Fresh seeds from a source you trust: Older seeds can still pop, but they usually need more patience and give less margin for error.
- Clean, room-temperature water: No special treatment needed.
- One germination medium: Paper towels, starter plugs, or your final pot. Pick one and commit.
- Tweezers: Helpful once the shell cracks and the root shows.
- A clean plate, tray, or small container: Easy to check without disturbing things.
- Prepped growing medium: If you plan to plant as soon as the seed opens, have the hole made in advance.
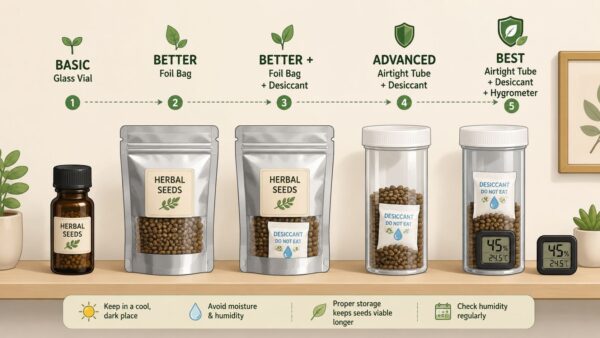
Storage matters before germination ever starts. If your seeds have been sitting around for months, this guide on how to preserve weed seeds will help you avoid starting with weak seed stock.
Decide your transfer point now
This is one of the details new growers rarely hear. Don't wait for a long curly taproot before planting. Move the seed once the root is just out and clearly established, roughly a few millimeters to about a quarter inch. That gives you enough progress to know the seed is viable without letting the root get long enough to tangle, dry out, or snap during transfer.
I've seen more first runs slowed by over-waiting than by moving too early. Growers get excited, keep checking, then leave the sprout in the towel another day because “it looks like it's doing great.” That extra day is where handling damage starts.
Handle less, not more
Once the shell cracks, treat the seed like a fragile sprout, not a pebble. Use tweezers if you need them. Touch the shell, never the root. Keep it out of bright windowsill light and stop opening the setup every hour to admire it.
Clean hands help. Clean tools help more.
The best checklist is boring on purpose. Stable temperature, light moisture, clean tools, prepped containers, and a clear plan for when to plant. Get those small details right and germination gets a lot less dramatic.
Four Proven Paths to Sprouting Autoflower Seeds
You can get a seed to crack a few different ways. The better question is which method gives you the fewest chances to screw up the first week.
That matters with autos. They recover from early stress poorly compared with photoperiod plants, so the best method is usually the one that fits your setup and keeps handling mistakes low.
Autoflower Germination Method Comparison
| Method | Best For | Potential Downside |
|---|---|---|
| Paper towel | Growers who want to see exactly when each seed opens | Easy to leave the root too long if you keep waiting for more growth |
| Direct soil | Growers who want minimal handling from day one | Slower emergence can hide problems until you're already behind |
| Pre-soak | Older, harder, or slow-to-wake seeds that need a head start | Too much soak time can starve the seed of oxygen |
| Starter plugs | Growers who want a clean setup and simple transfer into the final container | Plugs can stay too wet if moisture isn't watched closely |
Paper towel method
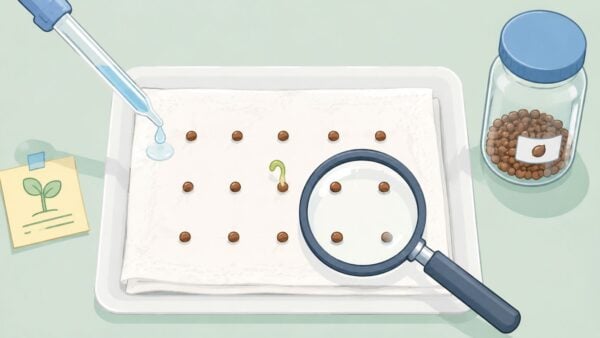
For most home growers, this is still the easiest method to run well. You can see which seeds have cracked, which ones are stalled, and which one is ready to plant before the taproot gets awkward to handle.
Keep the towels damp, not soaked. Put the seed between two layers, place them in a covered container or between plates, and keep the setup warm and dark. Then leave it alone except for brief checks.
Paper towel works well because moisture stays consistent and the seed still gets air. It also gives you control over timing. That's the pro-level advantage beginners usually miss. You are not just trying to make the seed pop. You are trying to catch it at the right stage so transplanting stays easy.
Direct soil planting
Direct planting is simple on paper. Drop the seed in, keep the medium moist, and wait. In practice, it often feels slower because you can't see what is happening below the surface.
The primary reason direct soil starts can lag is poor airflow around the seed zone. A wet, packed top layer makes it harder for a tiny root to breathe and push downward. New growers often blame the seed when the root cause is the medium's texture.
Use a light, airy mix. Make the hole shallow, cover it loosely, and do not press the surface down after planting. If you want a follow-up guide for the next step, this walkthrough on how to plant weed seeds indoors pairs well with direct sowing.
Done well, direct soil is a good low-handling option. Done in heavy, soggy mix, it becomes a waiting game.
Pre-soak method
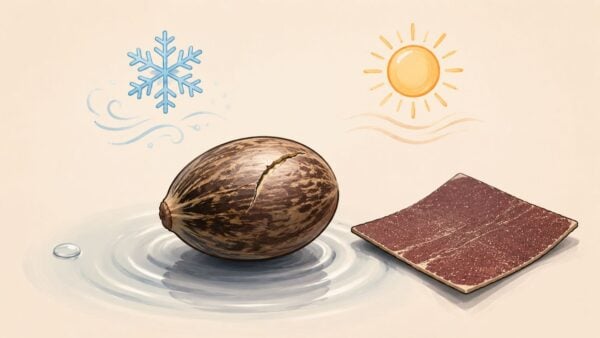
A short soak can help a stubborn seed get started. It softens the shell and gets moisture into the seed before you move it into paper towel, a plug, or soil.
Short is the key word here.
I use this method more for older seeds than fresh, healthy ones. If a seed sinks after some time in water, that can be a decent sign it has taken on moisture, but sinking alone does not guarantee success. Don't keep it submerged too long hoping for magic. Seeds need oxygen as much as water.
Starter plugs
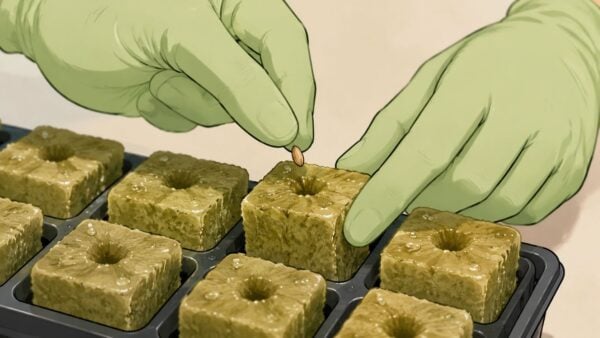
Starter plugs are a solid middle ground. You get more structure than paper towel and less guesswork than direct soil. They also reduce root handling because the whole plug can go straight into the pot.
That said, plugs punish heavy hands. If you keep them soaked, the seed can stall before it ever gets moving. If they dry too much, the shell can cling to the sprout and slow it down right at the surface.
For growers who like neat trays, clear labeling, and easy transfers, plugs are hard to beat.
Which path makes the most sense
Pick the method that matches how you grow.
- Choose paper towel if you want visibility and better control over transfer timing.
- Choose direct soil if you want the least handling and you trust your medium to stay light.
- Choose pre-soak if a seed seems slow, older, or stubborn.
- Choose starter plugs if you want a tidy workflow and easy movement into the final pot.
If a friend asked me for the safest first run, I'd still say paper towel, then plant as soon as the seed has clearly opened and the taproot is just started. That small timing detail prevents a lot of the beginner mistakes other guides skip.
From Pop to Pot The Critical First Week
The seed cracks, the white root appears, and at this point, a lot of growers lose time without realizing it. They wait because the root looks tiny. Then they wait a little longer because it still seems safer to leave it alone. With autoflower cultivars, that delay can cost more than people expect.
The taproot length that actually matters
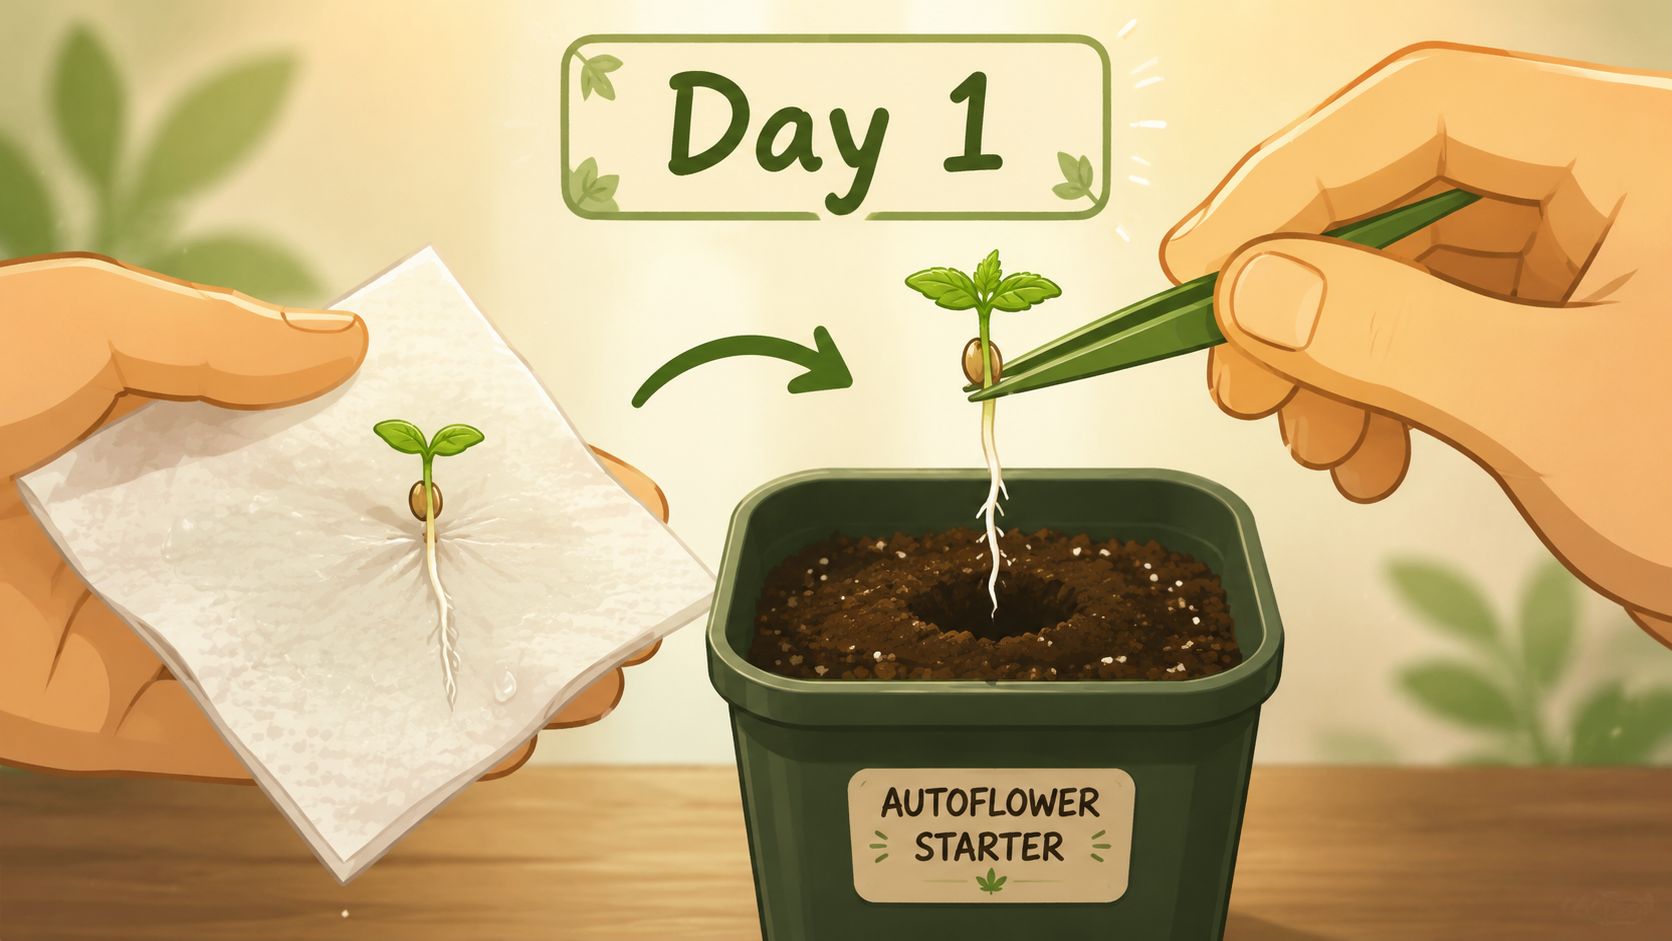
Most guides say to transplant once the seed has germinated. That's too vague to be useful. For autoflowers, transplanting should happen when the taproot is just 1 to 3 mm long, and delaying by two days past that point can reduce final biomass by 15 to 20%, based on a seed bank’s germination and seedling guidance.
That 1 to 3 mm detail is the kind of thing first-time growers rarely hear. They're often told to wait until the root is much longer. Bad move. A longer root is harder to handle, easier to damage, and more likely to feel stress when moved.
A short taproot is ready. Don't wait for it to look impressive.
Planting the sprout without beating it up
Use tweezers if you have them. Grab the seed shell, not the root. Make a small hole in your medium, set the seed in root-down, and lightly cover it. Don't pack soil on top. The seedling needs to push through easily.
Keep the medium evenly moist, not drenched. This stage is where overwatering wrecks a lot of seedlings. The root wants moisture and oxygen together. If the medium is soggy, oxygen drops and growth slows.
If you want a broader look at what happens right after emergence, this guide to the seedling stage of weed is a useful next read.
What the first few days should look like
At first, not much looks dramatic from above. Under the surface, the seed is anchoring itself and setting up the root zone that will drive the rest of the grow. Be patient, but stay attentive.
Once it breaks the surface, give it gentle light and resist the urge to fuss with it. You're not trying to force growth. You're trying to remove friction.
A quick visual can help if you want to see the handling and planting process in action.
A simple first-week routine
- Check moisture by feel: Damp is right. Wet and heavy is not.
- Keep the surface loose: Don't crust over the top of the pot.
- Give gentle light after emergence: Enough to keep the seedling upright, not so intense that it gets stressed.
- Avoid unnecessary transplanting: Every extra move costs recovery time.
The first week is quiet work. Nothing flashy. But if you nail this stretch, the rest of the run gets easier.
Troubleshooting Common Germination Hurdles
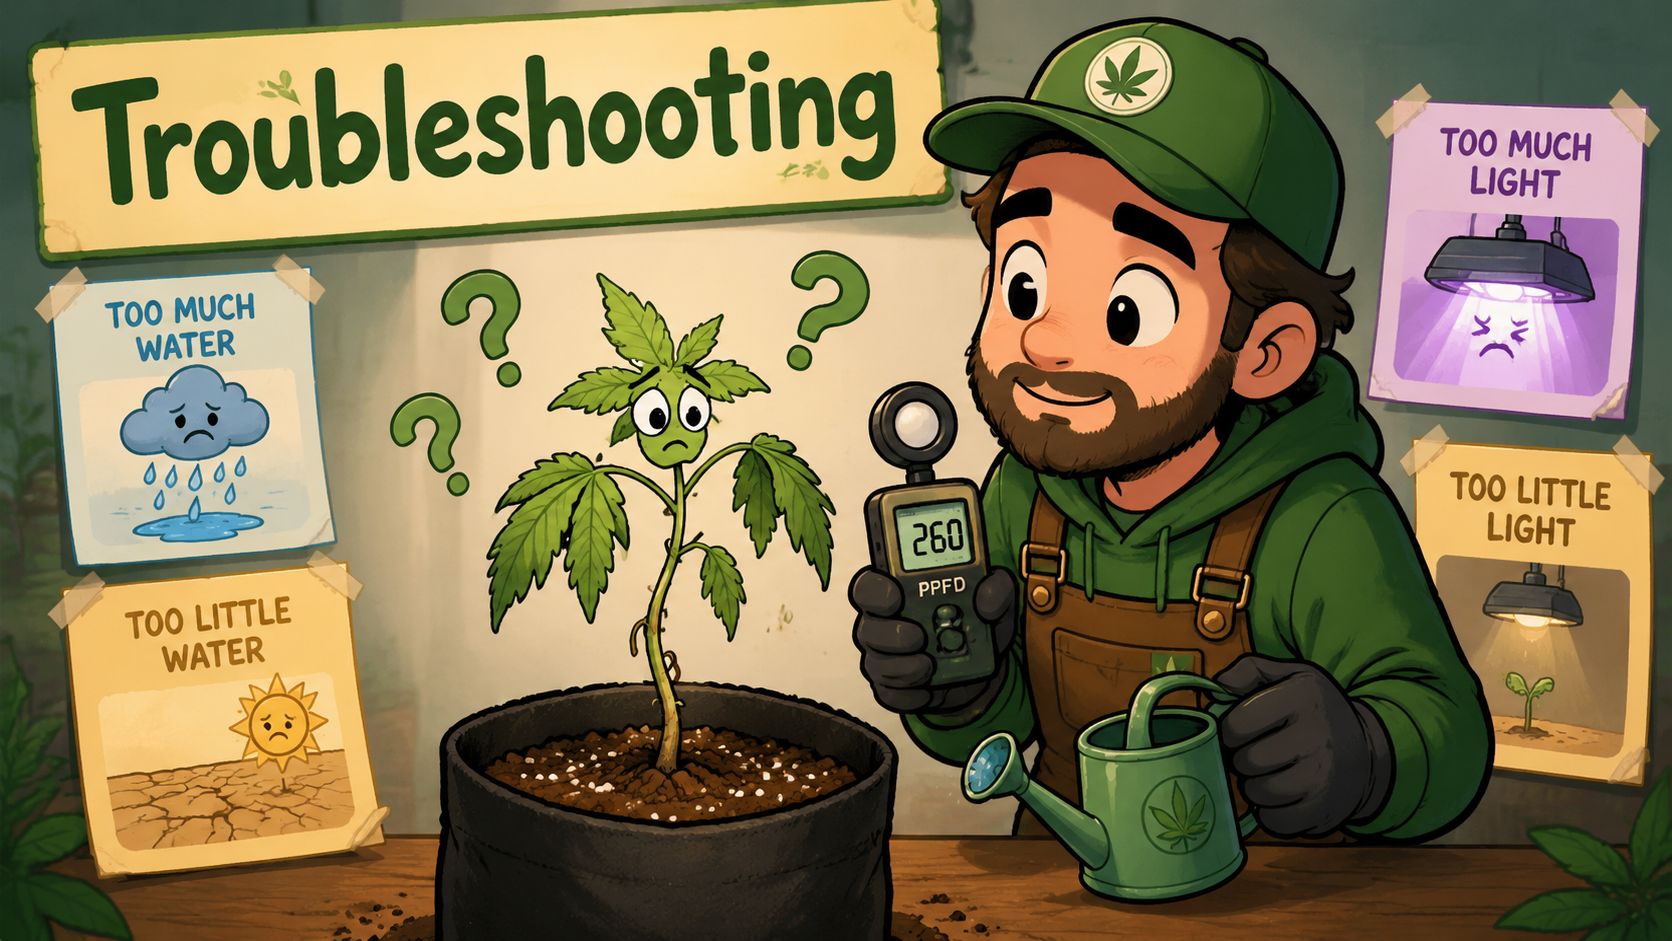
Seeds fail sometimes. Towels get moldy. Seedlings stretch. None of that means you're bad at growing. It usually means one variable drifted out of line and the plant told you about it.
The worst thing you can do here is panic and start changing five things at once. Fix one likely cause, keep the environment steady, and give the seed or seedling a little time to respond.
When a seed won't pop
If nothing's happening, check the basics first. Most stalled seeds are dealing with one of three problems. Too cold, too wet, or too dry. Old seed stock can also be slower and less reliable, which is why freshness matters so much.
Don't keep digging the seed up to inspect it. That usually adds stress without solving the actual issue. If the setup is warm, moist, and clean, the next best move is patience.
When paper towels get funky
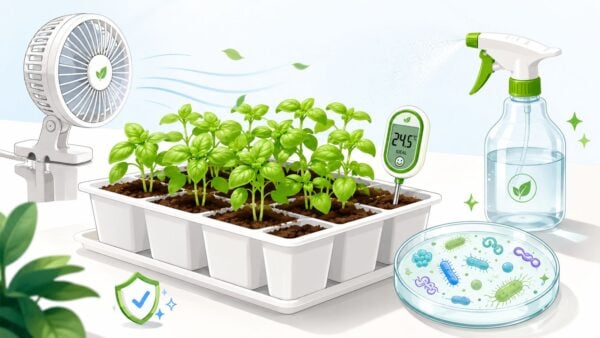
Fuzzy growth or a sour smell usually points to too much moisture and poor cleanliness. Paper towels should be damp, not dripping. Containers should be clean. Hands and tweezers should be clean too.
If you've had repeat problems with bacteria or minor contamination, hydrogen peroxide can help. A 1% hydrogen peroxide solution can improve germination, and soaking seeds for 12 to 24 hours before planting can reduce bacteria and improve oxygen intake, according to this peer-reviewed study on Cannabis sativa seed germination and hydrogen peroxide treatment.
One fix that earns its place: A controlled hydrogen peroxide soak is more useful than endlessly rewetting a problem setup.
When the seedling stretches
A tall, skinny seedling is asking for better light. It sprouted, but it's reaching because the light is weak, too far away, or inconsistent. The fix is simple. Improve the light situation early and keep airflow gentle so the stem can strengthen.
Don't bury every stretched seedling deeper as your first response. That can help in some cases, but the primary solution is usually better light and steadier early care.
Quick triage list
- Seed hasn't opened: Recheck warmth and moisture before doing anything else.
- Towel shows mold: Replace the setup with a clean one and back off excess water.
- Seedling fell over: Support it lightly, improve light, and don't drown the medium.
- Growth stalled after popping: Look at overwatering first. That's a common culprit.
Most germination problems come from trying to help too much. A clean setup, stable conditions, and a light touch solve more issues than constant intervention.
Grower FAQs Your Germination Questions Answered
You check the seed on day three, then day five, and start wondering if you already messed it up. That's usually when growers over-handle things. These are the questions that matter most, with the small details that keep a simple germination from turning into a stall.
How long should autoflower seeds take to germinate
Many autoflower seeds crack within a few days in a stable setup. Some are fast, some take longer, and pace alone does not tell you much. Before calling a seed dead, check the basics first. Warmth, moisture, and airflow cause more delays than the seed itself.
Is tap water good enough
Often, yes. If your tap water does not smell strongly of chlorine and does not leave heavy residue, it will usually do the job.
If it seems harsh, let it sit out for a while or switch to filtered water. Germination likes clean, plain water more than fancy inputs.
What if the seedling falls over
Keep it simple. Weak light, soggy medium, or rough airflow are the usual causes.
Prop it gently if needed, improve the light, and let the medium dry a bit if it has been staying too wet. A floppy seedling can still recover if you fix the cause early.
Should I germinate directly in the final pot
You can, and plenty of growers do. The trade-off is speed versus handling. Direct sowing avoids touching the taproot, but it can feel slower because you cannot see progress and because many first-time growers plant into soil that is too dense or too wet. That is the reason direct soil runs slow so often.
If you go this route, use a light mix, avoid packing the surface down, and water a small ring around the seed instead of soaking the whole pot.
What light schedule should seedlings get
Autoflower cultivars do not need a flowering light change, which keeps things simple. They commonly have a vegetative period of 25 to 40 days before flowering and can grow under schedules like 20/4 or even 24/0, according to this autoflower growing guide from a seed bank. For seedlings, the practical goal is steady light that keeps them upright and compact without cooking them.
What's the best method for a first-time grower
Paper towel is usually the easiest method to read because you can see exactly when the shell opens and when the taproot is ready. That matters more than many guides admit. Transplant too early and the seed may stall. Wait too long and the root can tangle into the towel or get damaged during the move.
The sweet spot is a short, clearly visible taproot. Long enough to know the seed is viable, short enough to move without stress.
Do all cultivars germinate at the same pace
No. Some pop fast and push hard right away. Others are slower and still turn into strong plants.
What matters is clean starts, stable conditions, and good timing once the root shows. Ultimately, good germination comes down to paying attention to the small details and resisting the urge to fuss with every seed.
If you're picking seeds for your next run, Botanist Seeds makes that part easier with a clean comparison tool that helps you sort cultivars by your setup, your experience level, and the kind of grow you want. It's a smart shortcut when you want dependable genetics without wasting time guessing.