Seed Viability Testing: Know if Your Seeds Will Sprout
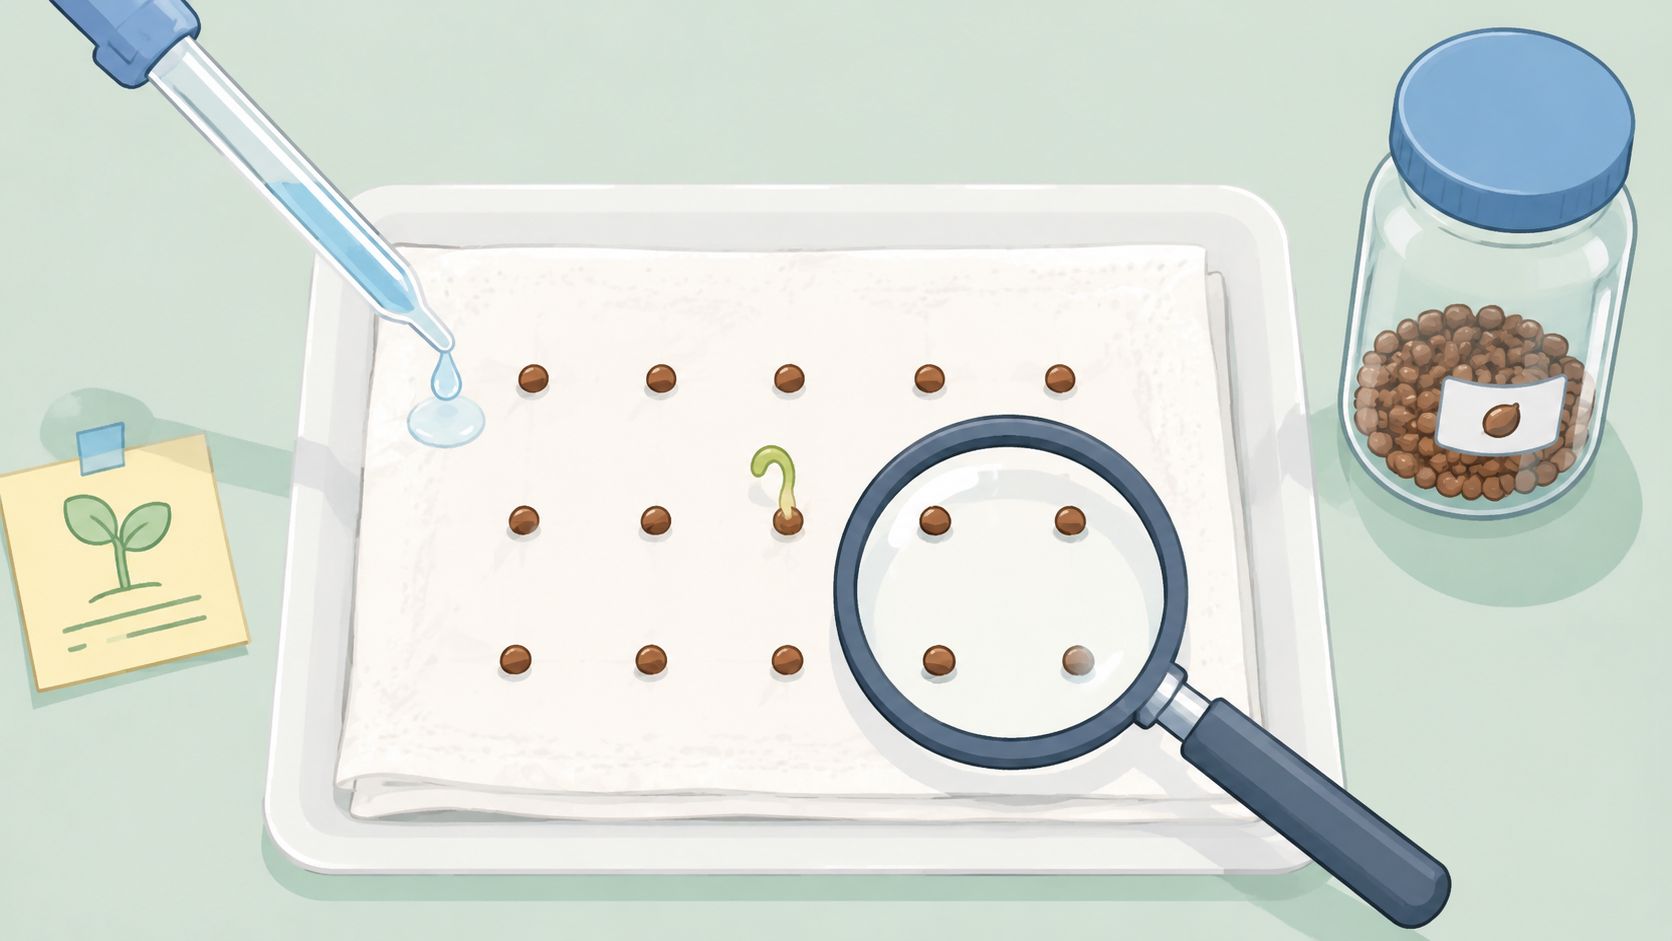
You find an old pack in the back of a drawer, maybe a feminized cultivar you were saving for the right run, maybe a few autoflower seeds you forgot after the last harvest. The question hits fast: are these still worth your time, or are you about to waste a week staring at a wet paper towel and hoping for a miracle?
That's where seed viability testing earns its keep. It's not lab-coat stuff. It's just a smart move before you commit trays, soil, labels, tent space, and your own patience to seeds that may already be past their best. For home growers, that matters even more when you're trying to keep a favorite cultivar in rotation and avoid another dispensary trip, another tax hit, and another line.
Why Bother with Seed Viability Testing
Cannabis seeds aren't like tossing a handful of tomato seeds in the yard and seeing what happens. Viability shifts for reasons generic gardening guides barely touch, including genetics, extraction methods, and harvest maturity. That's part of why so many home growers get mixed results from packs that looked perfectly fine on the outside.
One detail worth keeping in mind: cannabis seeds have a typical viability window of about 1 to 2 years under normal storage, according to Washington State University search-backed guidance on cannabis seed viability. That doesn't mean every seed dies right on schedule. It means age matters a lot more than many hobbyists assume.
It saves more than seeds
When a seed doesn't sprout, you don't just lose the seed.
You lose:
- Time: waiting several days for nothing to happen
- Space: filling pots or starter plugs with dead weight
- Momentum: delaying the whole grow because one tray stalls out
- Confidence: second-guessing yourself when old stock was the problem
Testing first gives you a cleaner plan. If a pack is still lively, great. Plant with confidence. If the result is weak, you can adjust before the grow begins instead of learning the hard way halfway through week one.
Practical rule: Test older seeds before you build your whole run around them.
Home growers need cultivar-specific judgment
This matters even more if you keep a small personal stash of feminized or autoflower cultivars with very different storage histories. One pack may have lived in a cool drawer. Another may have sat in a warm room through summer. Both can look identical in the packet and behave completely differently once moisture hits them.
A lot of broad seed advice also ignores the difference between a dead seed and one that's just slow, stressed, or uneven because of how it was produced and stored. That's why practical seed viability testing beats guessing. You're not trying to win a science fair. You're trying to know whether to plant one seed per spot, plant extras, or move on and order something fresh.
It changes how you buy and store seeds
Once you start testing, you also get better at reading your own habits. If your older packs consistently underperform, that tells you something about your storage setup. If one cultivar keeps strong viability while another fades fast, that tells you something useful too.
That kind of feedback makes you a sharper grower. You stop treating seeds like lottery tickets and start treating them like living inventory.
Simple Germination Tests You Can Do Today
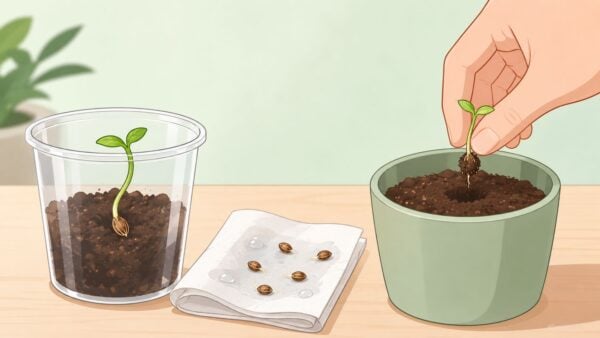
The easiest seed viability testing methods are still the ones most home growers trust: a paper towel test and a cup of water check. Both are cheap, fast, and easy to do on a kitchen counter.
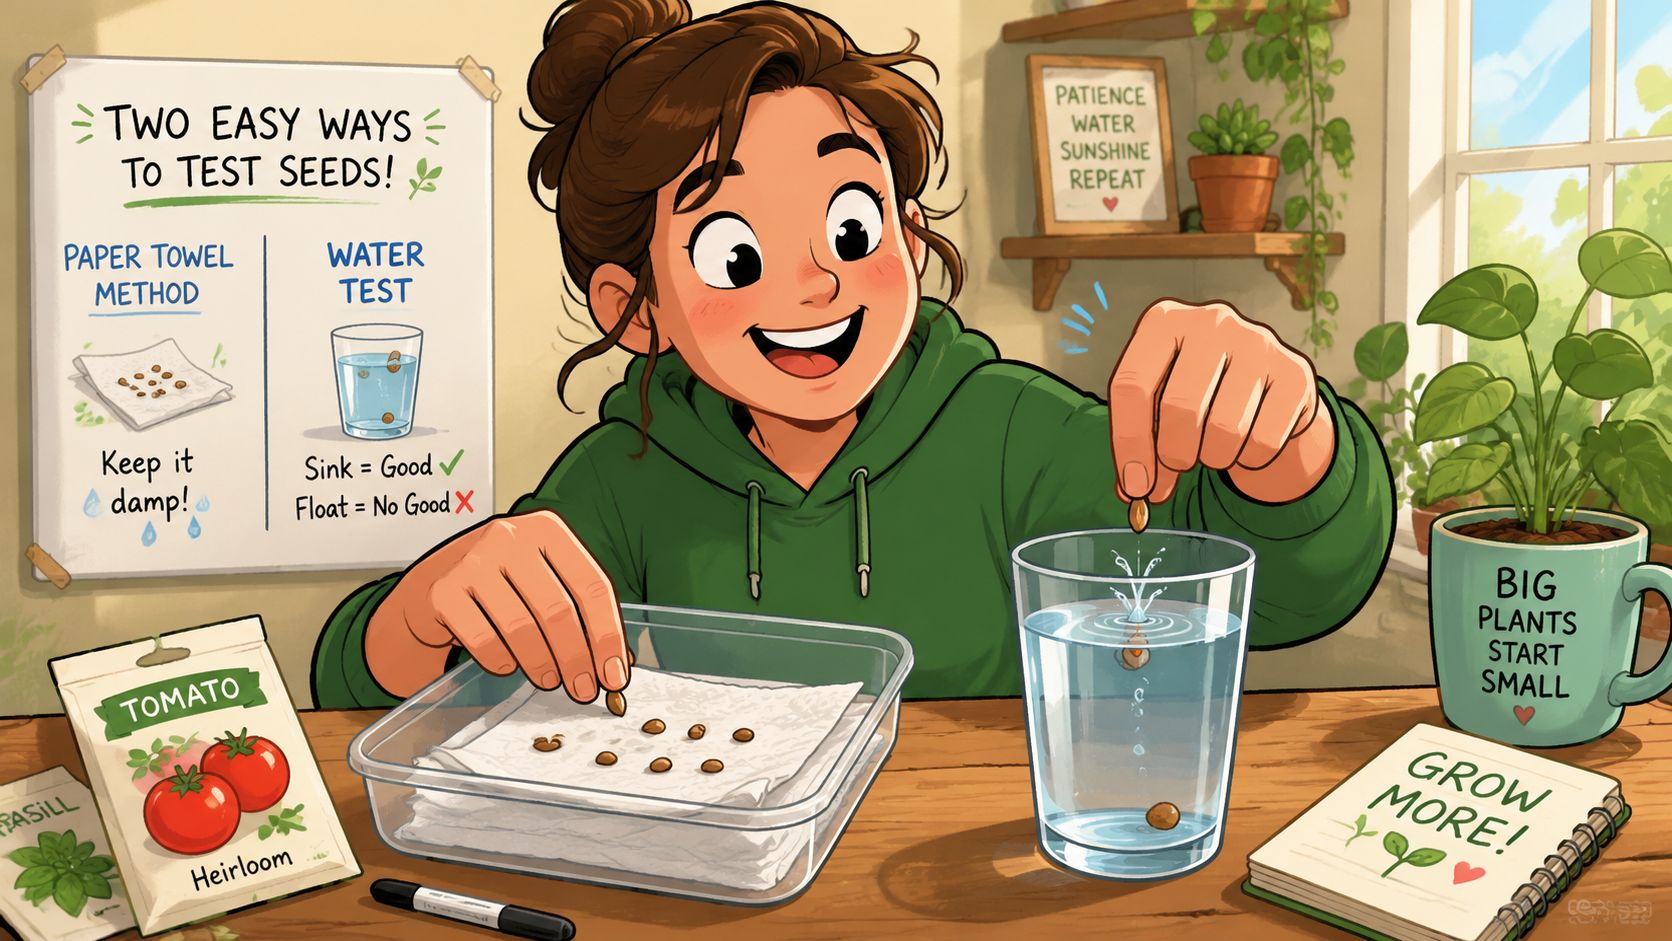
The paper towel method
This is the method I'd tell most growers to start with because it gives you a clear view of what's happening.
You'll need:
- Paper towels: plain and unscented
- Water: clean and room temperature
- A plate or food container: something easy to cover
- A label: so you don't mix up cultivars
Steps:
- Moisten the towel: get it damp, not dripping. If you can squeeze water out of it, it's too wet.
- Place the seeds with space between them: don't pile them together.
- Cover them with a second damp towel: this keeps moisture even.
- Set the container somewhere warm: stable warmth helps more than chasing the hottest spot in the house.
- Check daily: you want moisture to stay consistent, not soggy.
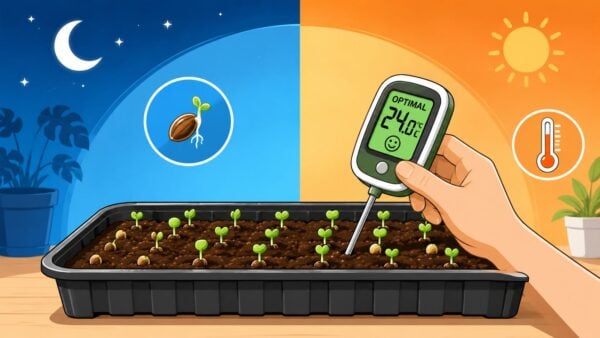
The environment matters a lot. For a standard germination setup, the target is 70 to 80°F, or 21 to 27°C, with full humidity, and letting the substrate dry out is a major failure point because it's fatal to over 95% of non-sprouted seeds within 24 hours, based on Lab Depot's seed viability testing overview.
Keep them moist, not soaked. That's the whole game.
The cup of water method
This one is simpler, but I use it more as a quick screening step than the final word.
- Fill a clean cup with room-temp water
- Drop the seeds in gently
- Leave them undisturbed for a short soak
- Watch for hydration changes before moving them to a towel or starter medium
Some growers like this because it's low effort. Fair enough. The downside is that it tells you less than a proper sprouting test. A seed can take on water and still fail later. So if you want real confidence, use the soak as a prep step, not your only test.
If you want a better sense of normal timelines before you panic, this guide on how long it takes to germinate weed seeds helps set expectations.
What works and what doesn't
What works:
- Stable warmth: not hot, just consistent
- Gentle moisture: enough to hydrate the shell and embryo
- Daily checks: fast enough to catch drying or mold early
What doesn't:
- Waterlogging: seeds need moisture, but they also need air
- Cold windowsills: light might be fine, chill isn't
- Constant handling: picking them up every few hours slows things down
A quick visual walk-through helps if you've never done this before.
How to Read and Record Your Results
Once the test is done, the next step is simple: count what sprouted. Don't overcomplicate it. You're trying to get a usable read on how dependable that seed lot is for your next run.
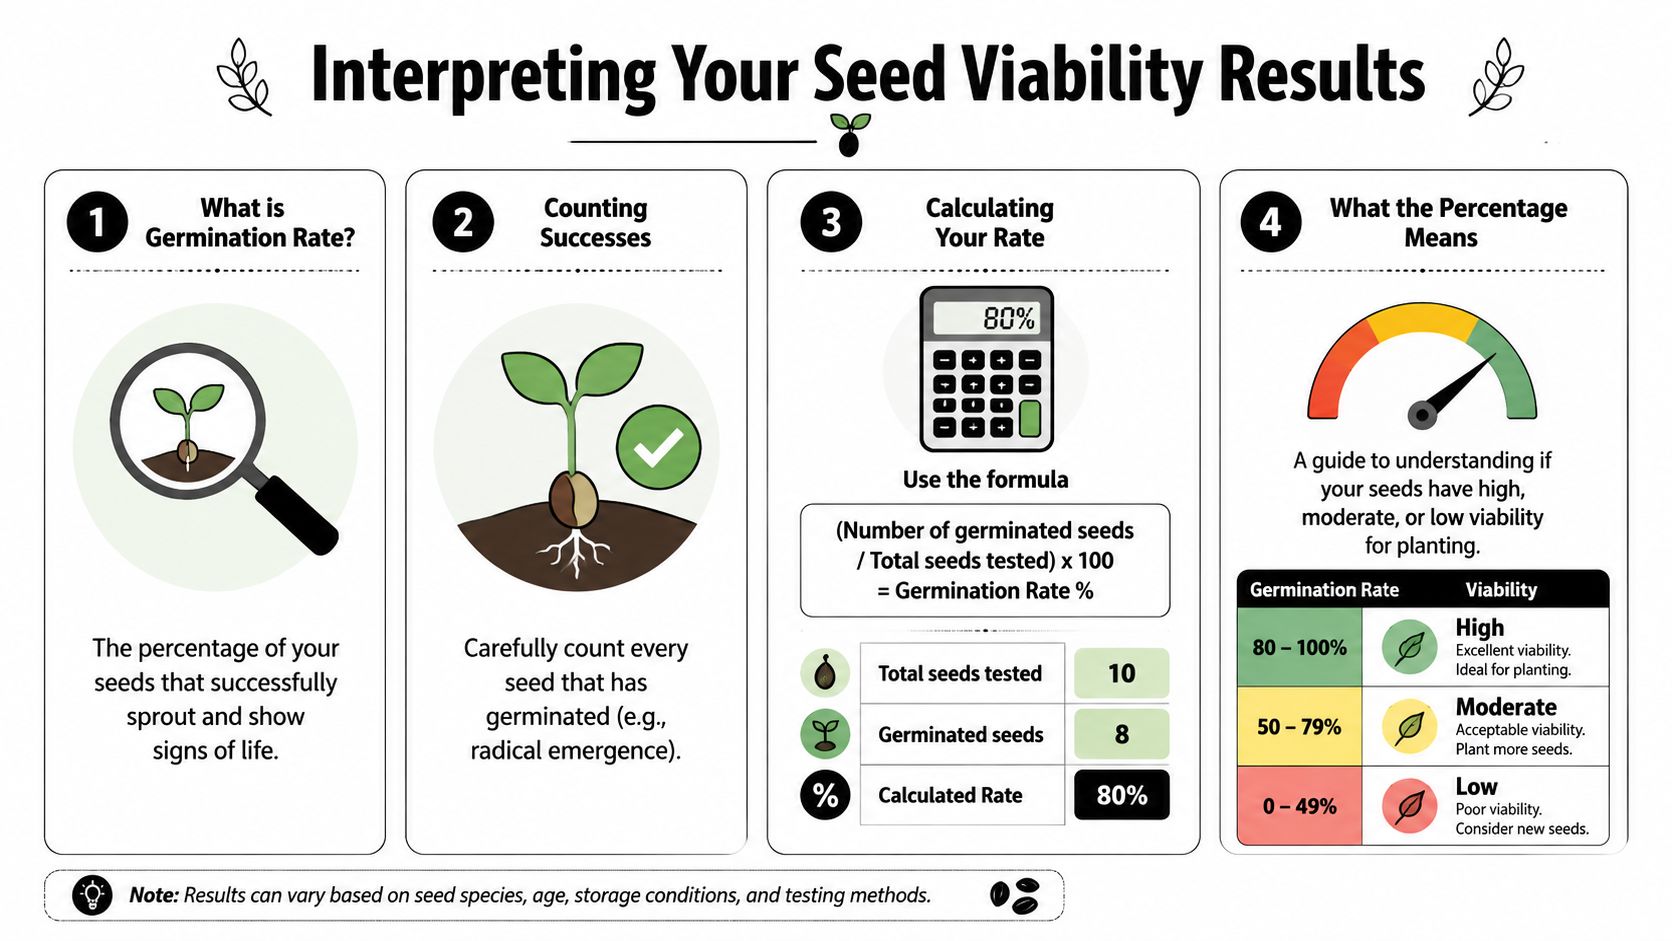
Use the basic formula
The formula is:
(Number of germinated seeds / Total seeds tested) x 100 = Germination rate
If you tested 10 seeds and 8 sprouted, your result is 80%. That's not abstract. It tells you how aggressively or conservatively to plant.
What the result means in practice
A strong result gives you freedom. A weak result tells you to hedge.
According to the benchmark noted in the verified data, high-quality commercial cannabis seeds are generally above 90% viability, while a result below 50% is still considered usable but often calls for doubling planting density to make up for dud seeds. In plain English, if the lot is weak, don't trust one seed per spot.
A viability test isn't just a score. It's a planting plan.
Here's a simple way to understand it:
| Germination result | What it suggests | Practical move |
|---|---|---|
| High | Seed lot looks dependable | Plant one seed per pot with confidence |
| Middle of the road | Some inconsistency is likely | Start a few extras |
| Low | Expect misses and uneven starts | Double up where space allows, or replace the pack |
Record more than the final percentage
Good notes beat a good memory every time. Keep it basic:
- Cultivar name
- Test date
- How many seeds you tested
- How many sprouted
- How long they took
- Anything odd: mold, split shells, slow starters
If you only test two seeds, your result can mislead you. Testing more gives you a steadier read. You don't need a giant spreadsheet. A notebook, a seed box card, or a note on your phone works fine if you're consistent.
Pick the right method for your goal
Different methods answer different questions.
| Method | Time commitment | Best use | Trade-off |
|---|---|---|---|
| Paper towel germination | Several days | Real-world home testing | Slower, uses the seed |
| Water soak | Short check | Quick hydration screen | Less reliable on its own |
| Visual or cut inspection | Very fast | Checking obvious empties or damage | Can miss borderline seeds |
If your goal is planning a home grow, the best test is usually the one you'll do carefully and record accurately.
A Look at More Advanced Testing Techniques
If you like understanding what's happening behind the scenes, there are a few more advanced seed viability testing options worth knowing. You probably won't use all of them at home, but knowing how they work makes you better at judging what a seed can and can't tell you on the outside.
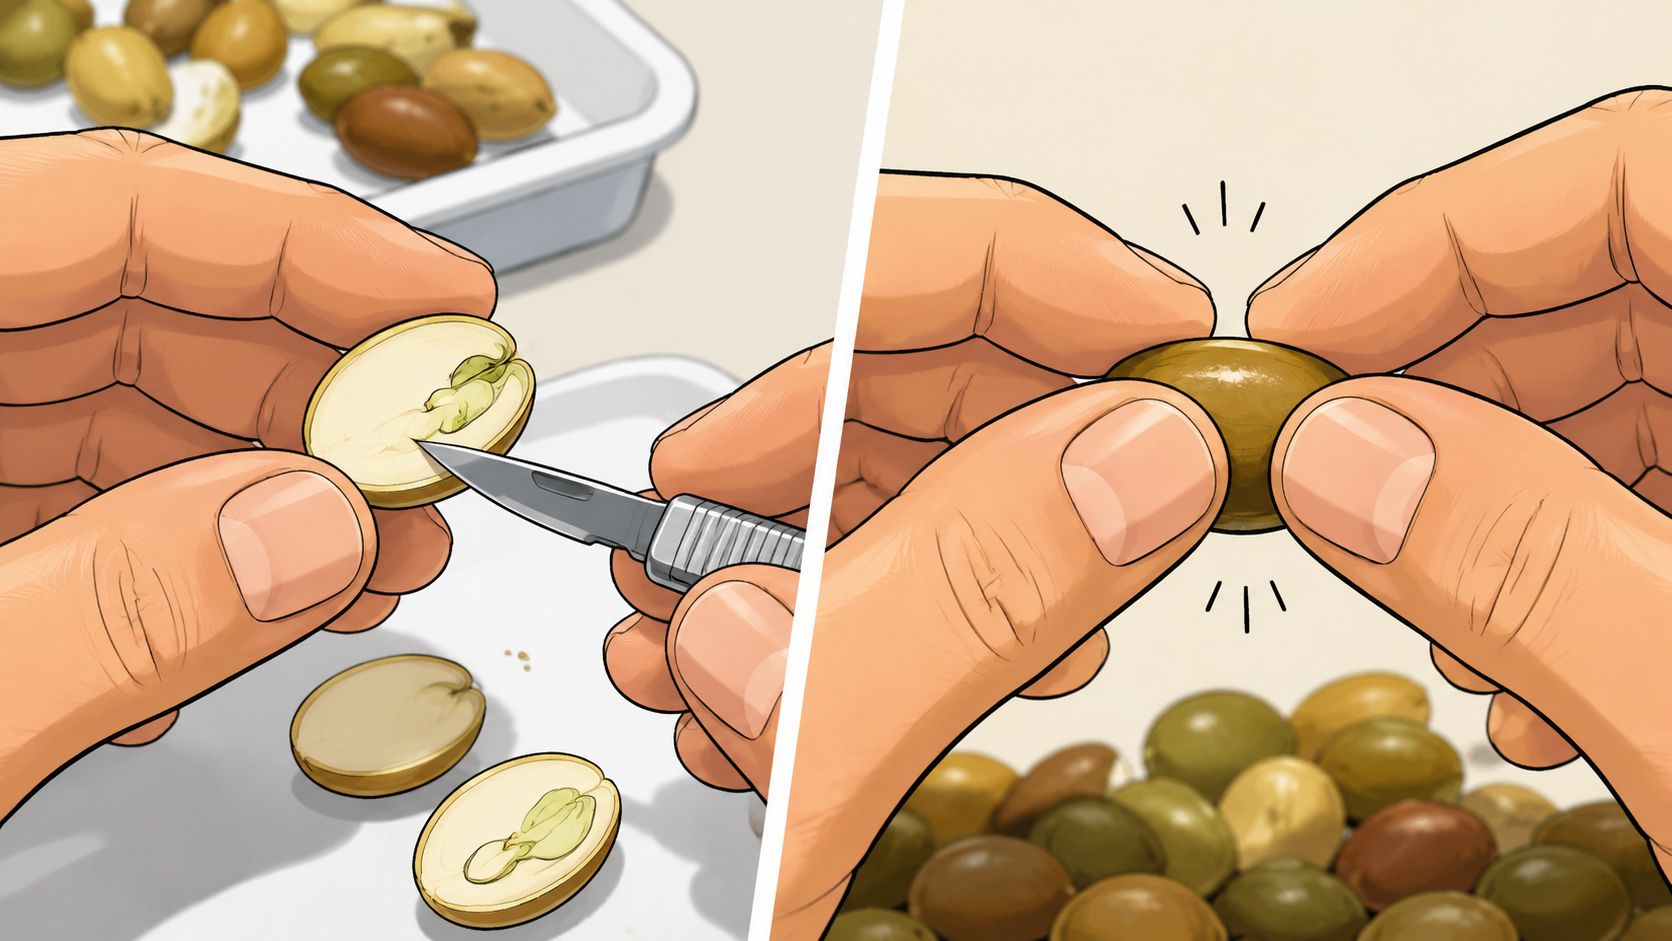
The cut test
The cut test is the old-school shortcut. You sacrifice a seed, open it carefully, and inspect the inside. If the seed is empty, badly discolored, or obviously damaged, you've learned something useful fast.
This is handy when a pack seems suspicious and you don't want to wait around for a full germination test just to confirm the obvious. The catch is just as obvious: once you cut it open, that seed is done. So this method is best for low-value samples or for checking a small portion of a larger lot.
If a seed is rare or you only have a few left, don't make the cut test your first move.
The squeeze test
Some growers will lightly squeeze a seed between their fingers to check shell firmness. A firm shell can suggest the seed is mature. A soft shell can suggest trouble. I'd call this a rough filter, not a verdict.
It can help you sort out clearly weak seeds, but it won't tell you whether the embryo inside is alive. That's why squeeze tests work best as a quick pass before a real germination check.
The Tetrazolium test
The more serious option is the Tetrazolium test, usually shortened to TZ. This is a professional method that stains living tissue red. The reason growers and seed labs respect it is simple: it looks for metabolic activity, which is what living seed tissue does.
The verified data on TZ is strong. The test can return results in 24 to 48 hours, compared with 7 to 14 days for a standard germination test, and industry studies show a 95 to 98% correlation with germination rates, as reflected in this search-backed reference on Tetrazolium test correlation with germination rates.
That's fast, and it's why seed banks and serious testers use it.
For most home growers, though, TZ sits in the “good to understand, not always practical to run” category. It takes chemicals, careful prep, and some confidence reading stained tissue. Still, if you ever send seeds to a lab or read about a professional quality check, this is one of the methods doing the heavy lifting.
Troubleshooting Common Germination Problems
Most failed germination tests come down to a few boring mistakes, not bad luck. That's good news, because boring mistakes are fixable.

My seeds got moldy
Too much water is usually the culprit. A soaked paper towel, sealed container, and stale air can turn a simple test into a mold farm fast.
Try this instead:
- Use less water: the towel should feel damp, not swampy
- Give them a little air exchange: don't trap heavy condensation for days
- Handle with clean hands and clean tools: contamination starts small
If you're using a covered starter setup, a guide to humidity domes for seedlings can help you avoid turning humidity into stagnation.
Nothing happened after a week
Don't assume the seeds are dead right away. First check your setup. Cool conditions slow everything down. Uneven moisture does too. Some seeds also crack and stall before they push out visibly.
Run through these questions:
- Was the temperature steady?
- Did the towel dry even once?
- Were the seeds old enough that low viability was already likely?
- Did you move them around too often?
A lot of growers sabotage germination by “checking” too aggressively.
Leave the seeds alone long enough to do their job. Constant fiddling doesn't help.
The paper towel dried out
This is one of the worst mistakes because seeds can go from fine to finished quickly once they've started hydrating. If your towel dried out, especially after the seed had already begun waking up, your test may be compromised.
Fix it by building in consistency:
- Use a container with a lid or plate cover
- Store it somewhere that doesn't swing hot and cold
- Check once daily instead of forgetting for two days
The shell cracked, but the seed stalled
That usually points to stress. Sometimes it's age. Sometimes it's too much water and not enough oxygen. Sometimes it's just a weak seed that had enough life to start and not enough to finish.
When that happens repeatedly with the same pack, I take it as a storage warning, not a one-off fluke. At that point, it's smarter to adjust expectations or retire the lot than keep burning time on false starts.
Using Test Results to Improve Your Seed Storage
Your germination result is also a report card on your storage habits. If seeds from one batch pop cleanly and another batch struggles, that difference usually didn't happen by accident. Seeds remember heat, light, and moisture exposure long after you forget where you left the pack.
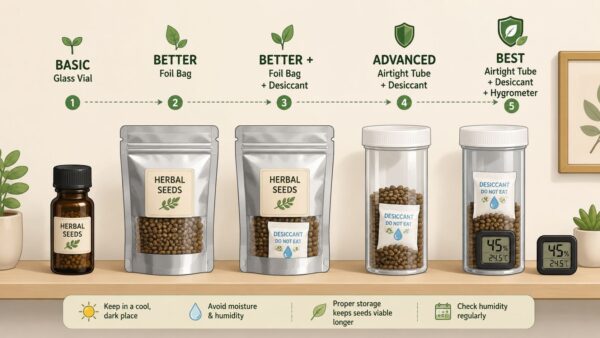
For home growers, the storage rule is simple: cool, dark, and dry. If you nail those three, you give feminized and autoflower cultivars a much better shot at staying viable through their useful window.
Use poor results as feedback
Low viability doesn't always mean the original seed stock was bad. Sometimes it means the storage setup was sloppy. A drawer near a warm appliance, a garage that swings through seasons, or a container that picks up ambient humidity can all chip away at performance.
Ask yourself:
- Was the storage spot cool all year, not just in winter
- Did light hit the packs regularly
- Were the seeds exposed to household humidity
- Did you open and handle the pack over and over
That kind of review matters because it turns one disappointing test into a better long-term routine.
Build a simple storage checklist
You don't need a fancy system. You need consistency.
A practical checklist looks like this:
- Keep seeds dark: no clear container sitting on a shelf
- Keep them dry: avoid damp rooms and loose packaging
- Keep them cool: stable beats extreme
- Label everything clearly: cultivar name and date matter
- Separate old from fresh stock: don't assume they're equal
If you want a deeper storage routine, this guide on how to preserve weed seeds is worth bookmarking.
Know when to stop forcing old seeds
There's a point where trying to rescue every last old seed stops being practical. If a pack gives weak results, uneven starts, and repeated stalls, you're often better off learning from it than chasing it. Save your time, reset your storage habits, and start the next run with seed you trust.
That's part of becoming a solid home grower. Not squeezing life out of every old pack, but knowing when to test, when to adapt, and when to move on.
If your old stash looks shaky, start fresh with something you can count on. Botanist Seeds makes it easy to compare feminized and autoflower cultivars, match them to your setup, and pick genetics that fit the way you grow at home.