Light Schedule for Seedlings: Your 2026 Grower’s Guide
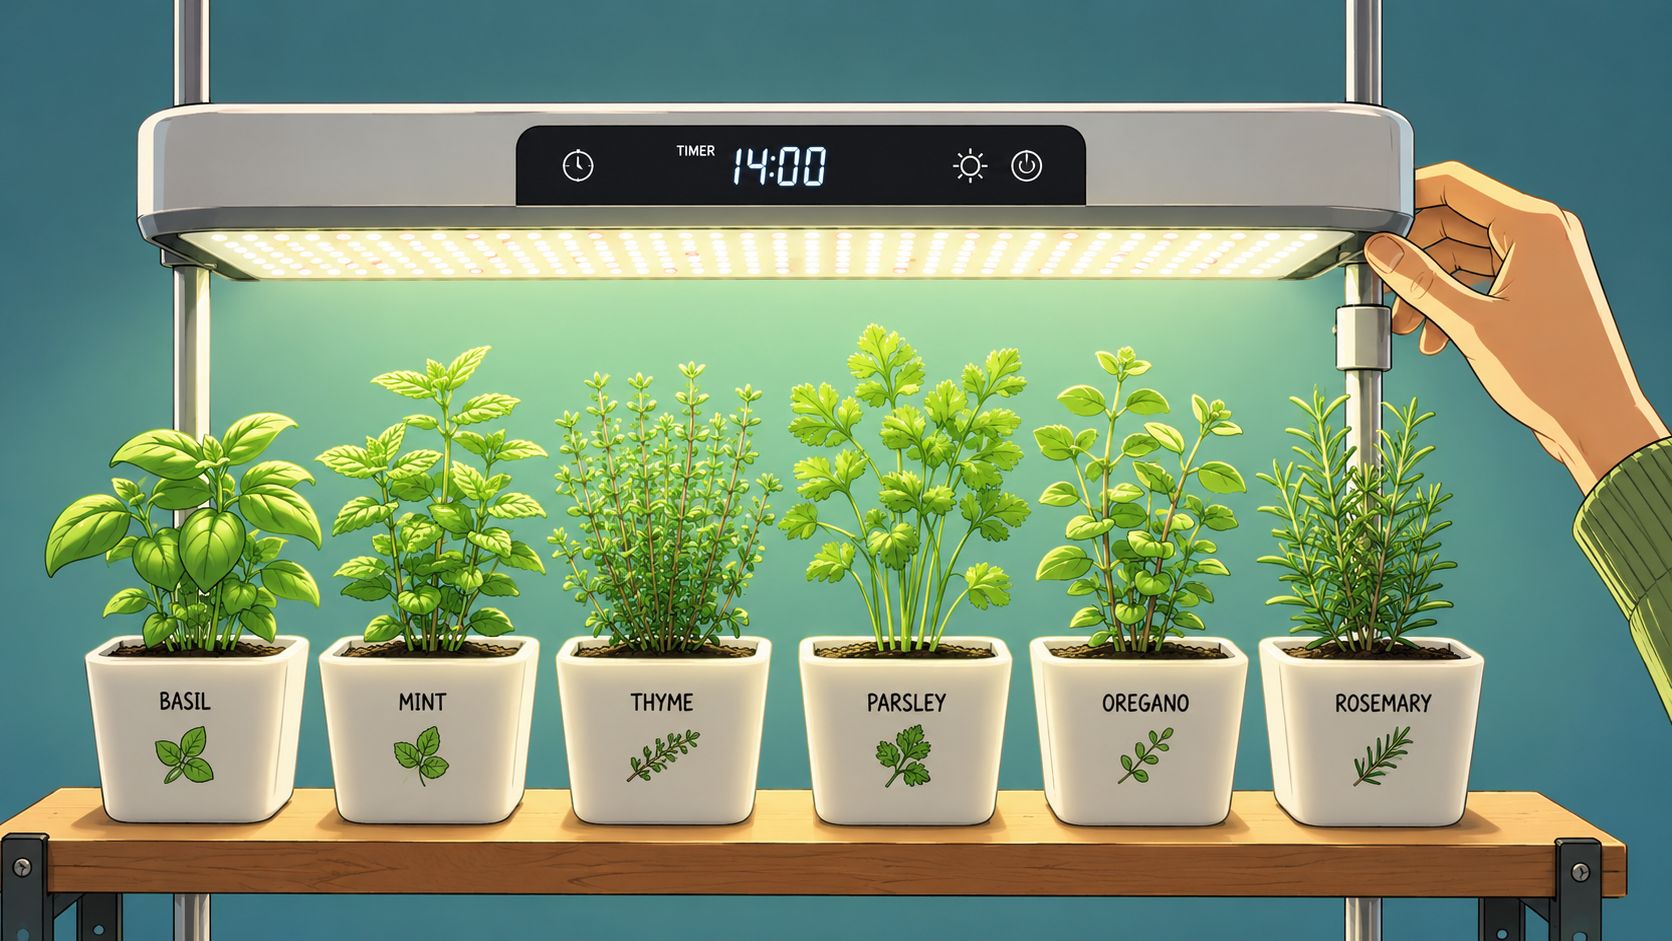
You know the moment. You check the tray, expecting nothing, and there it is, a tiny green hook pushing out of the mix. That little sprout feels like a win. It also means the easy part is over.
From this point on, your seedling is running on what you give it. Water matters. Air matters. But light is the big one. Get the light schedule for seedlings right early, and you build stout stems, steady roots, and a plant that looks ready for the next stage instead of begging for help.
Your Seedlings Popped Now What
A lot of growers overthink nutrients at this stage and underthink light. I've seen more baby plants ruined by a sloppy light routine than by almost anything else. The seed gets them started, but that stored energy runs out fast. Light is the first real meal.
The first few days after sprouting set the tone for everything that follows. If the seedling gets weak light, it stretches. If it gets blasted, it stalls or sulks. That's why the light schedule for seedlings matters from day one, even before you're worrying about feeding charts or training plans.
Keep the setup simple. Give the sprout stable conditions, keep the environment gentle, and avoid changing five things at once. If you're using covers early on, a quick read on humidity domes for seedlings can help you avoid that swampy, overheated baby tent a lot of first-timers create.
The best early seedling setup usually looks a little boring. That's a good sign.
Healthy seedlings don't need drama. They need consistency, and your light schedule is the backbone of that consistency.
The Two Main Light Schedules Explained
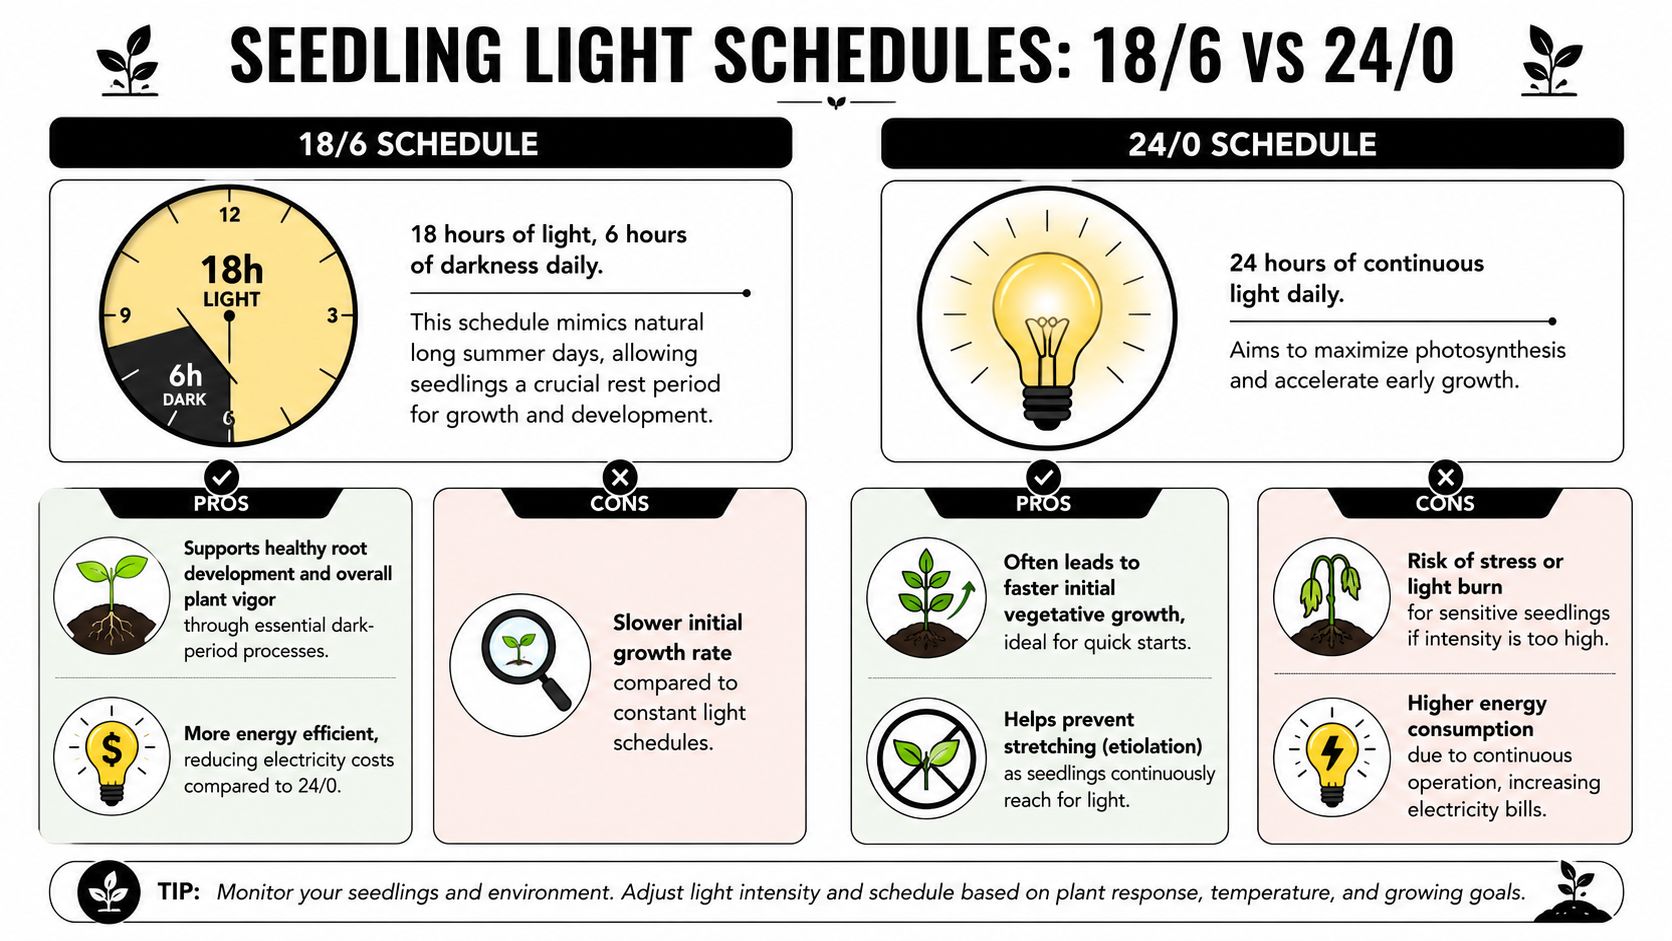
Most home growers end up choosing between two approaches. 18/6 and 24/0. Both can work. They just solve different problems.
Why 18/6 became the standard
For seedlings, the globally standard light schedule is 18 hours on and 6 hours off, and that dark window matters because it gives the plant time for respiration and energy conservation that support long-term health, according to this guide on the 18/6 cannabis light schedule.
That's the practical reason so many growers stick with it. It's balanced. You get a long day for growth, but you also give the plant a real night. For feminized photoperiod cultivars, this schedule keeps things moving in the right direction without pushing too hard.
It's also the easier schedule to live with. Your light runs less. Your space stays cooler. Your power bill stays friendlier. If your grow tent already gets warm, 18/6 can save you a lot of frustration.
What 24/0 does well, and where it can go sideways
A 24/0 schedule is the no-break approach. The light stays on all day and all night. Some growers like it because seedlings never have to pause photosynthesis, and in some rooms that can help keep stretching under control.
There's a trade-off, though. Constant light removes the rest period. Some cultivars tolerate that just fine. Others don't love it. Sensitive seedlings can look stressed faster, especially if the light intensity is too high or the room runs warm.
It's similar to two driving styles:
- 18/6 is the reliable daily driver: steady, efficient, forgiving.
- 24/0 is the pedal-down option: potentially quicker out of the gate, but less forgiving if the setup is off.
- Your environment decides a lot: a cool room with a dimmable LED gives you more room to experiment than a hot closet with a fixed light.
Which one fits your goal
If your goal is healthy starts with fewer surprises, pick 18/6. It's the best fit for most home growers, especially if you're working with feminized photoperiod cultivars and want a routine that's easy to manage.
If your goal is squeezing every bit of early momentum from an autoflower cultivar, or you're fighting stretch in a setup that stays cool, 24/0 can be worth testing. Just keep the light gentle. Constant light does not mean intense light.
Practical rule: If you're unsure, start at 18/6. It gives you room to learn without making the seedlings pay for every small mistake.
Getting Your Light Distance and Intensity Right
A good schedule won't save you if the lamp is in the wrong place. Plenty of growers run the right hours and still end up with floppy, stressed seedlings because the light is either too close, too powerful, or both.
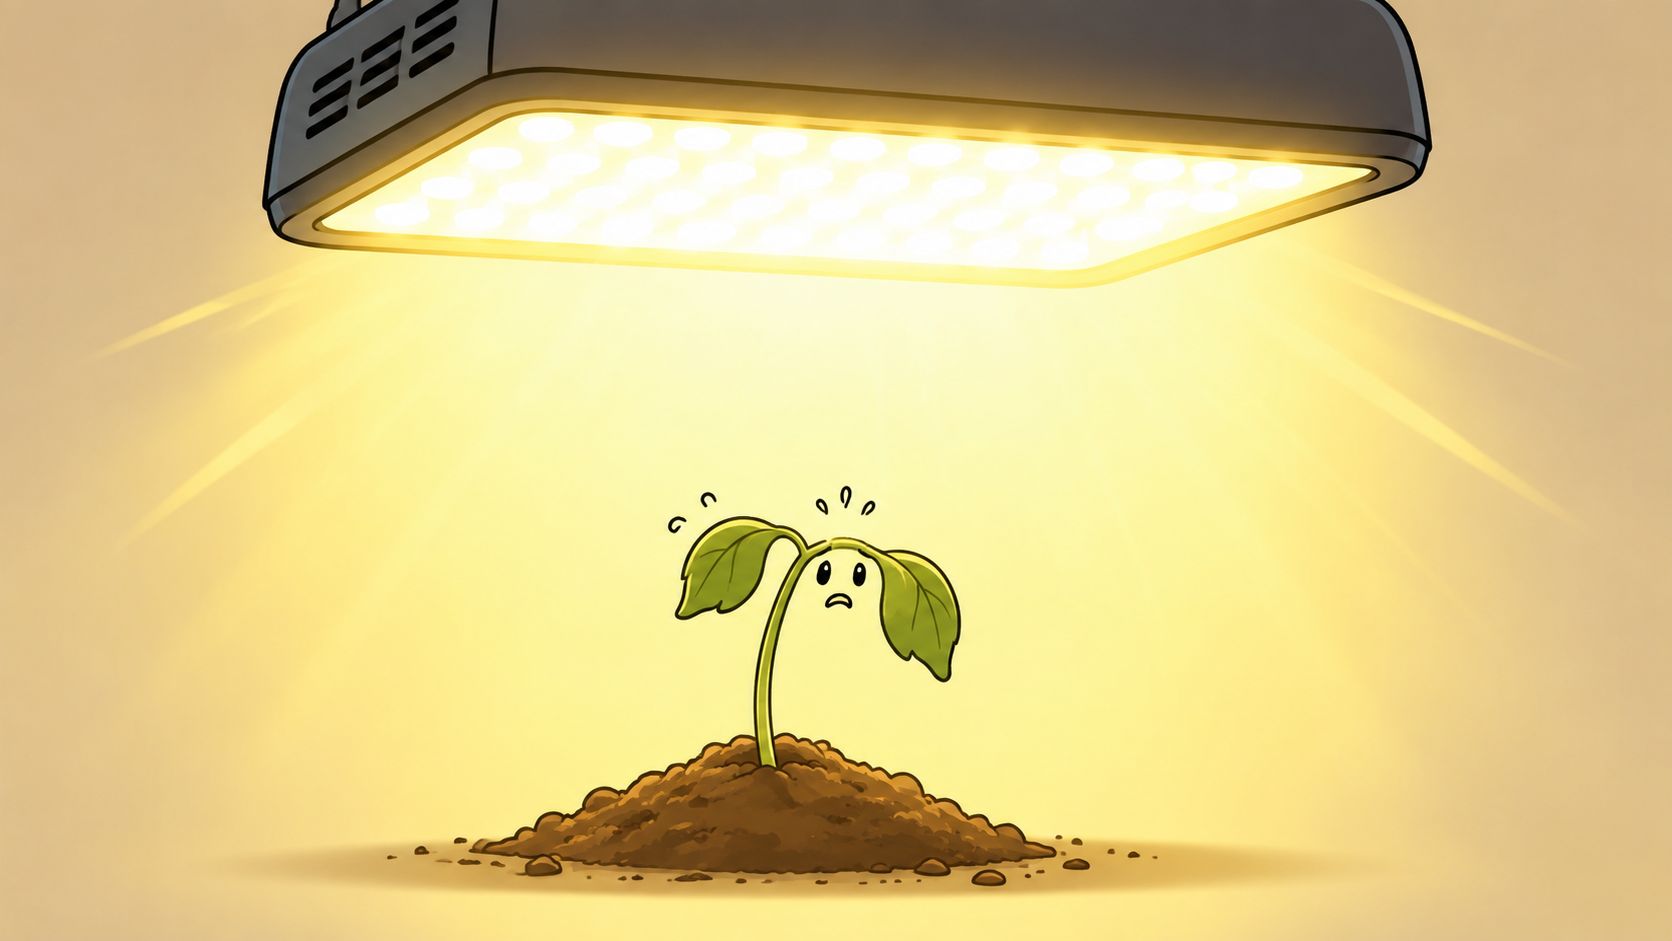
For cannabis seedlings, the target intensity is 100 to 300 µmol/m²/s PPFD, and growers typically get there by placing LED lights 60 to 76 cm, or 24 to 30 inches, above the canopy, or by dimming stronger fixtures to 50 to 55 percent output, based on this practical guide to seedling PPFD and LED distance.
Start with a gentle setup
If you're using a modern LED board or bar light, 24 to 30 inches above the seedlings is a solid starting point. That range keeps you out of trouble while you watch how the plants respond.
If your fixture is dimmable, don't be a hero. Turn it down and let the seedlings ask for more. A tiny sprout doesn't need the same treatment as a plant with a full canopy.
Here's the simple version:
- If stems stretch fast: the light is usually too weak or too far away.
- If leaves look pale, tight, or stressed: the light may be too strong or too close.
- If growth is compact and even: leave it alone and stop fiddling.
A lot of growers make things worse by adjusting the light every few hours. Give the plant a little time to answer.
Use the hand test and a rough PPFD check
You don't need a lab coat for this. The old hand test still helps. Put your hand at seedling height for about half a minute. If it feels uncomfortably warm, the fixture is too close or too strong.
That's not a precision tool, but it catches obvious problems.
If you want a better read, use a phone app as a rough guide and compare that reading to your manufacturer's chart. It won't replace a dedicated meter, but it can help you land in the ballpark. If you want a broader setup guide before you start tweaking fixtures, this breakdown of lighting for growing cannabis indoors is a useful reference.
Small seedlings want gentle consistency more than maximum output.
Watch the plant, not just the chart
Numbers help, but the plant still gets the final vote. Seedlings tell you a lot with posture. A healthy one usually looks upright, compact, and calm. The leaves open without clawing or folding, and the stem starts building some strength instead of reaching like crazy.
This quick video gives a helpful visual sense of what to look for as you dial things in:
Common setup mistakes
A few problems show up again and again in home grows:
- Using flowering strength too early: a seedling isn't ready for full power.
- Hanging the light once and forgetting it: plants grow, so the distance changes.
- Ignoring heat buildup: even a decent light schedule for seedlings can fail in a hot tent.
- Chasing every minor bend: one odd leaf doesn't always mean trouble.
The goal isn't to create perfect lab conditions. The goal is to keep the light soft, steady, and close enough to build sturdy growth.
Adjusting for Autoflower and Photoperiod Cultivars
People often make this more complicated than it needs to be. Seedlings are seedlings first. Whether you're growing an autoflower or a feminized photoperiod cultivar, the plant still needs a calm start.
Photoperiod cultivars like routine
Photoperiod cultivars depend on light timing to tell them what season they're in. Early on, they want a long day so they stay focused on roots, leaves, and stem development instead of trying to shift gears too soon.
That's why 18/6 is such a comfortable home base for these cultivars. It keeps the plant in a growing mindset and gives you a simple rhythm you can maintain without cooking the room or burning extra power for no real reason.
If you're growing this style of plant, consistency wins. Don't bounce between schedules every few days just because a forum thread made it sound exciting.
Autoflower cultivars give you more freedom
Autoflower cultivars are less picky about day length because their flowering isn't triggered the same way. That gives you options. Some growers run them under longer days from start to finish. Others keep them on the same beginner-friendly schedule the whole way and still get plants they're proud of.
The nice part is flexibility. If your room runs hot, or if you want to save some money on power, you don't need to feel locked into a nonstop light cycle just because you chose autos. For a closer look at later-stage timing, this guide on the autoflowering light schedule helps connect the seedling stage to the rest of the run.
If you want one safe answer for almost any seedling, 18/6 is still the easiest place to start.
A simple way to choose
Use this filter:
- Choose 18/6 if you want a stable, low-stress routine that works well across feminized and autoflower cultivars.
- Try a longer schedule if you already know your environment stays cool and your cultivar handles extra light well.
- Stay consistent once you choose because frequent switching usually causes more confusion than benefit.
Your seedling doesn't care about internet debates. It cares whether today feels stable.
Fixing Common Seedling Light Problems
Most light problems look dramatic at first and turn out to be fixable. That's good news, because nearly every grower runs into one of these sooner or later.
The trick is to change one thing at a time. Don't move the light, change the schedule, feed harder, and water differently all in the same afternoon. If you do that, you won't know what solved the issue.
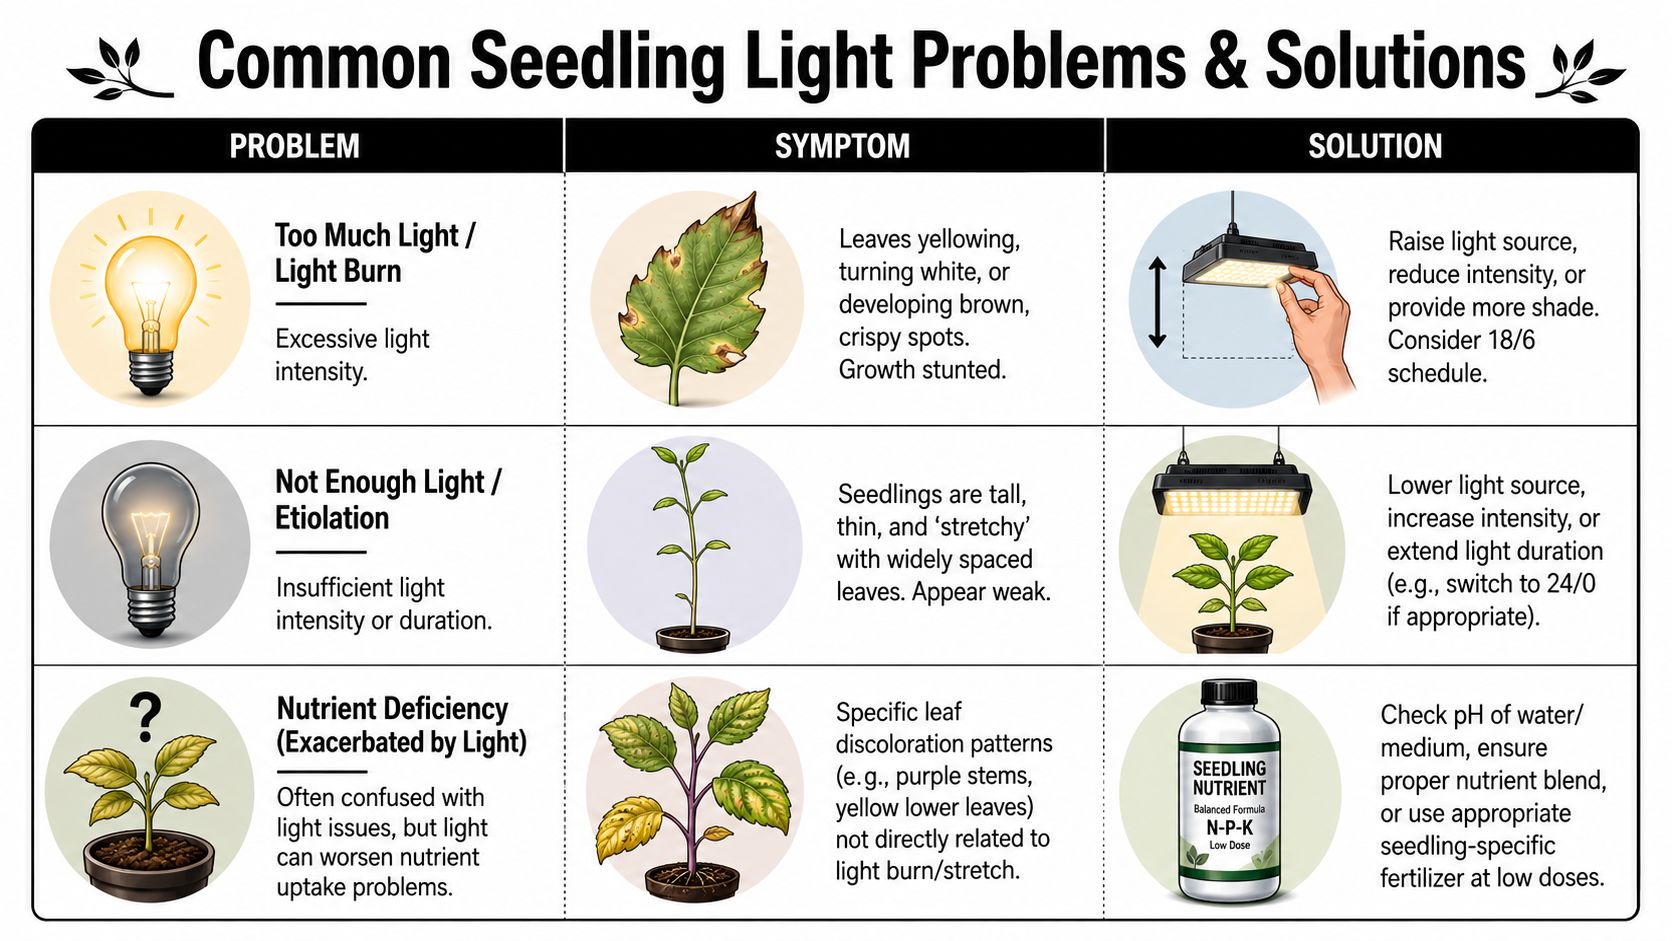
Tall and skinny seedlings
If a seedling is stretching upward with a thin stem and wide gaps between early growth, it's asking for more useful light. That usually means the fixture is too far away, too dim, or the schedule isn't giving the plant enough total light for the day.
Try a small correction first. Lower the fixture a little if it's safe to do so, or bump the dimmer slightly. Then wait and watch the new growth instead of judging the old stretch.
- Look for posture changes: new growth should come in tighter and sturdier.
- Support if needed: if the stem is very weak, a little temporary support can help while you correct the cause.
- Don't overreact: one stretched day doesn't ruin a plant.
Pale tops and crispy leaves
If the top growth starts looking washed out, yellowed, or even a bit white, the light may be too intense. In a small tent, this can happen fast, especially under a powerful LED that's hung as if the plant were already in veg.
Raise the fixture or reduce output. Then give the seedling time to recover. Damaged tissue may not fully bounce back, but healthy new growth is what matters.
A seedling that looks sunblasted usually needs less intensity, not more nutrients.
Stalled growth that seems stuck
Sometimes the plant just sits there. No stretch, no burn, just not much happening. Light can be part of that, but it isn't always the whole story.
Check the obvious stuff:
- Moisture: soaked starter mix slows roots down.
- Temperature: a cold room can make a seedling crawl.
- Light quality: weak, distant light leaves the plant without enough energy to really move.
A stalled seedling often improves once the environment gets more consistent. The key is patience. Seedlings recover on plant time, not on your schedule.
Don't confuse every problem with light
Not every weird leaf is a lighting disaster. Sometimes growers blame the lamp for issues caused by watering habits or root stress. If the symptoms don't match stretch or light burn, pause before you start moving fixtures around.
The best growers get good at reading patterns, not panicking over single leaves.
Sample Weekly Schedule and Growing On
Once you stop chasing perfection and stick to a repeatable routine, seedlings get a lot easier. A light schedule for seedlings works best when the hours, distance, and intensity all support each other instead of fighting each other.
For weeks 1 to 2, a practical target is 200 to 400 µmol/m²/s PPFD, and blue-dominant light in the 400 to 500 nm range at 6500K is especially useful for keeping stems compact and sturdy, according to this guide on seedling PPFD and blue spectrum needs.
Sample Seedling Light Schedule LED
| Week | Photoperiod | Light Distance | PPFD Target (Approx.) | Key Notes |
|---|---|---|---|---|
| Week 1 | 18/6 | 24 to 30 inches above canopy | Gentle start, around the lower end of seedling range | Watch for stretch, keep the environment stable, use blue-rich light if available |
| Week 2 | 18/6 | Adjust slightly as seedlings grow | 200 to 400 µmol/m²/s | Aim for compact growth, avoid blasting tops, check daily posture |
| Week 3 | 18/6 for photoperiod cultivars, steady schedule for autos | Maintain safe distance as canopy rises | Increase gradually only if plants look ready | Seedlings begin moving out of the fragile stage, make changes slowly |
What changes after week three
By this point, the plant usually isn't as delicate. The roots have more footing. The stem has more confidence. You can begin increasing intensity slowly if the plant is asking for it.
That doesn't mean flipping into full-power mode overnight. It means nudging things forward with some restraint. Home growers who do this well usually end up with plants that look balanced instead of rushed.
A few good habits carry forward:
- Keep using a timer: consistency still matters.
- Raise or dim with purpose: every change should solve something specific.
- Let the plant lead: healthy new growth tells you more than old damage.
There's a real satisfaction in getting this stage right. You save yourself headaches later, skip a lot of avoidable setbacks, and end up with stronger cultivars heading into veg.
If you're choosing between feminized and autoflower cultivars for your setup, Botanist Seeds makes that part easier. Use the comparison tool to sort by grow style, space, and goals, then pick a cultivar that fits the room you have, not the fantasy setup in your head.