Best Seed Storage Containers: Protect Your Cannabis Seeds
You order a pack of feminized or autoflower seeds, crack open the mailer, admire the cultivar names for a minute, then set the pack on a desk, shelf, or grow-room table. That's the moment a lot of people get sloppy. They spent good money on genetics they want, then leave storage as an afterthought.
That's a mistake.
Cannabis seeds aren't just little brown shells you toss in a drawer. They're your next run, your backup plan, and sometimes the only thing standing between a smooth home grow and another week spent hunting for something worth popping. If you care about terp profiles, structure, speed, and the kind of vibe a favorite cultivar brings to the jar, storage matters from day one.
A solid storage setup doesn't need to be fancy. It needs to be deliberate. The right seed storage containers, the right environment, and a simple labeling system will keep your collection ready when you are, whether you're planting next month or holding onto a special pack for later.
Why Your Seed Storage Method Matters
The usual gardening advice about storing seeds in a cool, dark, dry place is fine as far as it goes. For cannabis, especially with feminized and autoflower cultivars, that advice is too vague to be useful. These seeds often cost more, matter more, and get stored with a clear purpose. You're not tossing random leftovers in a shoebox. You're protecting future harvests.
A seed can look fine and still be compromised. If it takes on moisture, gets warmed up over and over, or sits in direct light, its odds of germinating cleanly go down. You won't always notice the damage until you're trying to start a run and a prized cultivar stalls, rots, or throws weak growth right out of the gate.
What you're really protecting
Good storage protects more than germination. It protects convenience, timing, and confidence.
- Your schedule: If you only have one tent or one outdoor window to work with, failed starts waste real time.
- Your favorite cultivars: Some packs get discontinued, sell out fast, or just hit your preferences perfectly.
- Your money: Every dead seed is part of an investment that didn't make it to the garden.
- Your grow rhythm: When seeds are stored properly, you can plant when you're ready, not when panic says you should.
Practical rule: Treat unopened seed packs like ingredients for a great meal. If you ruin them in storage, the rest of the process never gets a fair shot.
Why generic advice falls short
Home growers usually need a storage method that works in a real house or apartment. That means dealing with room temperature swings, humid kitchens, busy refrigerators, and containers that get opened too often. The best setup is the one that keeps conditions stable and doesn't tempt you to handle seeds every week.
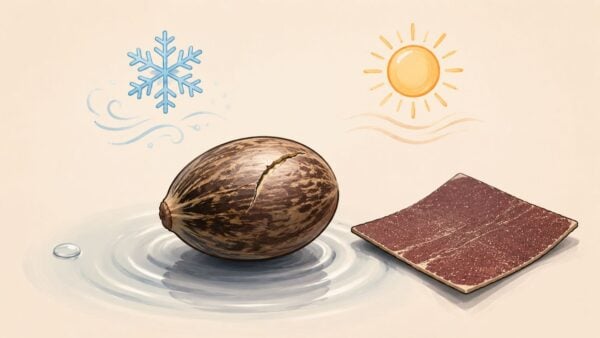
Once you're ready to pop them, storage and germination connect directly. Fresh cannabis seeds that are less than a year old show significantly higher germination rates, and a common prep step is soaking seeds in lukewarm water at 20°C to 22°C, 68°F to 72°F, for 12 to 24 hours before planting to soften the shell and encourage imbibition, as outlined in this guide on how long weed seeds take to germinate.
That's why storage deserves its own system. A few practical choices now can save you from wasting premium seeds later.
The Three Enemies of Seed Viability
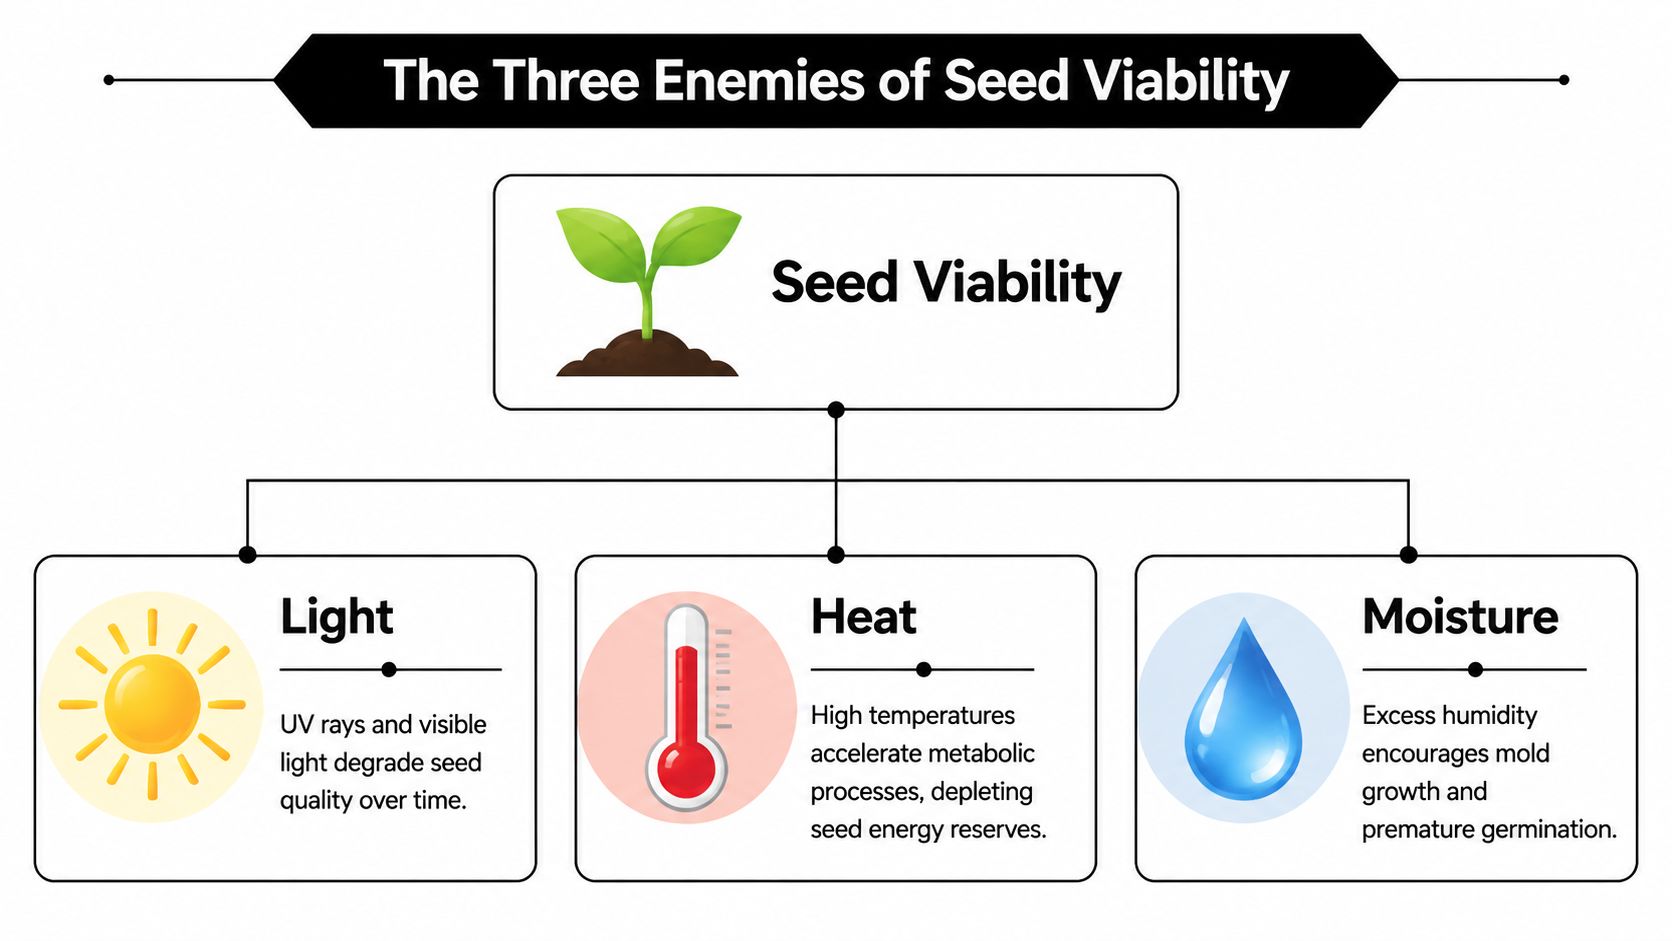
Three things wreck stored seeds faster than anything else: light, heat, and moisture. Most bad storage setups fail because they let one of these creep in, and a lot of the time, it's moisture that does the damage.
Light degrades quality quietly
Seeds don't need light while they're being stored. Light exposure is just stress with no upside. A clear vial left on a windowsill or under bright room lighting might look neat, but it's a lousy long-term choice.
Opaque packaging, dark storage spots, and containers that block light are all safer. Even if you only open your seed box now and then, you want those moments to be brief and controlled.
Heat speeds up the wrong activity
Warm storage nudges seeds in the wrong direction. Heat encourages internal activity when what you want is dormancy and stability. A seed stash near a router, above a fridge, in a garage cabinet, or in a hot grow room is asking for trouble.
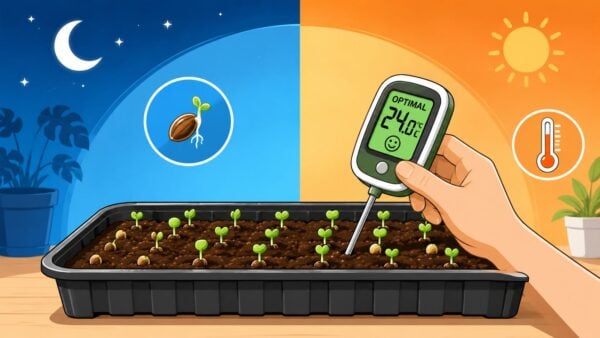
For germination, cannabis seeds perform best in a much warmer band. Optimal germination is 75°F to 80°F, 24°C to 27°C, with a broader effective range of 70°F to 85°F, 21°C to 29°C. Below that, seeds can slow down or rot, and above that, you risk drying out or damaging the embryo, according to Vivosun's cannabis germination guide. That's a useful reminder that storage and sprouting need opposite conditions. Warmth is for starting life, not preserving it.
Moisture is the one that ruins seeds fastest
Moisture is where a lot of home growers lose seeds. Once humidity gets into the container, you invite mold, premature metabolic activity, and uneven viability. This is why a loose lid or cheap zip bag can sabotage an otherwise decent setup.
The old rule people repeat is that temperature plus humidity should stay under 100. The problem is that this rule gets tossed around without context. It doesn't account for active humidity control.
The common “temperature + humidity < 100” rule is often misleading because it doesn't account for active humidity control. Refrigerators, a popular storage choice, have high internal humidity, 70 to 90 percent, but they work for seed storage only when seeds are in an airtight container with a desiccant that maintains an internal relative humidity below 10 percent, as explained in MIgardener's seed storage container article.
That's the missing piece. A fridge by itself is not the solution. A fridge plus an airtight container plus a desiccant can work well. Skip the airtight container or the desiccant, and fridge humidity becomes a liability.
A quick threat check
| Enemy | What it does | What to do instead |
|---|---|---|
| Light | Exposes seeds to unnecessary stress | Use dark storage spots and light-blocking containers |
| Heat | Pushes seeds out of stable dormancy | Keep them in a consistently cool place |
| Moisture | Encourages mold and viability loss | Use airtight seed storage containers with desiccants |
Most storage failures aren't dramatic. They're a handful of small mistakes repeated over time.
Choosing Your Ideal Seed Storage Containers
The container does more than hold seeds. It controls how much air, moisture, and light get to them, and it decides whether your fridge or cabinet is helping or hurting. If you care about preserving valuable feminized and autoflower cultivars, container choice isn't cosmetic. It's the whole game.
Glass is hard to beat
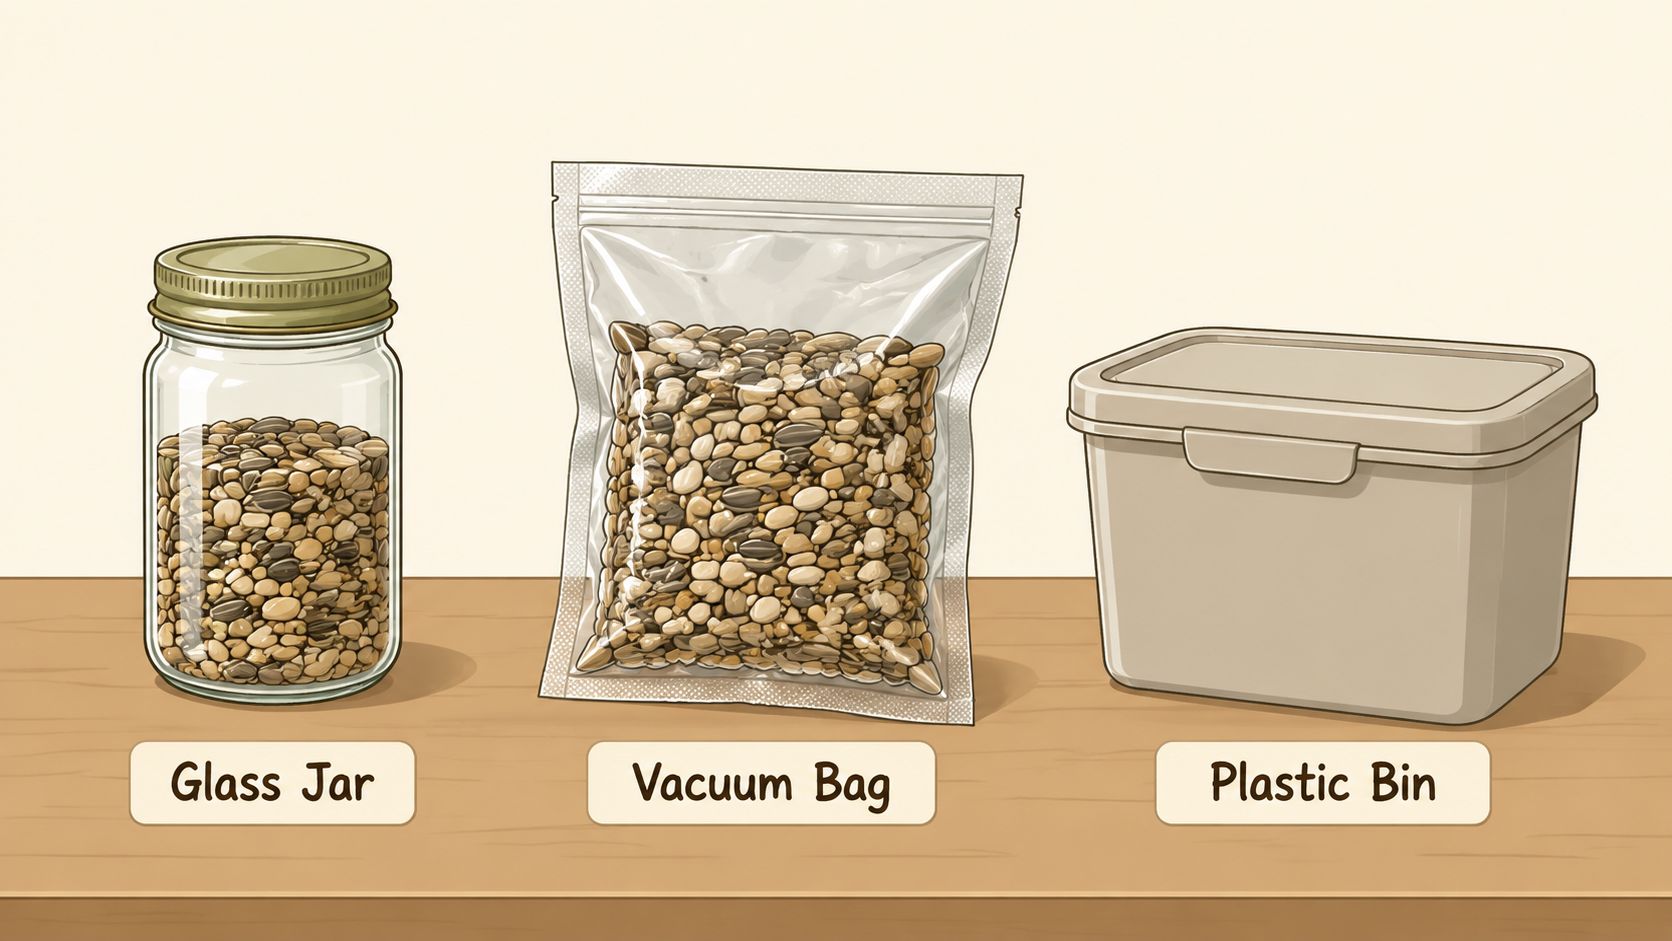
Glass is my default recommendation for home growers storing small to medium collections. It doesn't absorb odors, it doesn't flex much with temperature changes, and it can form a very reliable seal if the lid is good.
The strongest case for glass comes from professional seed banking. For long-term storage, the FAO/IPGRI Genebank Standards mandate storing seeds at -18°C in sealed, moisture-impermeable containers, and seed bank trials identified glass storage jars with natural rubber seals and clamped lids as a top performer. Well-sealed tri-laminate foil bags were also considered suitable for long-term storage, according to the Kew Millennium Seed Bank training material on containers.
That matters because it gives home growers a clear benchmark. If professionals trust sealed glass and high-quality foil for long-term viability, those materials deserve priority in your own setup.
Plastic has limits
Plastic tubes, mini sample containers, and small hobby boxes are popular because they're cheap and easy to organize. For short-term storage, they can be fine if the seal is tight and the container stays in a stable environment. The issue is that not all plastic seals equally well, and some lids feel closed when they're not moisture-tight.
If you use plastic, treat it as a secondary layer or a short-term solution. A plastic organizer can be great for sorting cultivars, but it works best when the individual seeds are already protected inside better inner packaging.
Foil bags make sense for unopened storage
Tri-laminate foil bags are practical when you're storing packs you don't plan to access often. They block light well, they store flat, and quality bags seal up tightly. This is a good route for breeders' packs you want to archive without handling every few weeks.
For home use, foil bags have one annoyance. Once you open them repeatedly, they lose some of the simplicity that makes them useful. A glass jar is easier if you're dipping in and out of your collection more often.
If you're storing seeds for later and not touching them much, foil is efficient. If you're checking, sorting, and rotating often, glass is easier to live with.
Seal quality matters more than shape
A fancy-looking container with a weak seal is still a bad container. What you want is a closure that stays tight and predictable. Screw-top lids can work, but clamped lids with a rubber gasket are generally more reassuring for serious storage.
Here's a practical comparison:
| Container type | Best use | Upside | Trade-off |
|---|---|---|---|
| Glass jar with gasket | Medium to long-term storage | Strong seal, reusable, stable | Breakable, bulkier |
| Plastic tube or case | Short-term sorting | Cheap, lightweight, easy to label | Seal quality varies |
| Tri-laminate foil bag | Longer-term archiving | Blocks light well, compact | Less convenient for repeated access |
If you're also thinking ahead to seed starting, humidity domes for seedlings matter after storage, but they're a different tool for a different phase. Don't confuse a great germination setup with a great storage setup.
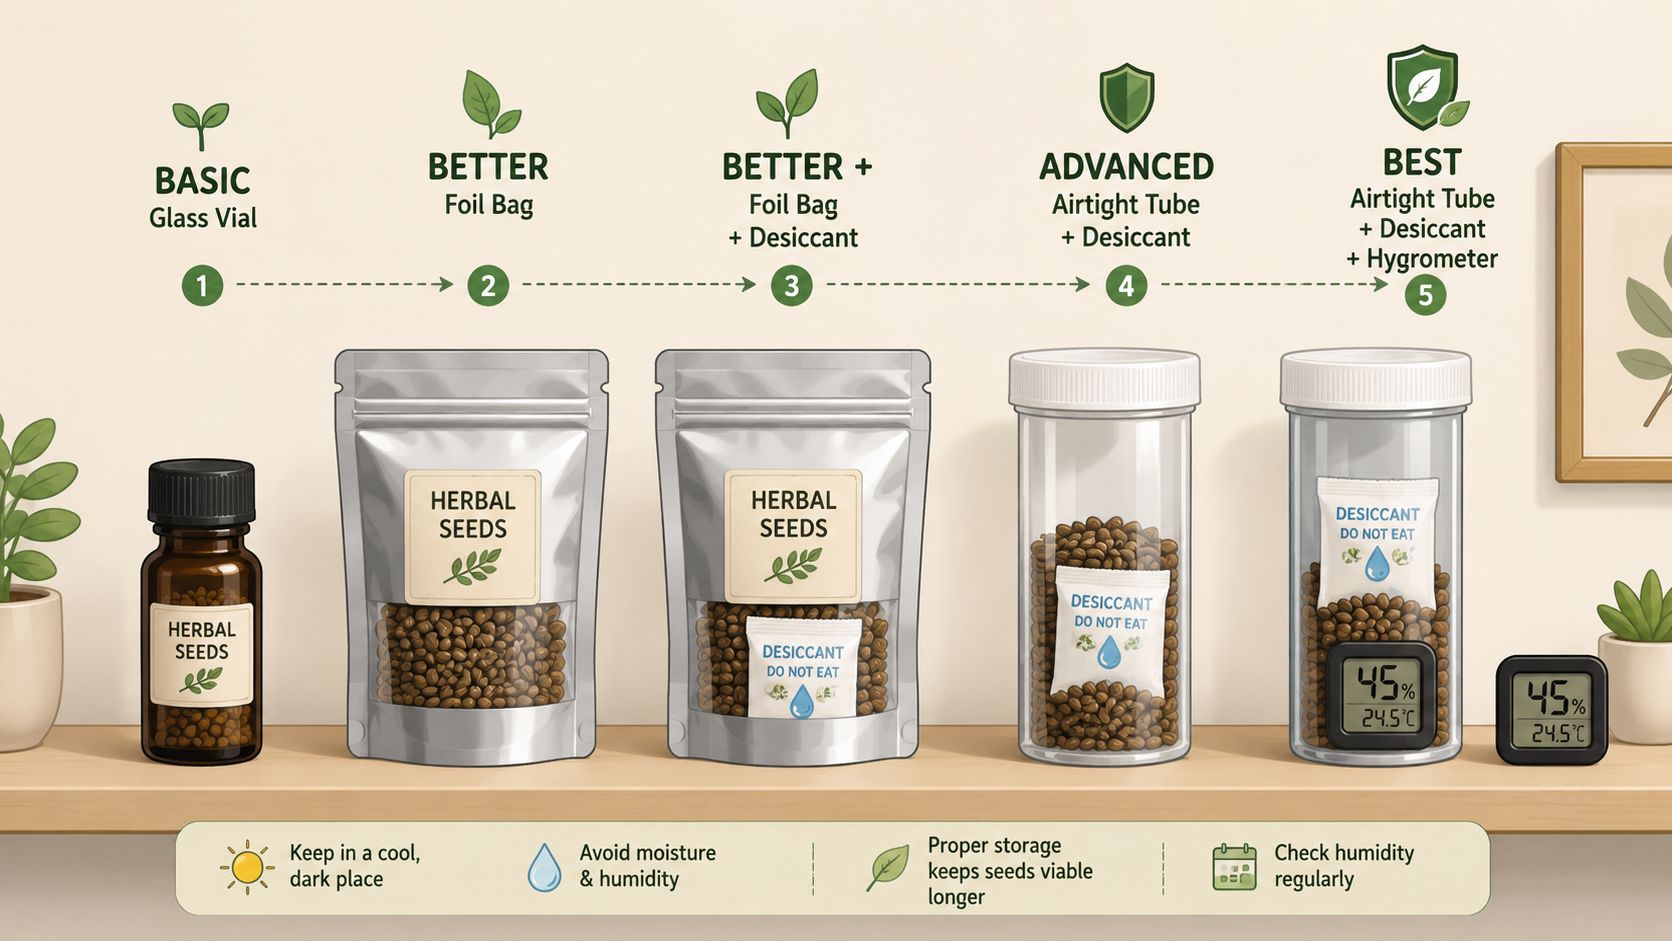
A quick visual can help if you're comparing formats and use cases:
Match the container to how you actually grow
A small stash for the next run doesn't need a mini lab. A serious collection of favorite cultivars does deserve a tighter system.
- For a few packs you'll plant soon: Small sealed glass jars are simple and dependable.
- For a larger collection: Use individual inner containers, then group them inside a larger dark box or fridge-safe outer container.
- For archiving special genetics: Foil or sealed glass, minimal handling, stable cold storage.
The best seed storage containers are the ones that stay sealed, stay organized, and don't tempt you into opening them constantly just to admire the labels.
Leveling Up with Desiccants and Oxygen Control
Once you've got a solid container, the next upgrade is controlling the air inside it. That's where desiccants come in. They don't make a bad container good, but they make a good container much safer.
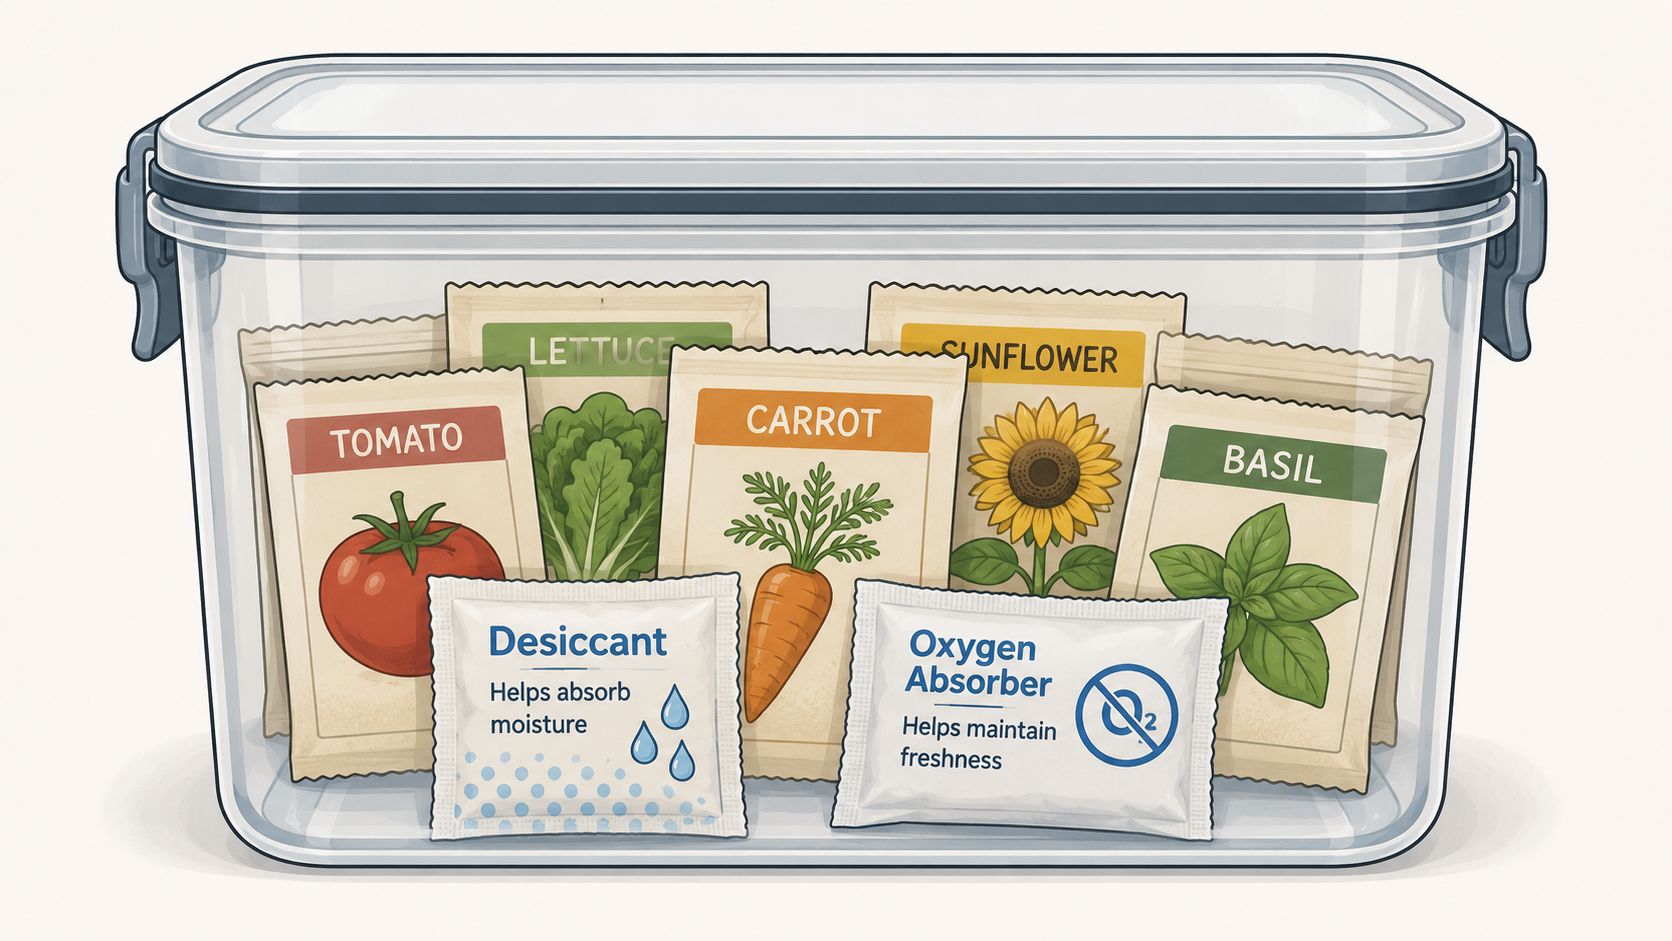
What desiccants actually do
A desiccant packet pulls moisture out of the air trapped inside the container. That's especially useful if you're storing seeds in a fridge, where the room outside the container can be humid even when the inside needs to stay dry. Silica gel is the common option because it's easy to find and easy to replace.
The goal isn't to turn your seed jar into a desert for fun. The goal is to prevent moisture swings and condensation from reaching the seeds.
How to use them without getting sloppy
Keep desiccants simple and consistent.
- Use a clean packet: Don't drop loose beads into a jar with bare seeds.
- Match packet size to container size: A tiny vial needs less moisture control than a larger jar or storage box.
- Keep the packet separate from direct crushing pressure: Seeds shouldn't be rattling around against hard packs.
- Replace or recharge when needed: If the desiccant has a color indicator and it shows saturation, it's time to dry it out or swap it.
Small habit, big payoff: Every time you open the container, you invite fresh humidity in. Open it fast, grab what you need, and seal it again.
Oxygen absorbers are optional, but useful for serious storage
Oxygen absorbers aren't mandatory for most home growers, but they can make sense if you're building a long-term collection and want another layer of protection. They're more common in tightly packed storage systems where the seeds won't be accessed often.
Typically, desiccants do the heavy lifting. Oxygen control is the extra step after you've already nailed container quality, temperature stability, and labeling.
A good home setup looks like this
You don't need to overcomplicate this. A reliable storage stack usually looks like:
- Primary seed packet or vial: Keep each cultivar separate.
- Airtight outer container: Glass jar, sealed tube, or quality foil.
- Desiccant packet inside the outer container: This manages internal humidity.
- Dark, stable storage spot: Cabinet, fridge, or freezer depending on your plan.
If your seeds are stored near food or household items, smell transfer and moisture swings are more likely. Keep the seed stash self-contained. That's one reason a dedicated container works better than tossing packs loose into the back of a fridge.
There's a similar principle with dried flower. The environment around the product changes how well it holds up over time, which is why storage details matter in every stage of cannabis handling. If you want a related breakdown for finished stash, this guide on how long weed lasts is worth a look.
Organizing and Labeling Your Seed Collection
Good storage won't help much if you can't tell one pack from another six months later. Often, a lot of growers create their own headaches. They remember they had a citrus-forward autoflower, a heavier evening cultivar, and one pack from a breeder they liked, but the labels are faded, the tiny bags are mixed up, and now everything is a mystery.
That's avoidable.
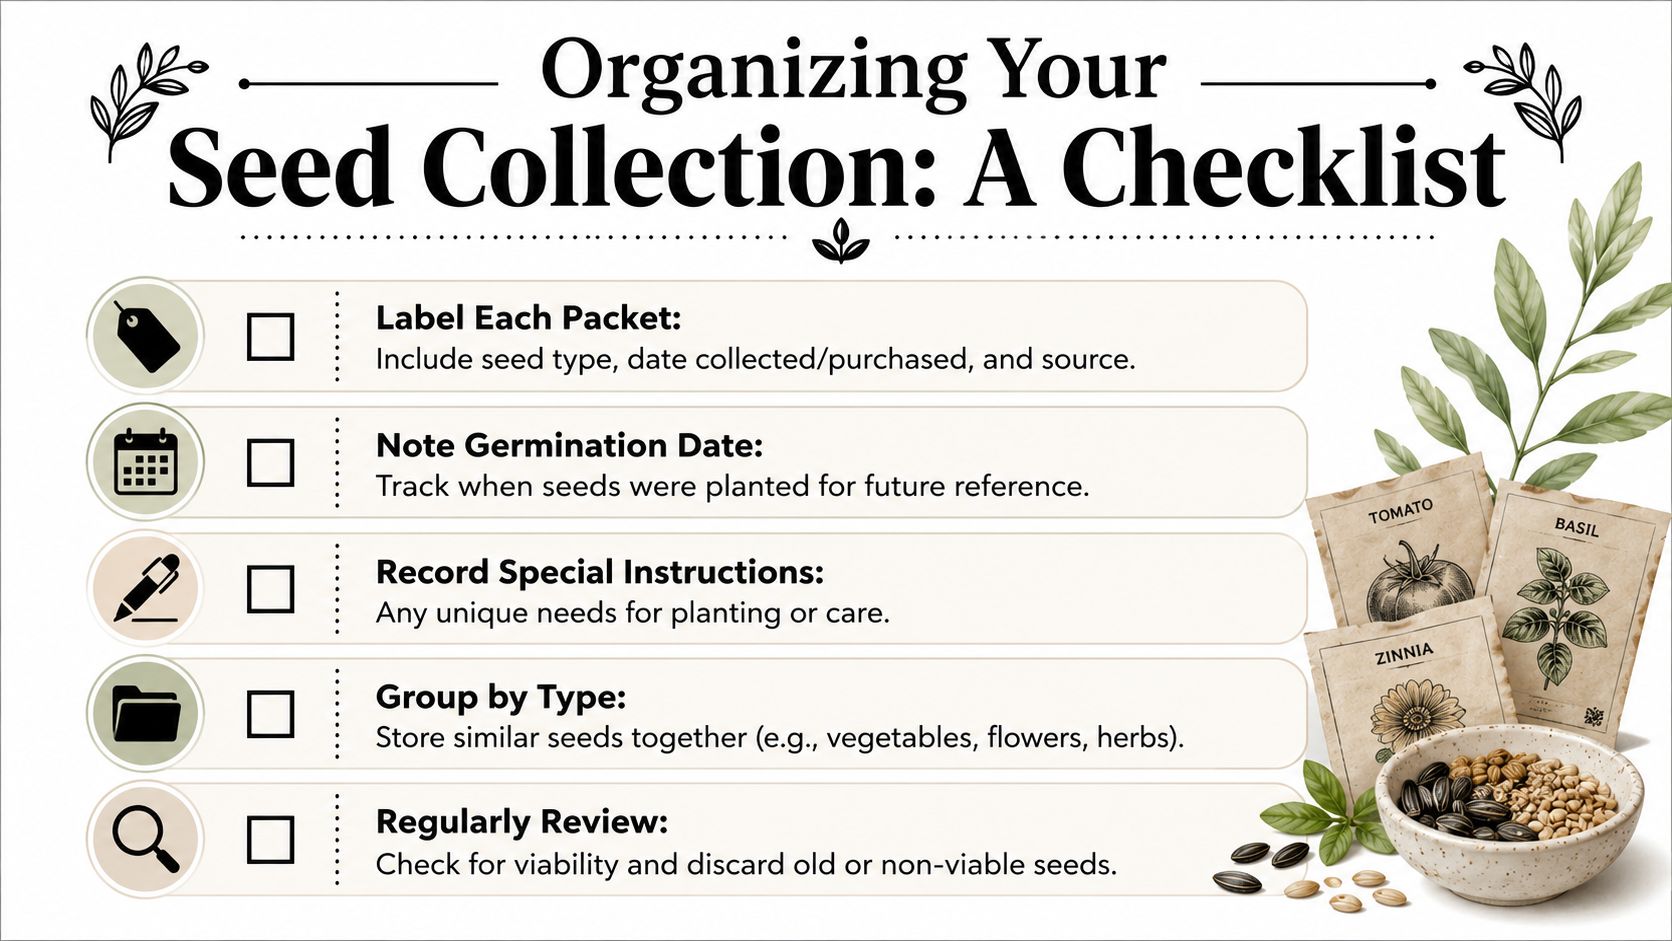
What every label should include
At minimum, put these details on each packet, vial, or inner container:
- Cultivar name: Write it fully, not just initials you'll forget later.
- Breeder or source: Helpful when you buy similar names from different lines.
- Purchase date: This gives you a clean sense of age.
- Seed type: Mark it as feminized or autoflower.
- Notes if needed: Flavor expectations, planned season, or whether it's a backup pack.
If the original breeder pack already carries some of this info, preserve it. Slip that pack into a better outer container instead of rewriting everything from scratch and risking mistakes.
Build a system you'll actually keep using
The perfect storage system on paper is useless if it annoys you every time you open it. Keep it practical.
A simple system might be:
- By grow timing: “Next run,” “this year,” and “archive”
- By format: Feminized in one group, autoflower in another
- By vibe or goal: Daytime-friendly cultivars, heavier evening cultivars, high-aroma picks, compact tent options
Photo cases, small drawer units, or divided boxes all work if they stay dry and organized. The trick is consistency. Put every pack back in the same place every time.
Mystery seeds are fun for a minute, then they become a waste of space.
A quick record beats a perfect spreadsheet
You don't need a massive database. A basic note on your phone, a small spreadsheet, or even an index card inside the storage box can keep your collection straight. The point is to know what you have before you order duplicates or forget about an older pack.
Try tracking:
| Field | Why it helps |
|---|---|
| Cultivar | Lets you find the exact pack fast |
| Type | Separates feminized and autoflower runs |
| Date bought | Helps you rotate older seeds first |
| Container location | Cuts down on opening every jar and box |
| Grow notes | Reminds you why you saved it |
This part sounds boring until you've got a few favorite cultivars stacked up. Then it becomes one of the best habits in your whole setup.
Your Long-Term Storage Game Plan
A good seed storage routine doesn't need to feel technical. It just needs to be repeatable. If you've got the right container, stable conditions, moisture control, and clear labels, you're already ahead of most casual growers.
Short-term plan
For seeds you expect to plant relatively soon, keep it simple:
- Store each cultivar in a sealed inner packet or vial
- Place those in airtight seed storage containers
- Add a desiccant packet to the outer container
- Keep the container in a dark, stable spot
- Open it only when you need to
This works well for growers planning the next cycle and wanting quick access without leaving seeds exposed on a shelf or in a random drawer.
Long-term plan
For a prized collection, think more like an archivist:
- Choose moisture-resistant containers with reliable seals
- Use a storage spot that stays consistently cold
- Limit handling and avoid frequent opening
- Label everything clearly before it goes into storage
- Keep an inventory so you're not rummaging through containers
If you're preserving a cultivar because you love the aroma, structure, speed, or overall vibe, patience proves its worth. Seeds stored with care give you options later, and options are worth a lot when you grow at home.
The real payoff
Home cultivation is already a better experience when you skip dispensary lines, avoid extra taxes, and build your own supply around what you enjoy growing and smoking. Proper storage is part of that same mindset. It's not glamorous, but it protects the fun part.
A little discipline with seed storage containers today can save a favorite pack for the exact run you want later.
If you're building a collection and want to compare cultivars by grow style, effects, flavor profile, and setup, check out Botanist Seeds. It's a clean way to find feminized and autoflower options that fit how you grow.