Rockwool Germination: Your Guide to a Perfect Start
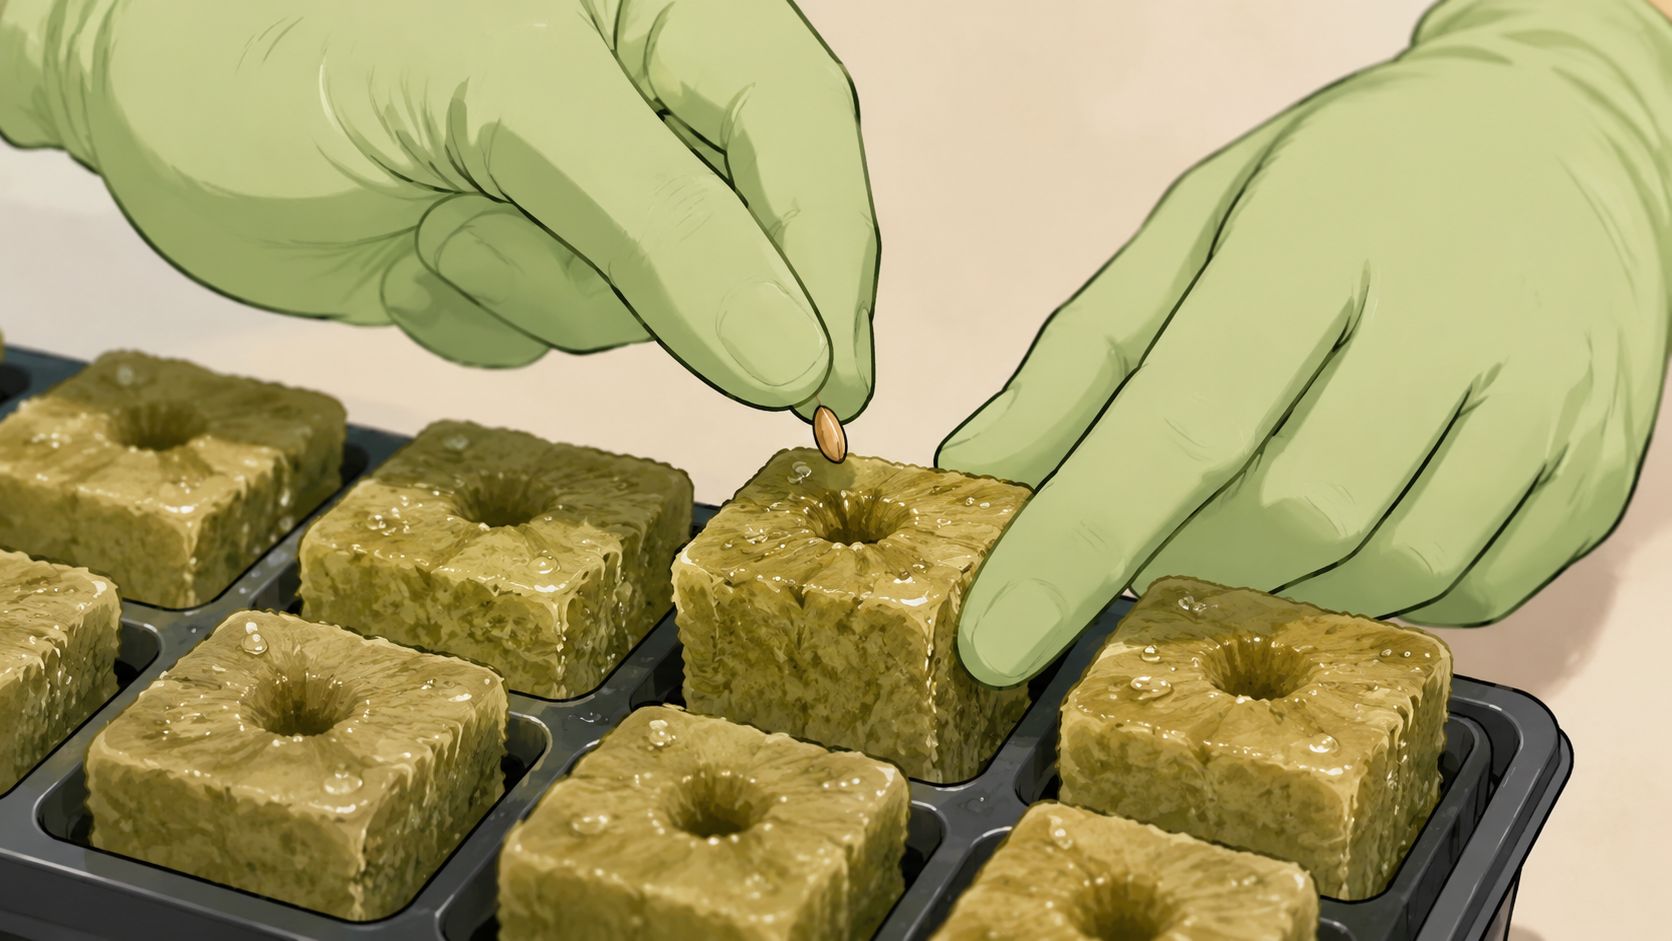
You've got a fresh pack of seeds on the table, a tray ready to go, and that little mix of excitement and pressure that comes with starting a new run. Nobody wants to burn premium genetics at the first step. That's usually why rockwool feels a bit intimidating at first. It looks technical, it gets talked about like some pro-only medium, and one bad forum thread can make it sound way harder than it is.
Rockwool germination is simpler: it's clean, repeatable, and easy once you stop treating it like a mystery. If you grow feminized or autoflower cultivars at home, rockwool gives you a tidy starting point with fewer surprises. No muddy mess, no guessing whether your starter mix is too dense, and no dragging in a bunch of soil baggage when all you want is a healthy sprout.
Why Smart Growers Start with Rockwool
You buy a fresh pack of seeds, set aside a tray, and want a clean start instead of guessing your way through another uneven batch. That is where rockwool earns its keep. It gives home growers a tidy, consistent starting point that is easier to manage than loose starter mix and less messy than soil.
Rockwool holds moisture well, keeps air around the seed, and makes the whole tray easier to handle. In practice, that means fewer random dry spots, less fuss when checking sprouts, and a cleaner path from germination to transplant. If you like a setup that stays organized and does not turn your grow space into a dirt-covered workbench, rockwool is a solid choice.
Why it feels more complicated than it is
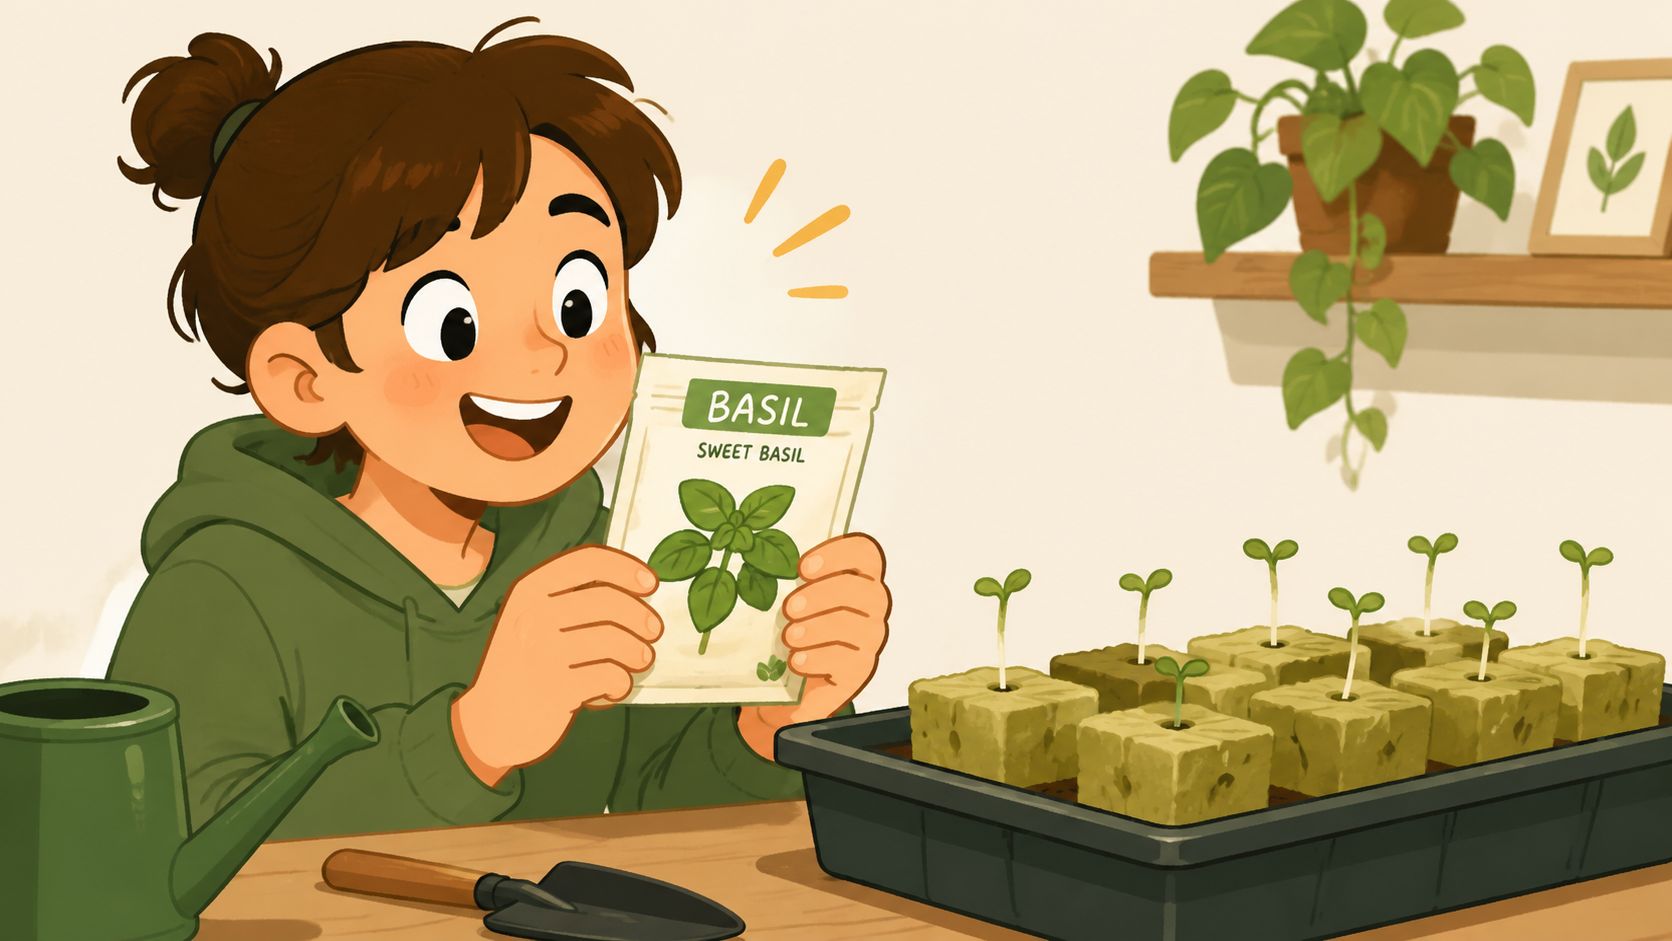
Rockwool gets talked about like it is some advanced grower medium, but its learning curve is small. The main catch is that it needs proper prep before you drop in a seed. Once that part is handled, the day-to-day side is simple and repeatable.
That predictability is the big draw. A cube gives each seed the same size home, the same basic moisture zone, and the same easy handling at transplant time. For hobby growers trying to make the most of every seed, that matters. Fewer early mistakes means less wasted money, fewer restarts, and a better shot at turning a small pack of genetics into a full healthy run.
If you are still getting comfortable with water chemistry, brushing up on pH for cannabis seedlings and root-zone management helps make rockwool feel much less technical.
Why home growers stick with it
Control is the reason people keep coming back to it. You can see the cube, feel if it is holding too much water, move it without the root zone falling apart, and transplant the whole thing with very little disturbance. That is a practical advantage, especially with pricier seeds or cultivars that do not love being messed with early.
There are trade-offs. Rockwool is less forgiving if you skip prep, and some growers prefer starting in soil because it feels more familiar. But for clean, repeatable germination, rockwool is hard to beat.
It keeps the process simple once you understand the basics, and that is what makes it less intimidating than it looks. You are not buying into some pro-only system. You are setting up a reliable start, saving yourself a few avoidable mistakes, and building the kind of self-sufficient routine that makes home growing satisfying in the first place.
Getting Your Cubes Ready for Success
A lot of first-time rockwool problems start before the seed ever goes in. The cubes look ready out of the pack, but they are not. A little prep fixes that and makes the whole process feel far less touchy.
The prep that actually matters
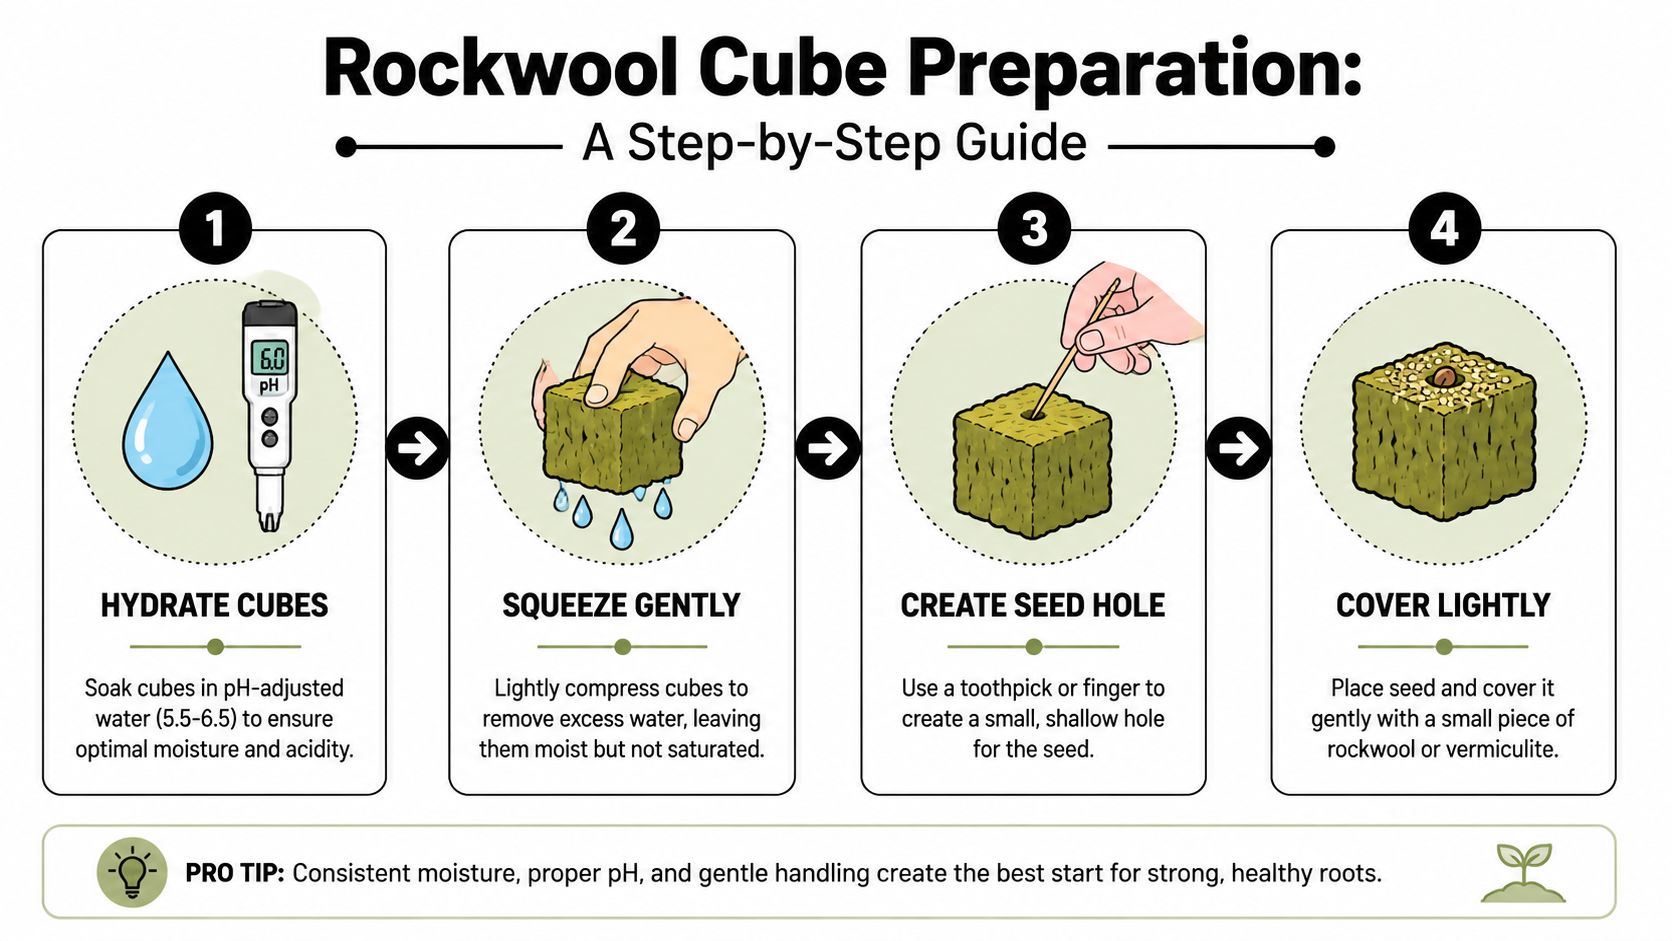
Rockwool starts off too alkaline for a clean start, so the first job is soaking the cubes in properly pH'd water. I aim for 5.5 to 5.8, let the cubes soak for about an hour, then let them drain on their own. If your pH pen has been sitting in a drawer for months, brush up on pH for cannabis seedlings and root-zone management before you mix the water.
Keep the process simple:
- Use clean water and set pH to 5.5 to 5.8. That gets the cube into a better range for germination.
- Soak for about an hour. Long enough to fully wet the cube without turning it into a soggy mess.
- Let excess water drain naturally. The cube should feel moist and a little springy, not heavy and dripping.
- Do not force the pH too low. More acid does not help, and it can damage the cube.
That last point trips people up. New growers sometimes assume lower pH means better prep. It does not. The goal is to condition the cube, not punish it.
What ruins cubes fast
Most cube damage comes from overhandling. Rockwool works well because it holds both moisture and air, and once you crush those fibers, you lose some of that balance.
Avoid these common mistakes:
- Do not squeeze the cube out like a sponge. That compacts the fibers and leaves the cube less airy.
- Do not leave cubes sitting in a tray of water. Constant saturation makes germination harder, not easier.
- Do not widen the starter hole unless you have to. A loose, oversized hole makes seed placement less consistent later.
I treat a prepped cube gently and let the material do its job. That one habit saves seeds, saves time, and cuts down on the kind of dumb restart that gets expensive.
Picking and setting up the tray
Keep the setup basic. A clean tray, one cube per seed, a dome if your room runs dry, and labels from day one. If you are starting multiple cultivars, labeling early saves a lot of guessing once everything looks the same.
Here is all you really need:
| Tool | Why it helps |
|---|---|
| Rockwool cubes | Gives each seed a stable starting medium |
| Clean tray | Keeps cubes upright and easy to check |
| Humidity dome | Helps the cubes hold moisture in a dry room |
| pH meter or test kit | Lets you set the soak water correctly |
| Spray bottle | Helps with light moisture control without flooding |
This part is where rockwool starts to feel foolproof. Get the cubes right once, and you can repeat the same routine every run, waste fewer seeds, and build the kind of self-sufficient setup that makes growing at home so satisfying.
Placing Your Seeds with Confidence
A lot of new growers hesitate at this point and assume they can ruin the whole run with one clumsy move. In practice, seed placement in rockwool is pretty forgiving if you keep it simple. Set the seed at the right depth, cover it lightly, and leave it alone.
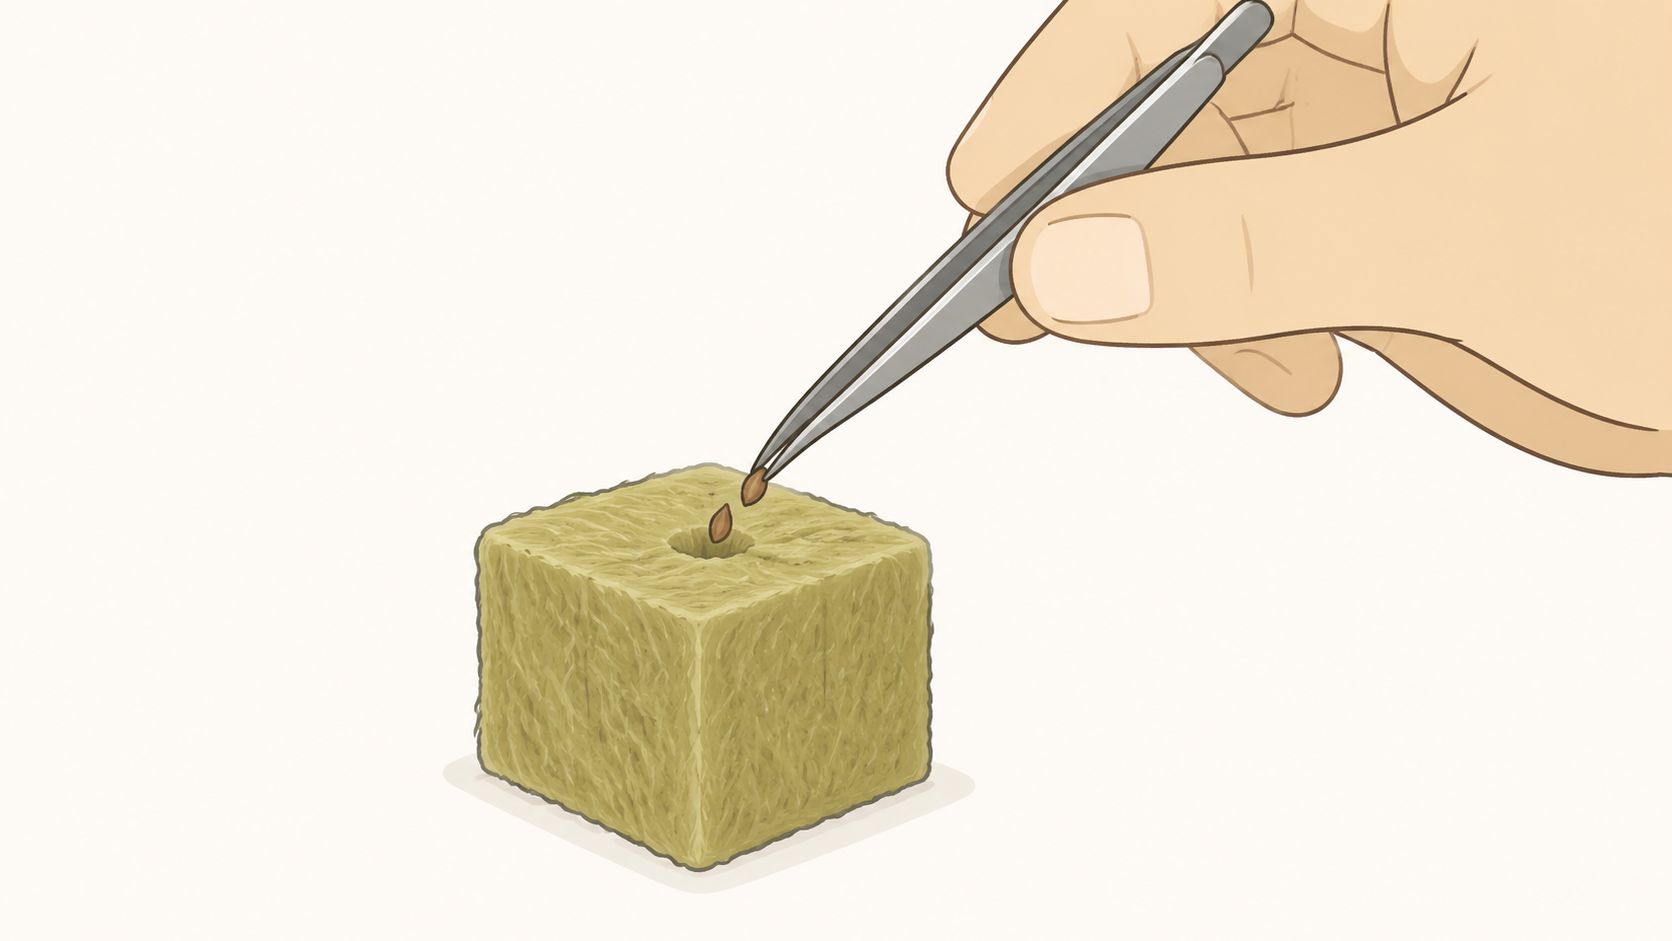
The easiest way to place the seed
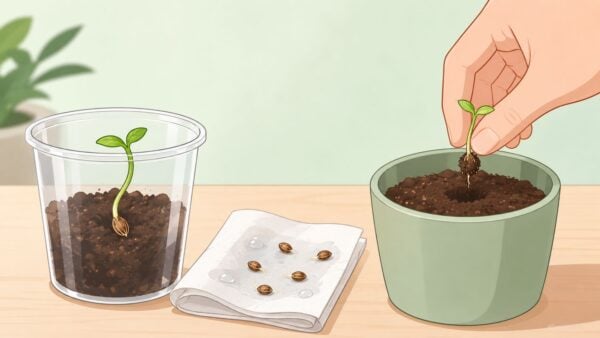
Use clean tweezers or clean fingers and drop the seed into the starter hole gently. Overgrow recommends planting about 6 mm, or 1/4 inch, deep, covering the seed lightly with fluffed rockwool fibers, and using a 1% hydrogen peroxide soak for 18 hours as an optional trick for older seeds.
That planting depth gives the seed darkness and steady contact with moisture without burying it so deep that it has to work harder than necessary. After the seed is in, pull a small bit of loose fiber over the top. Keep it light. Packed rockwool slows things down, and there is no prize for tucking it in too tightly.
If you want a broader step-by-step indoor setup, this guide on how to plant weed seeds indoors covers the full routine around the cube.
One seed per cube saves hassle later
I stick to one seed per cube. It costs a little more in tray space, but it pays you back in cleaner transplanting, easier labeling, and fewer mix-ups once different cultivars start showing their own pace and structure.
That matters even more if you are working with premium feminized or autoflower seeds. Each one is its own little investment. Giving every seed its own cube keeps the process tidy and cuts out the headache of separating tangled seedlings later.
Here's a quick visual if you like seeing the hand placement in action:
A little patience beats extra tinkering
Once the seed is in place, the job is mostly done. Don't poke around to check on it. Don't reopen the hole. Don't keep adjusting the top fibers because you are second-guessing yourself.
This is one of the parts that makes rockwool good for hobby growers. The process is repeatable, cheap compared to wasting seeds, and easy to get better at with each run. A calm, consistent start saves money and gives you that satisfying feeling that you can handle your own propagation without turning it into a science project.
Creating the Perfect Germination Environment
A planted seed doesn't need much, but what it does need has to stay consistent. Without this consistency, a lot of people sabotage themselves by checking too often, moving trays around, or letting the room swing between cool and dry during the day and warm and damp at night.
Warm, dark, and humid wins
The target is simple. A YouTube grow guide notes that the ideal environment for germinating seeds in rockwool is 26 to 28°C, about 79 to 82°F, with 70 to 80% humidity, kept in a warm, dark location until the first sprout appears.
That setup does three things:
- Warmth gets the seed active
- Humidity stops the cube from drying too fast
- Darkness helps avoid weak, stretched early growth before the sprout is ready
A humidity dome makes this much easier. If you haven't used one before, this guide to humidity domes for seedlings is a good primer.
The gear that makes life easier
You don't need a fancy nursery setup. A basic tray, a clear dome, and a seedling heat mat can take most of the guesswork out of rockwool germination. The dome holds moisture around the cubes. The heat mat helps keep the root zone steady instead of relying on room temperature alone.
I like this setup because it's low drama. Once the tray is in place, you're mostly monitoring rather than meddling. That's a better mindset for germination.
Keep it boring on purpose
The best germination environment is almost uneventful. No direct blasting light before sprouting. No cold windowsill. No fan hammering the tray. No repeated lifting of the dome because you're curious.
Check that the cubes stay appropriately moist, keep the tray in darkness until the first sprout appears, and let the process work. The less chaos around the tray, the more uniform the results tend to be.
Watering Monitoring and Troubleshooting
This is the part where growers get twitchy. You've planted the seed, set the tray, and now you're staring at cubes wondering if they're too wet, too dry, too warm, too cold, too everything. Most early problems come back to one thing. Water.
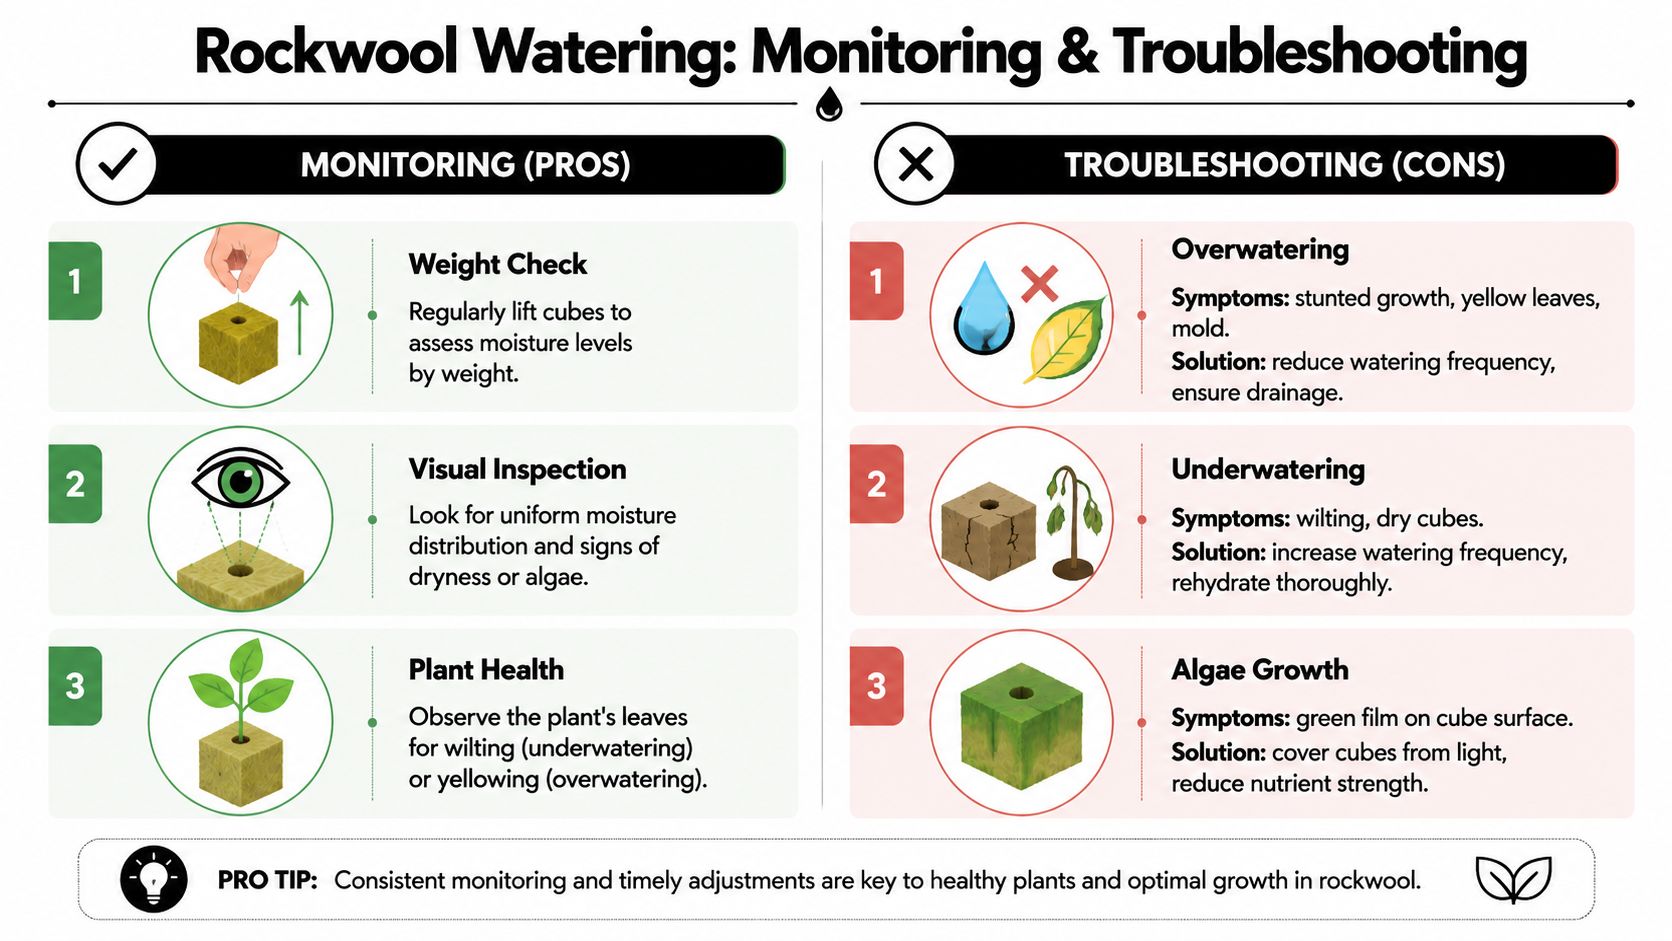
What moist but not wet looks like
The phrase gets repeated because it matters, but it's still vague until you've seen it a few times. A properly hydrated cube feels evenly damp and cool, not heavy and swampy. If water pools in the tray or the cube looks glossy and soaked all day, back off.
Use simple checks:
- Lift the cube or tray: Weight tells you a lot once you get familiar with it.
- Look at the surface: It should look moist, not waterlogged.
- Watch the air around the dome: You want humidity, not a sloppy puddle at the base of every cube.
Common problems and the calm fix
Here's the short version of the issues that stress people out most:
| Problem | Likely issue | Fix |
|---|---|---|
| Nothing's happening | Conditions are off or the seed is slow | Stay patient, keep the environment stable, avoid replanting the same cube out of panic |
| Seedling is tall and skinny | It didn't get under light fast enough after sprouting | Move it under grow lights right away |
| Stem looks weak at the base | The environment is staying too wet | Let the cube breathe more and stop overwatering |
| Cube dries too quickly | Room is too dry or dome management is off | Restore humidity and re-wet gently, not aggressively |
Watch for this: Most germination failures don't come from doing too little. They come from doing too much.
Monitoring without hovering
You don't need to poke at the seed hole every few hours. You also don't need to add water on a schedule just because a schedule feels productive. Respond to the cube, not your nerves.
A good routine looks like this:
- Check once or twice a day: Enough to catch changes without constantly disturbing the tray.
- Water lightly if needed: Small corrections beat big drenches.
- Open things up after sprouting: Once the seedling is up, stagnant humidity becomes less helpful.
- Get lights on promptly: The moment you see life, give that seedling a proper start above ground.
This part can feel tense, but it gets easier fast. After a couple of runs, you'll read a tray at a glance.
Transplanting Your New Seedling
A seedling is ready to move when it looks established, not just alive. The clean signs are the first true leaves showing and roots starting to peek from the cube. At that point, the plant is asking for its next home.
Keep the move gentle
Transplanting from rockwool is one of the nicest parts of using it. You don't remove the seedling from the cube. You move the whole cube into your pot or system and let the roots keep expanding without interruption.
A simple checklist helps:
- Check the roots: A little root emergence from the cube is a good sign.
- Look for true leaves: Not just the first round seed leaves.
- Handle the cube, not the stem: The stem is the part often damaged by rushing.
- Set it snugly in the new medium: Give the cube contact, but don't bury it carelessly or crush it in place.
Once you've made it here, you've already done the delicate part. The seed turned into a real plant under your care, and that never gets old. It's one of the best parts of growing at home. You skip the lines, keep control over your stash, and get the satisfaction of watching each cultivar develop its own look, structure, and vibe from day one.
If you're planning your next run, Botanist Seeds makes it easy to compare cultivars and choose feminized or autoflower options that fit your space, your schedule, and the kind of grow experience you want.