How to Break Seed Dormancy for a Better Grow
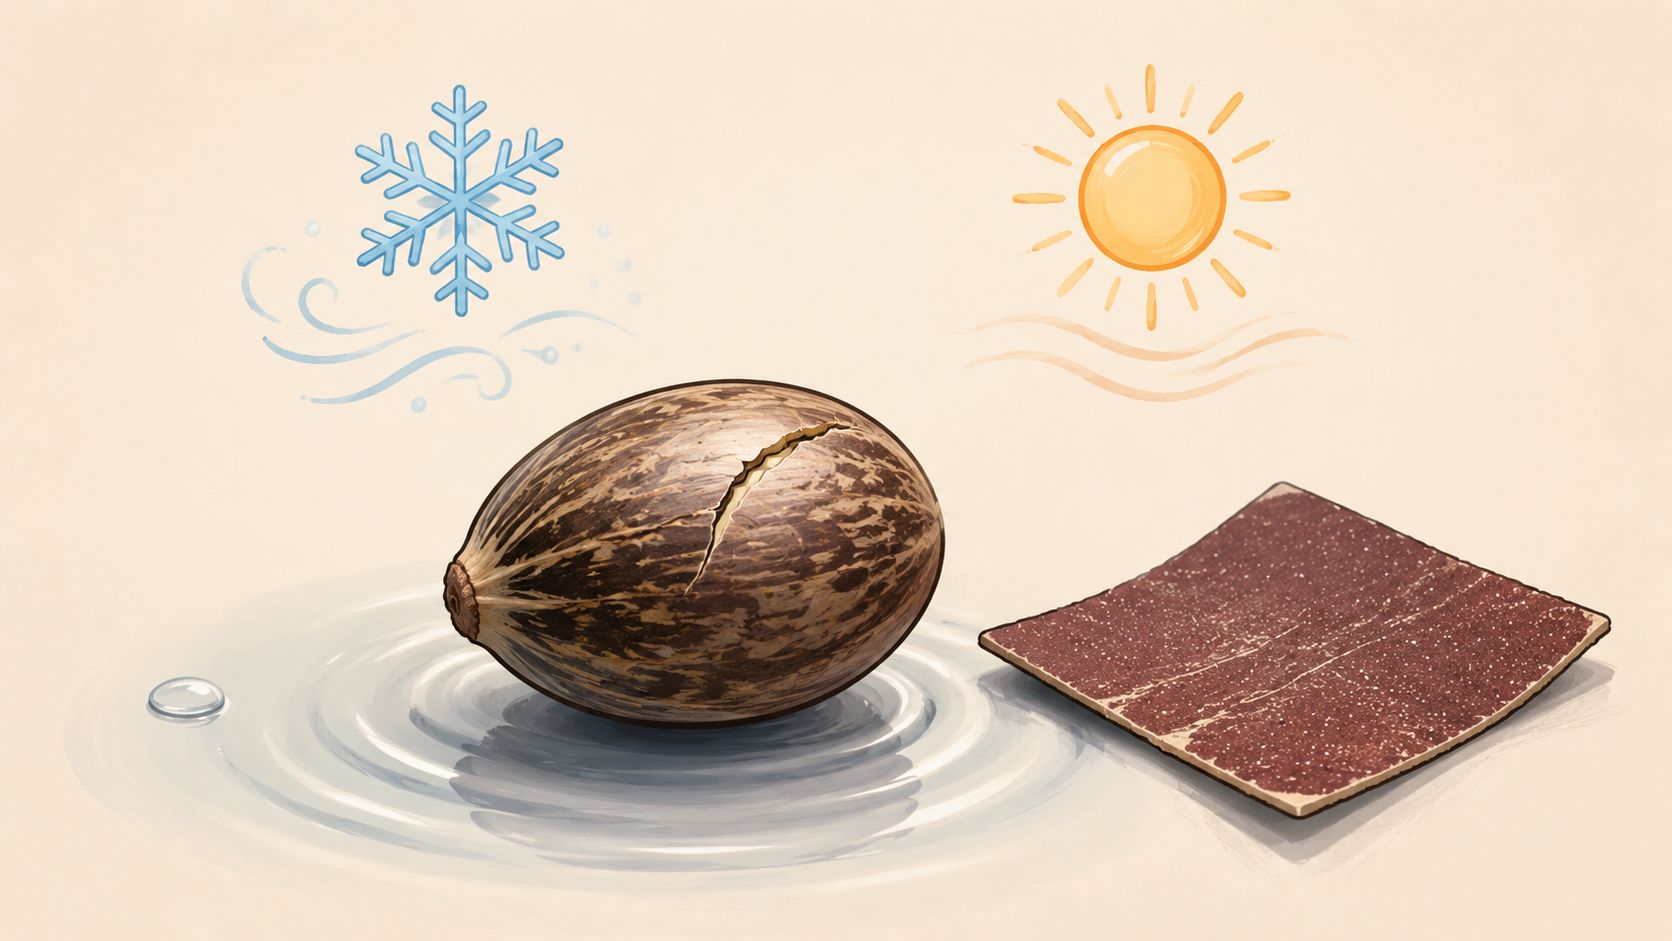
You know the feeling. You paid good money for a pack of promising seeds, set up the paper towel, checked the temperature, did everything by the book, then stared at the same stubborn little shells for days.
Most of the time, that doesn't mean the seed is bad. It means the seed is doing what seeds are built to do, wait for the right signal. If you know how to break seed dormancy, you stop treating slow germination like a mystery and start treating it like a problem with a method.
For cannabis hobbyists, that matters more than people admit. Whether you're starting a compact autoflower cultivar for a quick balcony run or lining up feminized cultivars for a more dialed-in indoor grow, every wasted seed costs time, momentum, and part of the fun. The good news is that dormancy isn't magic. It's biology, and biology gives you levers to pull.
Why Some Seeds Play Hard to Get
A seed can look perfect and still stay asleep.
That's the first mindset shift that saves a lot of frustration. Dormancy is not always failure. It's a survival mechanism. In nature, a seed that sprouts at the wrong moment gets wiped out by cold, drought, or plain bad timing. So plants evolved ways to wait.
For home growers, that natural caution can feel personal. You hydrate the seed, keep it warm, and expect action. Nothing happens, so the brain jumps straight to, “Great, I got a dud.” Usually, it's more accurate to think, “This seed hasn't gotten the right cue yet.”
Dormancy is a lock, not a flaw
Some seeds have a coat that's slow to let in water. Others carry internal chemistry that says, not yet. A few need more than one signal before they commit. That's why one cultivar pops fast while another acts like it wants a signed invitation.
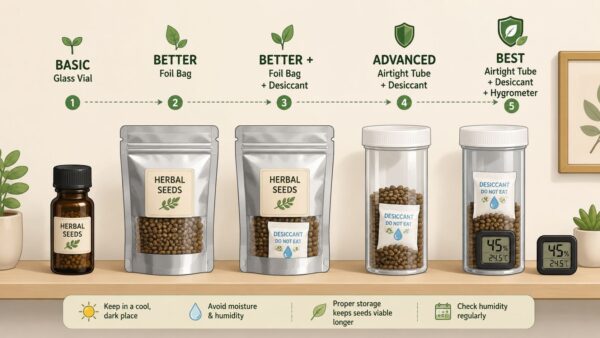
Storage can make this more confusing. Seeds that were kept too warm, too humid, or bounced around between conditions can get touchier over time. Good storage doesn't guarantee germination, but it does stack the odds in your favor, which is why proper seed preservation matters before you ever start germinating.
Practical rule: Don't call a seed “bad” until you've matched the germination method to the kind of dormancy you're likely dealing with.
What this means for cannabis growers
Cannabis seeds usually don't need the heavy-duty treatment some wild species need, but older seeds, thicker-shelled seeds, and certain slower-moving cultivars can still benefit from a more hands-on approach. That's where people either rescue a seed, or ruin it by getting too aggressive.
The trick is simple. Start with the least forceful method that makes sense. If the shell seems tough, help water get in. If the seed seems physiologically sleepy, use moisture and time. If it's still stubborn, then you consider a stronger nudge.
That's really the whole game. You're not “forcing” life out of a seed. You're giving it the environmental signal it's been waiting for.
Giving Tough Seeds a Nudge with Scarification
Some seeds don't need motivation. They need an opening.
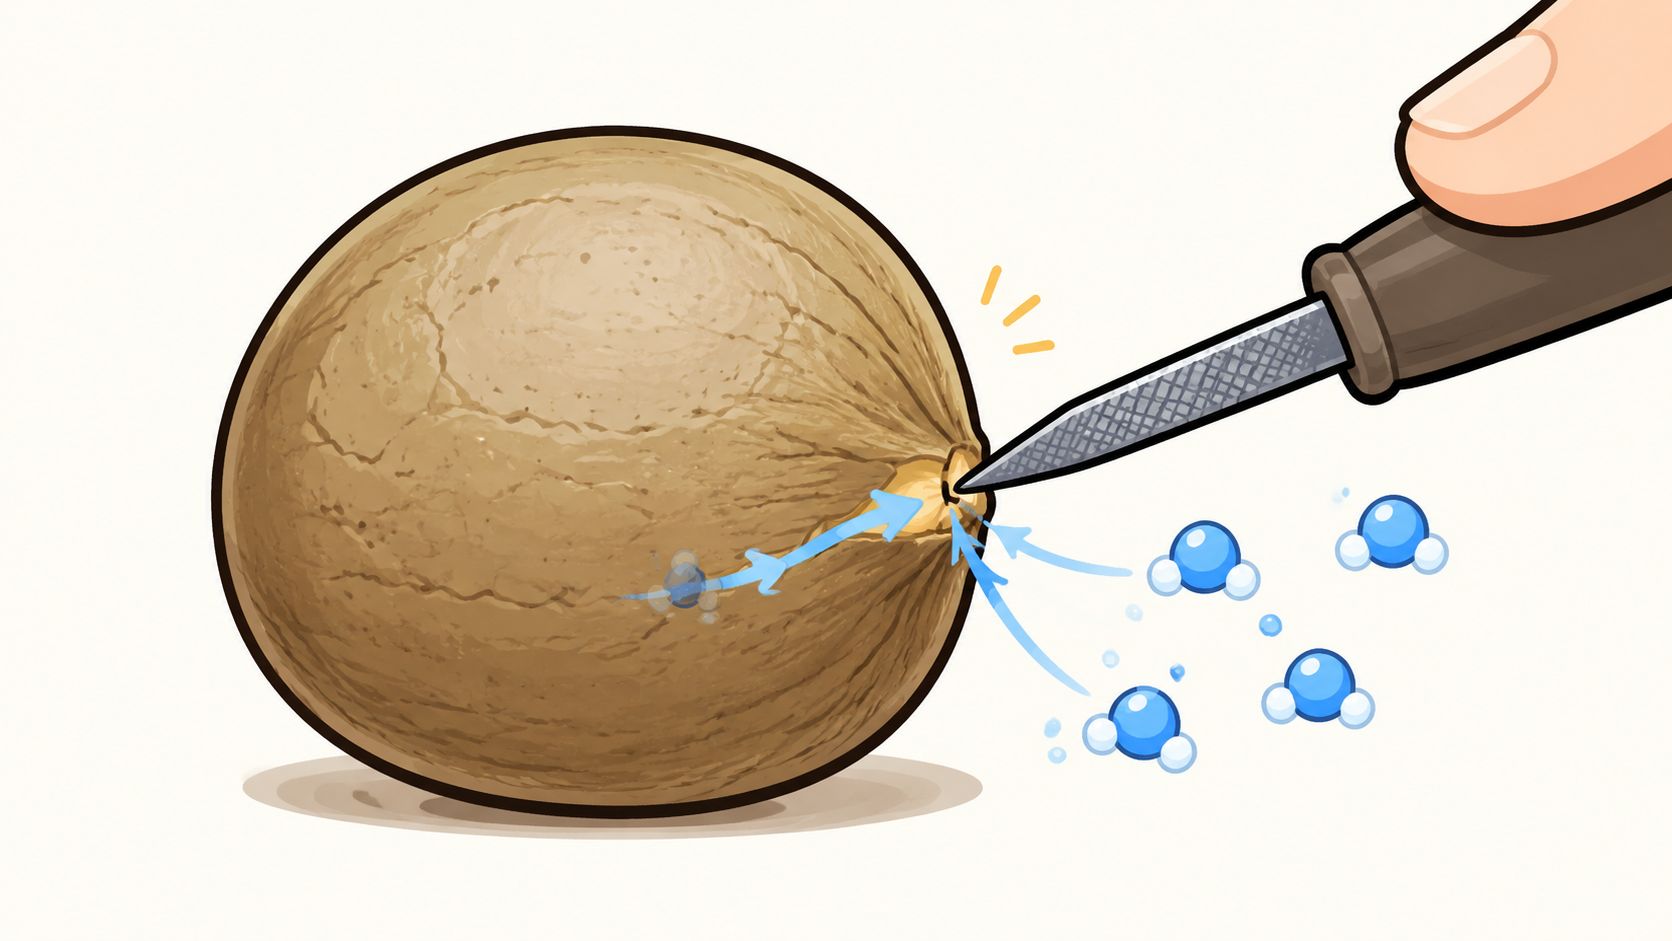
If the outer shell is too hard or too water-resistant, the seed can sit there like a sealed jar. Scarification fixes that by creating a tiny weak point so moisture can get inside and start the process.
What scarification actually does
For hard-coated seeds, mechanical scarification via sandpaper abrasion or nicking with a knife is a standard alternative to chemical treatments, requiring only a small superficial cut to permit water penetration. The same guidance notes that soaking immediately after scarification can accelerate germination by 2 to 3 times compared to soaking alone, and that best practice limits nicking depth to less than 1 mm because excessive nicking can cause embryo death. That comes from the FAO guidance on breaking physical dormancy in seeds.
That sounds technical, but the hands-on version is easy. You are not cutting the seed open. You're just roughing up one spot.
Simple tools that work
Most growers already have what they need:
- Fine sandpaper: Good for gently scuffing the shell without drama.
- Nail file or emery board: Easy to control, especially for small seeds.
- Razor blade or hobby knife: Useful if your hands are steady and your patience is real.
- Tweezers: Helpful for holding the seed still instead of chasing it around a table.
For cannabis seeds, I'd keep it low-tech. A couple of light passes on fine sandpaper or one very shallow nick is plenty. The shell should look slightly disturbed, not cracked in half.
How to do it without wrecking the seed
Use this sequence:
- Inspect first: If the seed coat already looks thin or slightly split, skip scarification.
- Choose one spot: Work on the side of the shell, not with random scraping all over.
- Stay shallow: You want a scuff or tiny nick, not a wound.
- Soak right after: Once the shell has a weak point, moisture can do the rest.
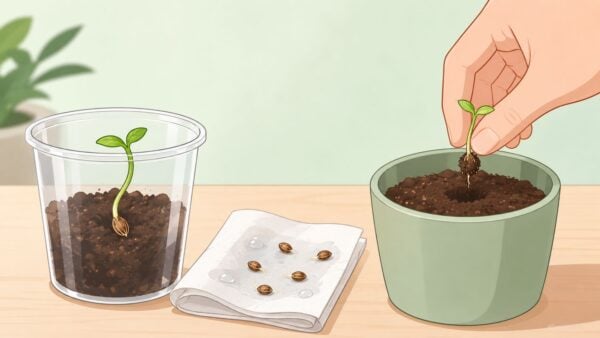
- Plant as soon as the seed swells or shows movement: Don't keep fiddling once the process starts.
A lot of growers lose good seeds because they confuse precision with force. Scarification is more like opening a window than kicking in a door.
This walkthrough gives a good visual sense of how gentle the process should be:
If you feel like you need “just one more scrape,” stop there. That's usually the moment people go too far.
When scarification makes sense
Scarification is worth trying when:
- The seed is older: Older cannabis seeds often need a little extra help taking on water.
- The shell feels unusually hard: Some seeds just have a tougher coat.
- A basic soak did nothing: If moisture alone didn't wake it up, the shell may be the bottleneck.
For a valuable feminized cultivar or a rare autoflower run, this method can be the difference between waiting forever and seeing a taproot start moving on schedule.
Tricking Seeds with Temperature and Time
Some seeds don't respond to scraping. They respond to seasons.
That's the logic behind stratification. You fake winter, sometimes fake a warm spell first, then let the seed decide it's safe to grow. For wild species, this is often mandatory. For cannabis, it's less common, but understanding it helps you spot when a seed needs patience instead of more soaking or more handling.
Cold stratification in plain English
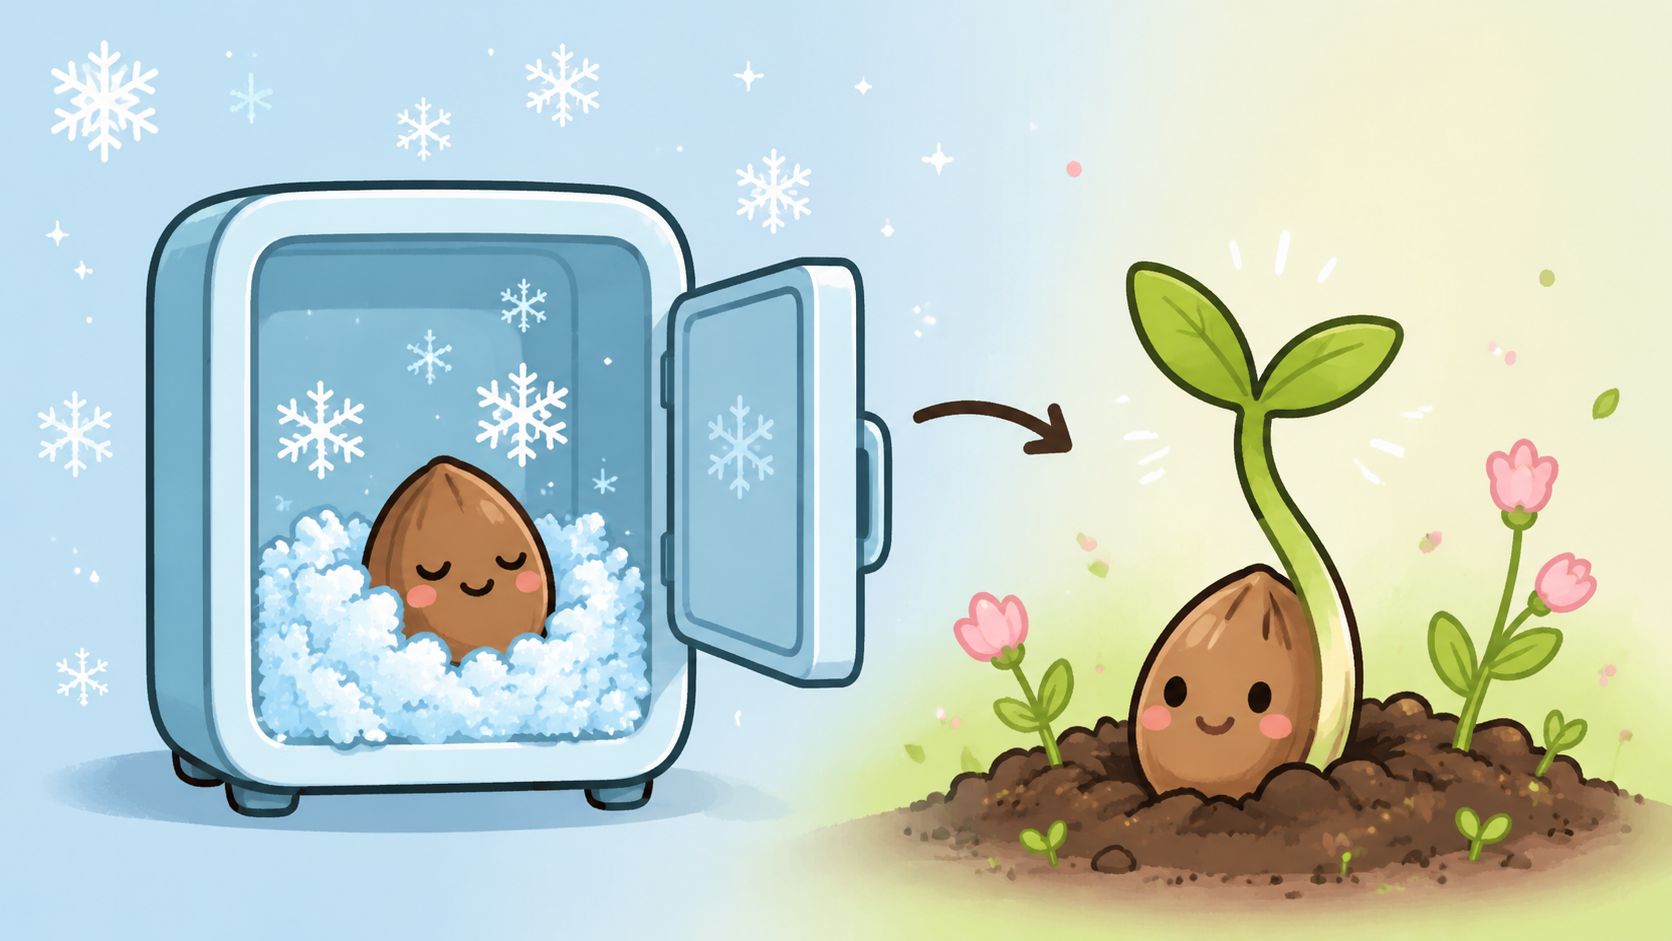
Cold stratification is just controlled chilling with moisture. The idea is to tell the seed, “Winter happened. You can wake up now.”
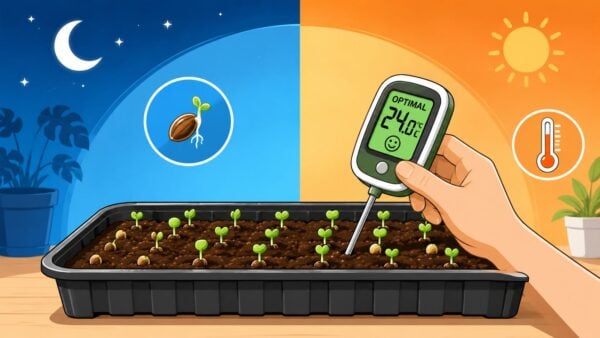
According to Biology Online's overview of seed dormancy methods, cold stratification requires exposing seeds to temperatures between 0 to 5°C for 3 to 10 days, or sometimes up to several weeks. The same reference notes that columbine seeds need a precise four-week stratification period followed by light exposure, which shows how much the sequence matters.
That sequence part is what growers often miss. Some seeds don't just need cold. They need cold in the right order, for the right length, with moisture present but not sloppiness.
A fridge method that keeps things simple
For a home setup, this is the clean version:
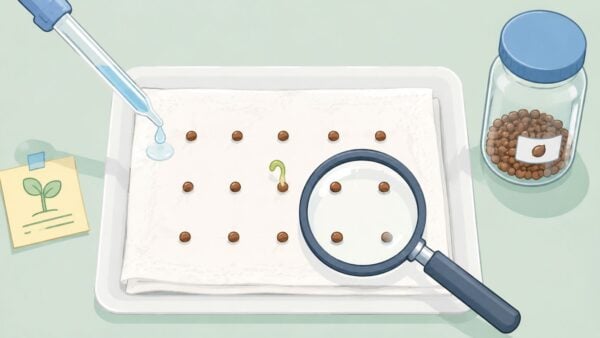
- Moisten a medium: A paper towel, peat, vermiculite, or perlite all work.
- Keep it damp, not soaked: Wet enough to hold moisture, not enough to drown the seed.
- Seal it in a labeled bag or container: Date it so you don't forget what's in there.
- Place it in the fridge: Not the freezer, and not in the warmest door shelf.
- Check it periodically: You're watching for mold, drying, or early germination.
If you want a broader sense of normal cannabis timing once the germination process starts, this guide on how long weed seeds take to germinate gives useful context.
Why this matters even if you grow cannabis
Most cannabis cultivars won't need a classic long cold stratification protocol. Still, the principle matters because growers often overreact to slow seeds. They keep adding new tricks every few hours, which creates stress instead of consistency.
Some seeds need less intervention and more stable conditions. The hardest part is leaving them alone long enough to respond.
There's also a useful caution from broader dormancy research. Some species need multi-step treatment, not a single trick. One common example from native seed guidance is Turk's cap lily, which needs a warm period followed by a cold period, while columbine needs cold plus light in sequence. A Jackson County Master Gardener resource on breaking dormancy notes that guides often oversimplify these dual-phase needs, which helps explain why growers fail when they copy one-size-fits-all advice.
That's a lesson worth borrowing. If a seed isn't moving, don't assume more force is the answer. Sometimes the missing ingredient is time, in the right conditions.
The Power of a Good Soak
A soak is the easiest dormancy-breaking tool because it asks very little of you and a lot of the seed.
Water is the wake-up signal for a lot of seeds. It softens the seed coat, gets metabolism moving, and helps the embryo shift from standby mode into growth mode. For many cannabis growers, a plain soak is enough to get things rolling, especially with fresh feminized or autoflower cultivars that were stored well.
Start simple
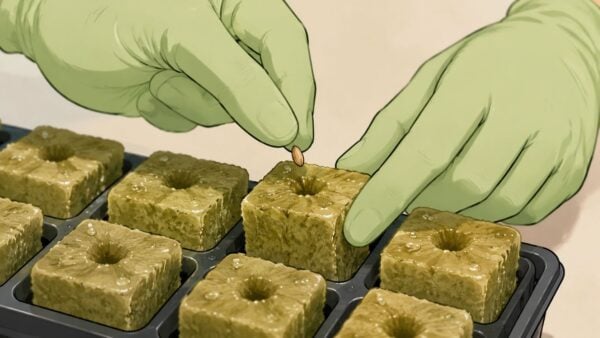
Use clean water and a clean glass. Drop the seeds in and give them time to hydrate. The point is not to babysit them every ten minutes. The point is to let moisture reach the shell evenly before moving to your paper towel, starter plug, or sowing medium.
If a seed looks a little slow but not overly stubborn, this is still my favorite first move. It's low risk, low drama, and easy to combine with other methods later if needed.
When to use GA3
Sometimes water alone isn't enough. That's where gibberellic acid, or GA₃, comes in. Think of it as a chemical signal that tells a dormant seed it's time to start growing.
According to IntechOpen's chapter on seed dormancy and germination, GA₃ at 500 ppm is standard for weak dormancy, while 1000 ppm may be required for severe dormancy. The same source also notes that starting with a lower concentration is a safe and effective approach for many cultivars.
That last point matters for hobbyists. If you're working with cannabis seeds at home, especially valuable cultivars, there's no prize for jumping straight to the strongest option. Start gentle. See how the seed responds.
A sensible soaking hierarchy
Try this order:
- Plain water first: Best for fresh seeds and most normal germination attempts.
- Scarify plus soak: Good when the shell seems like the issue.
- GA₃ soak: Worth considering for older, stubborn seeds that haven't responded to simpler methods.
A lot of growers also talk about adding a little hydrogen peroxide. That can fit into some home routines, but keep the main principle in mind. The soak is there to support the seed, not to turn your kitchen into a chemistry lab.
Small warning: More additive does not mean better germination. With dormancy treatments, overdoing it is one of the fastest ways to lose a seed.
If you're trying to learn how to break seed dormancy without wasting precious genetics, soaking is usually the safest place to start.
Your Seed Germination Playbook
The best method depends on what's stopping the seed.
That's where growers get tripped up. They find one trick online, use it on every seed, then wonder why results are all over the place. A hard shell needs one kind of help. Internal dormancy needs another. A healthy seed with decent vigor might just need moisture, warmth, and patience.
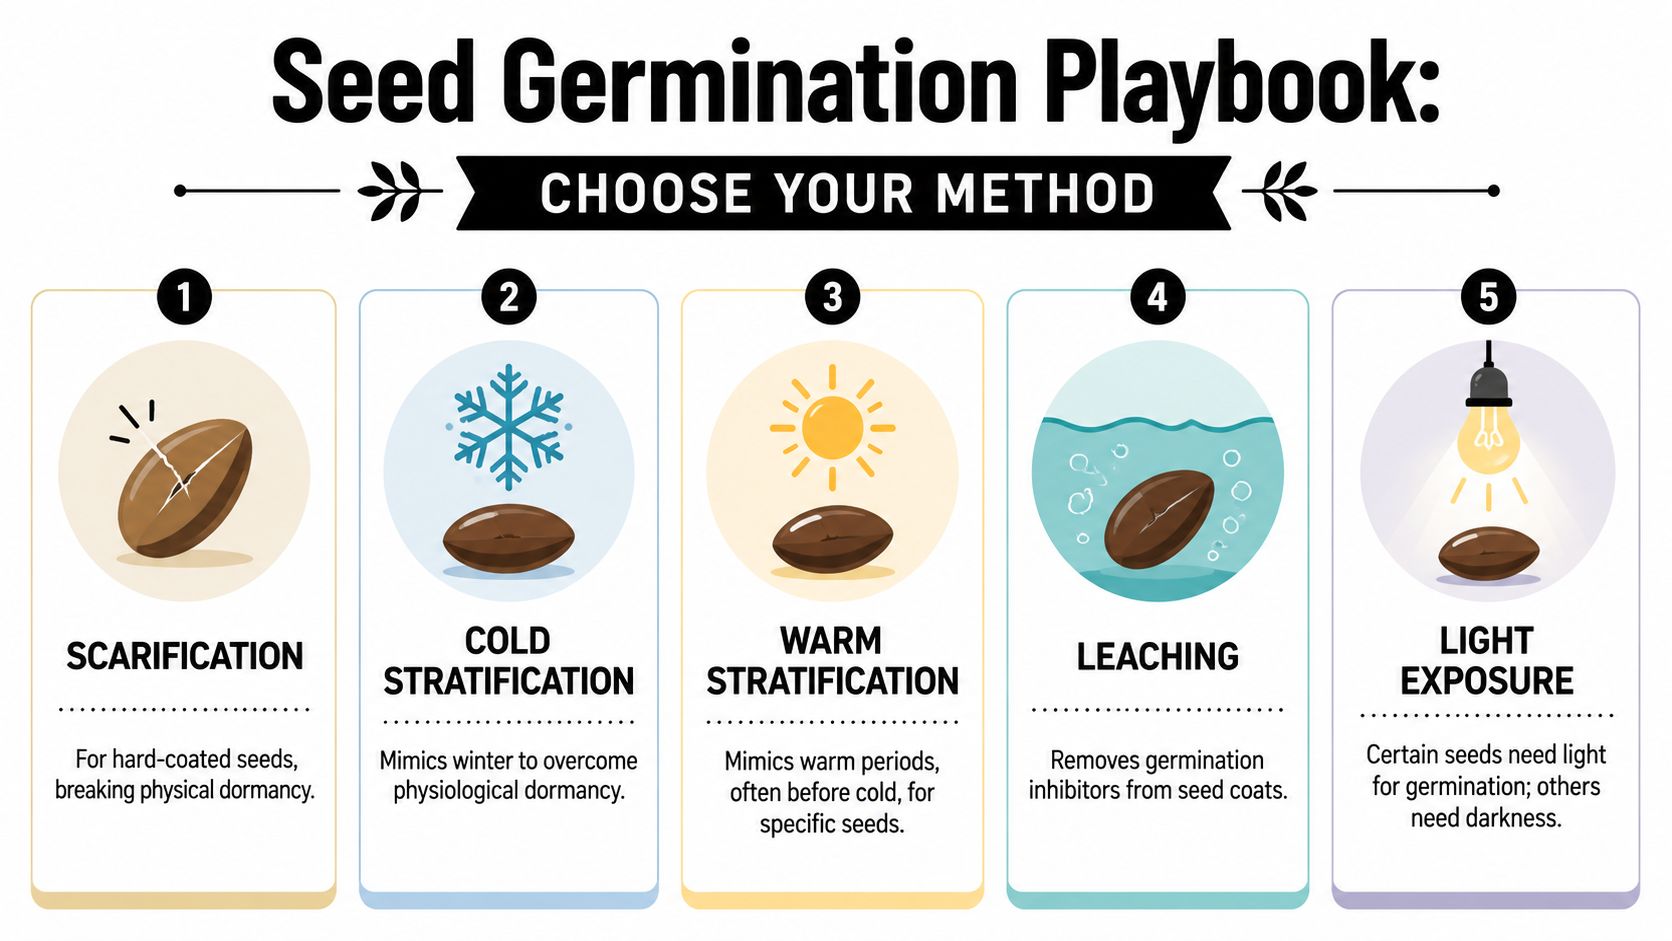
Seed Dormancy Method Selector
| Method | Best For | Time Commitment | Difficulty |
|---|---|---|---|
| Scarification | Hard-coated seeds, older seeds, shells that seem slow to absorb water | Short | Moderate |
| Cold stratification | Seeds that need a seasonal signal before sprouting | Medium to long | Moderate |
| Warm stratification | Seeds that require a warm period before other cues | Medium to long | Moderate |
| Soaking | Fresh seeds, mildly stubborn seeds, first-pass germination attempts | Short | Easy |
| Light exposure control | Seeds that are sensitive to light or darkness during germination | Short to medium | Easy |
Match the method to the symptom
If the shell seems like the bottleneck, scarification is usually the cleanest move. If the seed feels biologically asleep rather than physically sealed, time and temperature become more important. If you're not sure, start with a soak because it carries the least downside.
For cannabis, I'd keep the default progression simple:
- Fresh seed, normal condition: Start with soaking.
- Older seed or tough shell: Try light scarification, then soak.
- Still not moving: Consider a stronger intervention like GA₃, used carefully.
- Oddball behavior after all that: Recheck storage history, moisture levels, and whether you're handling the seed too often.
What not to do
This part saves seeds.
A lot of standard dormancy advice floating around online gets repeated without the species-specific warning label. That's dangerous. A treatment that wakes one seed up can kill another.
A strong example comes from a peer-reviewed review on dormancy-breaking methods in weeds and crops. It notes that Redroot pigweed germination drops from 27% to 0% when treated with hot water or sulfuric acid. That's the kind of detail generic guides skip, and it's exactly why copying random germination hacks can waste a pack fast.
For cannabis growers, the takeaway is straightforward:
- Don't use boiling or near-boiling water: Heat can damage the embryo.
- Don't jump to sulfuric acid because it worked for another species: Matching treatment to seed matters more than using the most extreme method.
- Don't keep stacking methods without a reason: More intervention is not automatically smarter.
- Don't overhandle the seed once it starts swelling: A waking seed is easy to damage.
Troubleshooting when a seed still won't pop
Sometimes the answer is not another trick. It's a reset.
Ask these questions:
- Was the seed stored well before germination?
- Is the medium moist, or is it wet enough to limit oxygen?
- Did you nick too hard or squeeze the seed during handling?
- Are you changing conditions too often instead of keeping them stable?
One more thing. A lot of growers sabotage germination by chasing certainty. They keep opening the towel, rotating the seed, moving it from warm spot to warm spot, and trying to micromanage a biological process that works better with consistency.
Leave the seed alone long enough to respond. Good technique matters, but stable conditions matter just as much.
A practical playbook is better than a bag of tricks. Learn what each method is for, use the lightest touch that makes sense, and you'll waste fewer seeds.
From Dormant Seed to Thriving Cultivar
The satisfying part of this whole process is that dormancy stops being a black box once you understand the levers.
A seed can be slow because the shell is too protective. It can be slow because it hasn't gotten the environmental signal it expects. Or it can be slow because the grower used the wrong fix for the wrong problem. Once you know the difference, you make better calls and keep more seeds alive.
The small adjustment that changes everything
Physical intervention can be highly effective when the barrier is structural. A strong example comes from work on Rhodomyrtus tomentosa, where de-operculum treatment improved germination rates up to 83% within 15 days by removing the seed coat barrier over the micropyle, as reported in this ScienceDirect abstract on overcoming coat-imposed dormancy.
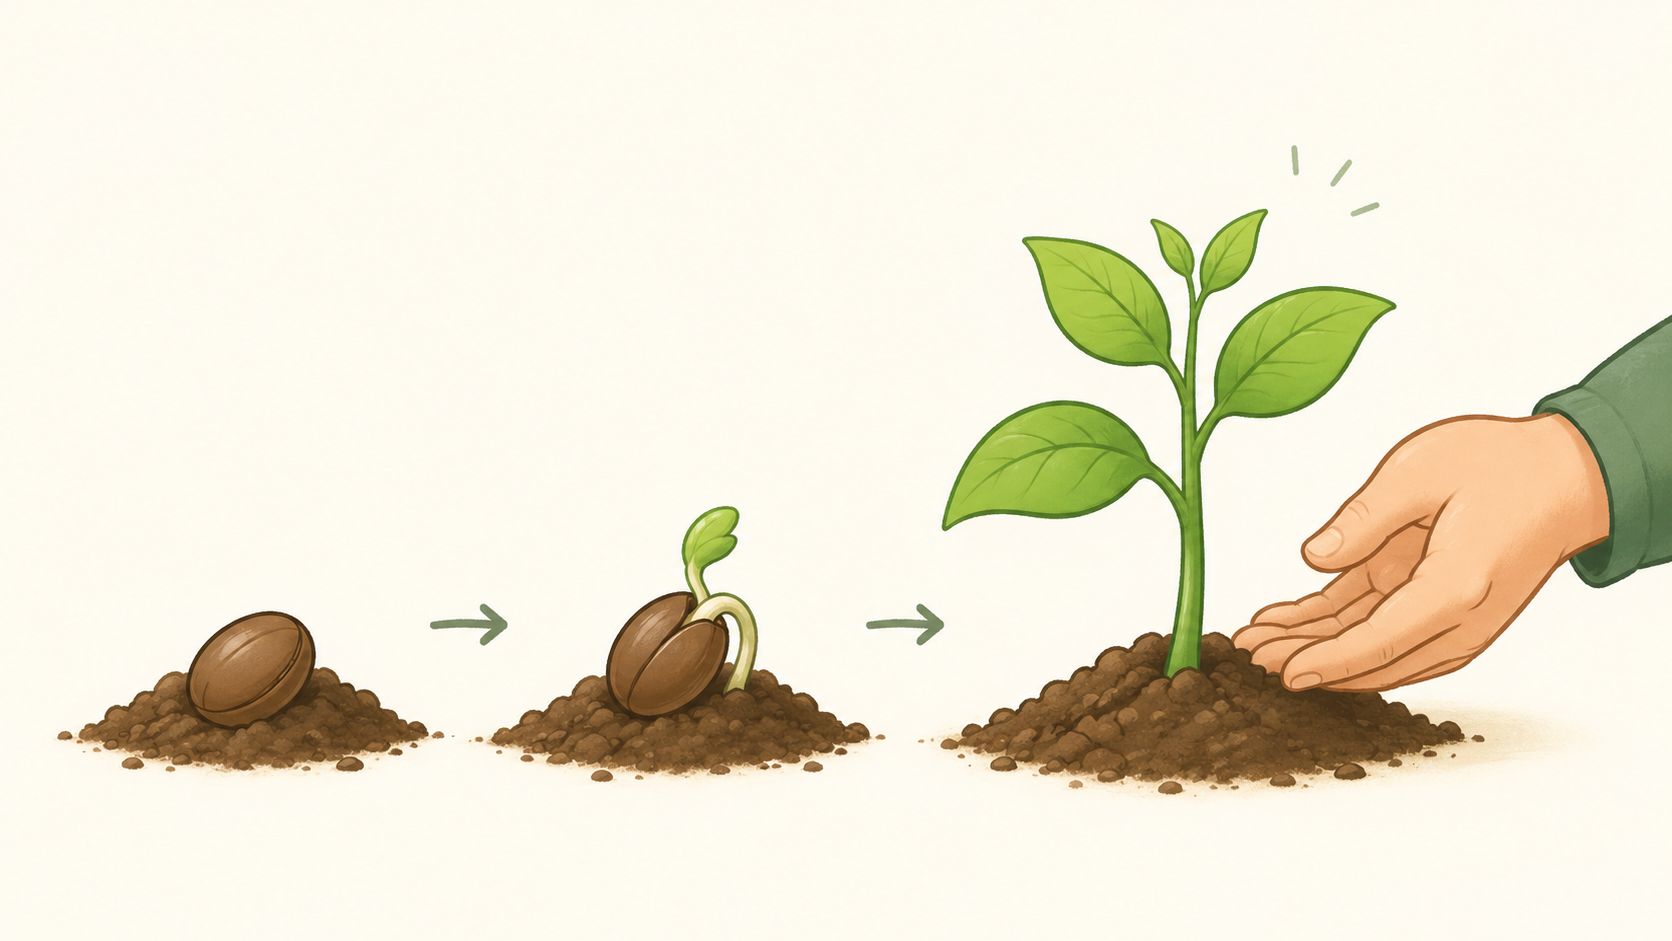
That specific treatment isn't a cannabis how-to. The bigger lesson is what matters. Sometimes a tiny physical barrier is the whole reason a seed won't move. Remove the right obstacle, and the response can be dramatic.
Why this matters for your next run
When you get germination right, everything downstream gets easier. Your schedule tightens up. Your canopy planning gets cleaner. Your confidence goes way up because you're no longer guessing at the first step.
That matters whether you're running a squat autoflower cultivar in a small tent or starting a feminized cultivar you chose for aroma, structure, and the overall vibe you want from the finished flower. The better your start, the easier it is to guide that plant through the next stage, especially once it enters the seedling phase of weed growth.
Home growing is more rewarding when the basics stop fighting you. Break dormancy with a light touch, choose the right method for the situation, and you give every seed a fair shot to become a thriving cultivar instead of a stubborn shell in a wet paper towel.
Once you've got germination dialed in, genetics become the next big lever. Botanist Seeds makes it easier to compare feminized and autoflower cultivars for your space, your timeline, and the kind of grow you want to run. Use the comparison tool to narrow down cultivars that fit your setup, skip the guesswork, save yourself some dispensary tax and line-waiting, and put your new germination skills to work on a grow you'll be proud of.